Turn a Photo Into an Architect’s Blueprint Drawing in Photoshop

Turn a Photo Into an Architect’s Blueprint Drawing in Photoshop

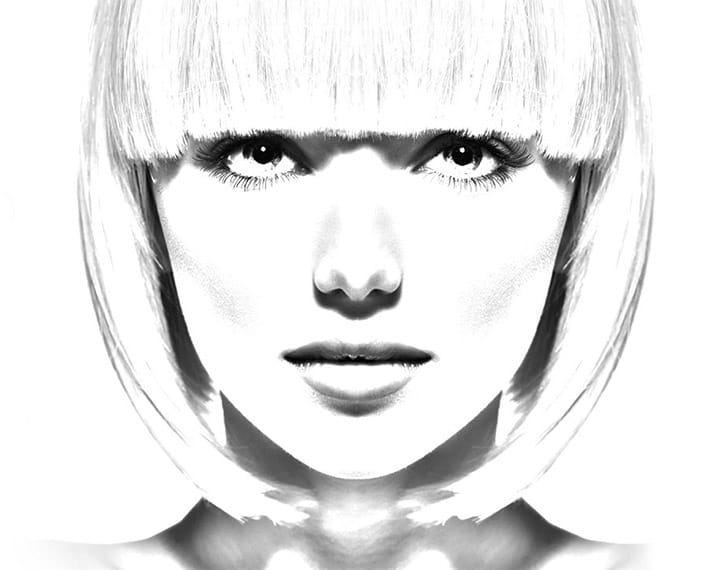
Architectural blueprints offer a distinct, professional aesthetic, traditionally outlining designs with precision and clarity. This iconic style, with its characteristic blue tones and crisp lines, is often associated with the early stages of building visualization.

This tutorial demonstrates how to transform any photograph of a structure into a realistic blueprint drawing. It walks you through the essential Photoshop steps, allowing you to replicate this classic design document appearance digitally.

Watch the Video

Video by Blue Lightning. Any links or downloads mentioned by the creator are available only on YouTube

Emulating Traditional Blueprint Aesthetics Digitally

Architectural blueprints have long served as the universal language for translating conceptual designs into tangible structures. These technical drawings, traditionally produced through a contact print process on light-sensitive paper, convey precise measurements, materials, and construction details. The distinct white lines on a blue background are not merely aesthetic; they were a practical result of the light-sensitive chemical process.

In contemporary design, replicating this classic blueprint look goes beyond mere utility, tapping into a rich visual heritage. Digital tools allow designers to interpret photographic realism into more illustrative or schematic forms. This emphasizes core structure and design elements rather than superficial details.

This artistic choice aligns with non-photorealistic rendering (NPR), a field focused on generating images in diverse artistic styles. Recreating the blueprint effect in a digital medium offers a unique blend of historical aesthetic and modern flexibility for presenting architectural concepts.

Practical Tips for Blueprint Transformations

  • Use the Find Edges filter as a starting point for line work.
  • Apply Levels adjustments to fine-tune the lightness and contrast of the initial drawing, customizing it to your specific image.
  • Utilize Clipping Masks to ensure texture and color layers affect only the underlying blueprint layer, maintaining a clean workflow.
  • Incorporate distressed brushes on layer masks to create rough, hand-drawn edges and borders, enhancing authenticity.
  • Experiment with alternative blend modes, such as Screen for the blueprint color or Linear Burn for textures, to achieve varied visual effects.

More Tutorials about Photo to Drawing Effects

Explore other creative Photoshop techniques to transform your photographs into various artistic styles.
Apply a beautiful watercolor effect to an architectural rendering in Photoshop
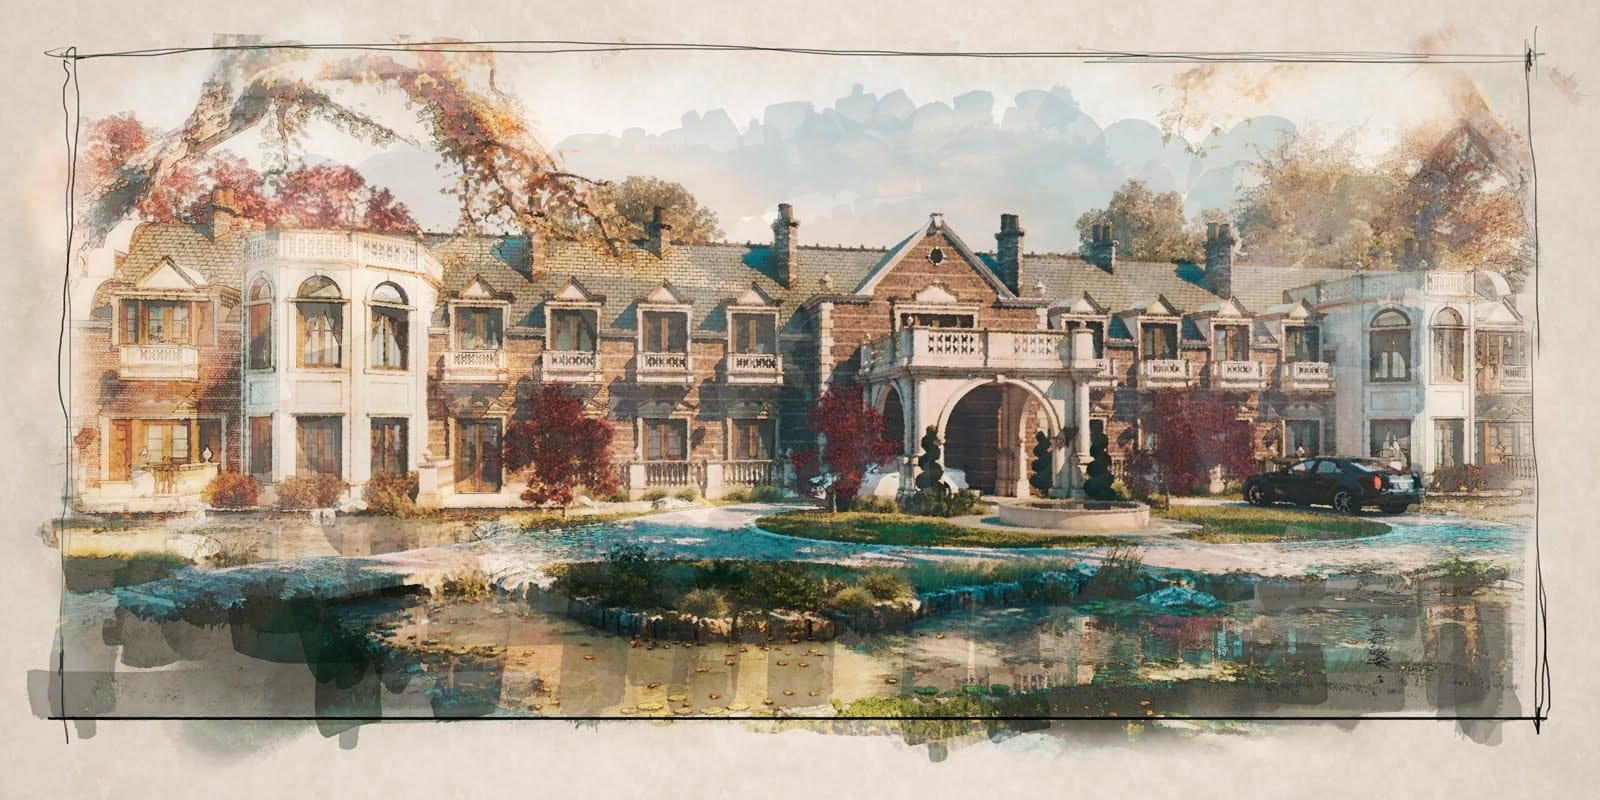
In this tutorial, the author attempts to take a rendering they made some time ago using Autodesk 3ds Max and V-Ray, and turn it into a watercolor painting, or something that is NPR (non-photo real). They use Photoshop software to mimic the effect, building layer upon layer of digital paint. The author uses many different Photoshop techniques to achieve the watercolor effect, with the expectation that the reader can mix and match the techniques and come up with their own watercolor workflow in P
Turn a Photo into a Pencil Sketch Drawing in Photoshop
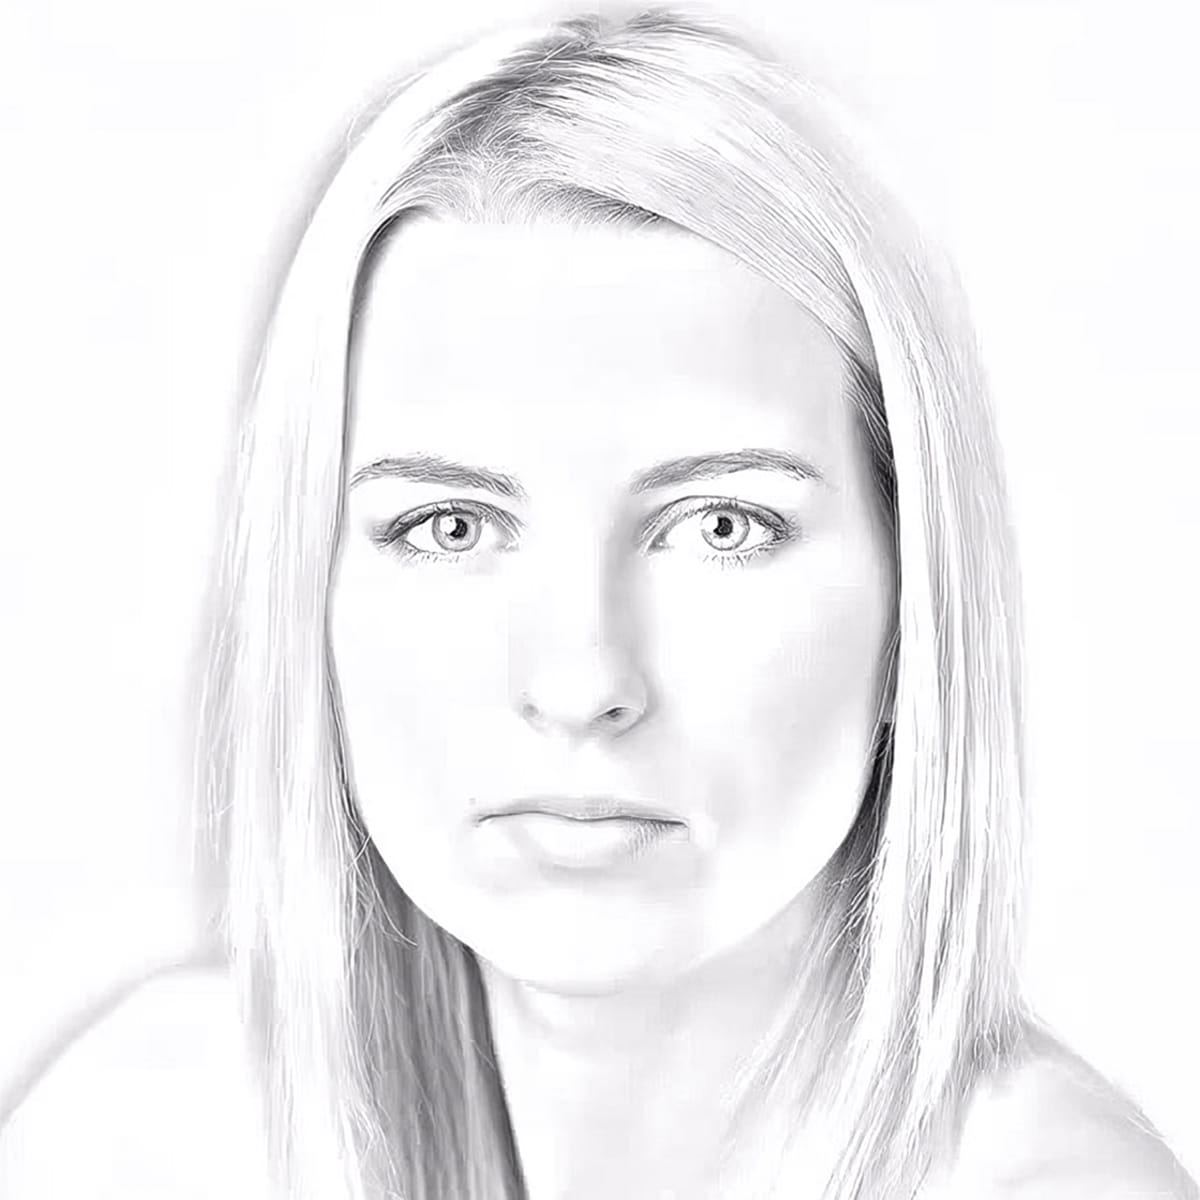
In this Photoshop tutorial by Tony from Psych Studio, learn to transform photos into realistic pencil sketches using advanced techniques. The instructor avoids basic filters, focusing on duplicating layers, desaturating images, and applying precise blending modes like Gaussian blur to mimic authentic pencil strokes. This approach ensures sketches maintain a natural, hand-drawn quality rather than a digital filter appearance. Ideal for designers seeking to integrate a hand-drawn look into digita
How to Make a Bauhaus Inspired Graphic Design in Photoshop
This tutorial offers an engaging approach to creating a Bauhaus-inspired graphic design using Photoshop CS6. Perfect for both beginners and seasoned designers, it guides you through the process of designing a vibrant, modernist piece that features a name. You will learn to incorporate fundamental elements of the Bauhaus style, including bold color palettes and geometric shapes. The tutorial breaks down each step, ensuring you understand how to manipulate various tools and layers within Photosho
Turn your photo into a pencil sketch in Photoshop
In the world of Photoshop, some effects are timeless classics. Turning a portrait photo into a sketch is one of them. With just a few simple clicks, any portrait can be turned into a beautiful drawing, and any photographer can feel like an accomplished graphic artist. In this tutorial, Steve Patterson from Photoshop Essentials guides you step by step as you learn how to easily convert any portrait into a black and white pencil sketch with Photoshop. But it doesn’t end there. Steve also shows yo

Get tutorials & freebies delivered to you.

Subscribe to the Photoshop Roadmap newsletter, a weekly roundup of new tutorials, insights and quality downloads, trusted by 6500+ readers.

You might also like

How to Remove Skin Blemishes and Fix Skin Tones in Camera Raw

Two recent additions to Camera Raw make skin retouching significantly faster: an automatic blemish removal tool with separate controls for moles and freckles, and a vectorscope-based skin tone indicator for correcting off-color skin. Both features work non-destructively inside a smart object workflow, so no pixel data is...

Portrait Retouching in Photoshop: Smooth Skin While Keeping Natural Texture

Smooth skin and natural texture are not opposites — achieving both at once is the mark of a professional retouch. This workflow covers blemish removal, flyaway hair cleanup, dark under-eye correction, and eye brightening, all while keeping the skin looking like skin. Watch the Video Practical Tips These key points...

How to Use Camera Raw's Blemish Removal Tool in Photoshop

Camera Raw 18.5 introduced an automatic blemish removal tool that does something previous solutions rarely managed: it removes skin imperfections while preserving the underlying skin texture. It also distinguishes between temporary marks and permanent ones like moles, giving you separate controls for each. Watch the Video Practical Tips These...

Portrait Slice Effect in Photoshop Using Step and Repeat

The portrait slice effect splits a single image into offset vertical bars, creating the illusion of a displaced or fragmented face. The entire technique relies on layer masks and a lesser-known Photoshop shortcut called step and repeat — no filters, no AI, no destructive edits required. Watch the Video Practical...

How to Remove Blemishes in Photoshop: Camera Raw vs. Generative AI

Photoshop now offers two distinct approaches to removing skin blemishes automatically. The Camera Raw Filter includes a dedicated Blemishes option that analyzes and cleans skin with a single checkbox, while Generative AI fills a face selection with clean, texture-consistent results using a simple text prompt. Each method has clear...

Common Photoshop Compositing Mistakes and How to Fix Them

Most compositing errors come down to a handful of repeatable problems: mismatched lighting direction, inconsistent white points, misaligned perspective, and atmosphere applied in the wrong layer order. Catching these issues early — ideally before you shoot — saves significant time in post. Watch the Video Practical Tips These corrections apply to nearly...

You’ve successfully subscribed to Photoshop Roadmap
Welcome back! You’ve successfully signed in.
Great! You’ve successfully signed up.
Success! Your email is updated.
Your link has expired
Success! Check your email for magic link to sign-in.