Custom LUTs let you transform your photos with professional color grading that works across multiple programs. From moody film looks to vibrant cinematic tones, these color lookup tables capture your exact adjustment settings.
This technique saves hours of repetitive color work and ensures consistent styling across entire photo sets or video projects.
Watch the Tutorial
Video by PHLEARN. Any links or downloads mentioned by the creator are available only on YouTube
Essential Tips for Creating Custom LUTs
Master these key techniques to build powerful color lookup tables that enhance your workflow:
- Use adjustment layers only — Regular layers won't export properly, so stick to Color Balance, Levels, and Gradient Maps for reliable results
- Select all adjustment layers before exporting — Hold Shift and click each layer you want included in your LUT to ensure they're all captured
- Export all format types — Choose "export all" to get .cube, .3dl, and other formats for compatibility with different programs
- Install LUTs permanently — Copy your .cube files to Photoshop's presets/3DLUTs folder so they appear in the Color Lookup dropdown automatically
- Test on multiple images — Apply your new LUT to different photos to verify it works well across various lighting conditions and subjects
More Tutorials about Color Grading and Custom Tools
Explore these guides to expand your color editing and customization skills:
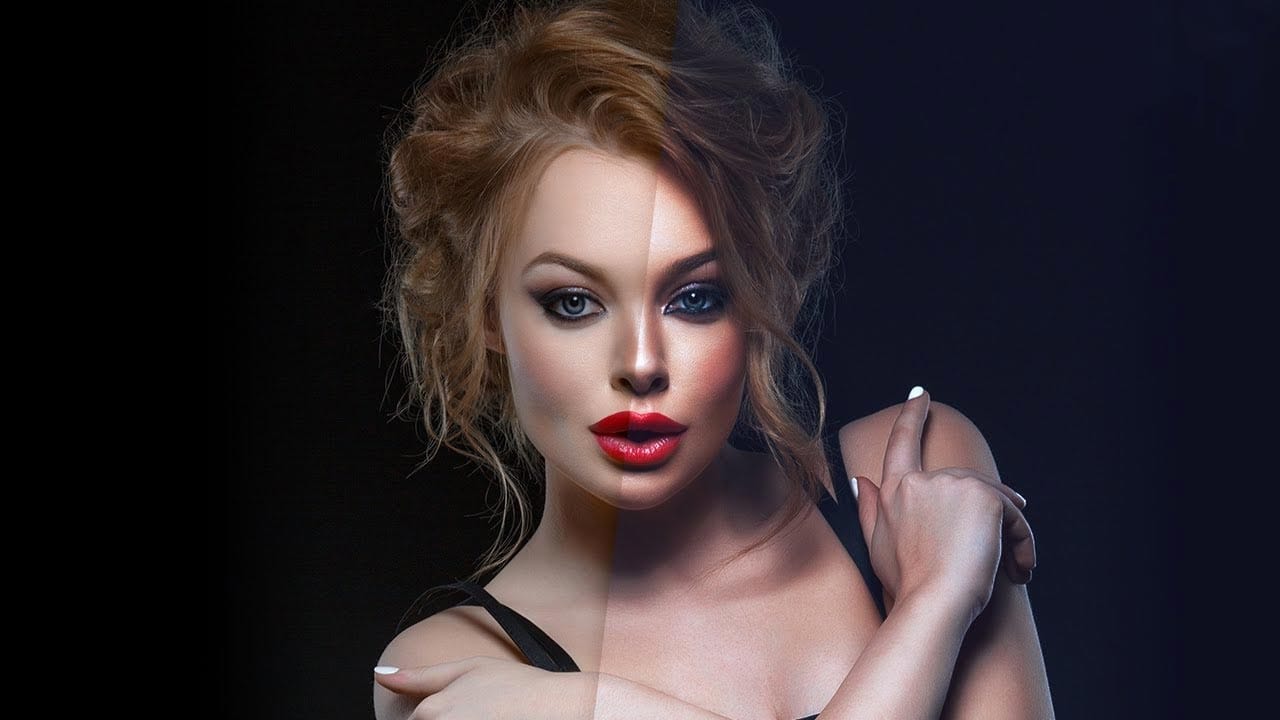
Create your own amazing Color Lookup Tables (LUT) filters in Photoshop
In this video by PiXimperfect, viewers can learn how to create their own color lookup tables and incorporate them into Photoshop. Once the tables are created, users can apply their custom filters with a single click on any image. The process involves combining multiple adjustment layers to achieve the desired effect, which can then be saved as a preset for future use.
The author provides step-by-step guidance, making the technique accessible to both novice and experienced Photoshop users. By le
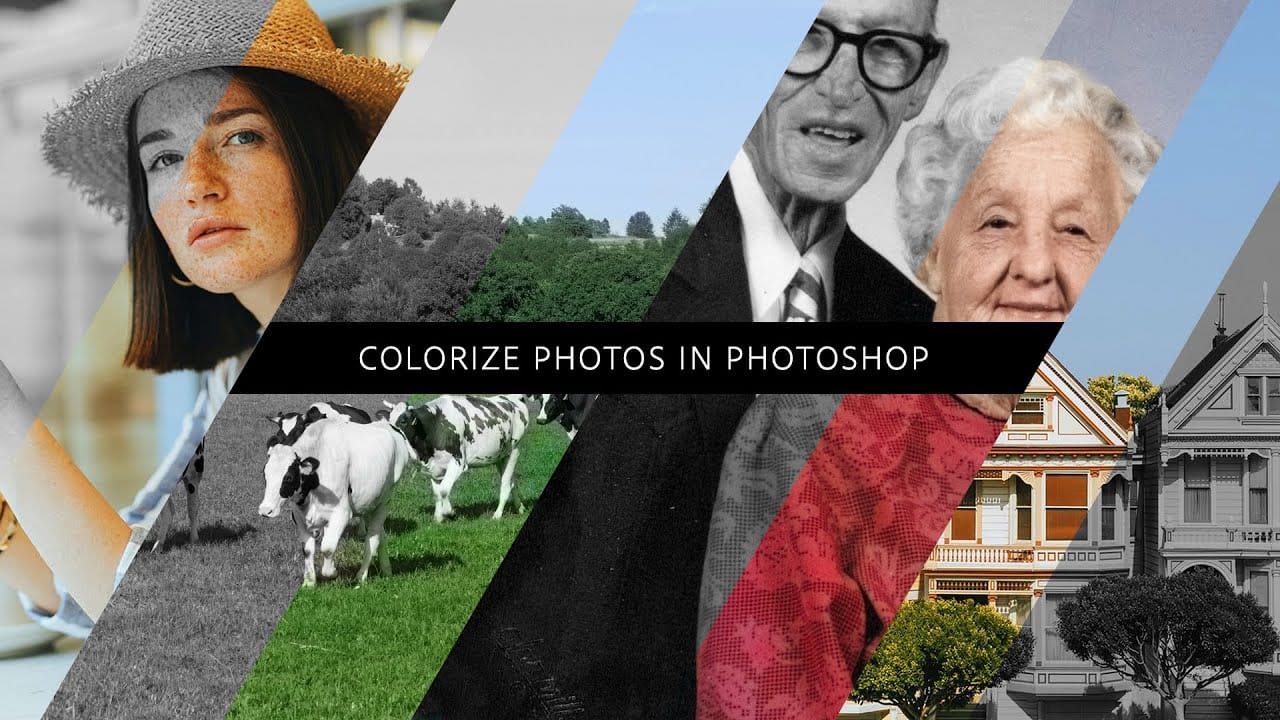
How to colorize photos in Photoshop
In this episode, Adobe Evangelist Paul Trani demonstrates how to instantly colorize photos in Photoshop using the new Neural Filters. This feature allows you to bring new life to black-and-white images, from landscapes to your old family photos, with just a few clicks.
Paul walks you through the process of accessing and applying the Neural Filters to your photos. You'll learn how these advanced filters use artificial intelligence to analyze your image and apply realistic colorization based on t
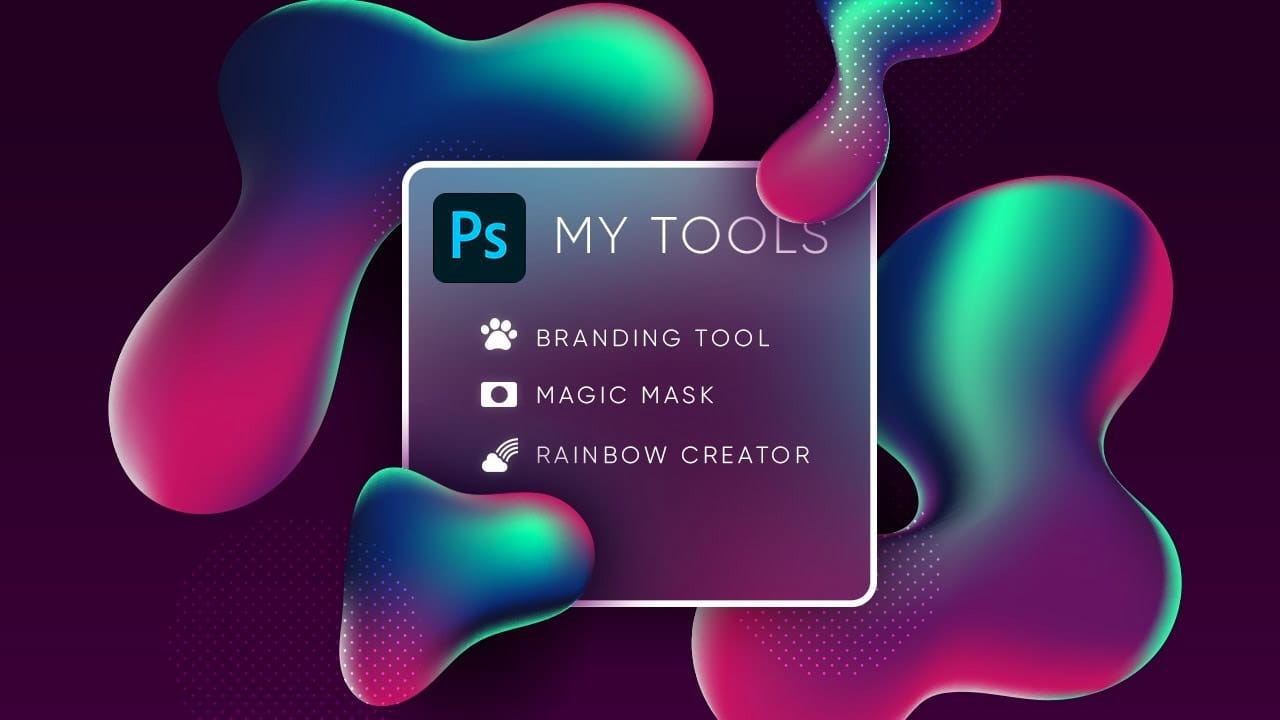
Customize and Create Your Own Photoshop Tools
Unlock the Power of "Tool Presets" to Create Custom Tools & Make Your Workflow Extremely Fast! Simplify your Photoshop life by learning the concepts of Tool Presets, and then, we will explore some built-in presets to get you started.
In this tutorial, we will learn to create two super useful custom tools, and also how to create your own tools according to your personal workflow in Photoshop. No matter what you do in Photoshop, from designing to retouching or even compositing, custom tools are i
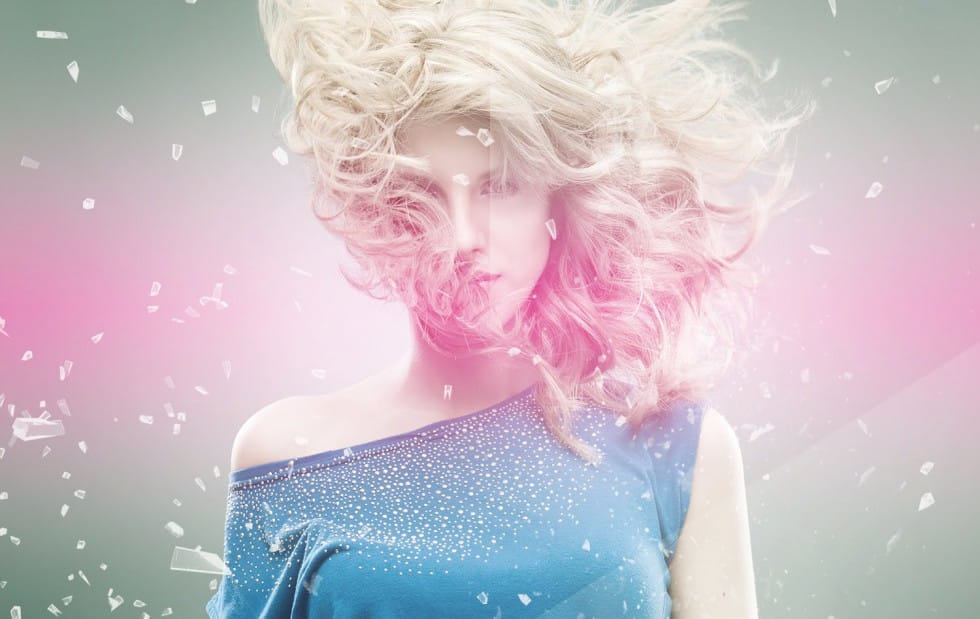
Add creative lights and colors to your image in Photoshop
You're about to learn how to transform your images with creative lights and colors in Photoshop. This tutorial will guide you through the process of adding vibrant hues and eye-catching effects to your photographs.
First, you'll explore the use of gradients and brushes to enhance your image. These tools will allow you to layer different colors and luminous accents, creating a visually striking result. With a few simple steps, you'll be able to turn your ordinary image into an impressive work of