Few things destroy creative momentum like Photoshop's dreaded "scratch disk full" error. This technical roadblock strikes at the worst possible moment—right when inspiration hits and your project is flowing perfectly.
The error occurs when Photoshop runs out of temporary storage space for your work files. This tutorial walks through both quick emergency fixes and permanent solutions to eliminate this frustrating interruption from your design workflow.
Watch the Tutorial
Video by Doron Studio. Any links or downloads mentioned by the creator are available only on YouTube
Practical Tips for Scratch Disk Management
- Increase RAM allocation: Navigate to Photoshop Preferences > Performance and adjust the memory slider to the high end of the recommended range
- Clear temporary data immediately: Use Edit > Purge > All after encountering the error to free up RAM and enable document saving
- Maintain 15% free storage: Keep substantial hard drive space available by regularly deleting large unused files and emptying trash bins
- Set up external scratch disk: Use a dedicated external SSD with at least 500GB capacity as your primary scratch disk location
- Close competing applications: Shut down Chrome, other Adobe programs, and memory-heavy software when working on large Photoshop projects
Related Articles and Tutorials
Explore more Photoshop troubleshooting and optimization techniques.
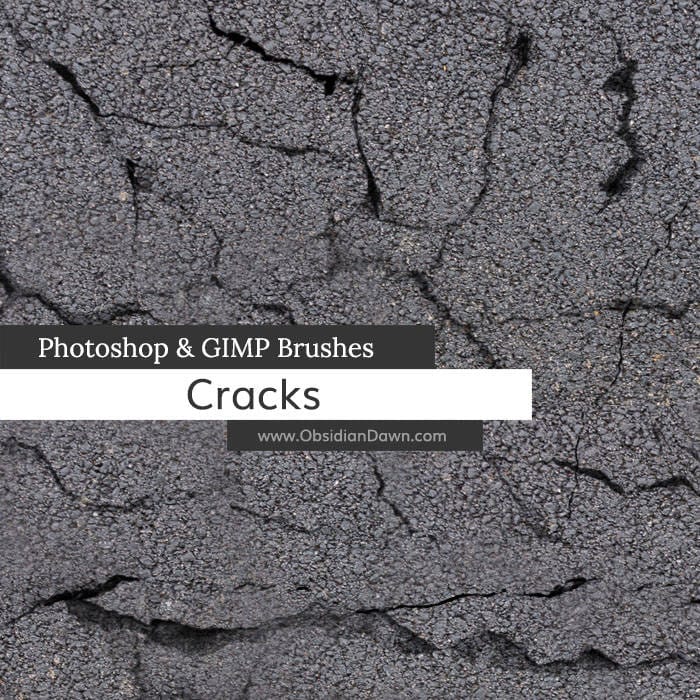
Cracks Photoshop Brushes
The author has created a set of Photoshop brushes that capture the intricate textures of various materials. These brushes are made up of cracks found in stone, pavement, sand, concrete, mud, and more. The author claims that these brushes can be used to recreate the appearance of cracks in almost any medium.
The brushes are sizable, with most being around 1000 pixels high or wide. This ensures that the level of detail is preserved, allowing users to seamlessly integrate the cracks into their dig
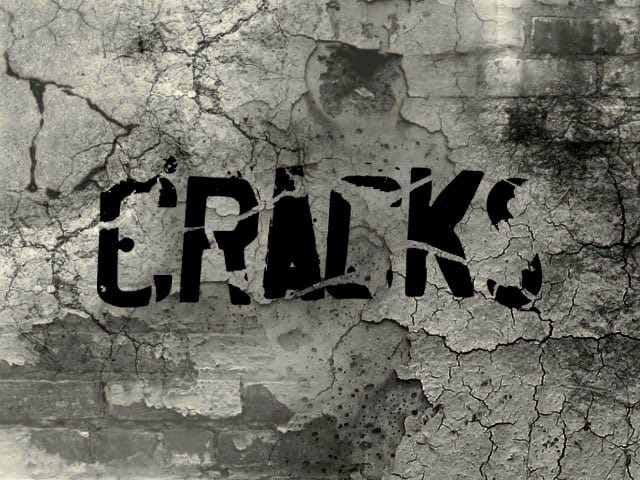
Cracks Photoshop Brushes
The author provides a comprehensive Photoshop Brushes set that captures the essence of weathered and worn-out surfaces. This collection features a range of concrete cracks, peeled paint, and other textures often found on aging walls.
The brushes are designed to help users create realistic and visually striking effects in their digital artwork. Whether you're working on a gritty urban scene, an abandoned building, or a vintage-inspired design, these brushes offer a versatile toolkit to add depth
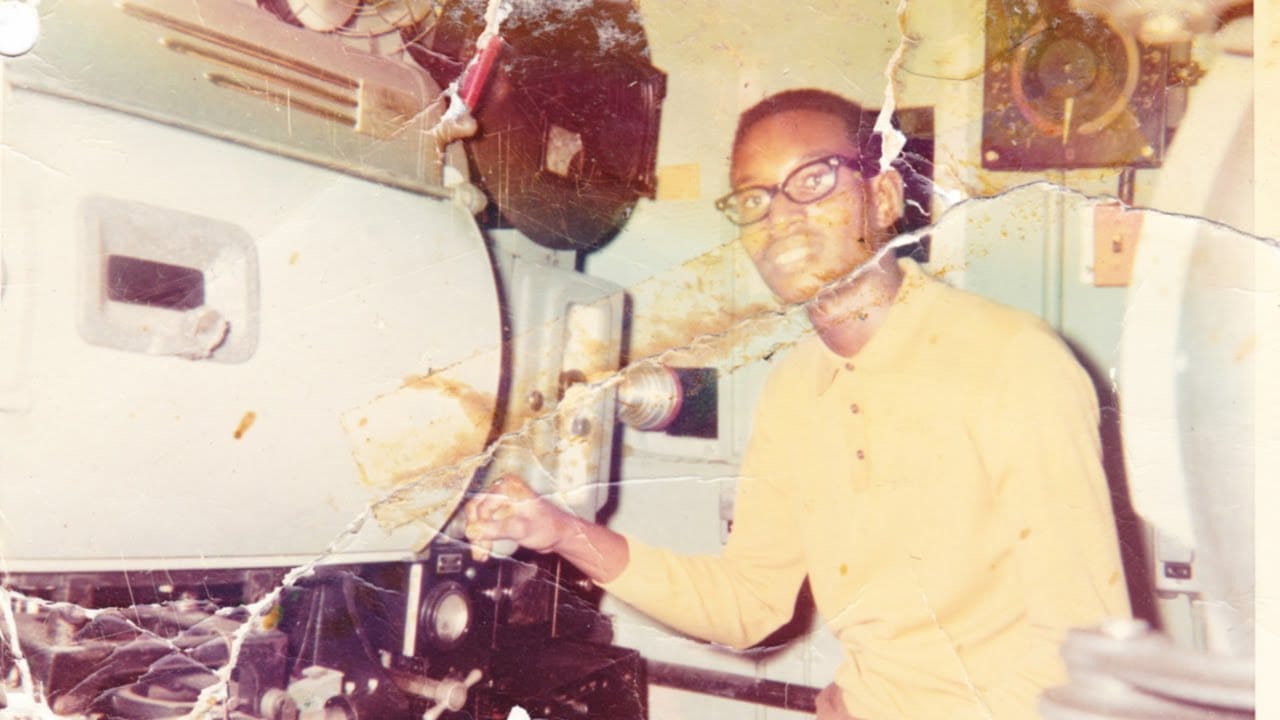
How to repair an old torn photo in Photoshop
In this tutorial, you'll discover how to breathe new life into an old, torn photograph using Photoshop. Aaron Nace, the expert from Phlearn, will guide you through the process step by step.
First, you'll learn how to assess the damage and create a plan for the restoration. Then, you'll dive into the various tools and techniques to repair the tears, scratches, and discoloration. By carefully blending layers and adjusting the image, you'll be able to seamlessly restore the photo to its former glo
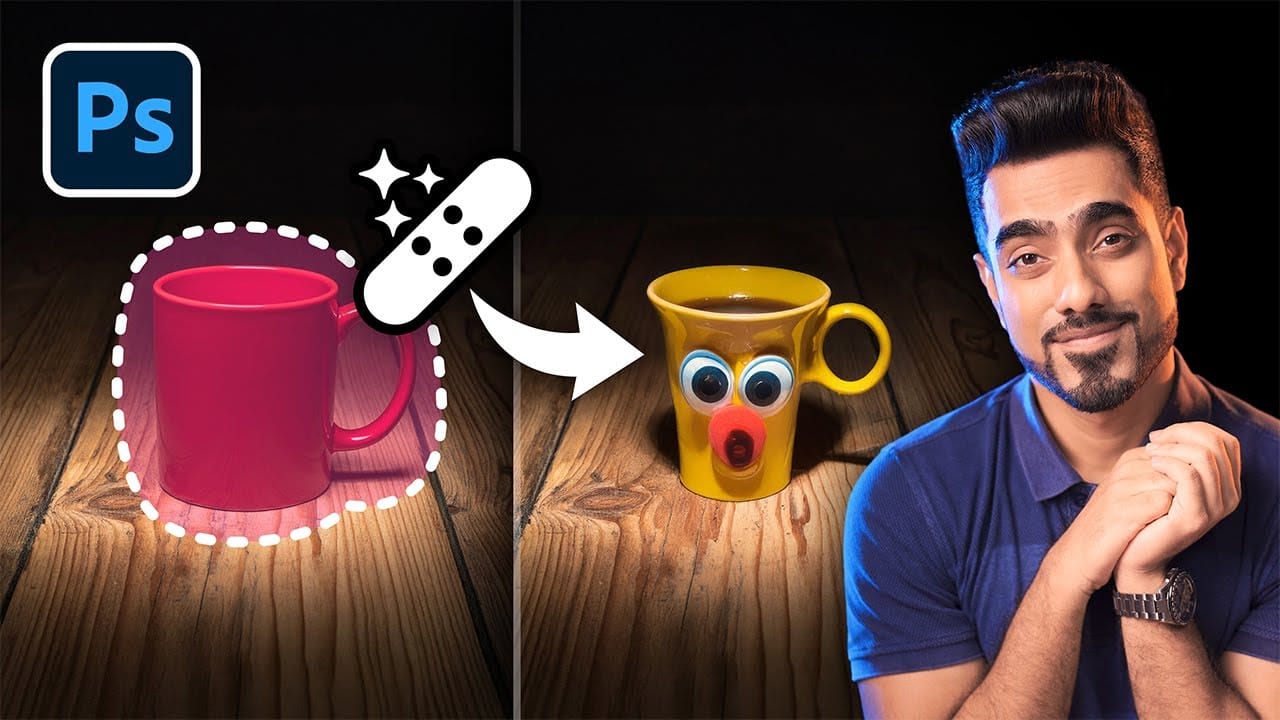
Photoshop's Remove Tool is Broken—What Now?
Object removal is a fundamental task in photo editing, but AI-powered tools can sometimes produce unpredictable results. It can be frustrating when a tool designed to remove an object instead replaces it with another unwanted element, disrupting your workflow and requiring extra steps to correct.
This tutorial demonstrates how recent updates to the Remove Tool in Photoshop Beta solve these common issues. You will learn how to access the improved tool, use a new selection-based workflow for more