How to Make Grungy Ghost Text Effects in Photoshop

How to Make Grungy Ghost Text Effects in Photoshop

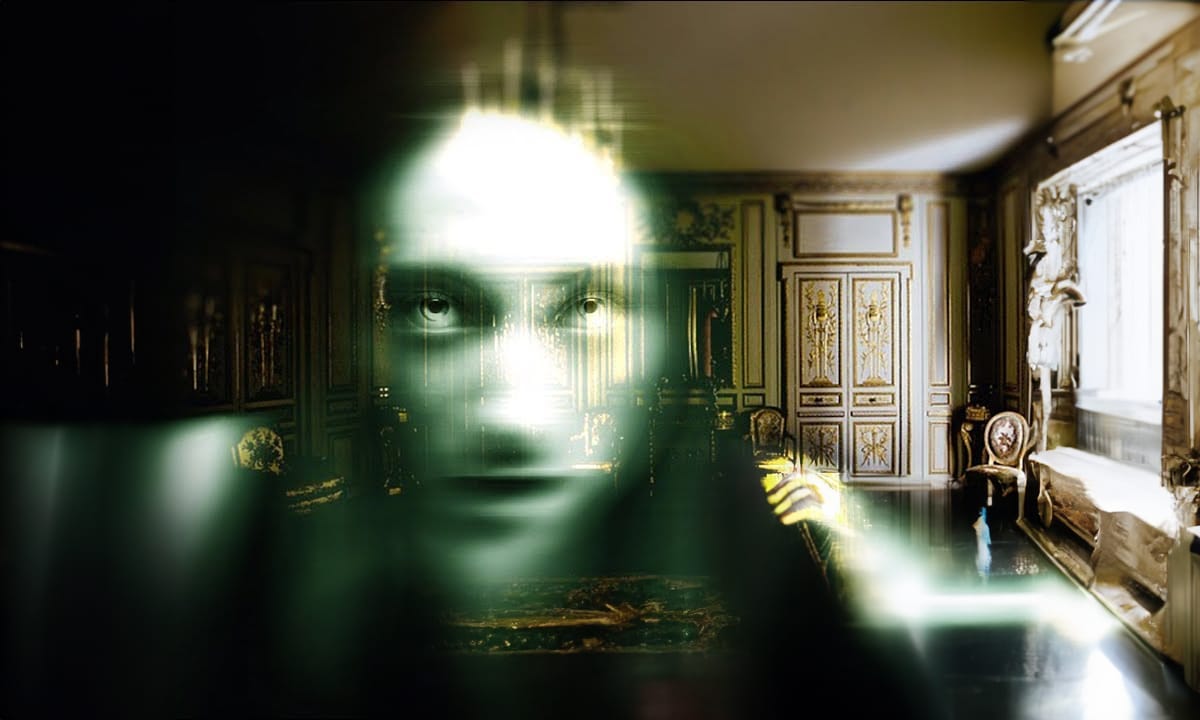
Ghost text effects combine ethereal transparency with gritty texture to create typography that feels both haunting and visually striking. This design technique has become increasingly popular in horror-themed projects, album covers, and creative branding where designers want to convey mystery or edginess.

This tutorial demonstrates how to build a convincing grungy ghost text effect using Photoshop's blur gallery, blend modes, and texture techniques. You'll learn to create translucent, distorted typography with organic grain and atmospheric depth that makes text appear to dissolve into the background.

Watch the Tutorial

Video by P A N T E R. Any links or downloads mentioned by the creator are available only on YouTube

Understanding Path Blur for Text Distortion

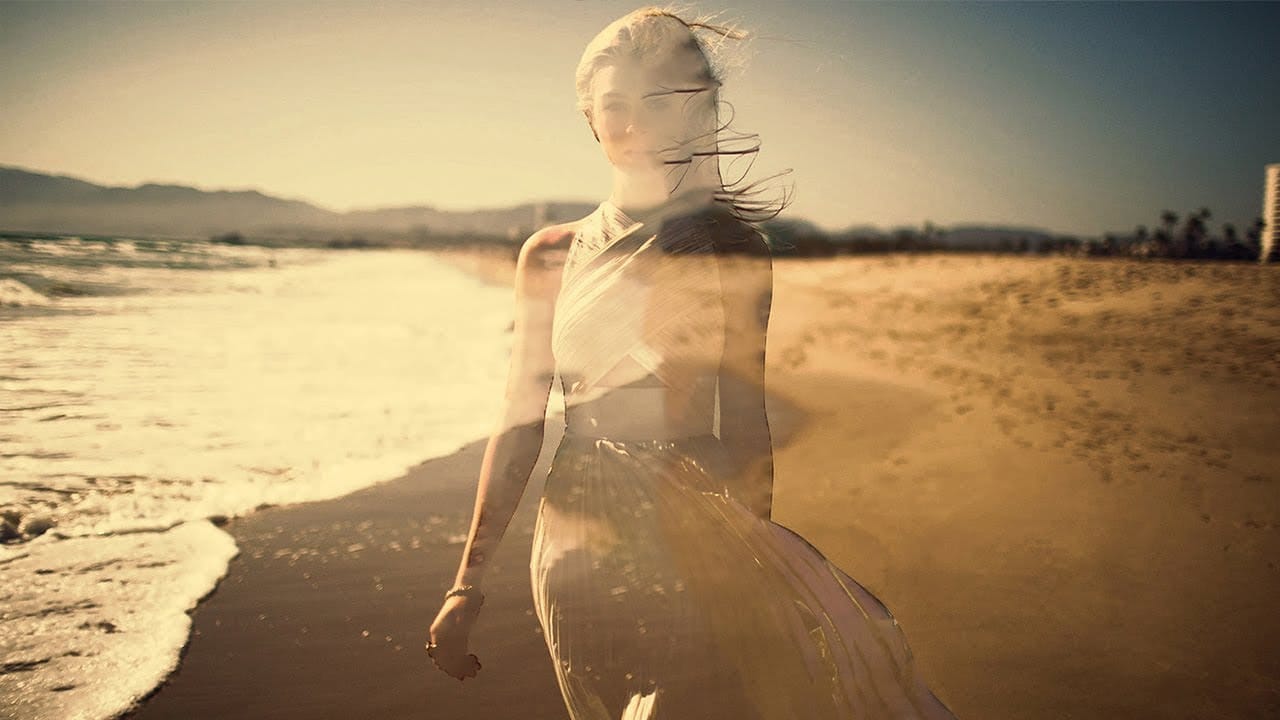
Path blur offers precise control over directional distortion that static blur filters cannot match. Unlike traditional Gaussian blur that spreads uniformly in all directions, path blur follows customizable vectors that can bend, taper, and vary in intensity along their length.

The dissolve blend mode plays a crucial role in creating authentic ghostly transparency. When combined with duplicated text layers, this blend mode breaks apart solid edges into scattered pixels that simulate the way light passes through semi-transparent materials. The effect becomes more pronounced when the underlying blur creates varying opacity levels across the text.

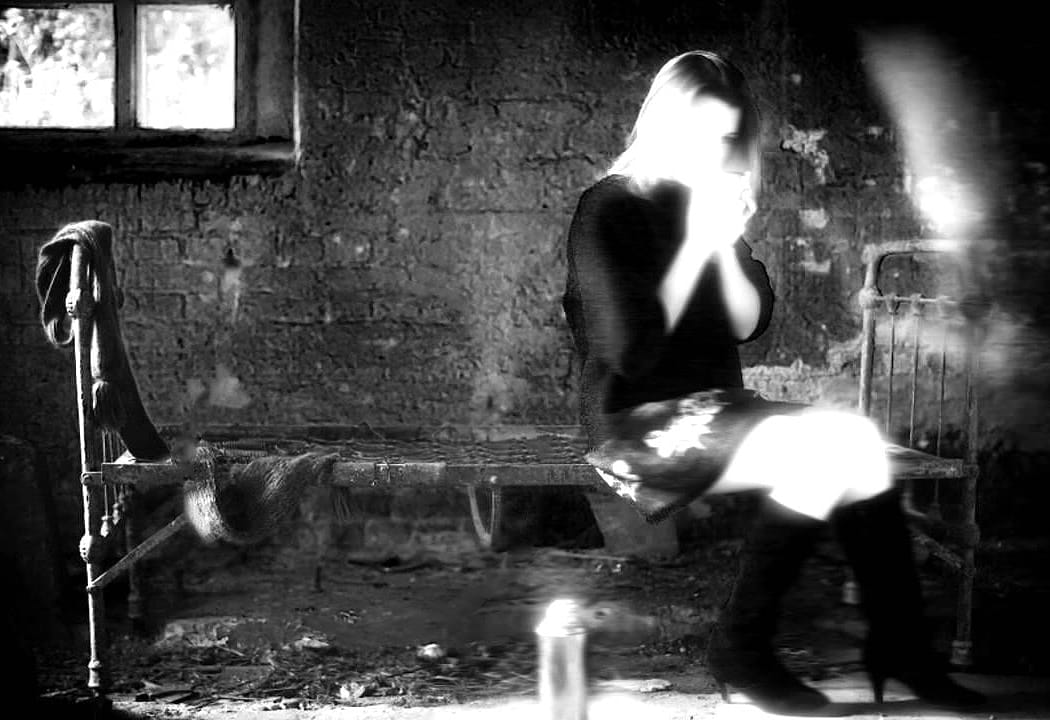
Smart filters preserve the original text data while allowing non-destructive adjustments throughout the creative process. This approach enables designers to refine blur parameters, adjust masking, and experiment with different settings without permanently altering the base typography.

Essential Tips for Ghost Text Effects

  • Convert text to smart objects before applying effects to maintain editability and enable non-destructive workflows
  • Use path blur with custom arrow directions and speed settings to create organic, flowing distortions that feel natural
  • Apply dissolve blend mode to multiple text layers for authentic transparency with scattered pixel breakup
  • Combine selective color adjustments with gradient maps to control the overall tone and contrast of the effect
  • Add noise in overlay mode to introduce grain texture that enhances the gritty, atmospheric quality

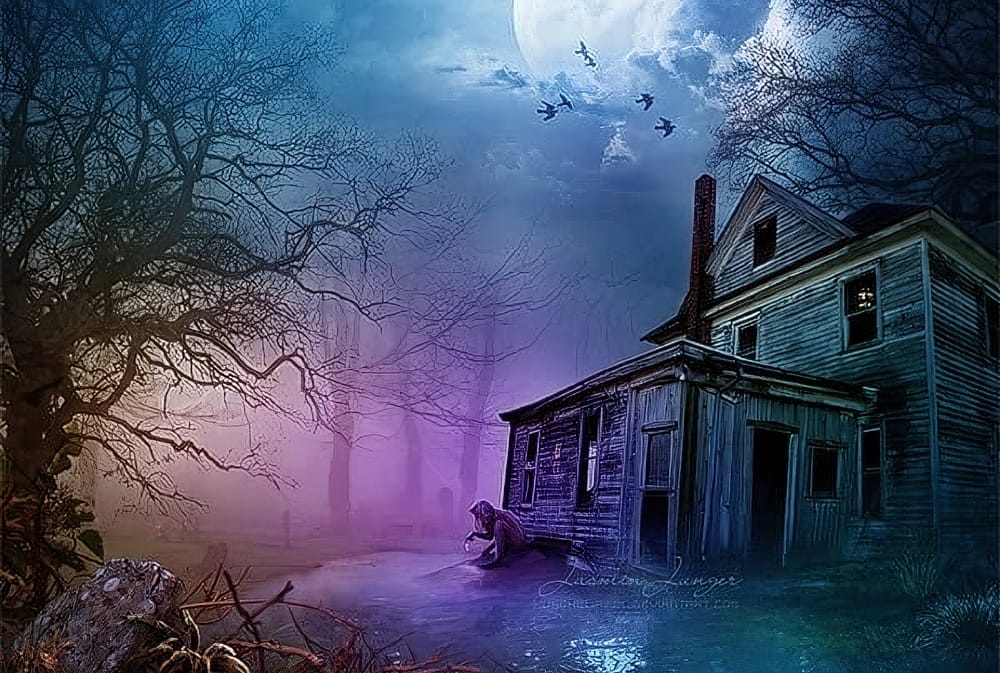
More Tutorials about Ghost Effects

Explore additional techniques for creating supernatural and atmospheric effects in Photoshop.

How to create a ghost in Photoshop
In this tutorial, Marty Geller from Blue Lightning TV demonstrates how to transform a subject photo into a haunting ghost image using Adobe Photoshop. You'll learn various techniques to achieve a spectral, ethereal look, perfect for spooky projects or Halloween themes. Marty guides you through each step, covering essential methods such as layer blending, opacity adjustments, and creating a ghostly glow around your subject. The tutorial is designed to be accessible, making complex processes easy
Create a Ghostly Image Effect in Photoshop
In this engaging Photoshop tutorial, you will discover how to create a ghostly effect that transforms a person into a transparent figure, resembling a ghost. This technique is perfect for adding an eerie vibe to your images. You'll begin by selecting the person in your photo and adjusting the layers to achieve the desired transparency. The step-by-step instructions will guide you through the process of refining the edges and enhancing the overall look to ensure a realistic ghost appearance. By
Create Creepy Lighting and Mysterious Atmosphere Effects in Photoshop
This tutorial offers a clear guide on creating eerie lighting and mysterious atmospheric effects in Photoshop. You will learn how to enhance your photos by manipulating different lighting techniques. The author explains the process step by step, starting with how to select the right colors and apply various effects to a chosen stock image. Each technique is thoroughly detailed, making it easy for you to follow along. The end results are impressive, showcasing how these methods can transform an
Create See-Through Ghost Photos in Photoshop
This tutorial offers a straightforward guide to creating an eerie see-through ghost photo using just one image. Perfect for beginners, it simplifies the process while ensuring you can achieve impressive results. You will learn essential techniques that allow you to manipulate your image effectively. The tutorial walks you through each step, ensuring that even those new to Photoshop can follow along with ease. By the end, you'll be able to transform an ordinary photo into something hauntingly b

Get tutorials & freebies delivered to you.

Subscribe to the Photoshop Roadmap newsletter, a weekly roundup of new tutorials, insights and quality downloads, trusted by 6500+ readers.

You might also like

Create Realistic Rim Light Effects on Portraits in Photoshop

Rim lighting transforms ordinary portraits into dramatic, professional-looking images by adding bright highlights around the edges of your subject. This technique simulates light hitting the outer contours of a person, making them stand out from their background with a natural, glowing effect. The key to convincing rim light lies in...

How to Use Photoshop's Layer Cleanup Tool to Organize Messy Projects

Complex editing projects with Generative Fill and Expand often result in dozens of unnamed layers cluttering your workspace. The new Layer Cleanup tool automates the tedious process of renaming layers and removing empty ones, transforming chaotic layer panels into organized, manageable structures. This workflow improvement saves significant time during post-production...

How to Use Curves for Composite Color Matching in Photoshop

Curves adjustments are essential for making composite elements look natural and cohesive. Understanding how curves manipulate light values and color channels gives you precise control over matching different elements to their new backgrounds. The key to successful color matching lies in analyzing the color temperature and brightness relationships between your...

How to Fix Color Fringing in Subject Cutouts Using Clipping Masks

Perfect layer masks can still produce disappointing results when color fringing appears around hair and fur edges. This common problem isn't caused by poor masking technique—it's the original background bleeding through at the edges. Clipping masks offer a powerful solution by allowing you to paint...

Create Beautiful Floral Oval Frames for Portraits in Photoshop

Transform ordinary portraits into elegant artwork with decorative floral oval frames that blend seamlessly with your subject. This technique combines traditional framing with digital floral elements, creating a painterly effect that's perfect for fine art prints and creative portraits. The process involves creating an oval cutout, adding custom...

You’ve successfully subscribed to Photoshop Roadmap
Welcome back! You’ve successfully signed in.
Great! You’ve successfully signed up.
Success! Your email is updated.
Your link has expired
Success! Check your email for magic link to sign-in.