Transform ordinary text into a striking display of molten rock and fiery glow with this Photoshop tutorial. Discover how to apply various layer styles and textures to achieve a dynamic, incandescent magma effect.
Watch the Video
Practical Tips for Magma Hot Text Effects
Achieve a realistic magma hot text effect by following these essential steps and techniques:
- Apply initial layer styles: Start by adding Bevel & Emboss, Outer Glow, Inner Shadow, Color Overlay, and Stroke to your base text layer for the foundational magma look.
- Duplicate and refine: Duplicate the text layer (Ctrl+J) to introduce additional styles, then use a layer mask with a soft brush to soften and blend the edges, enhancing the molten appearance.
- Convert to Smart Object: Merge relevant text layers and convert them into a Smart Object to enable non-destructive editing and easier application of further effects.
- Add dynamic lighting: Create new layers for shadows and highlights; use a black brush for shadows below the text and an orange brush for bright, glowing spots, then apply Gaussian Blur for a soft blend.
- Integrate textures: Incorporate smoke and sparkle textures, using blending modes like Screen or Color Dodge and level masks to seamlessly blend them into the magma effect.
Related Articles and Tutorials about Fire and Text Effects
Explore more techniques to enhance your projects with dynamic and striking fire-related text and image effects.
How to Create Flames in Photoshop
In this tutorial, Julieanne Kost walks you through the process of creating realistic flames in Photoshop. The tutorial simplifies the process into four manageable steps, making it accessible even for beginners.
Kost starts by guiding you through the basics of setting up your workspace and selecting the right tools. She then demonstrates how to use different paths and brush settings to shape and control the flame effect. By adjusting various parameters, you can achieve a dynamic and realistic fl
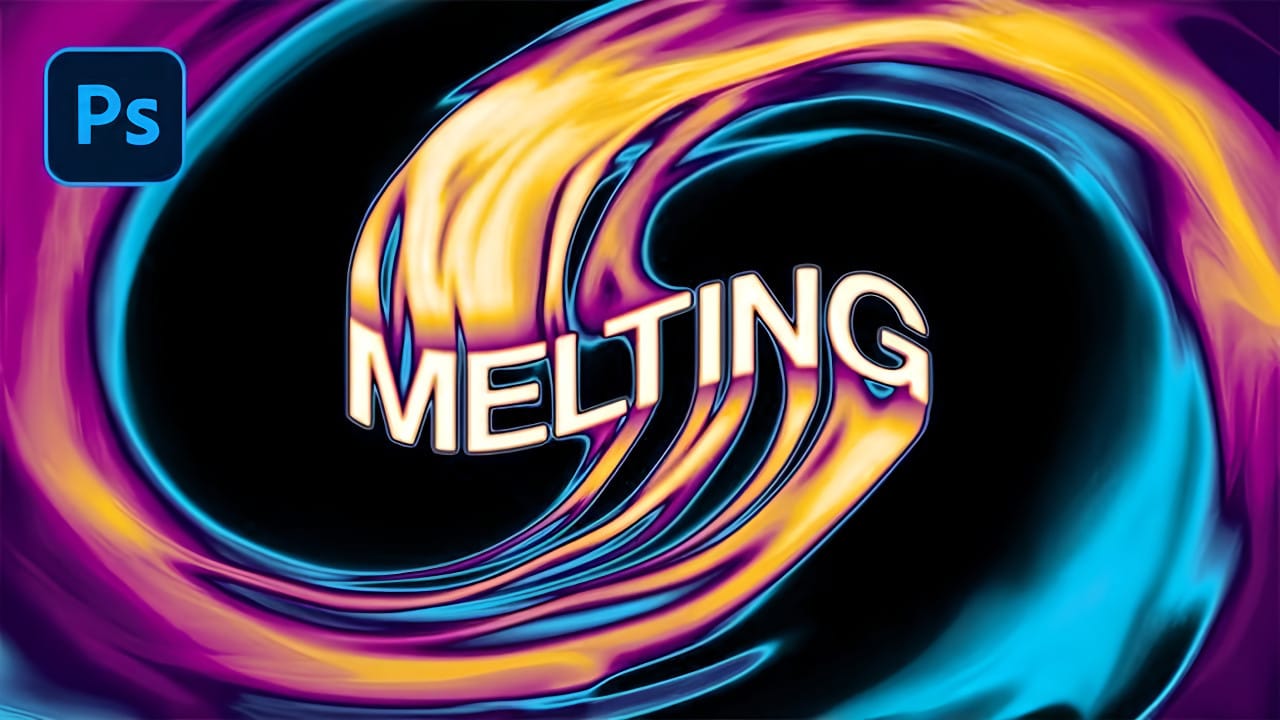
Create a Spinning Melting Fire Text Effect in Photoshop
Fire effects transform ordinary text into dynamic visual statements that command attention. The melting, flowing appearance mimics liquid fire or molten metal, creating depth and movement that static text simply cannot achieve.
This technique combines warping, gradient mapping, and strategic blurring to build layers of flowing color. The smudge tool becomes your primary instrument for sculpting those signature dripping effects that make text appear to melt before your eyes.
Watch the Tutorial
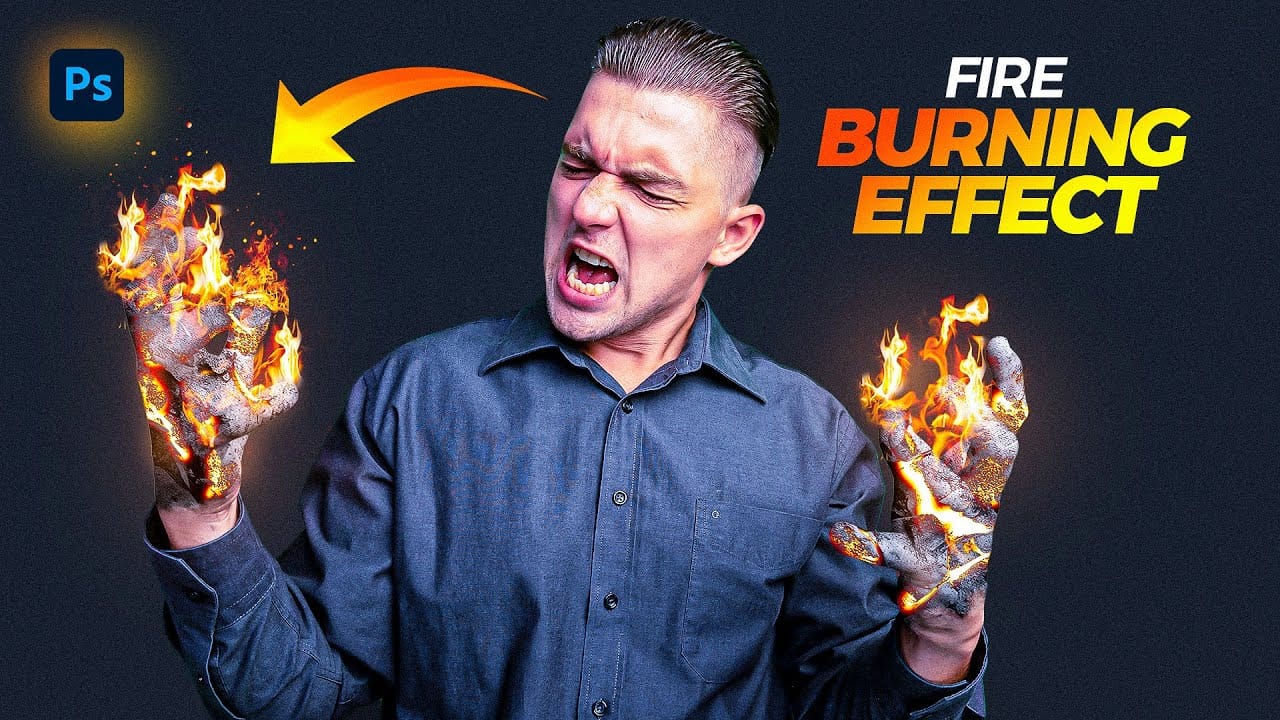
Create a Fire Burning Effect in Photoshop
Creating a fire-burning effect in Photoshop is a fascinating process that can enhance your images dramatically. Start by setting up a new file with dimensions of 1920 x 1080 pixels. Import the necessary images, which can be found in the provided link. Duplicate your main layer using Ctrl + J, then convert it to black and white through the Image Adjustments menu by selecting Hue/Saturation and removing all saturation.
Next, apply an inverted mask to the black and white layer. Use the brush tool
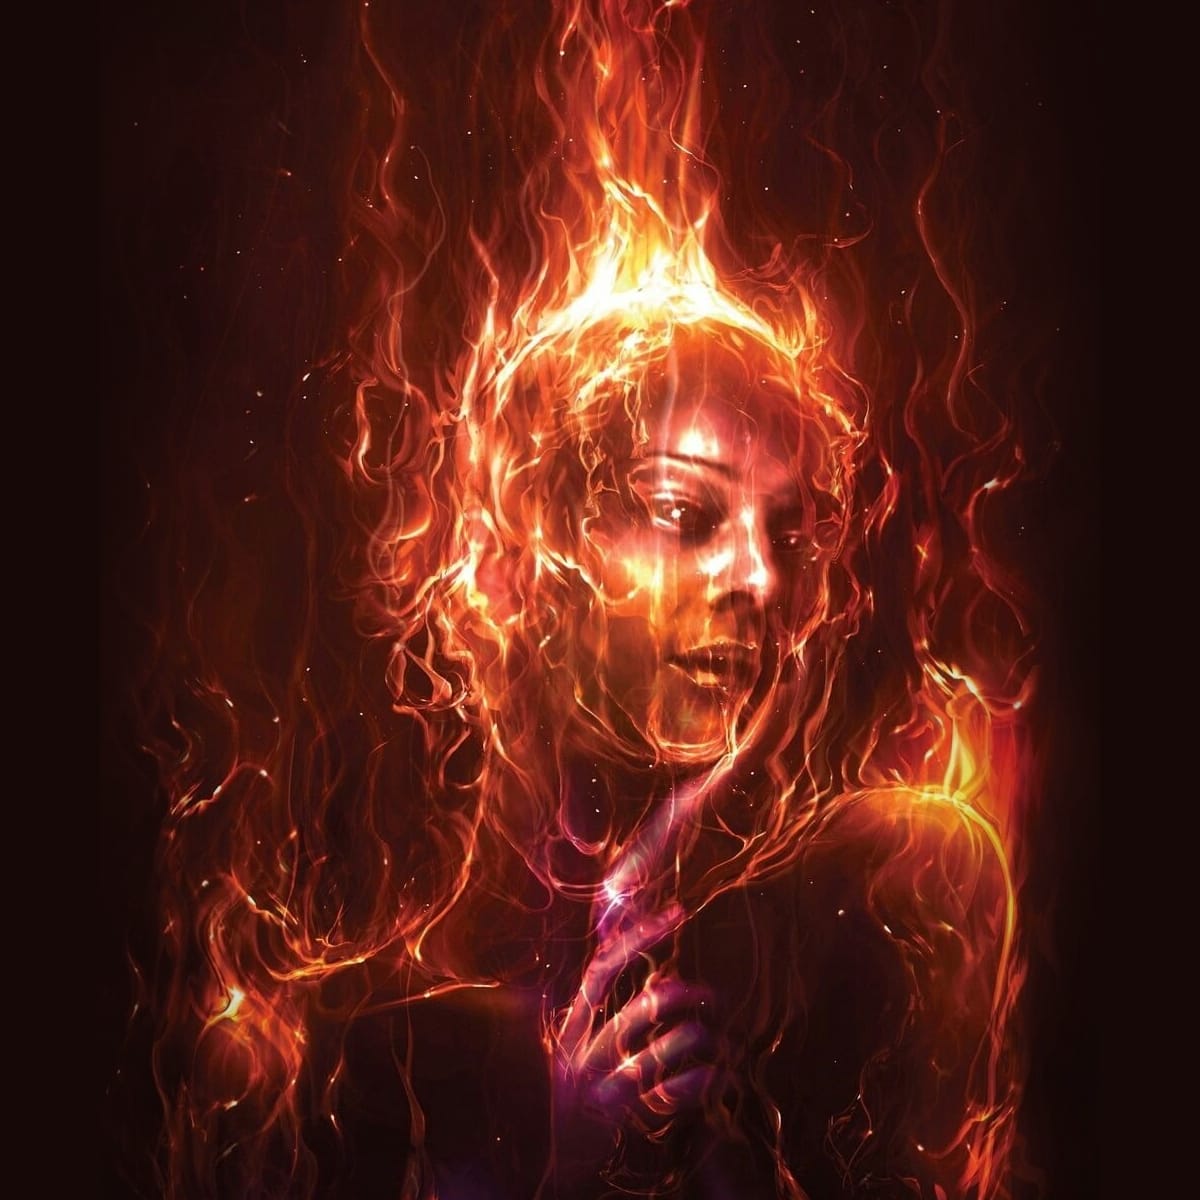
Apply a Burning Flames Effect to a Photo in Photoshop
In this tutorial by Neville D’Souza, you will learn how to take a simple model shot and transform it into a striking, dynamic piece of art that resembles a spitting, crackling beacon of fire. The tutorial guides you through the process using some of the most common tools available in Photoshop, showcasing techniques that allow you to create intricate and impressive effects.
The author meticulously explains each step, ensuring you can follow along without the need for third-party plug-ins. By th