Magic Smoke Text Effect in Photoshop

Magic Smoke Text Effect in Photoshop

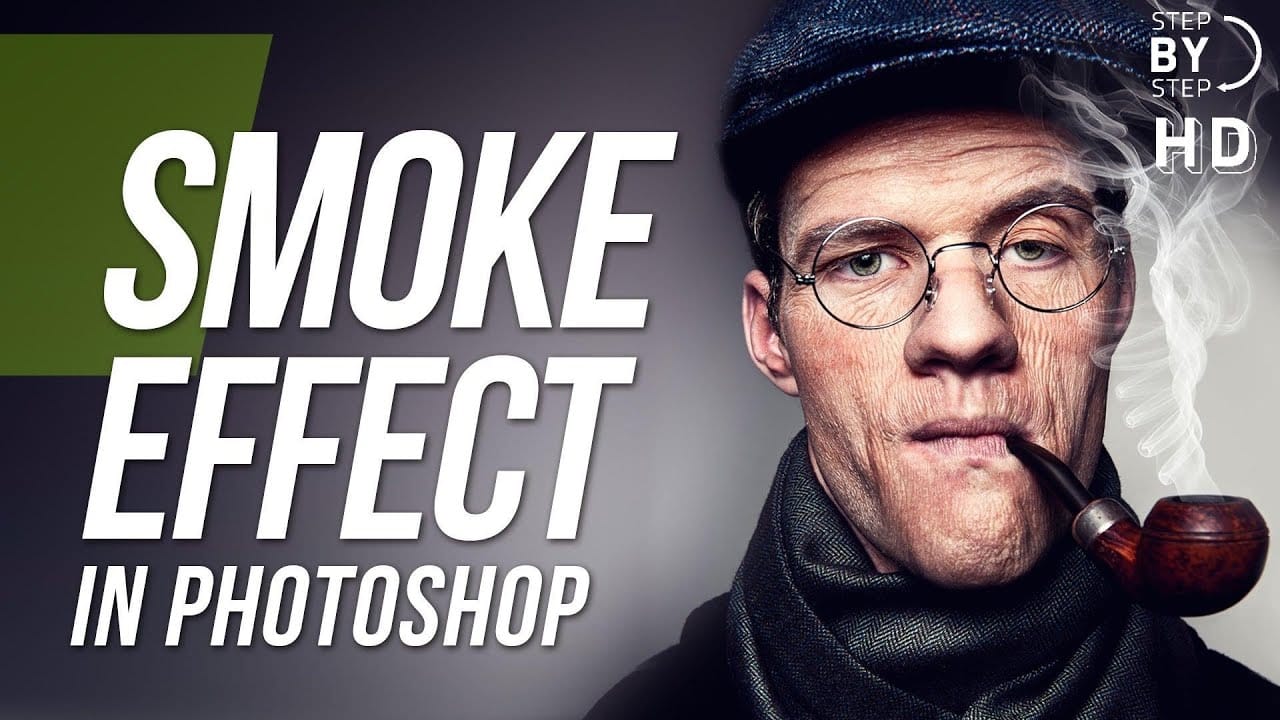
Infuse your text with a mysterious, ethereal glow, transforming ordinary words into captivating designs. This Photoshop tutorial reveals how to achieve a stunning magical smoke effect, making your typography appear as if it’s gently swirling with wisps of enchantment.

This guide provides a comprehensive walkthrough, showing you how to master intricate layering and blending techniques. You will learn to create a visually striking effect that brings your text to life with an otherworldly touch, perfect for captivating your audience.

Watch the Video

Video by Texturelabs. Any links or downloads mentioned by the creator are available only on YouTube

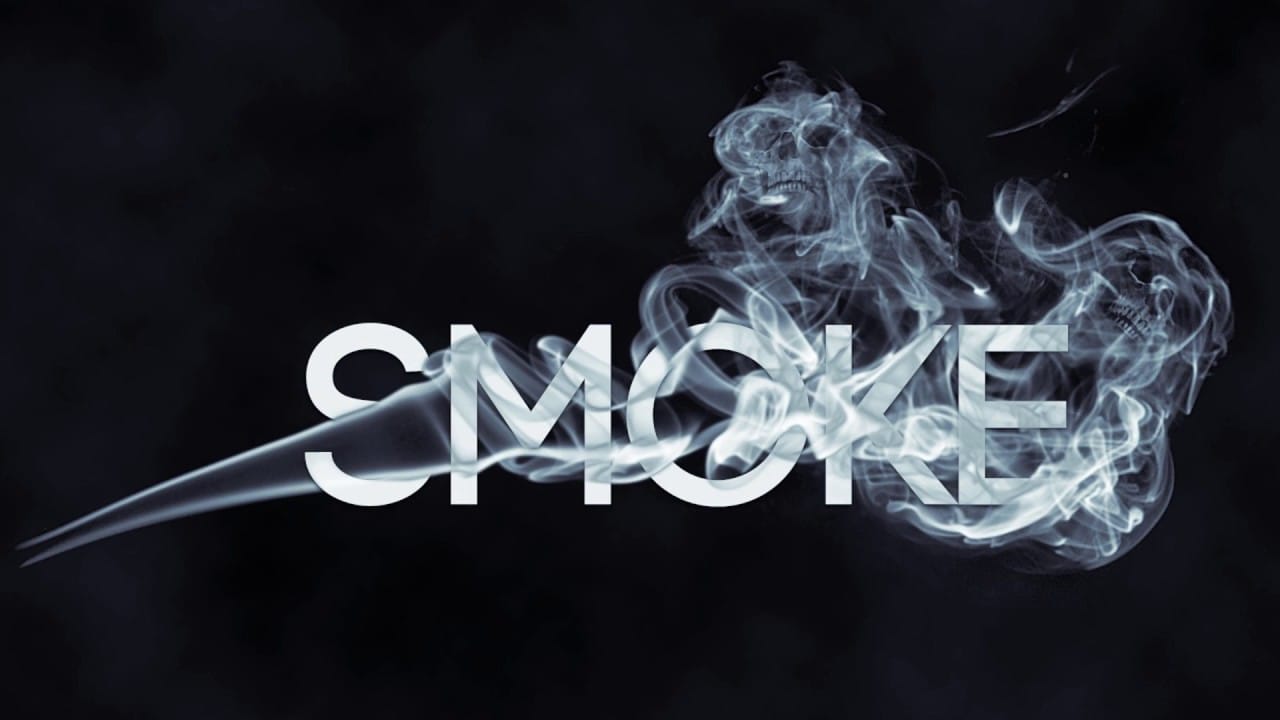
Exploring Non-Destructive Smoke Text Design in Photoshop

Creating an animated smoke text effect often seems to involve complex painting or manual manipulation. However, this method demonstrates a remarkably live and non-destructive approach, primarily utilizing Photoshop’s layer styles and blending modes. The technique relies heavily on a smoke texture to drive the entire visual, offering a flexible way to generate intricate details without permanent changes.

A key aspect is the clever use of the stroke effect with a gradient style, paired with a high-pass filter applied to the smoke texture. This combination, when blended with hard mix mode, generates the signature displaced, smoky edges. The process ensures that the text remains editable, allowing for easy adjustments and experimentation with different fonts or textures. This innovative workflow prioritizes flexibility and artistic freedom.

  • Live and non-destructive approach using layer styles.
  • Reliance on a smoke texture to drive the effect.
  • Stroke effect with gradient style for edge displacement.
  • High-pass filter and hard mix blending mode for unique textures.
  • The benefit of keeping text and effects editable.

Practical Tips for Magical Smoke Text Effects

  • Apply the stroke effect with a gradient fill type set to shape burst to generate the initial blurry edge, forming the basis for displacement.
  • Use a high pass filter on your smoke texture to isolate fine details and create even distribution of swirls before blending.
  • Combine a clipping mask with the hard mix blending mode to effectively displace text edges based on the underlying smoke texture.
  • Adjust Blend If sliders while holding the option key to smooth transitions and refine transparency in smoky elements.
  • Consider modifying a layer’s fill percentage instead of opacity when using blending modes like linear dodge for optimal results.

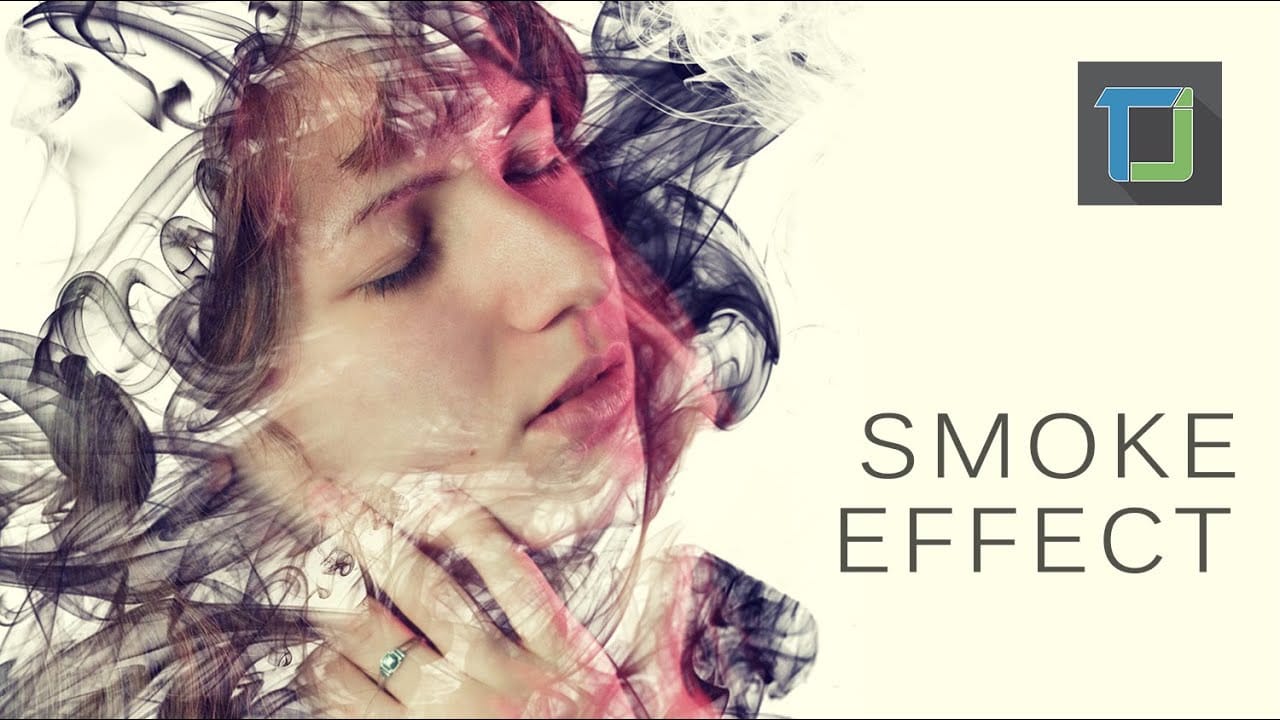
More Tutorials about Smoke Text Effects

Explore additional techniques and approaches for creating captivating smoke-themed designs in Photoshop.

Create a smoke effect in Photoshop
This step-by-step tutorial by RetutPro shows you how to produce a realistic plume of smoke emerging from a pipe. The tutorial walks you through the entire process, from setting up the initial layers to adding the finishing touches. You'll learn useful techniques like using brushes to shape the smoke, adjusting the opacity and blending modes, and incorporating lighting effects. By following along, you'll be able to create a visually striking smoke effect that can be used in a variety of design
Smoke text effect with skulls in Photoshop
In this Photoshop tutorial, you'll learn how to create a smoke text effect where smoke appears to be released over the letters. Using free brushes and other resources, the tutorial guides you through the steps to achieve this dynamic and ethereal effect. Additionally, the author includes a hidden or disguised skull within the design, subtly making a statement about the dangers of smoking. This tutorial not only teaches you how to create visually striking smoke effects but also incorporates a m
Making a smoke dispersion effect in photoshop
The author provides a straightforward tutorial on creating a smoke dispersion effect in Photoshop. The user is guided through the process of generating a face that appears to be made from smoke and enhancing it with vibrant colors to achieve a more professional-looking result. This tutorial is suitable for beginners, making it accessible to a wide range of Photoshop users. The author suggests that the tutorial is quite basic, indicating that even novice users will find it helpful. By following
Easy Smoke Dispersion Effect in Photoshop
This Photoshop tutorial from Visual-Pixels will show you how to create the dispersion effect in just five minutes. Begin by isolating the model from the background in your image. Duplicate the model onto a new layer and apply the Liquify filter to distort its shape. Conceal this layer and add a black mask to the top layer. Utilize white smoke brushes to paint over the mask, generating the dispersing smoke effect. Lastly, employ white brushes on the black layer to unveil the dispersion effect in

Get tutorials & freebies delivered to you.

Subscribe to the Photoshop Roadmap newsletter, a weekly roundup of new tutorials, insights and quality downloads, trusted by 6500+ readers.

You might also like

How to Create Textured Portrait Collages in Photoshop

Portrait collages open up creative possibilities that go far beyond traditional photo editing. By combining artistic filters, color manipulation, and texture mapping, you can transform ordinary portraits into striking visual compositions that blend photography with graphic design elements. This technique breaks down complex imagery into simplified color zones, then maps...

Time-Blending Photography: Combine Photos from Different Times of Day

Empty streets and dark buildings can ruin an otherwise perfect sunset shot. Time-blending photography solves this problem by combining the best elements from different times of day — the vibrant sky from golden hour with the dynamic light trails from nighttime traffic. This technique transforms static daytime or sunset scenes into...

Understanding White Balance in Photoshop: Temperature vs Tint Explained

White balance confusion ends here. Temperature and tint work differently to fix color casts, and knowing when to use each tool transforms how you correct photos. Photoshop's new Color and Vibrance adjustment layer finally brings these essential controls natively into the workspace, eliminating the need to jump into...

How to Remove Reflections and Glare from Glasses in Photoshop Using AI

Eyeglass glare can ruin an otherwise perfect portrait, obscuring the subject's eyes with bright reflections. Photoshop's AI tools now offer powerful solutions for removing even the most stubborn reflections while preserving natural eye details. This tutorial demonstrates proven techniques using multiple AI models and strategic masking...

How to Use Photoshop Curves Auto Options for Color Grading

Professional color grading transforms ordinary images into visually striking compositions with rich depth and atmosphere. Hidden curves auto options in Photoshop let you assign custom colors to shadows, midtones, and highlights for dramatic enhancement. This technique goes beyond basic adjustments to create cinematic looks that bring images to life with...

How to Remove Dark Eye Circles Using Frequency Separation in Photoshop

Dark under-eye circles can make portrait subjects look tired or unhealthy, even when they're not. Traditional brightening methods often create unnatural results or destroy important skin texture. This tutorial demonstrates frequency separation, a professional retouching technique that removes dark circles while preserving natural skin texture and realistic lighting...

You’ve successfully subscribed to Photoshop Roadmap
Welcome back! You’ve successfully signed in.
Great! You’ve successfully signed up.
Success! Your email is updated.
Your link has expired
Success! Check your email for magic link to sign-in.