Create Fun Colored Grid Photo Mosaics in Photoshop

Create Fun Colored Grid Photo Mosaics in Photoshop

Digital art enthusiasts often seek innovative ways to transform ordinary photographs into engaging visual experiences. One compelling technique involves creating a color-grid mosaic, which reinterprets an image through a structured pattern of colored squares.

This tutorial demonstrates how to construct such a mosaic in Photoshop, providing a flexible workflow that allows for easy photo replacement and creative color manipulation. Viewers will learn step-by-step methods to build the grid, apply selections, and introduce dynamic color variations across the image.

Watch the Video

Video by Blue Lightning. Any links or downloads mentioned by the creator are available only on YouTube

The Art and Technique of Grid-Based Mosaics

Mosaics, traditionally crafted from small pieces of material, have a rich history in art, creating larger images from fragmented components. In digital art, this concept translates into grid-based designs where pixels or predefined squares become the building blocks. This approach emphasizes structure and geometric precision, transforming photographic realism into an abstract, patterned representation.

The use of a grid provides a foundational framework, allowing for systematic division and manipulation of an image's color and form. By assigning distinct colors or tonal shifts to individual grid cells, artists can achieve a dynamic interplay between the original photograph's content and the new, stylized interpretation. This method offers a unique perspective on image deconstruction and reconstruction, blurring the lines between photography and graphic design.

Practical Tips for Creating Photo Mosaics

  • Set up a precise grid: Utilize Photoshop's "New Guide Layout" (CC+) or "Guides, Grids & Slices" (earlier versions) to establish a 10x10 grid for consistent mosaic squares.
  • Efficiently select grid lines: Employ the "Single Row Marquee Tool" and "Single Column Marquee Tool" with "Add to Selection" to quickly select all grid lines for filling.
  • Manage layers for flexibility: Create a separate "Grid" layer and use Lock Transparent Pixels to change grid color without affecting transparency, ensuring non-destructive edits.
  • Colorize segments with Adjustment Layers: Use Hue/Saturation adjustment layers with layer masks derived from Magic Wand selections to selectively colorize grid squares, maintaining original tonal values with Color blend mode.
  • Simplify photo replacement: Design the mosaic so that the base photo can be easily swapped out and repositioned without redoing the entire grid or colorization effects.

Explore more creative techniques and effects to enhance your images in Photoshop.

Create a stunning photo mosaic portrait in Photoshop
In this Photoshop tutorial by Marty Geller from Blue Lightning Tv, you will learn how to create a photo mosaic in Photoshop. There are many free applications that can be used to create a photo mosaic effect instantly and easily. But the advantage of using Photoshop is that it is more flexible in arranging the photos and the size of the mosaic pattern. Watch tutorial
35 Creative Portrait Effects Photoshop Tutorials
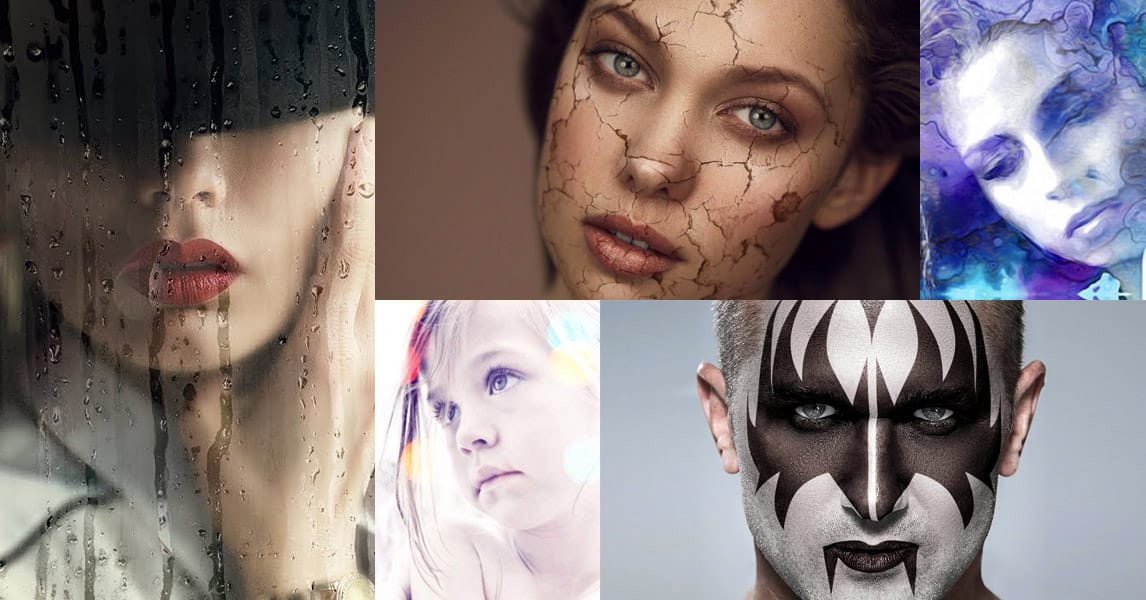
When it comes to mind-bending portrait creativity, nothing rivals Photoshop's capabilities. This curated list elevates portraiture far beyond basic filters and effects, exploring 35 of the most innovative and original Photoshop techniques out there. From seamless double-exposures blending humans and nature, to hyperreal pencil renders, to surreal reality-bending manipulations - it's an expansive showcase of artistic frontiers. These tutorials offer step-by-step guidance from elite Photoshop art
Beautiful Photo Frames and Borders Photoshop Tutorials
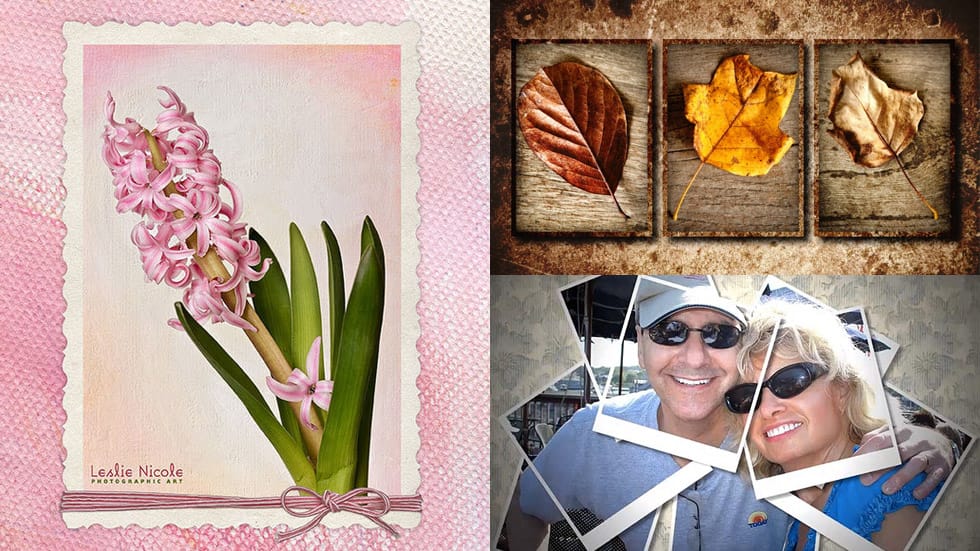
Photo Effects has become one of the most popular topics in Photoshop today. Many users find themselves eager to add that final touch to their images after applying various effects. One effective way to enhance photos is by incorporating frames, which can elevate the overall aesthetic. In this article, you will discover a selection of beautiful frames, edges, and borders that can transform your images. Each tutorial offers step-by-step guidance, making it easy for you to apply these artistic ele
How to Color, Brighten and Sharpen Eyes in Photoshop
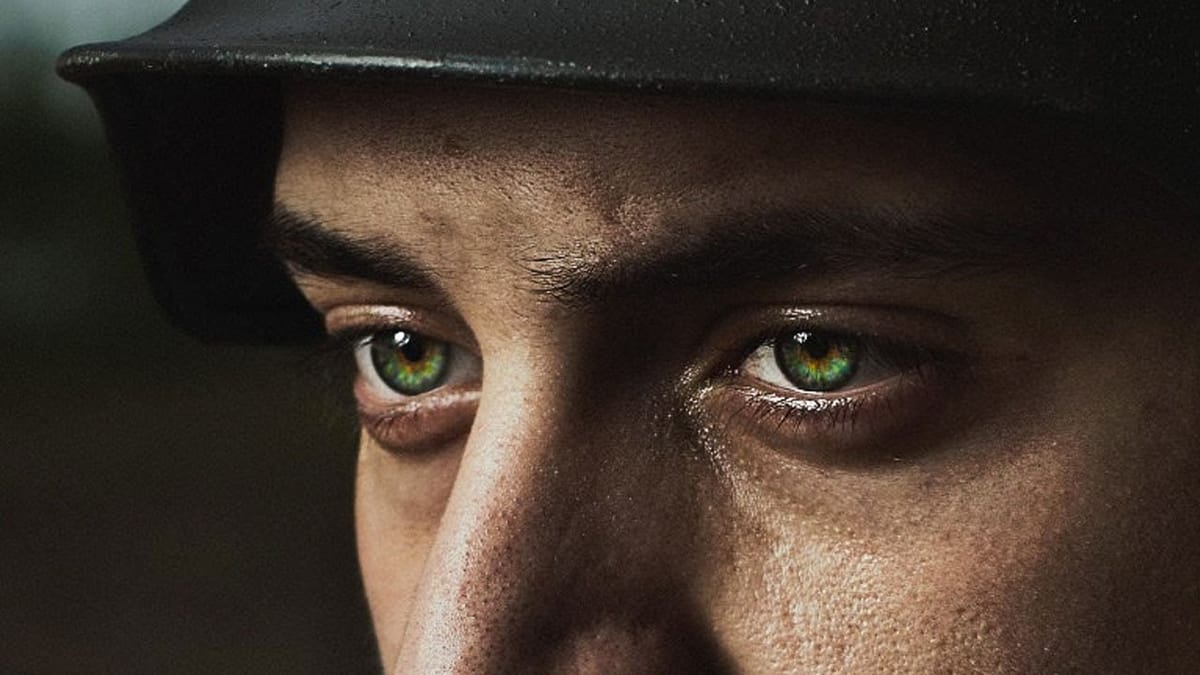
In this tutorial by Aaron Nace from Phlearn, learn how to enhance eyes in Photoshop to make them captivating and sharp. Techniques include coloring the eyes by sampling natural hues and adjusting lightness and saturation, using blending modes like “Soft Light” or “Overlay” for a natural look, and softening edges

Get tutorials & freebies delivered to you.

Subscribe to the Photoshop Roadmap newsletter, a weekly roundup of new tutorials, insights and quality downloads, trusted by 6500+ readers.

You might also like

Professional Portrait Retouching with the B.S.T. Method in Photoshop

Professional portrait retouching requires artistic choices that automated tools can't make. The B.S.T. method breaks retouching into three focused steps: removing blemishes with precision, smoothing skin while preserving natural texture, and equalizing skin tones throughout the image. This systematic approach gives you complete control over every...

Create Motion Blur Light Effects in Photoshop

Transform ordinary portraits into dynamic, cinematic images by combining path blur effects with creative background textures. This technique creates the illusion of camera movement while maintaining focus on key elements like the subject's eyes, resulting in professional-looking motion blur effects that add energy and visual interest to static...

How to Paint Realistic Jewelry on Portraits in Photoshop

Adding painted jewelry to portraits transforms ordinary photos into fantasy portraits with ornate accessories that never existed. This digital painting technique uses careful layering, proper lighting, and realistic shadows to create convincing rings, earrings, and decorative headpieces. The method combines basic brush work with advanced blending techniques to build up...

How to Sharpen Images Using the High Pass Filter in Photoshop

The High Pass filter method remains one of the most versatile sharpening techniques in Photoshop, offering precise control over which image areas receive enhancement. This non-destructive approach works by identifying edge details and allowing you to selectively apply sharpening exactly where it's needed most. Unlike automated sharpening tools,...

How to Find Missing Actions in the New Photoshop Actions Panel

The redesigned Actions panel in Photoshop can catch users off guard when their custom actions seem to disappear. With the new tabbed interface, your previously created actions are still there—they're just located in a different tab than before. Understanding the new layout will help you quickly access...

Fast Portrait Retouching: Remove Stray Hairs, Clothing Wrinkles, and Fix Backgrounds

Every portrait photographer knows the feeling: you've captured a beautiful shot, but stray hairs, wrinkled clothing, and messy backgrounds turn editing into hours of tedious work. These common retouching challenges can drain your time and energy, especially when dealing with high-volume projects or tight deadlines. This tutorial demonstrates...

You’ve successfully subscribed to Photoshop Roadmap
Welcome back! You’ve successfully signed in.
Great! You’ve successfully signed up.
Success! Your email is updated.
Your link has expired
Success! Check your email for magic link to sign-in.