Learn how to make a Pop Art portrait from a photo in Photoshop

Learn how to make a Pop Art portrait from a photo in Photoshop

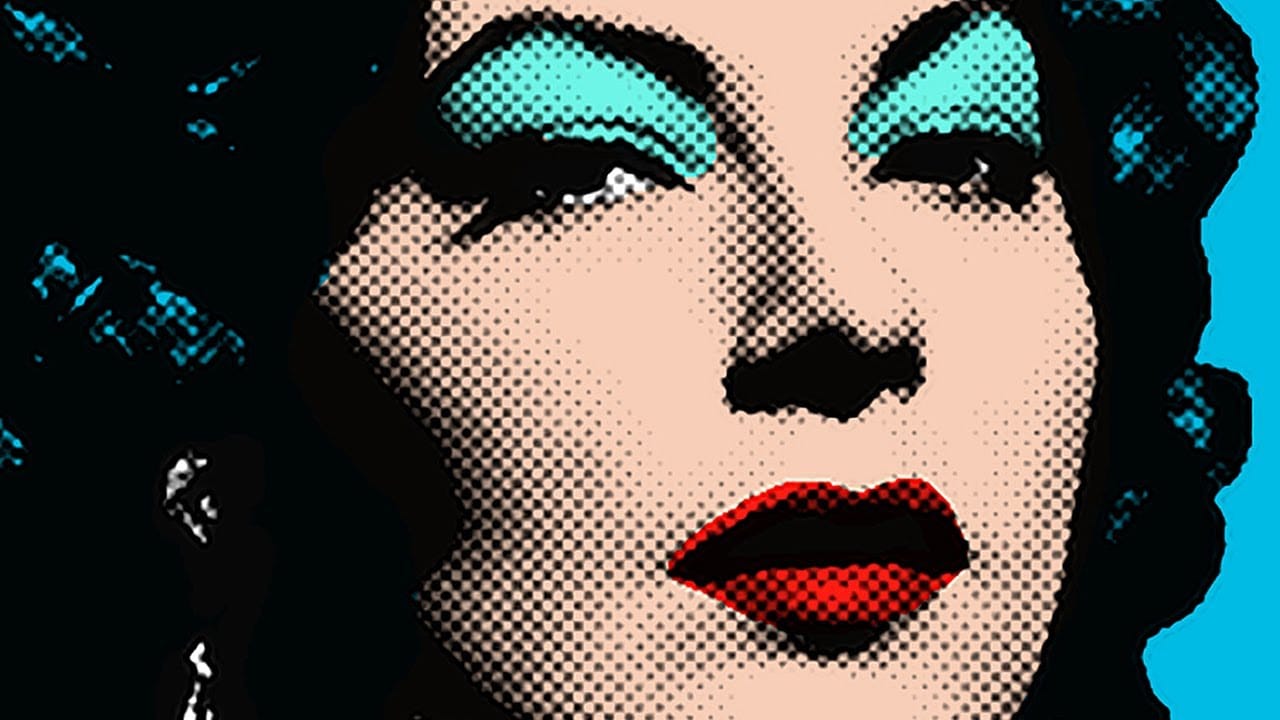
This tutorial explores a simplified method for transforming an ordinary photograph into a vibrant pop art portrait. It draws inspiration from the iconic celebrity silkscreens popularized by Andy Warhol, offering a distinct aesthetic that combines photography with graphic art.

Viewers will learn efficient Photoshop techniques to convert a photo into a halftone dot pattern, isolate the subject, and apply bold, flat colors, ultimately creating a striking visual piece reminiscent of classic pop art.

Watch the Video

Video by Blue Lightning. Any links or downloads mentioned by the creator are available only on YouTube

The Enduring Appeal of Pop Art Portraits

Pop art emerged in the 1950s and 60s, challenging traditional fine art by incorporating elements from popular culture, advertising, and mass media. Artists like Andy Warhol famously utilized techniques such as silk-screening to reproduce images of celebrities and everyday objects, democratizing art and making it accessible. This movement often employed vibrant colors and repetitive imagery to comment on consumerism and celebrity culture.

The distinctive aesthetic of pop art portraits, particularly those using halftone patterns, translates well into digital mediums like Photoshop. Halftone dots, originally used in printing to simulate continuous tone through varying sizes of dots, create a graphic, almost comic-book-like appearance. This technique allows for a stylized representation of a subject, emphasizing form and contrast rather than subtle detail.

Creating such portraits involves a blend of photographic manipulation and graphic design principles. The process often begins with simplifying an image to its core elements, then adding a bold, graphic layer of color and texture. This approach not only transforms the original photo but also imbues it with the playful, yet often critical, spirit of the pop art movement.

Practical Tips for Creating Pop Art Portraits

  • Optimize Image Size: Before applying filters, resize your photo to a width of 500 pixels at 72 pixels per inch for optimal filter performance.
  • Enhance Contrast with Auto-Tone: Use Ctrl/Cmd + Shift + L to automatically adjust tones, making dark areas black and light areas white for a strong base.
  • Isolate Subject with Quickmask: Employ the Quickmask mode (activated by pressing Q) with the Pencil tool to accurately select the subject, ensuring a clean separation from the background.
  • Refine Halftone Pattern: After applying the Halftone Pattern filter, use Smart Sharpen (Amount 500%, Radius 1 pixel) to achieve crisp, well-defined dots in your portrait.
  • Layer Colors Strategically: Apply flat colors for the background, skin, and other features on separate layers below the halftone layer, using the "Multiply" blend mode on the halftone layer for effective overlay.

Explore more creative techniques for transforming your photos into unique artistic expressions.
How to make a stylish pop art portrait from a photo in Photoshop
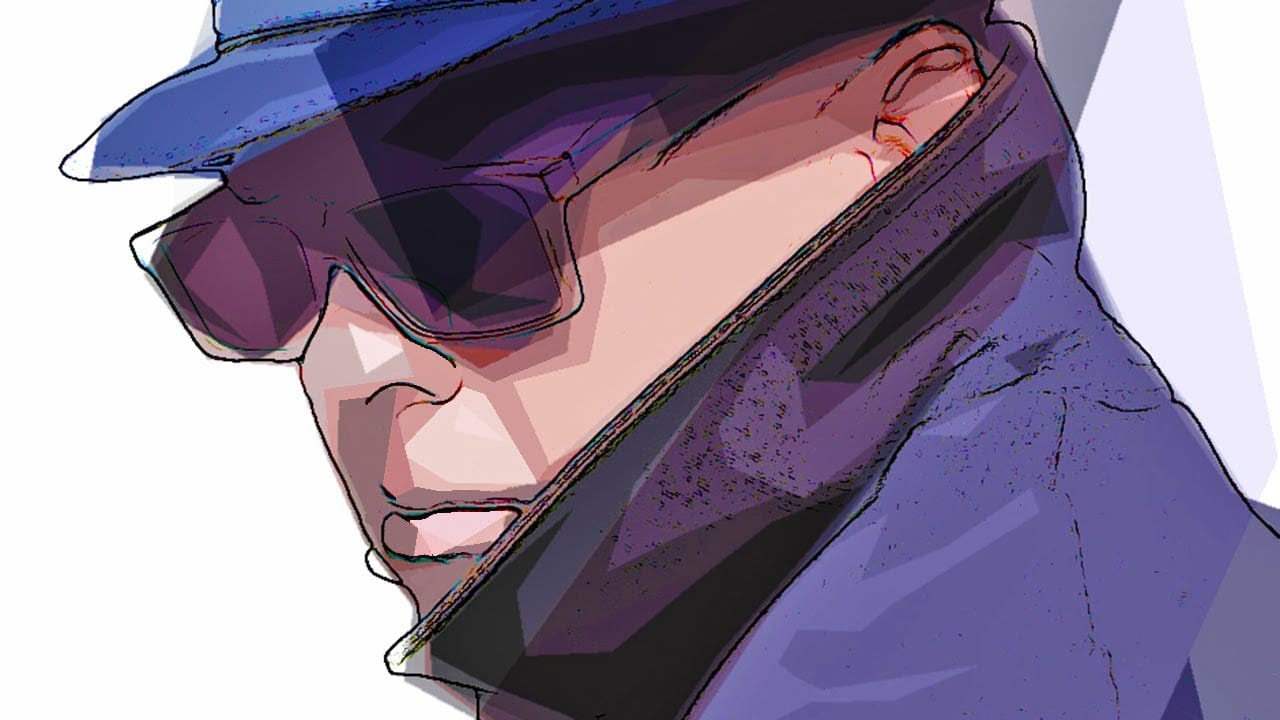
In this Photoshop tutorial by Marty Geller from Blue Lightning Tv, you will learn how to create a stylish, pop art portrait from a photo and how to replace it with another without having to redo the effects. Basically, the author not only will show you how to create an interesting artistic effect, but also how to create a template for any photo you insert in the layered file. Watch tutorial
Create Paint Splatter Pop Art Portraits from Photos in Photoshop
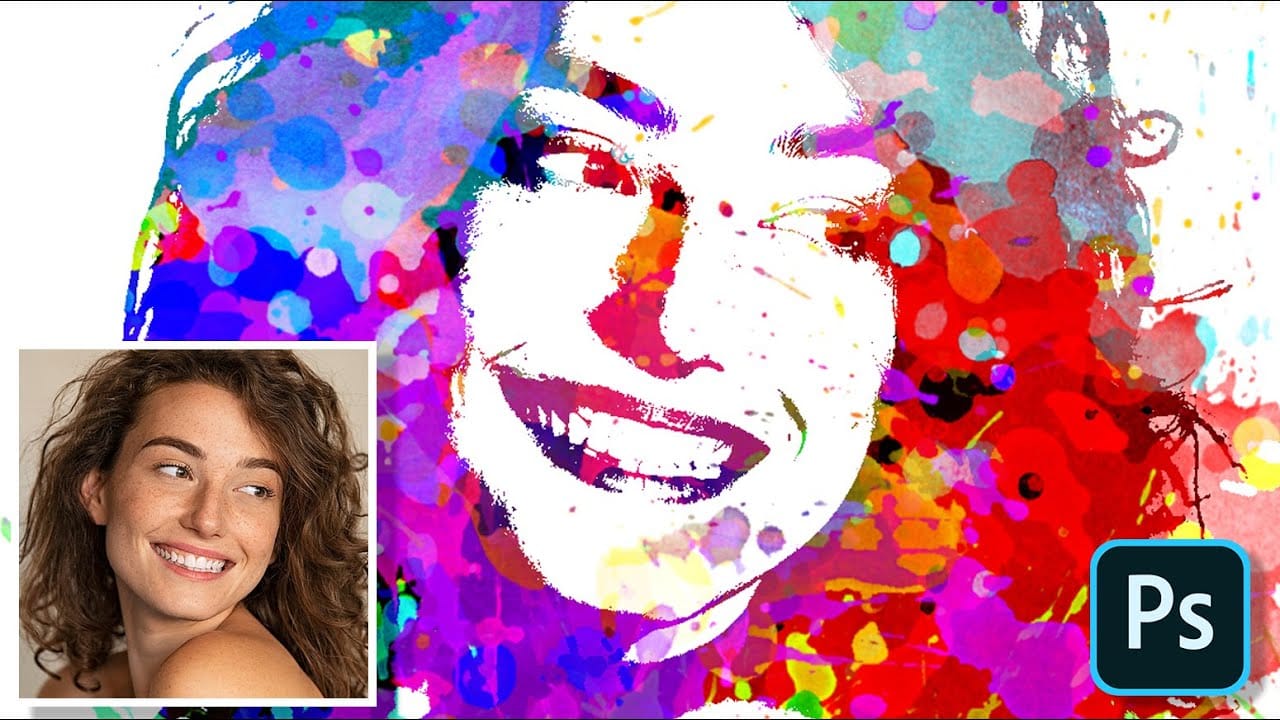
This tutorial provides a straightforward guide to transforming ordinary photos into vibrant pop art portraits with a paint splatter effect. Marty Geller from Blue Lightning TV shares his techniques, making it easy for anyone to follow along. You will learn how to manipulate colors and textures, allowing your creative vision to come to life. The step-by-step instructions help break down the process, ensuring you can achieve impressive results even if you are new to Photoshop. By the end of the
Create a Typographic Portrait in Photoshop
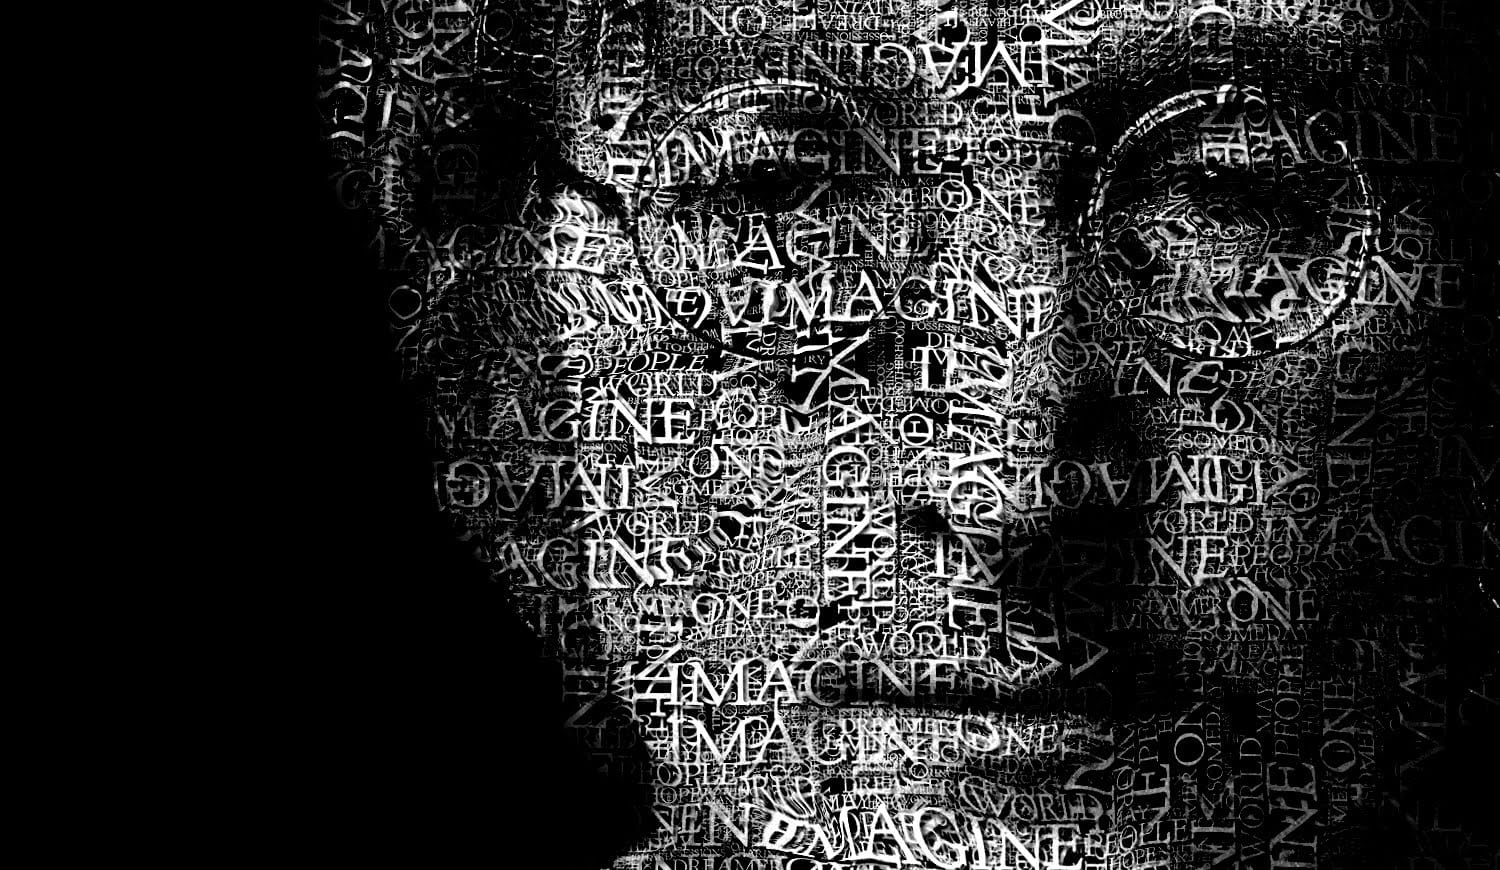
This Photoshop tutorial by Blue Lightning TV takes you through crafting a stunning portrait built entirely from words. Learn to prep your photo, create a text cloud filled with the subject's special words, and position and manipulate the text to perfectly follow the contours of the face. The video guides you through using displacement maps, smart objects, and adjustment layers to achieve a cohesive and personalized final image. It's a creative twist on portraiture, perfect for adding a unique t
Create a creative typographic portrait in Photoshop
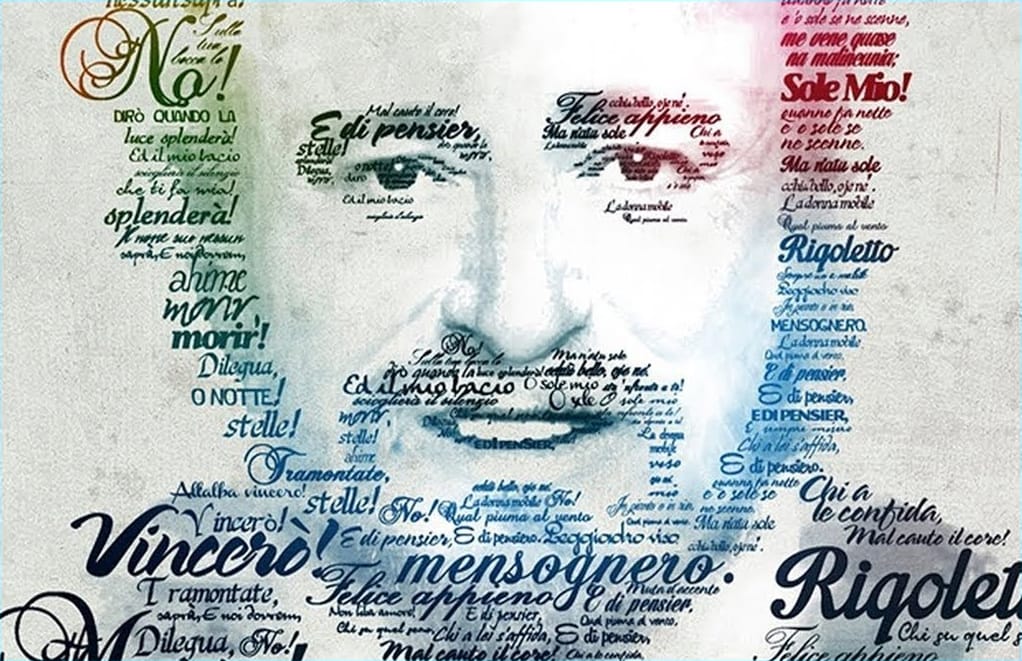
This tutorial by Gareth David, guides you through creating a typographic portrait of Pavarotti in Adobe Photoshop, divided into four main stages: preparation, creating a type base, type positioning, and color blending. The preparation stage involves gathering a subject image, canvas texture, color image, and text, along with downloading necessary fonts. Next, you arrange the prepared text in Photoshop to form the portrait. The final stage focuses on blending, using a type mask and color layer t

Get tutorials & freebies delivered to you.

Subscribe to the Photoshop Roadmap newsletter, a weekly roundup of new tutorials, insights and quality downloads, trusted by 6500+ readers.

You might also like

Create a Liquid Gel Logo Effect in Photoshop

Liquid gel effects transform flat logos into dimensional, glossy designs that appear to bubble and flow. This technique uses multiple layer styles and strategic duplication to build depth, creating surfaces that catch light like thick, viscous liquid. The method combines gradient overlays, bevel effects, and inner glows across several duplicated...

How to Use Photoshop's AI Sharpen Filter and When It's Worth the Cost

Photoshop's new AI Sharpen filter promises one-click sharpening powered by advanced algorithms. This tool uses technology from Topaz Labs to enhance image details without manual adjustments, but it comes with a significant cost in credits. Understanding when to use this automated approach versus traditional methods like the High...

How to Use Harmonize and Generative Upscale Tools in Photoshop

Creating realistic photo composites requires matching lighting and color between different images—a traditionally time-consuming process. Two new AI-powered tools in Photoshop solve these challenges: Harmonize automatically adjusts lighting and shadows to blend subjects seamlessly into backgrounds, while Generative Upscale enlarges small images without losing detail. These tools work together...

How to Create Convincing Scale Effects in Photoshop Composites

Creating believable scale effects requires more than simply resizing objects—it demands understanding how light, perspective, and atmospheric conditions change with distance. When tiny subjects appear massive or giant objects seem miniature, viewers should feel the illusion is completely natural. This technique combines careful attention to lighting consistency, depth cues,...

How to Flip Images Horizontally and Vertically in Photoshop

Flipping images is a fundamental technique that can dramatically change the composition and impact of your photos. Whether you need to correct the orientation of a subject, create mirror effects, or simply improve the visual flow of your design, knowing how to quickly flip images both horizontally and vertically gives...

How to Use Nano Banana Pro in Photoshop for Background Replacement and Scene Changes

Nano Banana Pro transforms how you place subjects into new environments in Photoshop. This advanced AI model maintains perfect subject likeness while seamlessly integrating them into any background you can imagine. The tool excels at matching lighting, preserving facial features, and even adapting clothing to complement new scenes, all through...

You’ve successfully subscribed to Photoshop Roadmap
Welcome back! You’ve successfully signed in.
Great! You’ve successfully signed up.
Success! Your email is updated.
Your link has expired
Success! Check your email for magic link to sign-in.