Stop Ruining Colors with Curves With This Photoshop Trick Instead

Stop Ruining Colors with Curves With This Photoshop Trick Instead

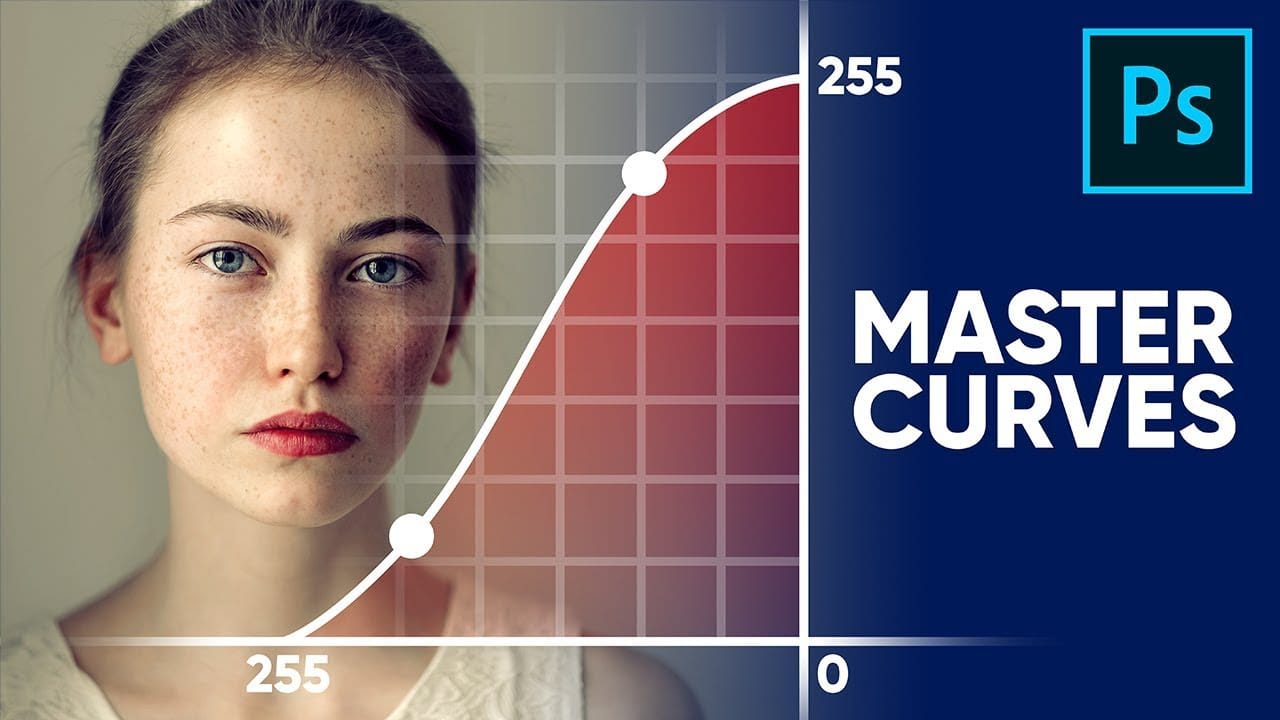
Using Curves adjustments in Photoshop often creates unwanted color shifts that can make images look oversaturated or unnatural. While the traditional solution involves switching to Luminosity blend mode, this approach tends to drain the vibrancy from your photos, leaving them flat and lifeless.

This tutorial reveals a superior technique using Camera Raw's refined saturation control that gives you precise command over color intensity while maintaining natural-looking results. You'll discover how to achieve the perfect balance between contrast and color saturation that standard Curves adjustments can't deliver.

Watch the Tutorial

Video by PiXimperfect. Any links or downloads mentioned by the creator are available only on YouTube

Understanding Color Behavior in Curves Adjustments

The Curves adjustment layer affects both luminosity and chromaticity simultaneously, which explains why images often become oversaturated when you increase contrast. This happens because the tool doesn't distinguish between brightness values and color intensity—adjusting one inevitably impacts the other.

The standard workaround involves changing the blend mode to Luminosity, but this creates its own problems. While it preserves the original color saturation levels, it often results in images that appear dull or lacking in color depth. The Camera Raw filter offers a more sophisticated approach through its refined saturation slider, which provides granular control over how much the color intensity should be affected by your curve adjustments.

This technique works particularly well for portrait photography, landscape images, and any situation where maintaining natural skin tones or accurate color representation is crucial. The ability to dial in the exact amount of saturation change gives you creative flexibility that traditional methods simply can't match.

Essential Tips for Color-Controlled Curve Adjustments

  • Convert your layer to a Smart Object before applying Camera Raw filter to maintain non-destructive editing capabilities
  • Use the refined saturation slider at around 50% as a starting point, then adjust based on your image's specific needs
  • Access the RGB curve panel in Camera Raw rather than the default parametric controls for precise point adjustments
  • Target specific color ranges with Hue/Saturation adjustments if you need additional fine-tuning after applying the Camera Raw technique
  • Compare your results by toggling the filter on and off to ensure you're achieving the desired balance between contrast and natural color

More Tutorials About Curves and Color Correction

Explore these related resources to expand your color adjustment skills in Photoshop.

Curves vs Levels in Photoshop: Learn The Difference
In this Photoshop tutorial, you will learn the key differences between using Curves and Levels for image adjustment. Aaron Nace from Phlearn provides a clear and effective approach to enhance your photos and graphics. Throughout the lesson, techniques like the Super Zoom feature are highlighted, allowing you to upscale graphics without losing resolution, ensuring that your work retains high quality. You will also discover the benefits of applying Gradient Maps for better color matching, which c
Master Curves from Start to Finish in Photoshop
This insightful tutorial from PiXimperfect provides a comprehensive guide to mastering the powerful Curves tool in Photoshop. They guarantee that after watching this video, viewers will become true masters of the Curves function. The tutorial delves into the fundamental concepts behind Curves and explores the limitless applications of this versatile tool. Whether it's stylizing images or matching colors, the author demonstrates how Curves can be a game-changer in the world of digital imaging.
The Secret to Eye-Popping Color Overlays in Photoshop!
In this insightful tutorial, TextureLabs unveils a powerful technique for creating vibrant and striking color overlays in Photoshop. The focus is on leveraging fundamental color theory principles to produce gradient maps that truly stand out. You'll start by learning how to apply color overlays and tints that add a unique flair to your designs. The tutorial walks you through a method for crafting gradient maps that not only enhance the visual appeal of your images but also give them a captivati
Remove color cast from your photos in Photoshop
In this tutorial, Michael Woloszynowicz demonstrates how to effectively remove color cast from photos in Photoshop, particularly addressing an overall orange tint common in portraits. Instead of the usual Color Balance method, Michael introduces a more nuanced technique involving the creation of a new group called Offset. Within this group, layers are created and filled with sampled colors from the photo's highlight and shadow areas. By adjusting these layers' blending modes and opacities, the u

Get tutorials & freebies delivered to you.

Subscribe to the Photoshop Roadmap newsletter, a weekly roundup of new tutorials, insights and quality downloads, trusted by 6500+ readers.

You might also like

Complete Photoshop Editing Workflow: 5 Steps from Raw to Polished

Photoshop offers endless possibilities for photo enhancement, but many photographers never move beyond basic adjustments because the software feels overwhelming. This comprehensive workflow breaks down photo editing into five manageable stages that work consistently across different photography styles. The systematic approach covers everything from initial raw processing to advanced lighting...

Photoshop Workspace Basics: Navigation, Zooming, and Essential Interface Elements

Photoshop's interface can feel overwhelming when you first open the program. Dozens of panels, tools, and menus compete for attention, making simple tasks feel complicated. This tutorial breaks down the essential workspace elements and teaches fundamental navigation skills that form the foundation of efficient Photoshop work. Watch the...

How to Restore Old Damaged Photos Using Nano Banana in Photoshop

Old family photos with scratches, tears, and missing sections can seem beyond repair. Google's Nano Banana AI model, now integrated into Photoshop, makes full restoration possible in minutes rather than hours. This powerful tool excels at maintaining facial characteristics while automatically filling in damaged areas and adding realistic...

How to Get Higher Quality Results from Photoshop's Generative Fill Tool

Photoshop's Generative Fill creates impressive AI extensions, but the results often look blurry and pixelated when viewed at full size. This quality limitation makes many AI-generated areas unusable for printing or large displays. This technique shows how to work around the 1024x1024 pixel quality limit to create much...

How to Use Photoshop's Liquify Tool for Non-Destructive Portrait Retouching

Clothing wrinkles, hair that lacks volume, and awkward fabric bunching can distract from an otherwise great portrait. Photoshop's Liquify tool offers a powerful solution for smoothing out these issues while preserving the natural look of your subject. This tutorial demonstrates how to use the Liquify tool non-destructively with...

You’ve successfully subscribed to Photoshop Roadmap
Welcome back! You’ve successfully signed in.
Great! You’ve successfully signed up.
Success! Your email is updated.
Your link has expired
Success! Check your email for magic link to sign-in.