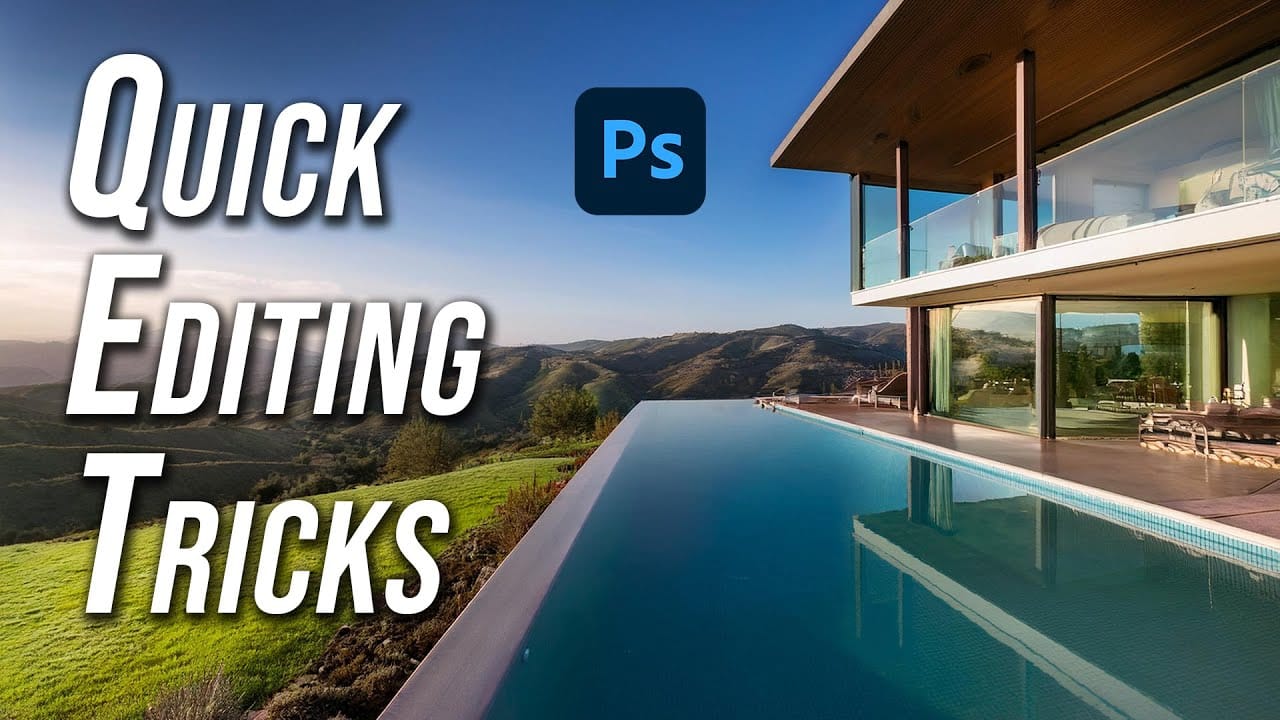
Elevating real estate photography requires precision in post-production. Applying specific Photoshop techniques can dramatically improve image quality and accelerate your editing process. Many powerful features remain underutilized, yet offer significant benefits for property visuals.
This tutorial highlights five key Photoshop techniques, often overlooked, that are particularly effective for real estate images. Learn how to achieve a polished look and enhance critical details, ensuring your photos capture properties in their best light.
Watch the Video
Beyond Basic Adjustments: Mastering Specific Selections and Non-Destructive Editing
In real estate photography, achieving perfection often means going beyond standard exposure and color corrections. Specific challenges arise, such as isolating complex architectural elements like ceilings, which might be obstructed by light fixtures. Modern Photoshop tools, leveraging artificial intelligence, simplify these intricate selections, allowing editors to target areas with remarkable precision, something often difficult with traditional methods.
Professional editing workflows prioritize non-destructive techniques. This approach ensures that original image data remains untouched, allowing for endless revisions and adjustments without quality loss. Utilizing dedicated layers for specific fixes, such as a 50% gray layer for localized light adjustments or blank layers for object removal, exemplifies this principle. This method grants unparalleled control and flexibility throughout the post-production process.
Furthermore, efficiency is paramount in high-volume real estate work. Implementing streamlined practices, like consolidating removal tasks or understanding keyboard shortcuts for selections, can significantly reduce editing time. These seemingly small optimizations accumulate, contributing to a faster, more effective workflow that directly impacts productivity.
Practical Photoshop Tips for Real Estate Photos
- Utilize the Object Selection tool in Lasso Mode (with Object Finder off) to accurately select complex areas like ceilings obstructed by lamps, streamlining initial selections.
- Refine existing selections by holding Shift to add or Alt/Option to subtract areas, quickly adjusting the selection boundary for various tools.
- Apply localized lighting adjustments non-destructively by creating a new 50% gray layer set to Overlay blend mode, then using the Dodge or Burn tools.
- Execute object removal on a blank layer with the Remove tool (ensuring Sample All Layers is checked), allowing for non-destructive edits and bulk removal for efficiency.
- Visualize masks instantly by Alt/Option-clicking for full-screen view, Ctrl/Command-clicking for marching ants, or Shift-clicking to temporarily disable the mask.
More Tutorials about Photoshop for Real Estate Photography
Expand your knowledge with these additional resources on Photoshop techniques and real estate photography best practices.


