5 Essential Photoshop Techniques for Better Portrait Editing

5 Essential Photoshop Techniques for Better Portrait Editing

Portrait editing often feels overwhelming, especially when trying to balance natural-looking results with professional polish. Many photographers struggle with where to start and which adjustments will have the biggest impact on their images without making them look over-processed.

This tutorial covers five fundamental Photoshop techniques that will immediately improve any portrait. From creating better subject focus to color correction and skin retouching, these methods provide a solid foundation for efficient portrait workflows that deliver consistent, professional results.

Watch the Tutorial

Any links or downloads mentioned by the creator are available only on YouTube

Understanding Visual Hierarchy in Portrait Photography

Successful portrait editing revolves around directing the viewer's attention through strategic use of light, contrast, and color. The human eye naturally gravitates toward brighter areas, warmer tones, and sharp details, making these elements powerful tools for creating compelling compositions.

Modern Photoshop features like Camera Raw's AI-powered subject masking have revolutionized how quickly editors can isolate and enhance specific areas of a portrait. Combined with traditional techniques like curves adjustments and selective color grading, these tools allow for precise control over the visual flow of an image.

The key principle behind effective portrait enhancement is subtlety. Each adjustment should feel natural and support the overall mood of the photograph rather than calling attention to itself.

Essential Portrait Enhancement Techniques

  • Use Camera Raw's subject masking to quickly separate your subject from the background, then apply different exposure and color adjustments to each area for better visual separation
  • Create catchlight enhancement with a curves adjustment layer and inverted mask—paint white on the opposite side of existing catchlights to add depth and life to the eyes
  • Fix color casts in skin tones using Hue/Saturation adjustment layers targeted to specific color ranges, particularly addressing greenish tints that commonly appear in portraits
  • Apply strategic vignetting through Camera Raw's effects panel to darken image edges and draw attention toward the center of the composition
  • Add dimension to hair using curves adjustments with Blend If settings to create natural-looking highlights that enhance texture and volume

Explore these additional tutorials for more advanced portrait editing techniques and creative effects.

6 exciting portrait effects you can do in Photoshop
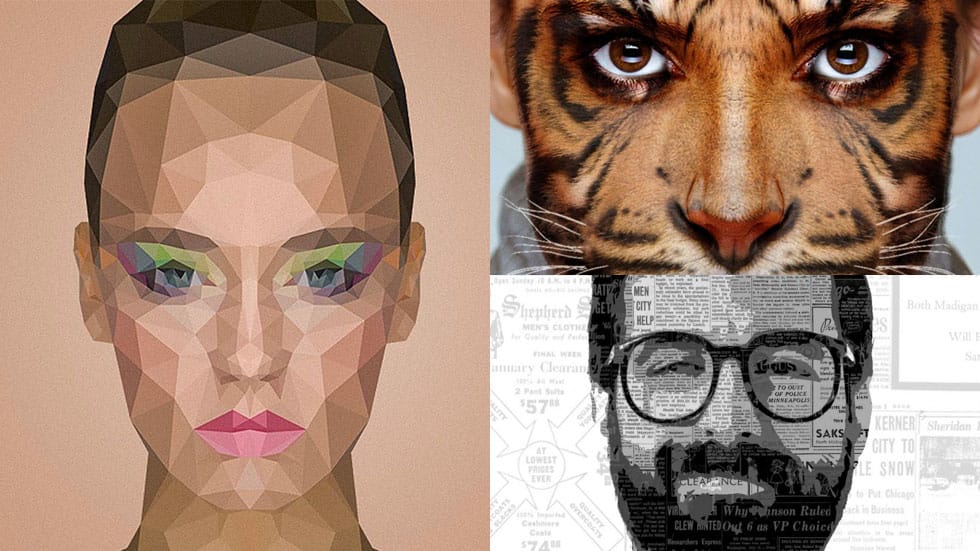
Thanks to Snapchat app, you can easily swap faces with a friend or add funny animal masks to your face in a second. Hilarious! But what about quality? Portrait retouching in Photoshop is not limited to high-end, professional retouching for magazines or photo books. You can also create some creative artistic portraits. Yeah, I bet […] More
7 Photo Mistakes You Can Easily Fix in Photoshop
Photography can be challenging, and mistakes happen to everyone. In this comprehensive tutorial by PiXimperfect, you will find practical solutions for seven common issues you might encounter. You will learn how to correct color casts, ensuring your images reflect true-to-life colors. If you’ve dealt with motion blur or overexposed
5 easy ways to clean blemishes and heal skin in Photoshop
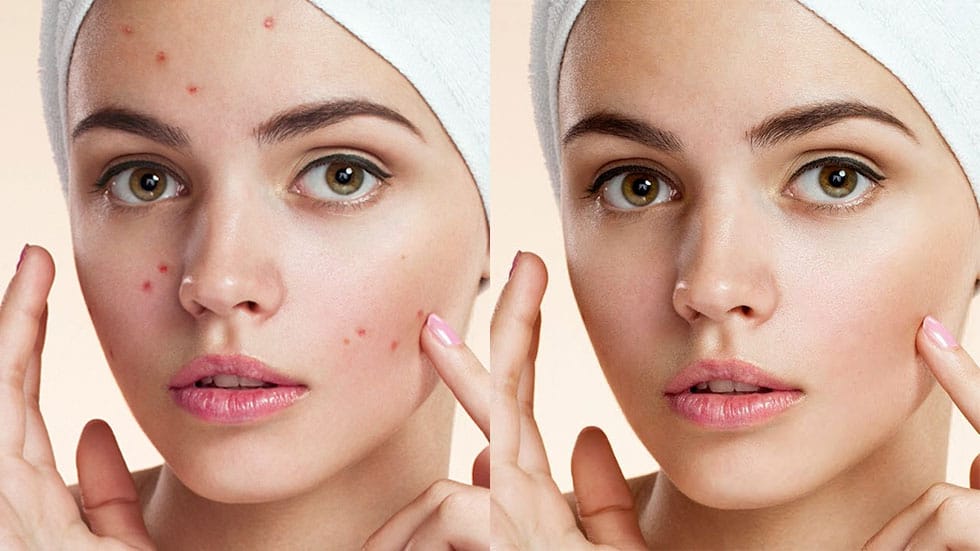
In this Photoshop tutorial by Nate Dodson from TutVid you will learn five of the best and fastest ways to get rid of skin blemishes in your photos. Nate will cover non-destructive editing with Camera RAW, the Spot Healing Brush, the Healing Brush, the Patch Tool, and how to get started using Frequency Separation and […] More
How to make any photo look better in seconds in Photoshop
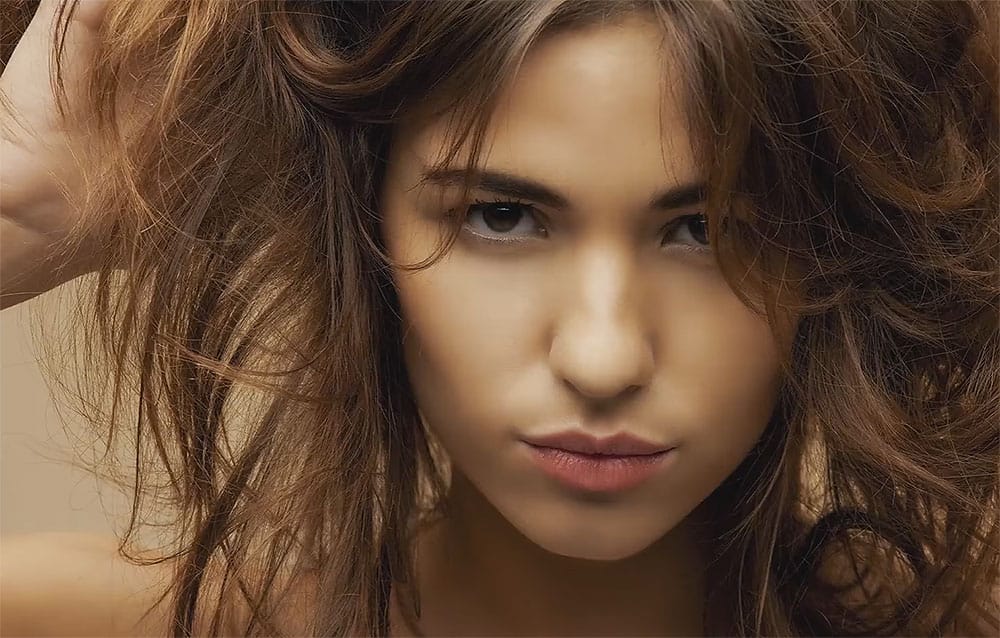
Retouching a photo is a complex task. Or not. It depends on many factors. Sometimes you need only a quick retouching because the original image is great and you just want only to enhance certain features or apply specific little retouches to it. Colin Smith from PhotoshopCafe will show you in this tutorial one of […] More

Get tutorials & freebies delivered to you.

Subscribe to the Photoshop Roadmap newsletter, a weekly roundup of new tutorials, insights and quality downloads, trusted by 6500+ readers.

You might also like

Painting Digital Art Backgrounds: Techniques and Workflow

A well-crafted background can anchor an entire digital painting, providing atmosphere, depth, and visual context for the subject. This video demonstrates practical approaches to building backgrounds from scratch using digital tools, covering brush selection, color layering, and compositional thinking. Watch the Video Practical Tips Keep these core principles in...

How to Use the Light Adjustment Layer in Photoshop

Photoshop's new Light adjustment layer brings Camera Raw controls — exposure, contrast, highlights, shadows, whites, and blacks — directly into the layers panel as a fully non-destructive, maskable layer. This means you can stack multiple light adjustments, target specific subjects, and combine them with Blend If and other adjustment...

How to Use Object Selection, Remove Background, and the Selection Brush in Photoshop

Selections determine the quality and flexibility of almost every edit you make in Photoshop. Three modern tools — the Object Selection tool, Remove Background with Harmonize, and the Selection Brush — handle the most common selection tasks with far less manual effort, while keeping your original image intact through non-destructive layers....

How to Paint a Digital Background and Composite Wildlife Into It

Building a painted digital background from scratch gives you full control over color, mood, and composition before a single wildlife photo is placed. This walkthrough covers the complete process: blocking in shadows on a black canvas, layering foliage with textured brushes, positioning bird subjects on hand-painted stones, and using...

How to Sharpen Skin Texture Using Frequency Separation in Photoshop

Retouched skin can look great up close but lose all its natural texture the moment you zoom out. Rather than relying on standard sharpening filters, you can recover that texture by duplicating the high-frequency layer inside a frequency separation setup — a method that works whether or not you'...

You’ve successfully subscribed to Photoshop Roadmap
Welcome back! You’ve successfully signed in.
Great! You’ve successfully signed up.
Success! Your email is updated.
Your link has expired
Success! Check your email for magic link to sign-in.