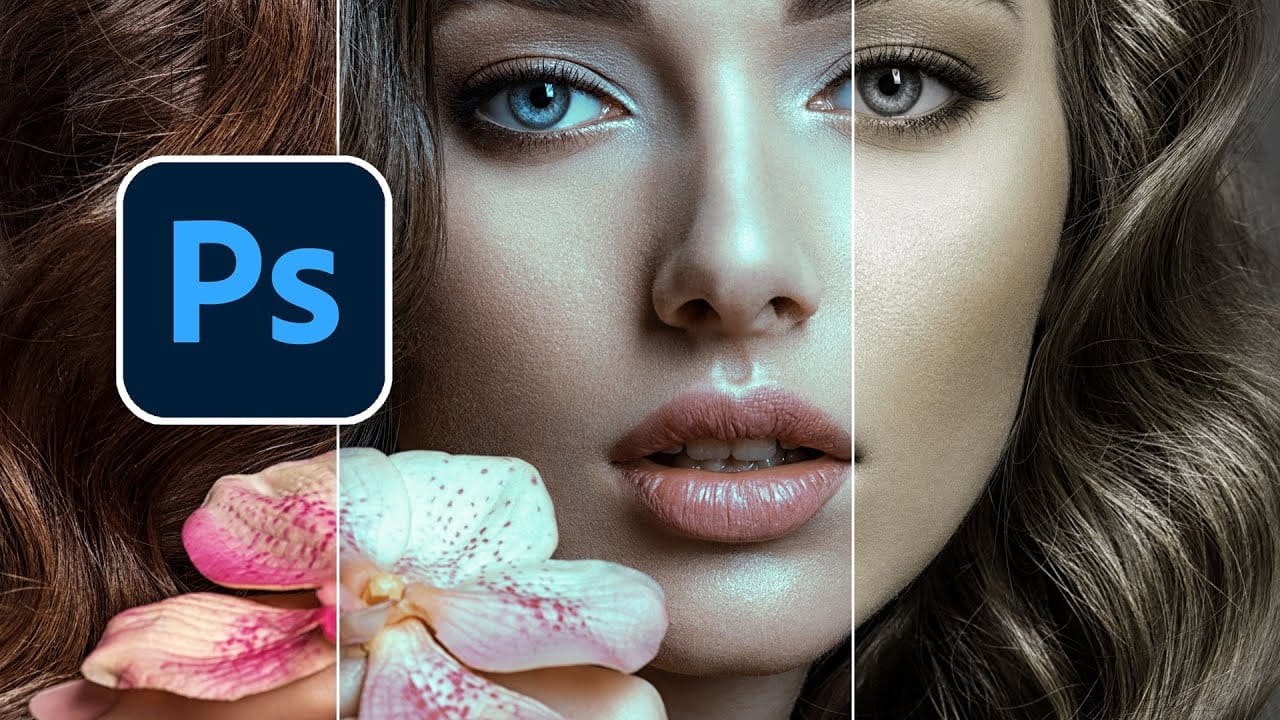
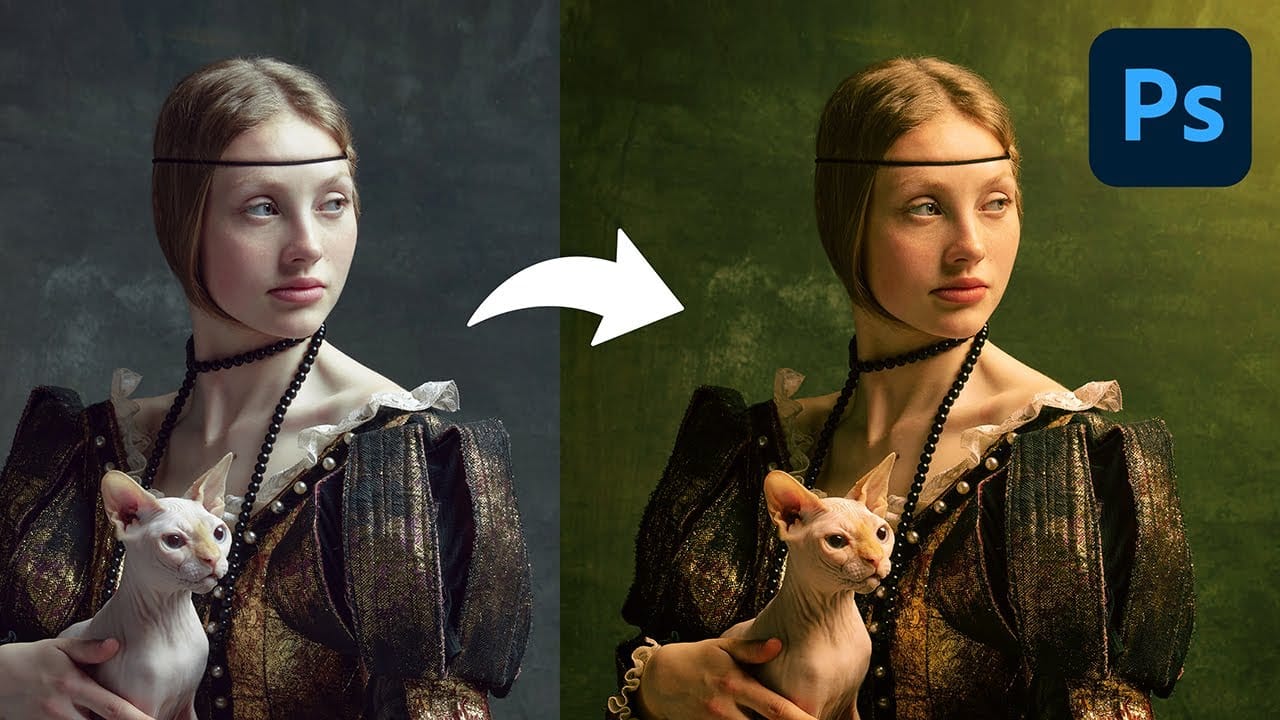
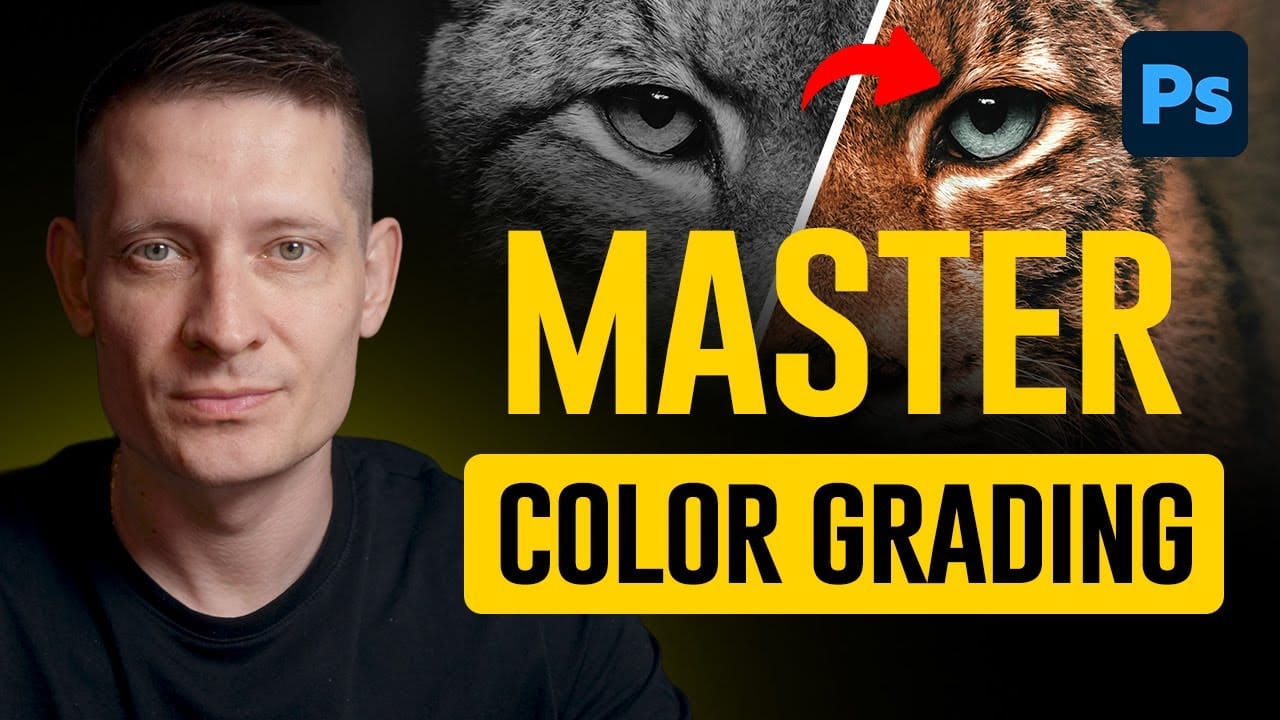
Separating a subject from its background through selective toning is one of the most effective ways to give a photo a cinematic feel. This walkthrough covers a full color grading workflow using Camera Raw masks, radial gradients, and the color mixer to create warm subject tones against a cooler, darker background.
Watch the Video
Video by Zenzdesign. Any links or downloads mentioned by the creator are available only on YouTube
Practical Tips
These techniques will help you get consistent results when applying a cinematic color grade.
- Convert your layer to a smart object before opening Camera Raw so the filter remains editable and non-destructive.
- Use the background mask to darken and cool the surroundings independently, which naturally draws attention to a warmer subject.
- Apply radial gradients for light effects, then subtract the subject from the selection so the light stays only in the background.
- Boost orange and yellow saturation in the Color Mixer to intensify warm fur or skin tones without affecting other areas.
- Use the calibration panel's primary hue sliders as a final step to unify the overall color palette across the whole image.
Related Articles and Tutorials
Explore more color grading techniques to expand and refine your editing workflow.
Create a Professional Color Grade in 90 Seconds in Photoshop
Cinematic color grading transforms ordinary photos into visually compelling narratives, creating mood, directing focus, and enhancing storytelling. This subtle yet powerful technique allows photographers and digital artists to infuse their images with the atmospheric depth and professional finish often seen in film.
In this concise tutorial, you'll discover a rapid workflow for achieving a cinematic color grade directly within Photoshop. The method leverages the powerful Camera Raw filter as a
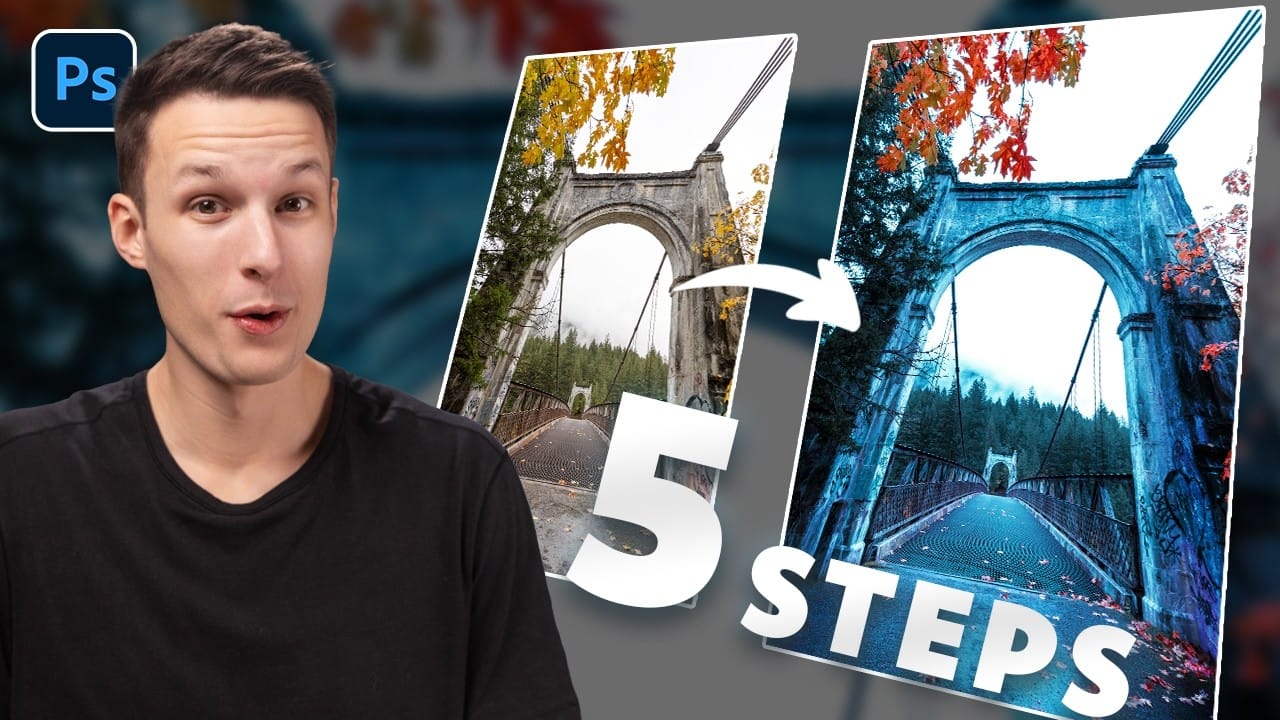
How to Create Dramatic Colors in Photoshop: A 5-Step Color Grading Process
Photography often captures moments in natural tones, but sometimes an image calls for something bolder. Dramatic color grading transforms ordinary photos into striking visual statements that grab attention and evoke emotion.
This comprehensive approach combines Camera Raw adjustments with Photoshop's powerful color tools to create rich, cinematic looks. The process works especially well for outdoor scenes where you can push blues, oranges, and complementary colors to their limits.
Watch the T
How to Create Cinematic Color Grading Using Camera Raw Filter in Photoshop
Color grading transforms ordinary photos into cinematic masterpieces by adding mood and visual depth. The Camera Raw filter built into Photoshop provides professional-level color grading tools that rival dedicated editing software, allowing you to adjust shadows, midtones, and highlights with precision.
This technique uses smart filters to ensure non-destructive editing, letting you experiment freely while maintaining the ability to adjust or remove effects at any time.
Watch the Video
Prac
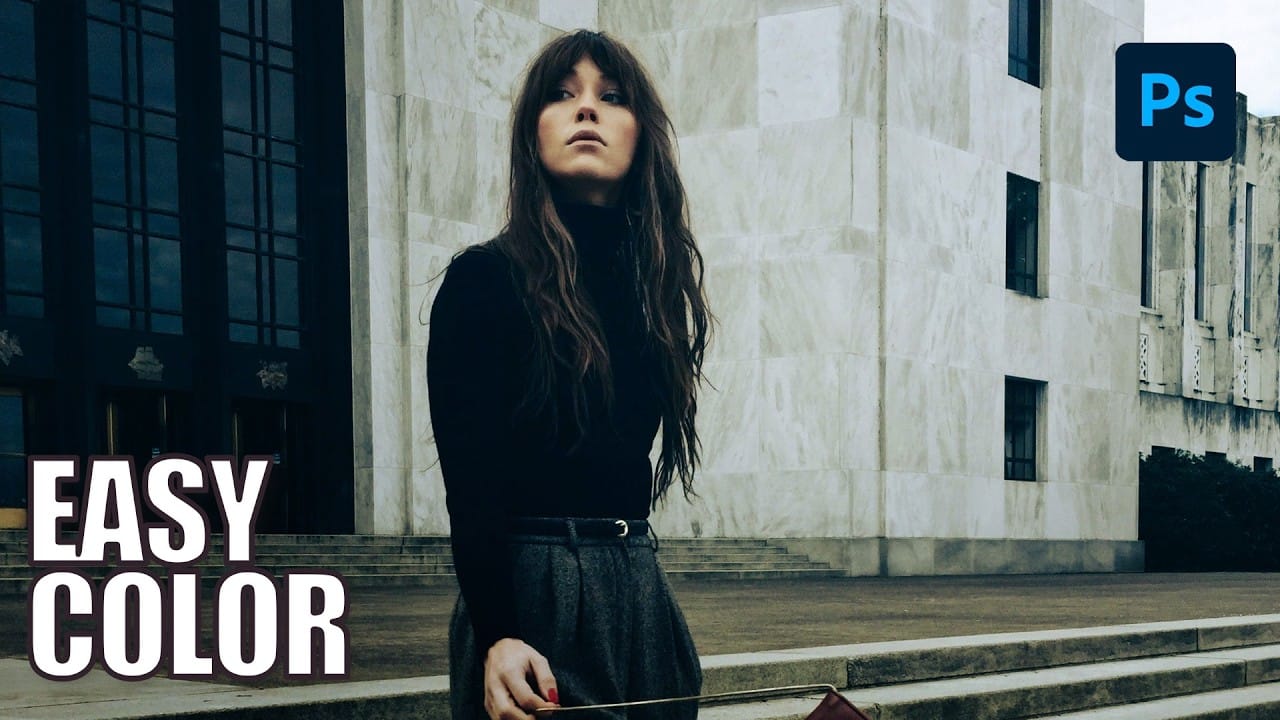
Professional Color Grading Techniques in Photoshop
Color grading transforms ordinary photos into compelling images with professional mood and atmosphere. These non-destructive techniques let you adjust tones, enhance specific colors, and create cinematic looks while preserving your original image data.
Master these four essential color grading methods to develop a consistent editing workflow that elevates your photography.
Watch the Video
Practical Tips
These techniques will help you achieve professional color grading results:
* Start wi
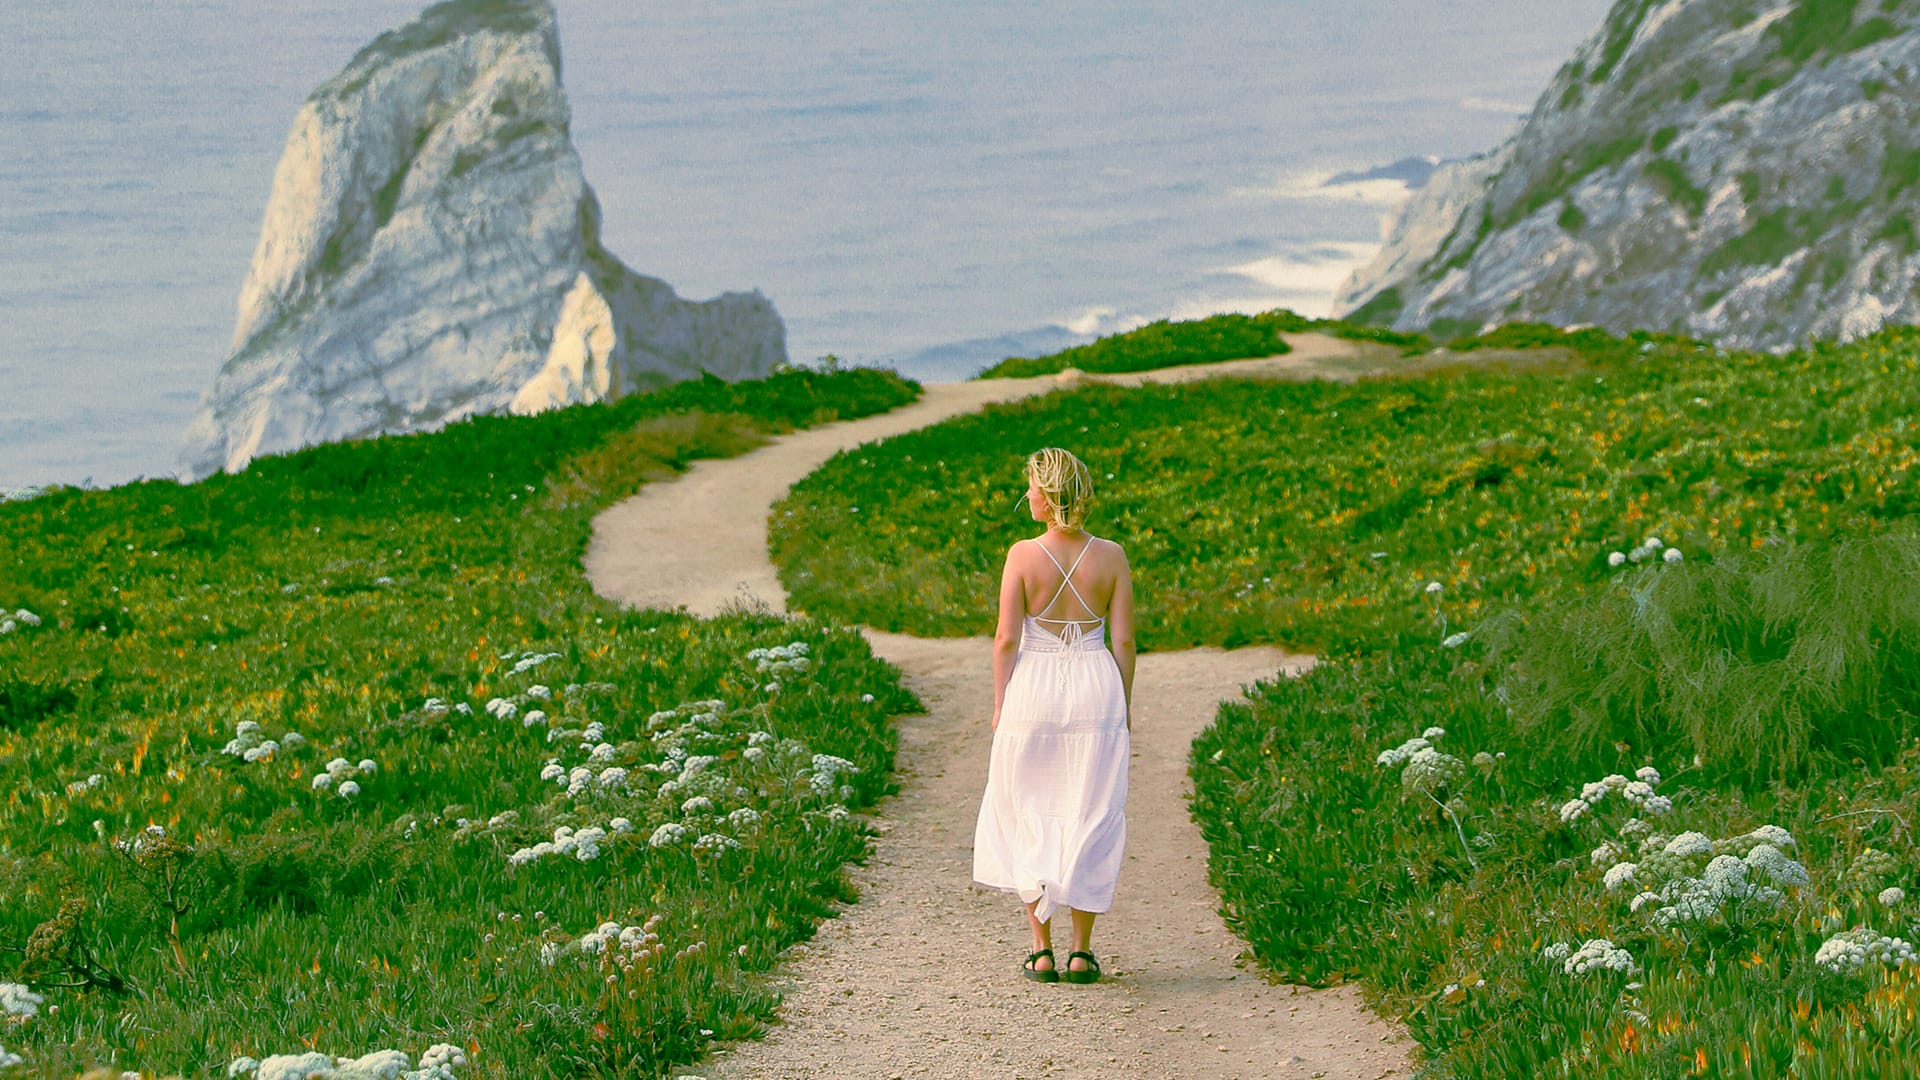
Advanced Color Grading with Apply Image Layer Masks in Photoshop
Professional color grading can transform ordinary photos into cinematic masterpieces, but heavy adjustments often create that obvious "filtered" look that screams amateur editing. The difference between natural-looking color enhancement and overdone processing lies in how the adjustments interact with your image's existing tonal structure.
This advanced technique uses layer masks combined with selective color adjustments to create rich, believable color grades that enhance rather than overpower

How to Color Correct Photos in Adobe Camera Raw
The Camera Raw filter brings professional color grading tools directly into Photoshop, offering the same powerful controls found in Lightroom. This non-destructive workflow allows you to enhance your photos with cinematic color effects while preserving your original images through smart objects.
Color grading transforms ordinary photos by adding warmth to landscapes, creating mood in portraits, and applying professional film-like effects. The process involves adjusting shadows, midtones, and hi
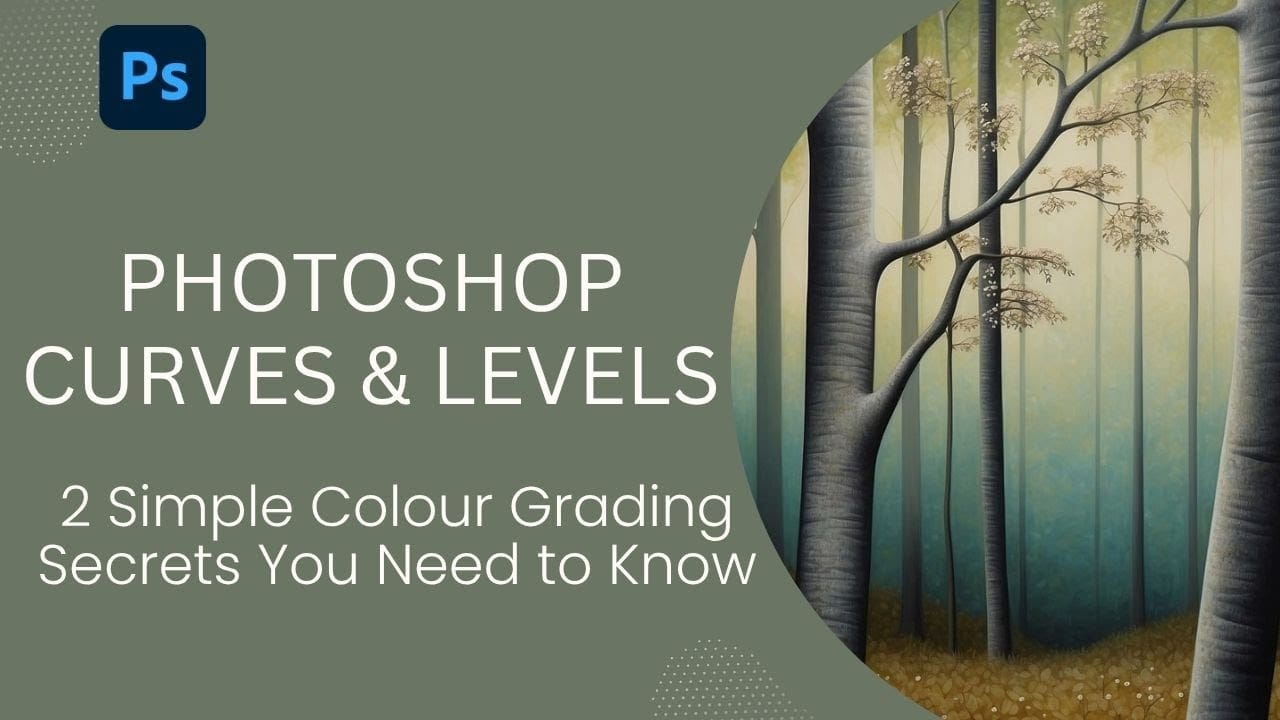
Two Simple Color Grading Techniques Using Photoshop Curves and Levels
Color grading transforms flat images into vibrant, cinematic visuals that capture attention and convey mood. The difference between an ordinary photo and one with professional depth often comes down to how well shadows, midtones, and highlights work together to create visual interest.
These two Photoshop techniques using Curves and Levels offer a quick path to achieving that coveted "pop of color" without complex workflows or advanced skills.
Watch the Tutorial
Understanding Auto Color Opti
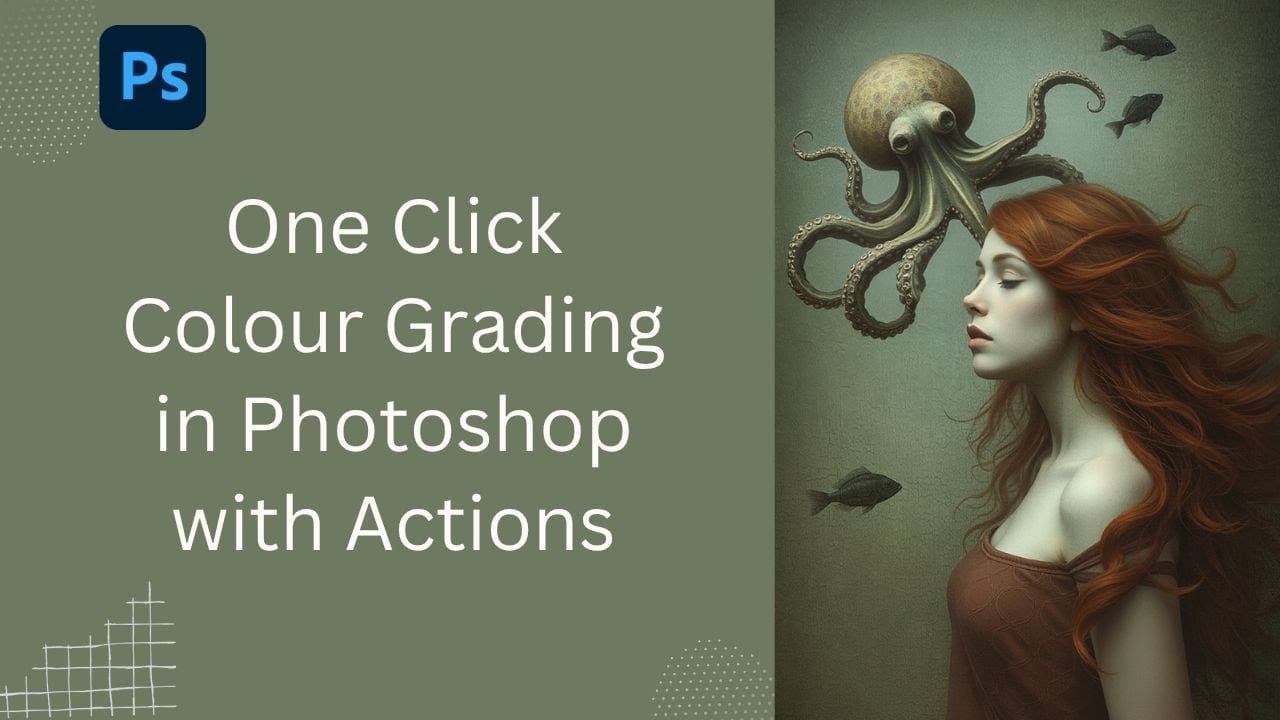
Speed Up Your Color Grading Workflow with Photoshop Actions
Color grading can transform your images, but manually adjusting curves and levels for every photo takes time. Photoshop actions offer a faster approach by applying professional color treatments with a single click.
This workflow uses pre-built actions, tints, and LUTs to achieve various moods and styles instantly, letting you layer multiple effects to build the exact look you want.
Watch the Tutorial
Practical Tips for One-Click Color Grading
* Set your Actions panel to button mode for fa
Clever Color transfer trick in Photoshop for astonishing color grade
Add spectacular color to your photographs using an amazing trick discovered by Colin Smith. In this Photoshop 2022 tutorial, Colin reveals a clever hack for color transfer that allows you to achieve professional color grading with ease. This quick tip simplifies the process, making it accessible to every photographer.
Whether you're a beginner or an experienced user, you'll love how effortlessly you can enhance your photos with vibrant, stunning colors. Colin demonstrates step-by-step how to us