Photoshop’s Black & White adjustment layer can do more than create monochrome images. Its color sliders reshape how different hues translate into light and dark, letting you shift tonal depth while keeping the image in color.

Combine the adjustment with blend modes and opacity to explore subtle changes in contrast and color harmony. The result is a flexible, non-destructive grading technique for photographs, digital art, and AI-generated images.

Watch the Video

Video by SandraD Imagery. Any links or downloads mentioned by the creator are available only on YouTube

Practical Tips

Use these steps to experiment with tonal shifts while keeping your original image intact.

  • Add a Black & White adjustment layer and move the color sliders to change the brightness of specific hues.
  • Focus on colors that are prominent in the image, such as blue tones in a background, clothing, or shadows.
  • Switch the adjustment layer’s blend mode to compare effects such as Multiply, Lighten, Screen, Overlay, and Soft Light.
  • Lower the layer opacity when the color or tonal shift feels too strong.
  • Toggle the layer off and on to judge the change against the original image.

Explore more approaches to shaping image tones, making selective adjustments, and building flexible color-grading workflows.
Advanced Black and White Photo Editing with Selective Masking in Photoshop
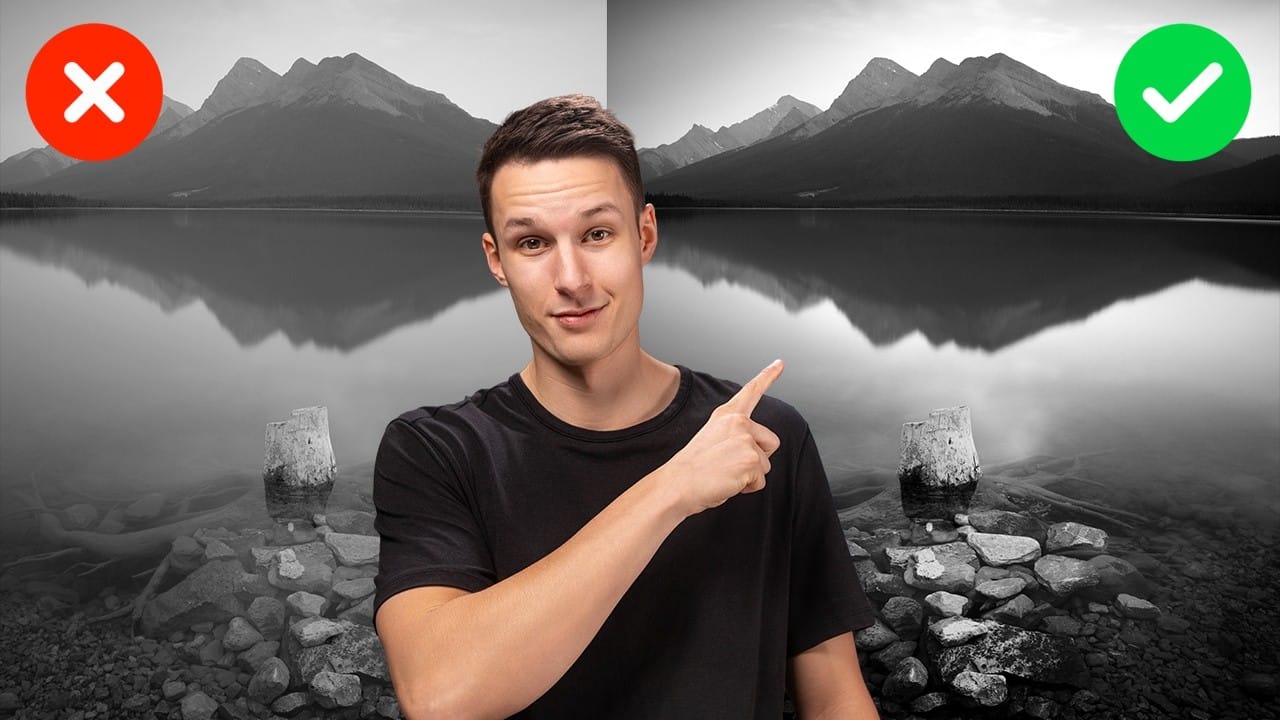
Most black and white conversions fall flat because they rely on simple global adjustments that treat the entire image uniformly. Professional-level dramatic black and white photos require selective contrast adjustments that target specific areas like skies, foregrounds, and tonal ranges independently. This approach transforms ordinary monochrome images into compelling, high-contrast photographs with depth and visual impact. Watch the Full Tutorial Essential Tips for Advanced Black and White
How to Create Perfect Black and White Photos Using Camera Raw Filter in Photoshop
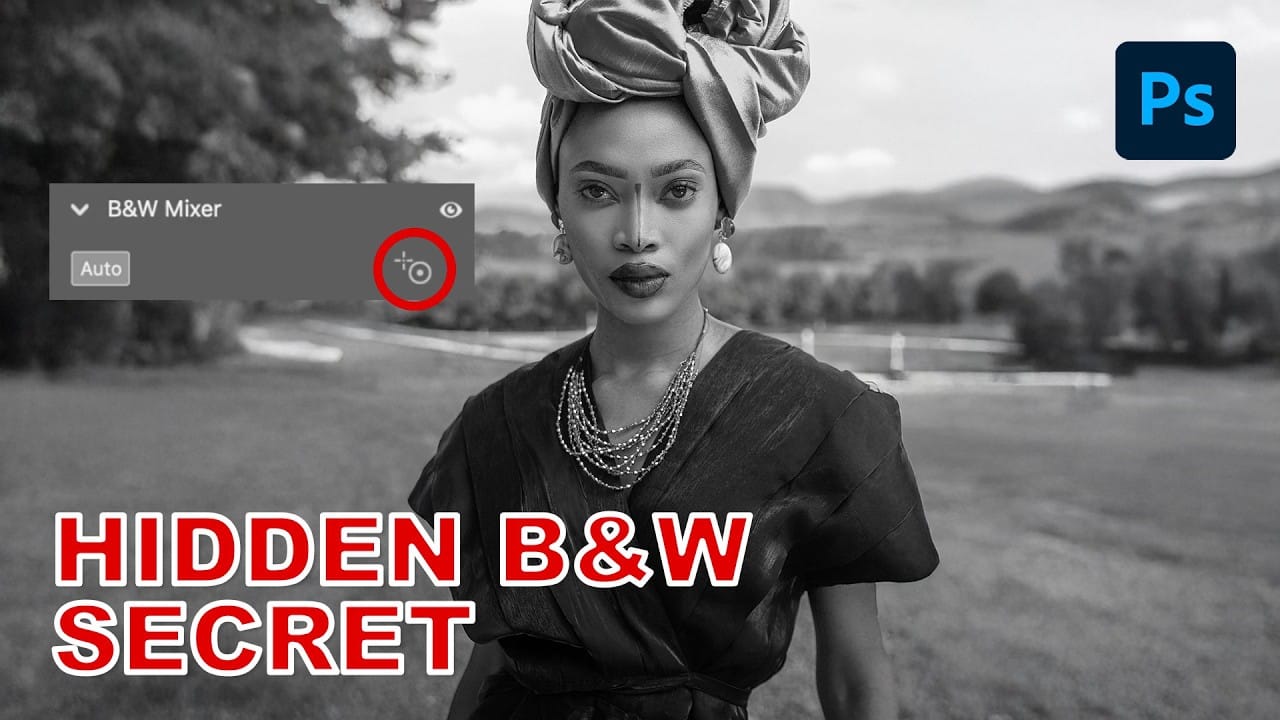
Camera Raw's black and white mixer transforms color photos into striking monochrome images with precision control. The built-in adjustment tool lets you click and drag directly on your image to lighten or darken specific tones. This non-destructive method preserves your original photo while giving you complete creative control over contrast and tonal balance. Watch the Tutorial Essential Tips for Black and White Conversion * Convert your layer to a Smart Object first by choosing Filter >
Master Photoshop Adjustment Layers for Non-Destructive Editing
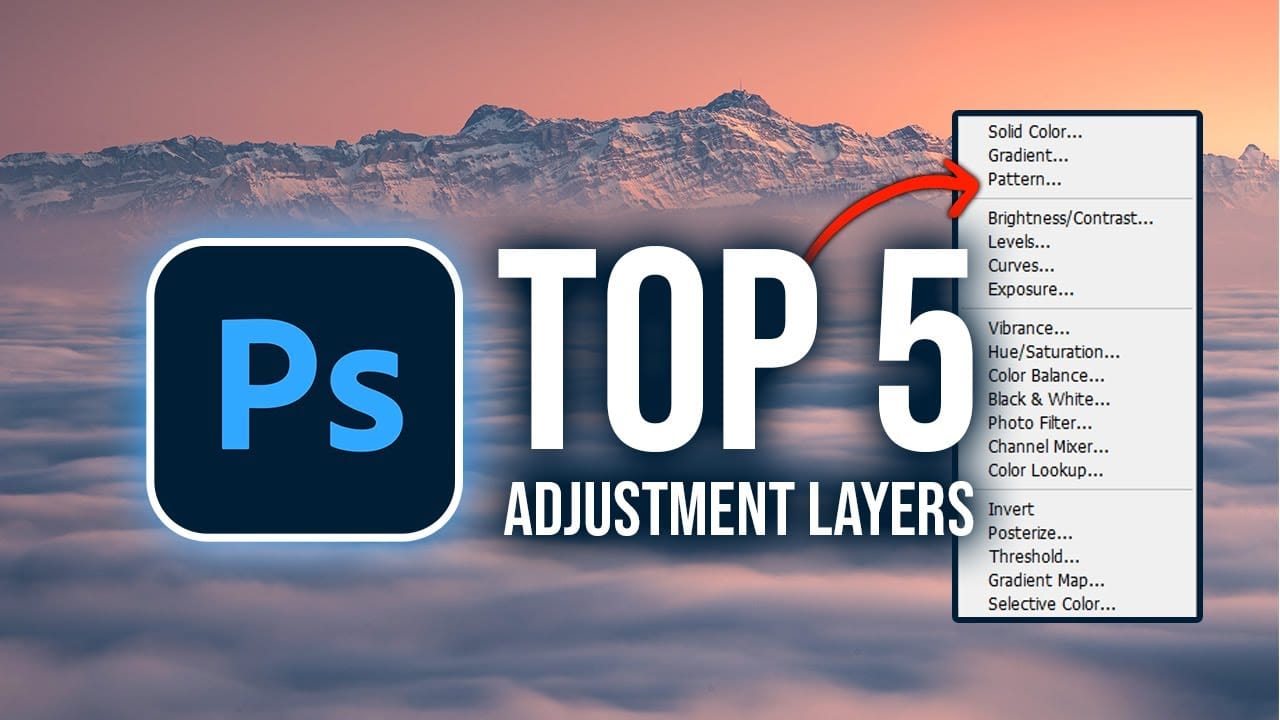
Fine-tuning images without destroying original pixel data transforms ordinary photos into compelling visuals. Adjustment layers provide the flexibility to experiment with colors, contrast, and tones while maintaining complete control over every edit. This comprehensive guide demonstrates how to harness Photoshop's most powerful adjustment layers for landscape photography, from basic contrast enhancements to sophisticated color grading techniques. Watch the Tutorial Understanding Non-Destruc
How to Change Black and White to Any Color in Photoshop
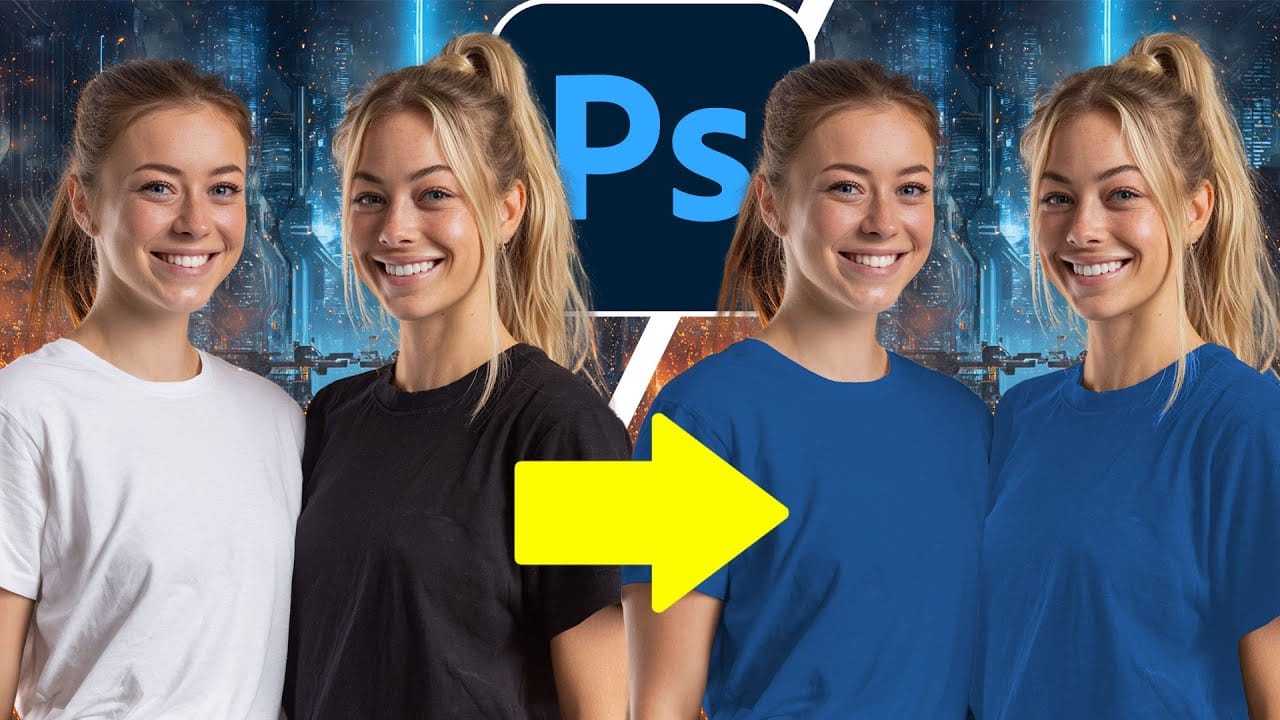
Standard color adjustment tools fail when you try to change pure black or white elements in your photos. These neutral tones lack the hue and saturation data that typical color replacement methods require. This technique uses Hue/Saturation adjustment layers with strategic lightness modifications to transform both black and white areas into any color you need. Watch the Tutorial Essential Tips for Changing Black and White Colors * Use the Object Selection tool with rectangle mode for fast
How to Use the Light Adjustment Layer in Photoshop Effectively
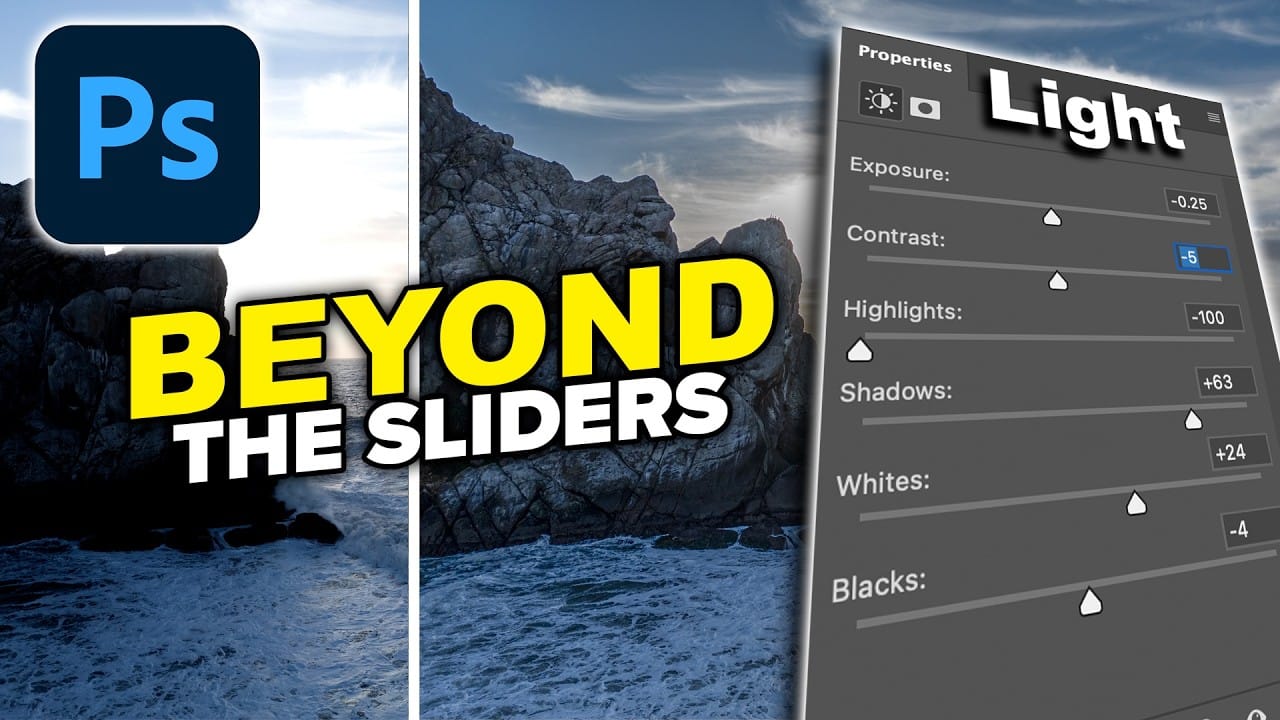
Photoshop's Light adjustment layer brings Camera Raw-style tonal controls — exposure, contrast, highlights, shadows, whites, and blacks — directly into a non-destructive layer workflow. The real value isn't in what the sliders do individually, but in how you sequence them to expand dynamic range and reveal detail in both shadows and highlights. Watch the Video Practical Tips Here are the key techniques covered in this tutorial for getting the most out of the Light adjustment layer workflow.
The Single Best Color Tool in Photoshop
In this tutorial, you will uncover the often-overlooked capabilities of Photoshop’s Selective Color Adjustment Layer. This powerful tool allows you to perform both subtle and dramatic color grading, giving your images a polished look similar to fine art. You’ll learn techniques to intensify colors, separate various hues for added depth, and achieve better overall color balance in your work. This ensures that your images maintain their vibrancy without the risk of over-saturation. The tutorial
Creating Vintage Color Effects with Three Adjustment Layers in Photoshop
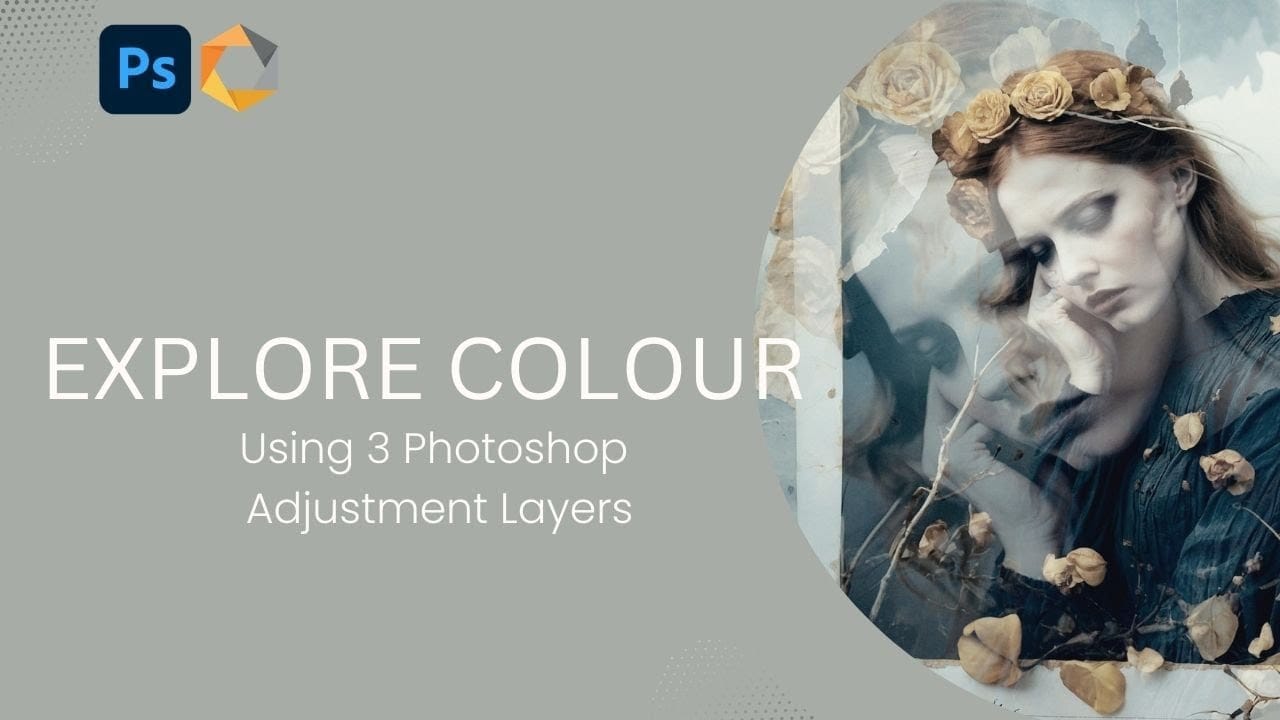
Transform any image into a vintage masterpiece using just three simple Photoshop adjustment layers. This creative approach demonstrates how to achieve rich, emotive color tones through strategic use of levels, photo filters, and black and white adjustments. Learn how to balance complementary colors, develop your color eye, and create compelling visual stories without complex compositing or major production workflows. Watch the Video Practical Tips These key techniques will help you master
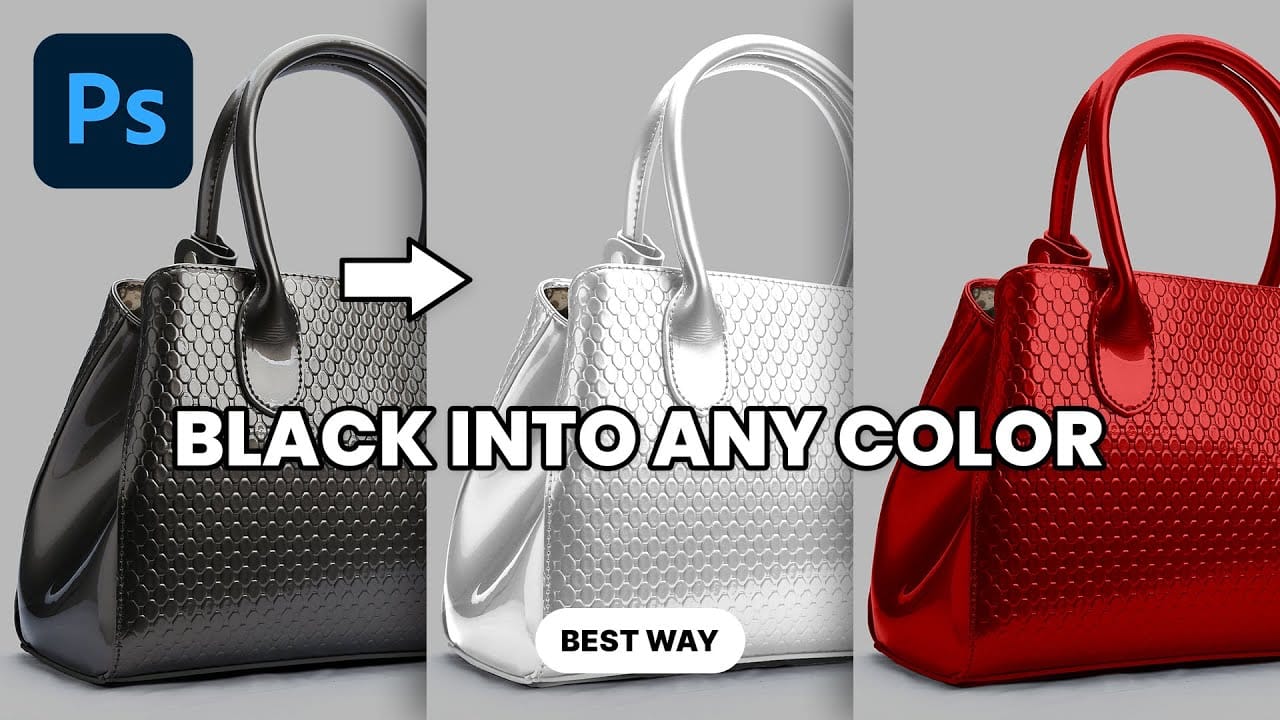
Transform Black to Any Color in Photoshop, Including White: Best Method
Changing the color of a black object in Photoshop can be a surprisingly frustrating task. Standard color adjustment tools often fail because pure black contains no hue or saturation data to manipulate, leaving designers and retouchers searching for a more effective solution. This tutorial demonstrates a powerful and flexible method for recoloring black objects, allowing you to turn them into any color you choose—even solid white. By learning this non-destructive technique, you can gain precise
How to Use the Light Adjustment Layer in Photoshop
Photoshop's new Light adjustment layer brings Camera Raw controls — exposure, contrast, highlights, shadows, whites, and blacks — directly into the layers panel as a fully non-destructive, maskable layer. This means you can stack multiple light adjustments, target specific subjects, and combine them with Blend If and other adjustment layers without ever flattening your file. Watch the Video Practical Tips Key techniques covered in this tutorial for working with the Light adjustment layer ef
Unlocking the Power of Layer Masks in Photoshop
Layer masks are a fundamental feature in Photoshop that allow for greater control over images. They enable you to hide or reveal portions of a layer without permanently altering the original content. This non-destructive editing approach is beneficial for making precise adjustments to your designs. You can use layer masks in various ways. For example, they help blend multiple images, create seamless transitions, or apply effects to specific areas. By painting on the mask with black or white, yo