Master Photoshop Adjustment Layers for Non-Destructive Editing

Master Photoshop Adjustment Layers for Non-Destructive Editing

Fine-tuning images without destroying original pixel data transforms ordinary photos into compelling visuals. Adjustment layers provide the flexibility to experiment with colors, contrast, and tones while maintaining complete control over every edit.

This comprehensive guide demonstrates how to harness Photoshop's most powerful adjustment layers for landscape photography, from basic contrast enhancements to sophisticated color grading techniques.

Watch the Tutorial

Video by Christian Möhrle - The Phlog Photography. Any links or downloads mentioned by the creator are available only on YouTube

Understanding Non-Destructive Editing Power

Adjustment layers sit above your image layers, applying changes without altering original pixels. This non-destructive approach allows unlimited experimentation and refinement throughout your editing process.

Each adjustment layer includes an automatic layer mask, enabling selective editing of specific image areas. Combined with blending modes and opacity controls, these layers offer precise control over visual effects.

  • Tonal adjustments - Control brightness, contrast, and luminance values
  • Color targeting - Modify saturation, hue, and color balance selectively
  • Creative effects - Apply gradient maps and specialized color treatments
  • Layer masking - Restrict adjustments to specific image regions
  • Clipping masks - Apply effects only to the layer directly beneath

Essential Tips for Adjustment Layer Mastery

  • Use Levels adjustment layers to increase contrast by moving black and white points toward the histogram's data range
  • Apply Color Balance for split-toning effects, warming highlights while cooling shadows for dramatic mood enhancement
  • Target specific colors with Selective Color to shift blue skies warmer or enhance yellow tones toward orange
  • Create split-toning effects with Gradient Maps set to Soft Light blend mode at reduced opacity for subtle color grading
  • Add overall warmth using the Photo Filter adjustment layer with warming filters for sunset and golden hour images

Explore more techniques for mastering Photoshop's layer-based editing workflow.
Rotate and Flip Images and Layers with Precision in Photoshop
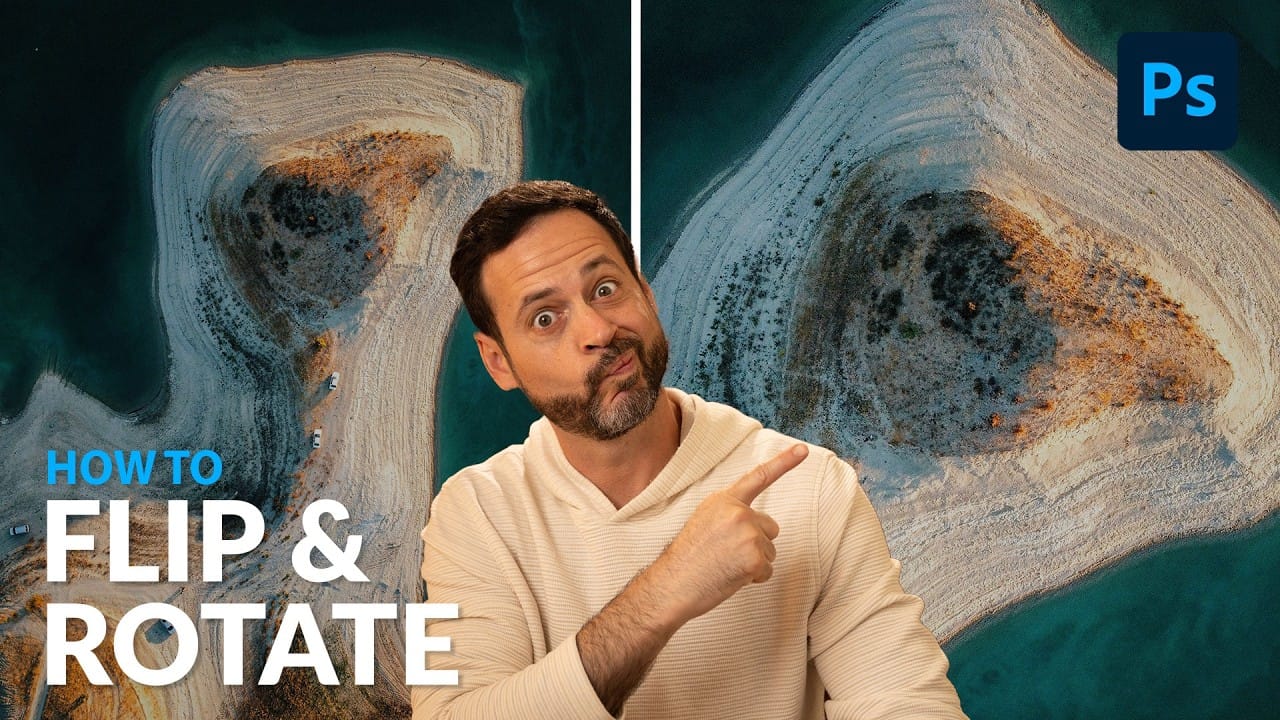
Often in image editing, photographs or design elements are not oriented correctly or require a creative re-orientation for a new composition. This common challenge can be frustrating when simple rotation tools affect the entire canvas, disrupting other layers, or when precise control over individual elements is needed. This tutorial demonstrates two distinct methods for rotating and flipping images in Photoshop: one for the entire canvas and another for individual layers. Understanding these a
How Photoshop Photo Restoration Got Better Than Ever
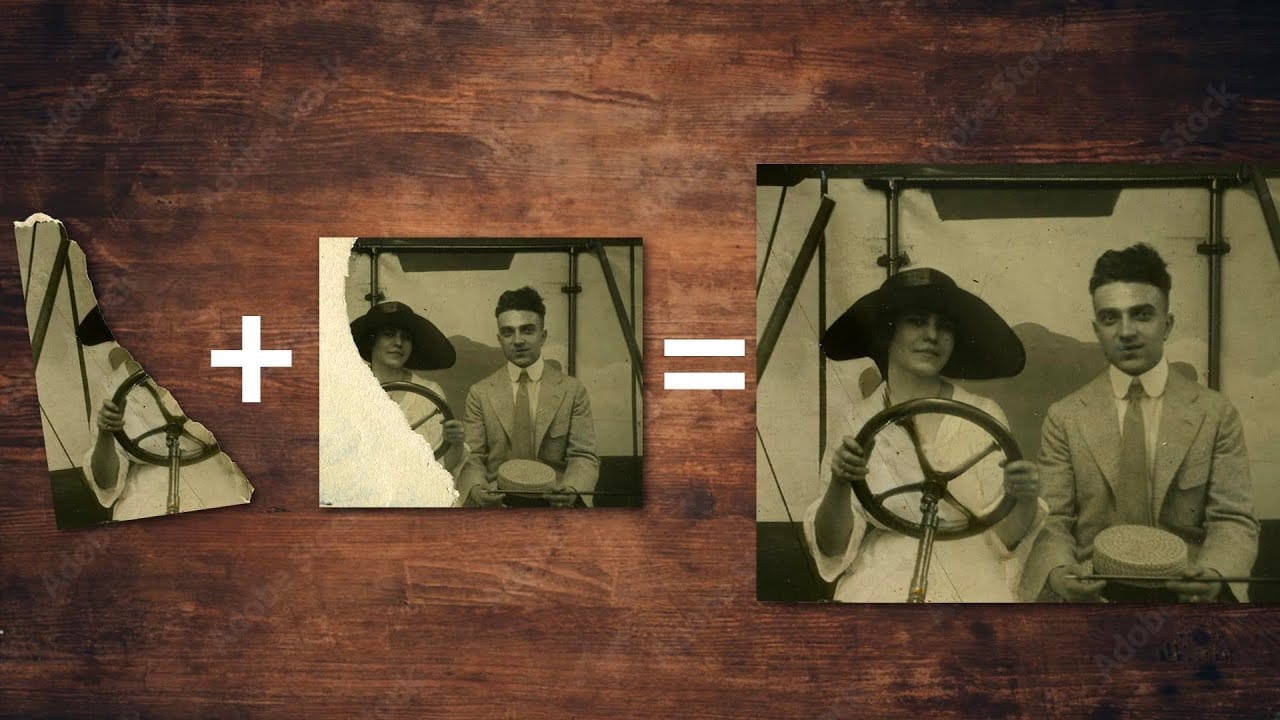
This tutorial by Matt Kloskowski on Photoshop photo restoration reveals an impressive evolution in photo editing technology over the past few years. Many tasks that once required extensive time and complex processes can now be completed in just minutes. This is especially relevant after recent storms, which emphasized the need for restoring valuable family memories. Photoshop's new tools and techniques make it easier than ever to tackle damaged images. Kloskowski emphasizes that achieving perfe
Unlocking the Power of Layer Masks in Photoshop
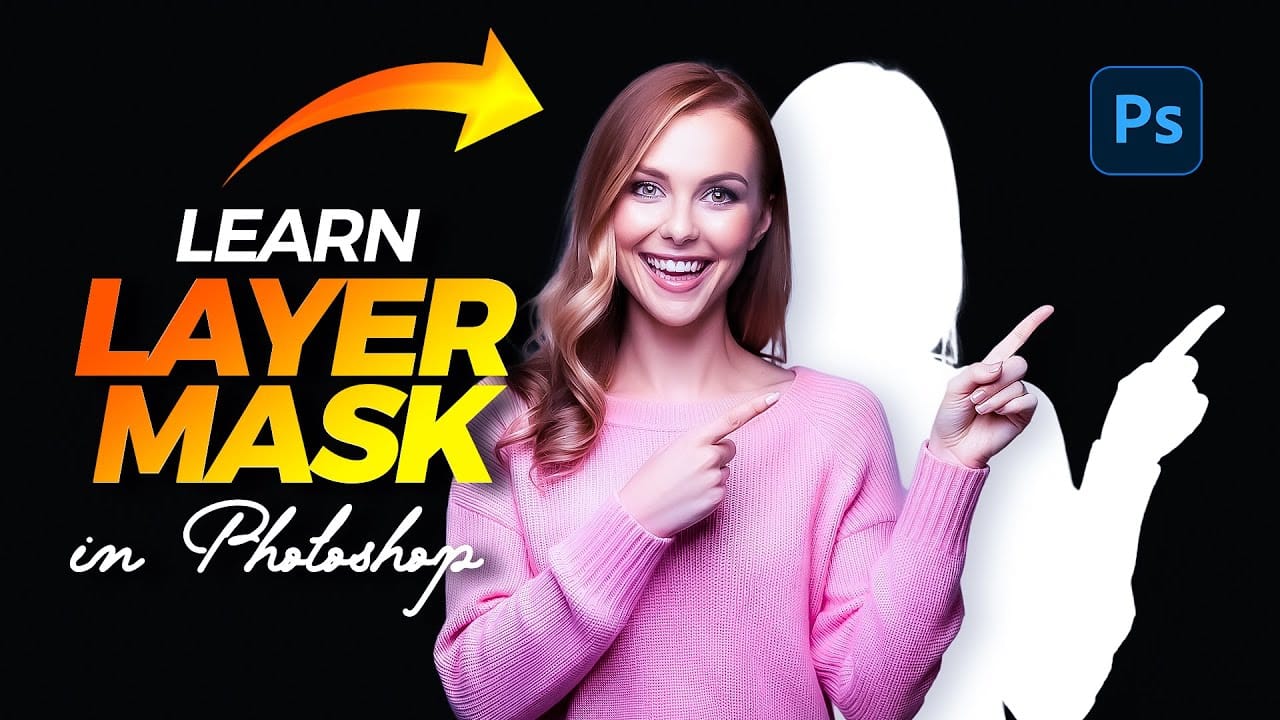
Layer masks are a fundamental feature in Photoshop that allow for greater control over images. They enable you to hide or reveal portions of a layer without permanently altering the original content. This non-destructive editing approach is beneficial for making precise adjustments to your designs. You can use layer masks in various ways. For example, they help blend multiple images, create seamless transitions, or apply effects to specific areas. By painting on the mask with black or white, yo
Quick Tilt-Shift in Photoshop
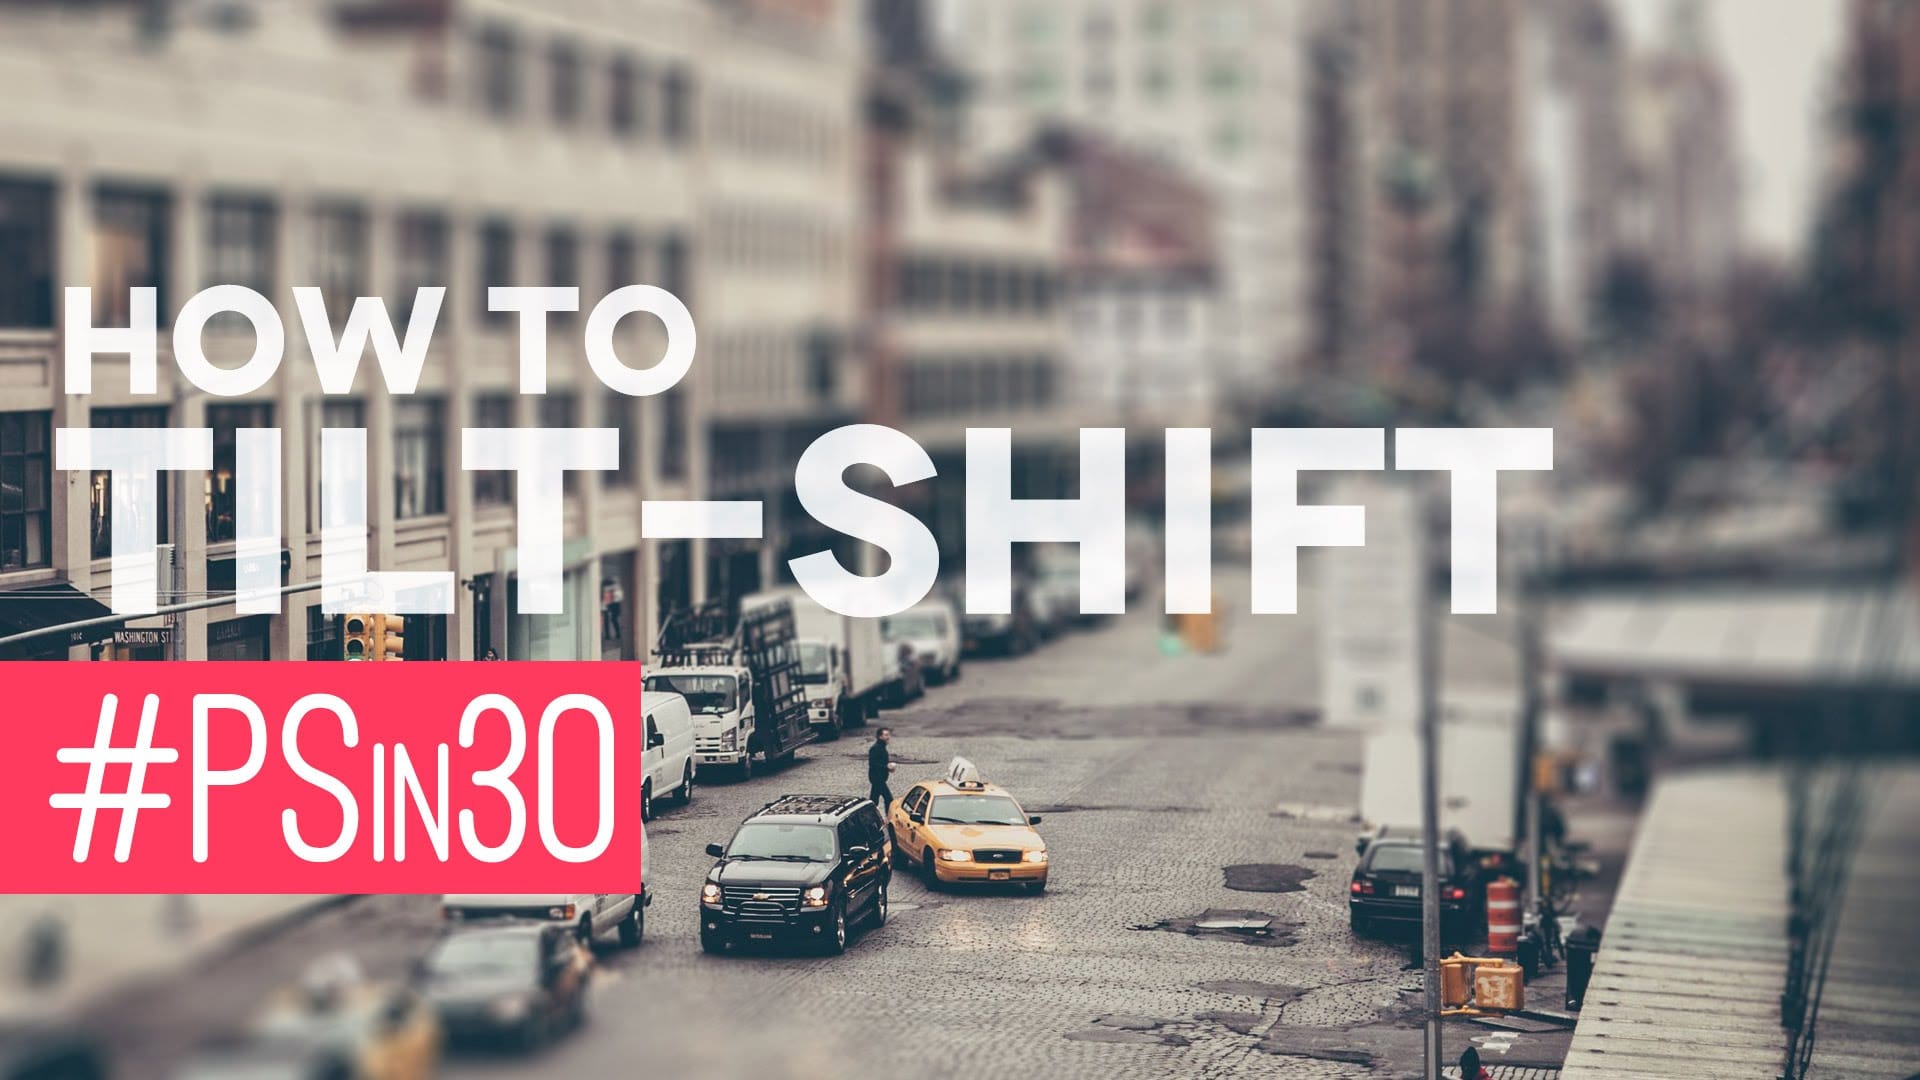
In this Photoshop tutorial by Nathaniel Dodson from TutVid, you'll learn to use the Blur Gallery's "Tilt-Shift" feature to transform a street scene into a miniature 3D model set. Dodson guides you through the process, showing how to apply the tilt-shift effect to create the illusion of a toy-like cityscape. This tutorial is ideal for those looking to add a unique, eye-catching element to their photos, utilizing the newer capabilities of Photoshop's Blur Gallery. Whether you're working on urban

Get tutorials & freebies delivered to you.

Subscribe to the Photoshop Roadmap newsletter, a weekly roundup of new tutorials, insights and quality downloads, trusted by 6500+ readers.

You might also like

How Photoshop's Enhance Edge Feature Removes Hair Masking Halos

Hair masking has long been one of the most tedious tasks in photo compositing — especially when switching between dark and light backgrounds reveals unwanted halos along the edges. Photoshop's new Enhance Edge feature, available in beta 27.11, offers an AI-powered approach to this problem by generating...

How to Use Quick Compare and Dynamic Layers in Photoshop Beta

Photoshop Beta's latest update introduces two tools worth knowing: a Quick Compare toggle for instant before/after previews, and a Dynamic Layer feature that lets you control AI-generated effects with a simple slider. Together, they streamline how you review edits and apply prompt-based changes like adding...

Retouching Pet Portraits in Photoshop: Cleaning Fur, Eyes, and Fine Details

Pet photos rarely arrive perfectly clean — staining around the eyes, discolored fur near the mouth, and stray hairs are common problems that need fixing before any serious portrait work begins. This workflow covers how to remove those distractions manually using overpaint and fur brushes, then finish with eye enhancement techniques...

Before and After View Plus Dynamic Layers in Photoshop Beta

Photoshop Beta currently includes two features that work quite differently from each other. The first adds a straightforward before-and-after comparison tool directly into the editing workspace — something that sounds simple but solves a real problem when a file already has multiple layers. The second, Dynamic Layers, uses AI...

How to Blend Multiple Exposures for Car Light Trails in Photoshop

Stacking multiple exposures of a night scene lets you capture far more light trail detail than any single shot can deliver. This technique uses the Lighten blending mode to combine a bright base image with several car light trail frames, keeping only the brightest pixels from each layer for a...

You’ve successfully subscribed to Photoshop Roadmap
Welcome back! You’ve successfully signed in.
Great! You’ve successfully signed up.
Success! Your email is updated.
Your link has expired
Success! Check your email for magic link to sign-in.