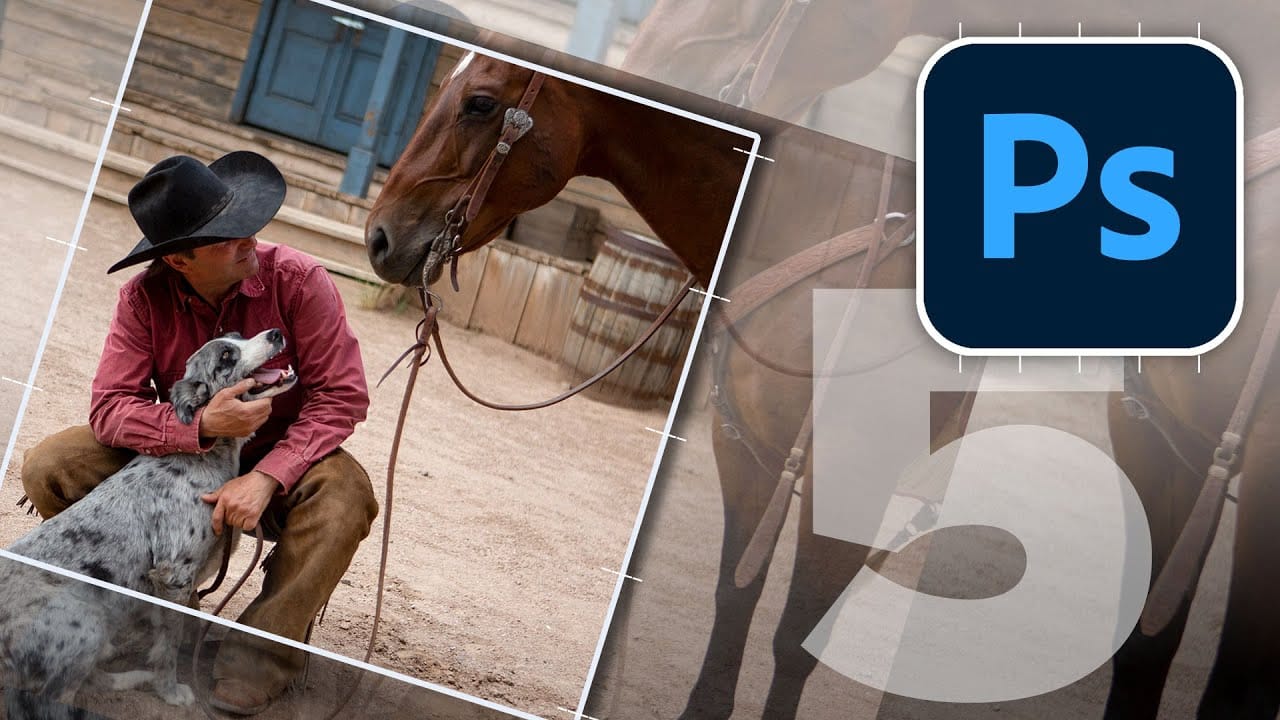
Wildlife photo edits can go wrong in subtle ways: a crop may leave too much space, noise reduction can erase detail, and heavy masking can make a subject look pasted on. This video breaks down five common editing mistakes and how to spot them.
Watch the embedded video below for practical tips on keeping your wildlife photos looking natural.
Video by Matt Kloskowski. Any links or downloads mentioned by the creator are available only on YouTube.
Practical Tips & Workflow Insights
These adjustments can help wildlife edits feel cleaner, more natural, and less affected by common processing pitfalls.
- Crop for balance, not empty space: Leave room in the direction an animal is moving, but avoid letting blank space dominate the frame. Give the subject breathing room, too, rather than cropping it uncomfortably close to the edges.
- Ease back on noise reduction: Too much Denoise can strip detail and make a subject look plastic; the video suggests starting around 50–60% and reducing it if needed. If lowering it brings noise back into the background, use a Subject Mask to add a little texture and grain to the subject.
- Keep local adjustments subtle: Over-brightening a subject or darkening the background can create a sticker-like effect, while aggressive negative texture or clarity can make backgrounds look ghostly. If a mask creates halos or bleeds into fur, ease off the adjustment before trying to perfect the mask, then step away and check whether the result still looks natural.
Related Articles and Tutorials
Here are some related articles and tutorials from Photoshop Roadmap that you may find useful.
10 Critical Photoshop Mistakes You Must Stop Making.
We all love to laugh at other people's mistakes, especially while looking at those hilarious Photoshop Fails. But when are you going to fix your own mistakes?
Even those so-called experts make mistakes sometimes. So, before you call yourself a Photoshop master, see if you make any of these amateur mistakes when using Photoshop.
1) Forgetting To Use History Snapshots
The History window is one of the best features in Photoshop that allow you to turn back time whenever you mess up an image. Alt
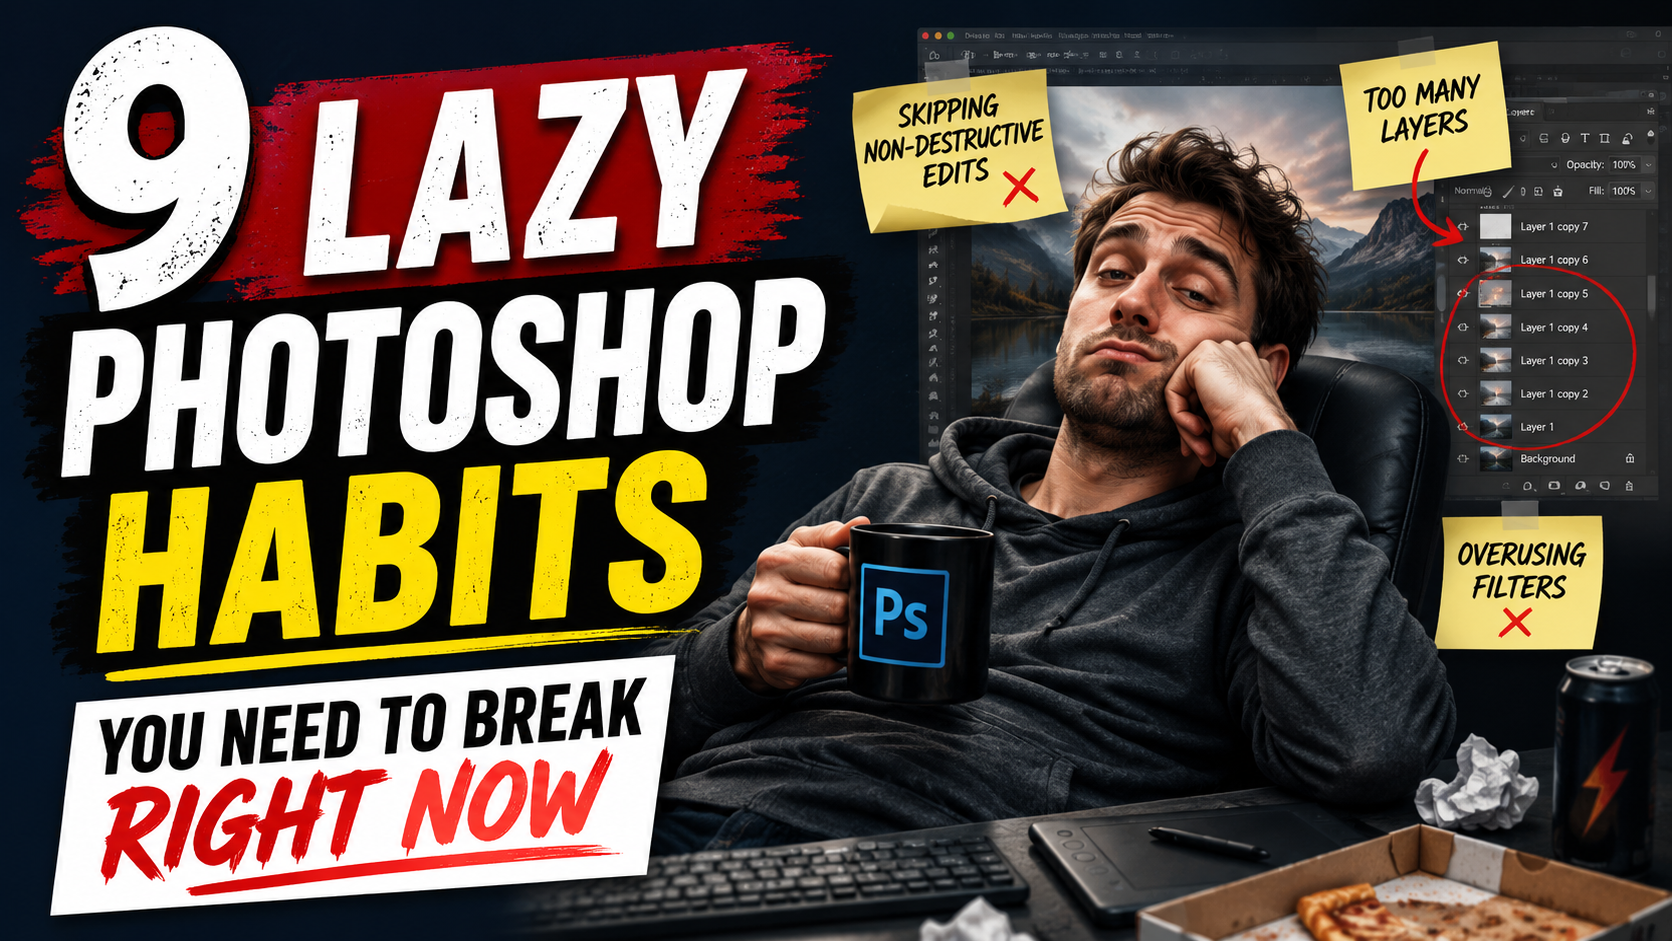
9 Lazy Photoshop Habits You Need to Break Right Now
Photoshop has added incredible AI features and smarter workflows over the last few years to save you time. Yet, you might still be stuck using clunky, manual workarounds you learned years ago. If you are constantly repeating tedious tasks, you are losing time and actively limiting the quality of your final designs.
The difference between a beginner and a professional comes down to an efficient workflow. It is time to audit your canvas habits and ditch the sloppy methods. Here are 9 lazy Photosh
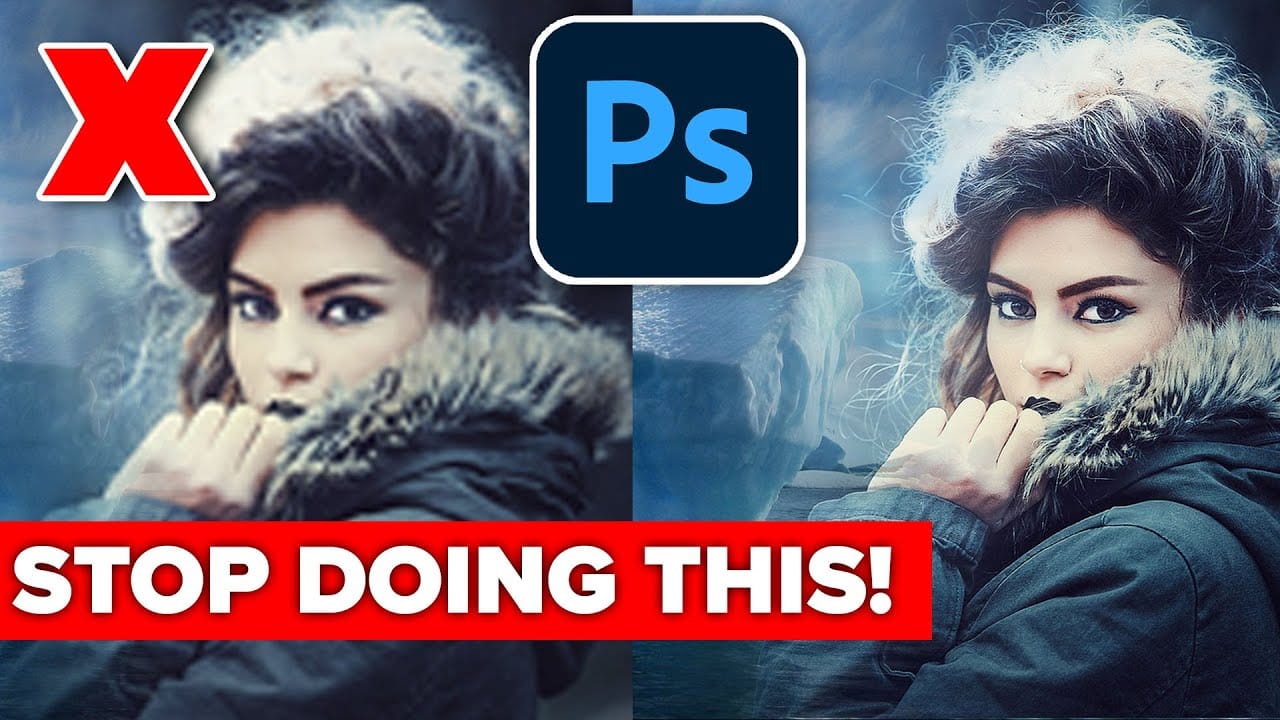
Avoid the 3 worst Photoshop photo editing mistakes
Colin Smith from Photoshop Cafe shares essential tips to help you avoid the three most common Photoshop photo editing mistakes. These mistakes can make your edits look amateurish, but with Colin's guidance, you'll learn how to sidestep them and enhance your editing skills.
The first mistake is over-sharpening, which Colin calls the "Sizzle Sharpen." This occurs when the halos around edges become too prominent, making the image look unrealistic. To avoid this, Colin advises converting your layer
5 tips to make your photos better in Photoshop
Colin Smith from Photoshop Cafe shares a comprehensive tutorial on five essential tips to rapidly enhance your photos using Photoshop. These tips are designed to help both beginners and experienced users elevate the quality of their images with ease.
One key aspect Smith covers is improving exposure. He demonstrates how to adjust brightness and contrast effectively to bring out the best in your photos, ensuring they are well-lit and visually appealing. Sharpening details is another crucial tip,