Photoshop’s three eraser tools do more than wipe pixels: one erases by hand, one targets background colors, and Magic Eraser clears similar colors with a click. Here’s how their settings work—and when a layer mask may be the smarter, non-destructive choice.
Watch the embedded video below to see the tools in action, including how to remove a background around delicate hair strands.
Video by Photoshop Together. Any links or downloads mentioned by the creator are available only on YouTube.
Practical Tips & Workflow Insights
Choose the right eraser, tune its settings to the image, and protect your edits to get cleaner results with fewer common pitfalls.
- Use a layer mask to keep edits reversible: The Eraser Tool permanently removes pixels from the selected layer, while a layer mask hides areas without deleting the original image data. Paint black on the mask to hide areas and white to reveal them again.
- Protect fine edges with the Background Eraser: For delicate details like hair, use Background Eraser Tool with Background Swatch sampling and enable Protect Foreground Color. Set the background color to the area you want removed and the foreground color to a subject detail you want to preserve, then adjust tolerance as needed.
- Match the Magic Eraser to the area you want to remove: Use lower tolerance to erase colors closely matching your click, and raise it to include a wider range of colors. Keep Contiguous enabled to affect only connected areas, or turn it off to erase matching colors elsewhere on the layer too.
Related Articles and Tutorials
Here are some related articles and tutorials from Photoshop Roadmap that you may find useful.
7 Overlooked Photoshop Tools That Will Save You Hours
You're probably using Photoshop the hard way.
You've mastered the basics - Magic Wand for selections, Clone Stamp for removals, layer masks for compositing. But you're likely missing out on dozens of features that could cut your editing time in half.
Adobe has quietly (okay, not so quietly) added dozens of time-saving features that most users never discover.
Here's the thing: Photoshop's interface is overwhelming. With hundreds of tools and panels, it's natural to stick with what works and ig

Basic Photoshop techniques you really need to learn
Photoshop hasn’t changed as much as it looks. New features come and go, but the same core techniques keep showing up in real work. If you skip them, everything feels harder than it should. This post focuses on those basics, not as isolated tricks, but as skills you’ll keep using no matter what you create.
You don’t need dozens of tutorials. You need a small set of techniques you actually understand and can reuse.
Non-destructive editing fundamentals
Most beginner frustration comes from editi

How to Erase Anything in Photoshop with Content Aware Fill
In this tutorial, the author Serge Ramelli shows how to erase anything using the content-aware fill in the latest version of Photoshop. This updated feature makes it simple and quick to remove just about anything from a photo. However, it's important to note that you'll need the most recent version of Photoshop to utilize this tool.
The content-aware fill feature in Photoshop allows users to easily erase unwanted elements from their images. By selecting the area to be removed and using the cont
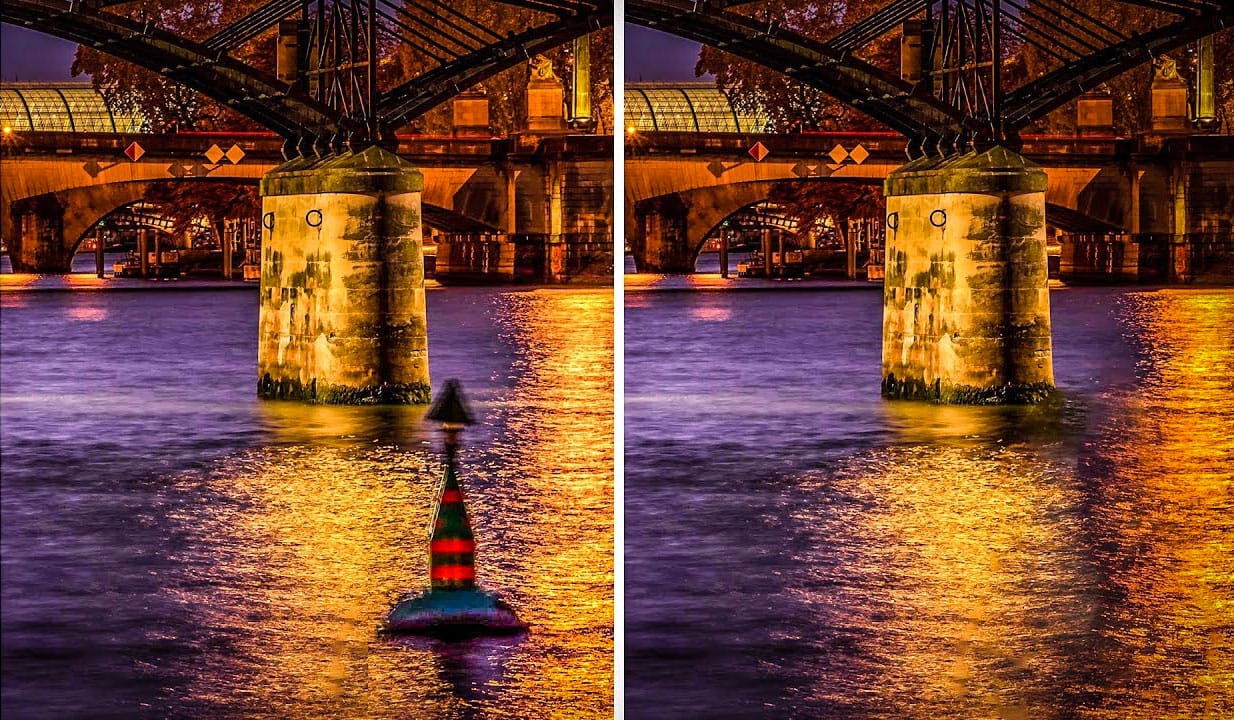
How to Remove Backgrounds in Photoshop: 5 Essential Tools
Background removal can make or break your image editing workflow. The right tool depends on your specific image: solid backgrounds need different approaches than complex hair details or high-contrast scenes.
This tutorial covers five powerful Photoshop tools that handle different background removal challenges, from simple graphics to intricate details.
Watch the Tutorial
Practical Tips for Background Removal
* Use Blend If for solid colored backgrounds by accessing layer styles and adjust