Photoshop's Light adjustment layer brings Camera Raw-style tonal controls — exposure, contrast, highlights, shadows, whites, and blacks — directly into a non-destructive layer workflow. The real value isn't in what the sliders do individually, but in how you sequence them to expand dynamic range and reveal detail in both shadows and highlights.
Watch the Video
Video by photoshopCAFE. Any links or downloads mentioned by the creator are available only on YouTube
Practical Tips
Here are the key techniques covered in this tutorial for getting the most out of the Light adjustment layer workflow.
- Start by reducing contrast slightly (around −5) before touching other sliders — cameras tend to add contrast by default, and pulling it back gives you more room to recover detail.
- Pull highlights to the left first, sometimes all the way, to recover sky and cloud detail before adjusting exposure — this prevents compensation issues later.
- Raise shadows gradually to open up dark areas, but stop before the image looks illustrative or flat; a small amount of shadow depth should remain.
- Use whites and blacks last to restore punch — push whites up to clean milky highlights, and pull blacks left to anchor the darkest tones after recovery.
- Duplicate the Light adjustment layer and use a sky selection mask to apply a doubled effect only where needed, going beyond what a single layer's sliders can achieve.
Related Articles and Tutorials
Explore more tutorials on tonal control, adjustment layers, and lighting techniques in Photoshop.
10 Photoshop Tricks You Probably Forgot Exist
There's a funny pattern with Photoshop. The longer you use it, the more you rely on the same small set of tools… while some of the most powerful techniques quietly fade into the background. Not because they stopped working — but because they're just a bit hidden, or not part of your daily flow anymore.
So this is a quick refresher. Not beginner stuff, not flashy effects — just solid techniques that have been inside Photoshop for years and still solve real problems better than most newer alterna
Photoshop 2026: 5 New Features Worth Adding to Your Workflow
Photoshop 2026 arrives with a set of updates that genuinely change how certain editing tasks get done. The Light adjustment layer alone could replace a step many photographers have been routing through Camera Raw for years — and that's just the start.
Watch the Video
Practical Tips
Here are the key takeaways from the video, covering each of the five features and how to get the most out of them.
* Use the new Light adjustment layer to recover highlights and shadows directly on the canvas —

How to Use the Light Adjustment Layer in Photoshop
Photoshop's new Light adjustment layer brings Camera Raw controls — exposure, contrast, highlights, shadows, whites, and blacks — directly into the layers panel as a fully non-destructive, maskable layer. This means you can stack multiple light adjustments, target specific subjects, and combine them with Blend If and other adjustment layers without ever flattening your file.
Watch the Video
Practical Tips
Key techniques covered in this tutorial for working with the Light adjustment layer ef
10 little-known Photoshop features you should really learn
Photoshop's true power isn't just in its headline features—it's in the hidden gems that can transform your workflow overnight. While everyone knows about layers and the healing brush, these lesser-known capabilities can save you hours and open up creative possibilities you never knew existed.
If you're a seasoned professional or an ambitious beginner, these 10 features will give you that unfair advantage that separates efficient creators from those still clicking through endless menus.
1. Ble

How to Sculpt Light and Add Atmosphere in Photoshop
Light transforms a flat image into something with depth, mood, and visual interest. The ability to enhance existing light sources or create entirely new ones opens up creative possibilities that go far beyond what the camera originally captured.
This tutorial demonstrates how to sculpt light using adjustment layers, selection tools, and atmospheric brushes to create convincing light effects that work naturally with your image's existing lighting conditions.
Watch the Video
Understanding Lig
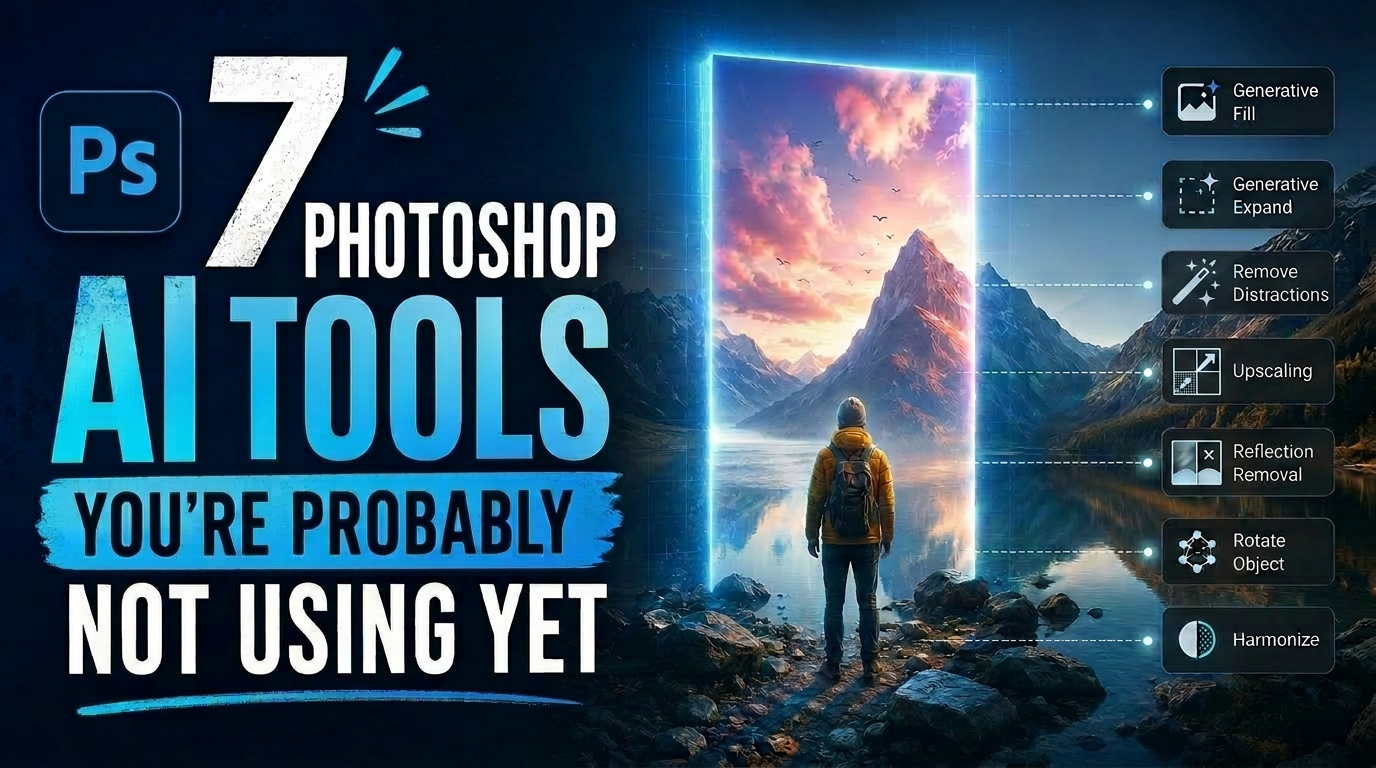
7 Photoshop AI Tools You're Probably Not Using Yet
Photoshop's AI features now go far beyond simple object removal. Some of the newer tools can completely change the way you edit photos, create composites, clean up distractions, or expand scenes — often with just a few clicks.
The interesting part is that many of these features still feel surprisingly underused. While Generative Fill gets most of the attention, Photoshop now includes several AI-powered tools that can produce genuinely impressive results without requiring overly complicated work
5 Hidden Photoshop Features You Probably Didn't Know
Many Photoshop users tend to rely on a familiar set of tools and workflows, often overlooking powerful but less obvious functionalities. This can lead to inefficient processes and missed creative opportunities, making certain tasks feel more cumbersome than they need to be.
This guide and accompanying video demonstrate five underutilized features within Photoshop that can significantly enhance your efficiency and expand your creative toolkit. Learning these capabilities transforms how you appro

5 Recent Photoshop Features Worth Adding to Your Workflow
Photoshop has been receiving a steady stream of updates, and a handful of genuinely useful features have quietly slipped past most users. From one-click lighting harmonization to AI-powered object removal and automatic layer naming, these tools can meaningfully reduce the time spent on repetitive editing tasks.
Watch the Video
Practical Tips
Here are the key takeaways from the video, covering each of the five features and how to get the most out of them.
* Use Harmonize as a starting poin

Learn how to use lighting effects in Photoshop
Bringing different elements together in Photoshop requires more than just careful selection and placement; it demands mastery of lighting to achieve true realism. When composing an image, the way light interacts with each object determines its perceived depth, form, and how seamlessly it integrates into the scene. Neglecting proper lighting can make even the most detailed composite look flat and artificial.
This tutorial demystifies Photoshop's powerful lighting effects, showing how to transfor