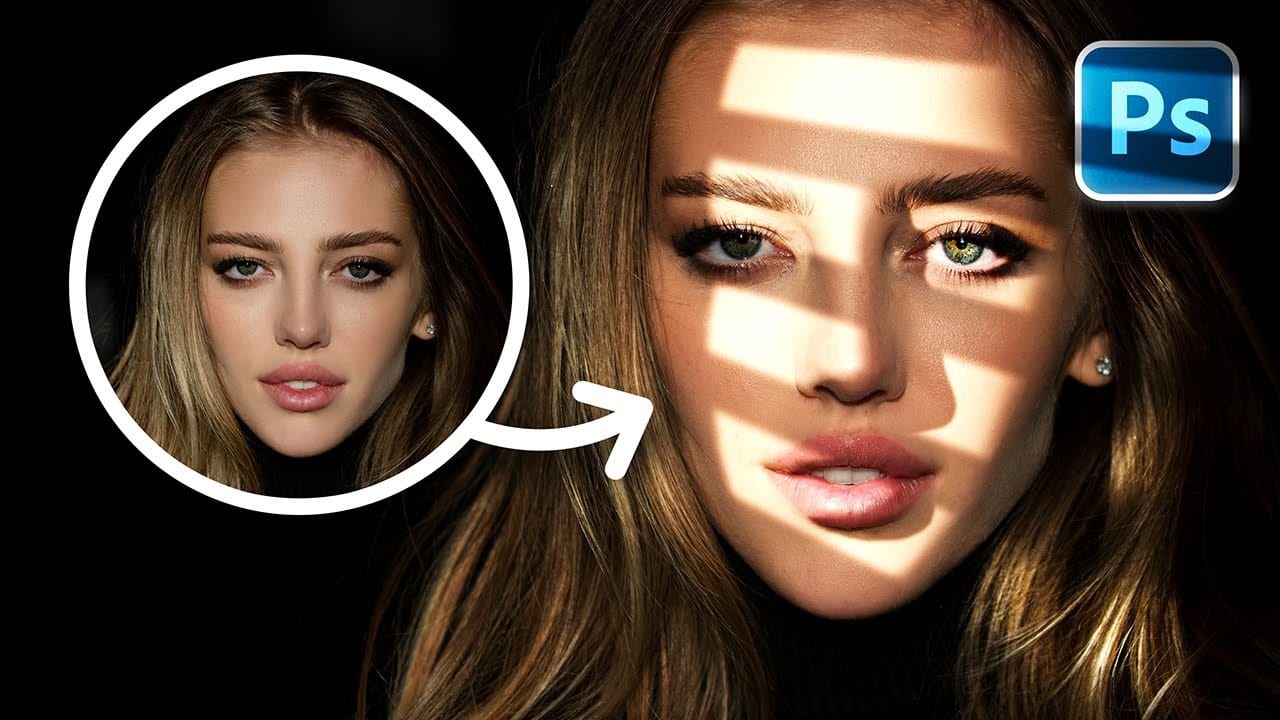
How to Sculpt Light and Add Atmosphere in Photoshop

How to Sculpt Light and Add Atmosphere in Photoshop

Light transforms a flat image into something with depth, mood, and visual interest. The ability to enhance existing light sources or create entirely new ones opens up creative possibilities that go far beyond what the camera originally captured.

This tutorial demonstrates how to sculpt light using adjustment layers, selection tools, and atmospheric brushes to create convincing light effects that work naturally with your image's existing lighting conditions.

Watch the Video

Video by SandraD Imagery. Any links or downloads mentioned by the creator are available only on YouTube

Understanding Light Direction and Source

Successful light manipulation starts with analyzing your image's existing light sources. Every shadow tells a story about where light originates, and working against these natural patterns creates unconvincing results.

The polygonal lasso tool proves particularly effective for creating geometric light shafts. This approach works better than brushes for architectural scenes where light travels in predictable straight lines through windows or openings.

Key concepts for effective light sculpting:

  • Identify all existing light sources before adding new ones
  • Match the direction and intensity of natural light patterns
  • Use adjustment layers for non-destructive editing flexibility
  • Layer atmospheric effects on separate blank layers for easy repositioning
  • Subtle adjustments create more believable results than dramatic changes

Practical Tips for Light Sculpting

  • Start with **levels** or **curves** adjustment layers rather than brightness/contrast for better tonal control
  • Use the polygonal lasso tool to create precise geometric light shafts that follow architectural lines
  • Apply atmospheric brushes on blank layers so you can transform and reposition effects easily
  • Mask out unwanted areas using black brush on layer masks rather than starting over
  • Keep opacity low on atmospheric effects - aim for subtle hints rather than obvious additions

Explore more techniques for creating dramatic lighting effects in your images.
Learn how to use lighting effects in Photoshop
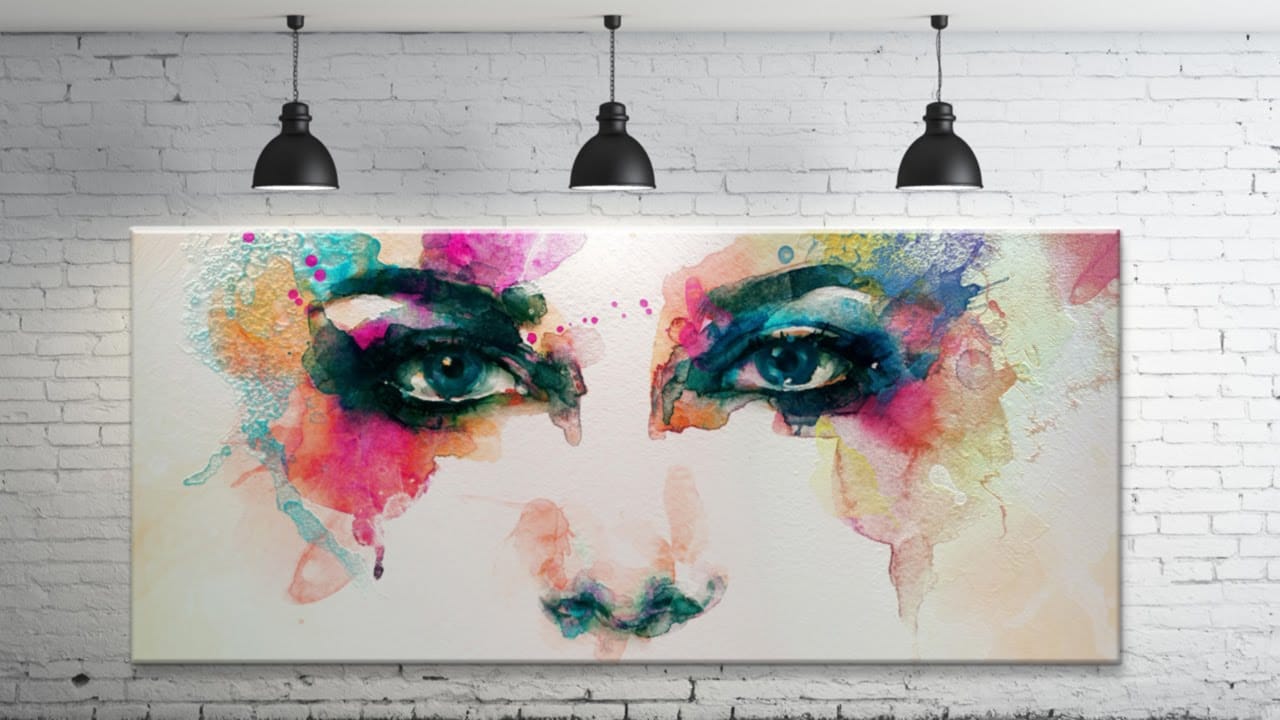
This tutorial by Aaron Nace from Phlearn shows how to use lighting effects in Photoshop to transform a flat piece of art into a three-dimensional masterpiece. The user will learn techniques to add depth and texture to their work. By exploring the Lighting Effects feature in Photoshop, the viewer can experiment with different lighting setups and adjustments. This allows them to create the illusion of a three-dimensional surface, adding shadows and highlights that bring the image to life. The st
Create Fake Lights for Portraits in Photoshop
Adding artificial light to a portrait can dramatically transform its mood and visual impact, offering creative control far beyond what natural or studio lighting might initially provide. This technique allows artists to craft specific atmospheres, highlight key features, and introduce dynamic elements that enhance the subject's presence. This tutorial explores a comprehensive method for creating realistic fake lights and, crucially, their corresponding shadows in Photoshop. You will learn how t
Add Striking Light Effects to Your Photos in Photoshop
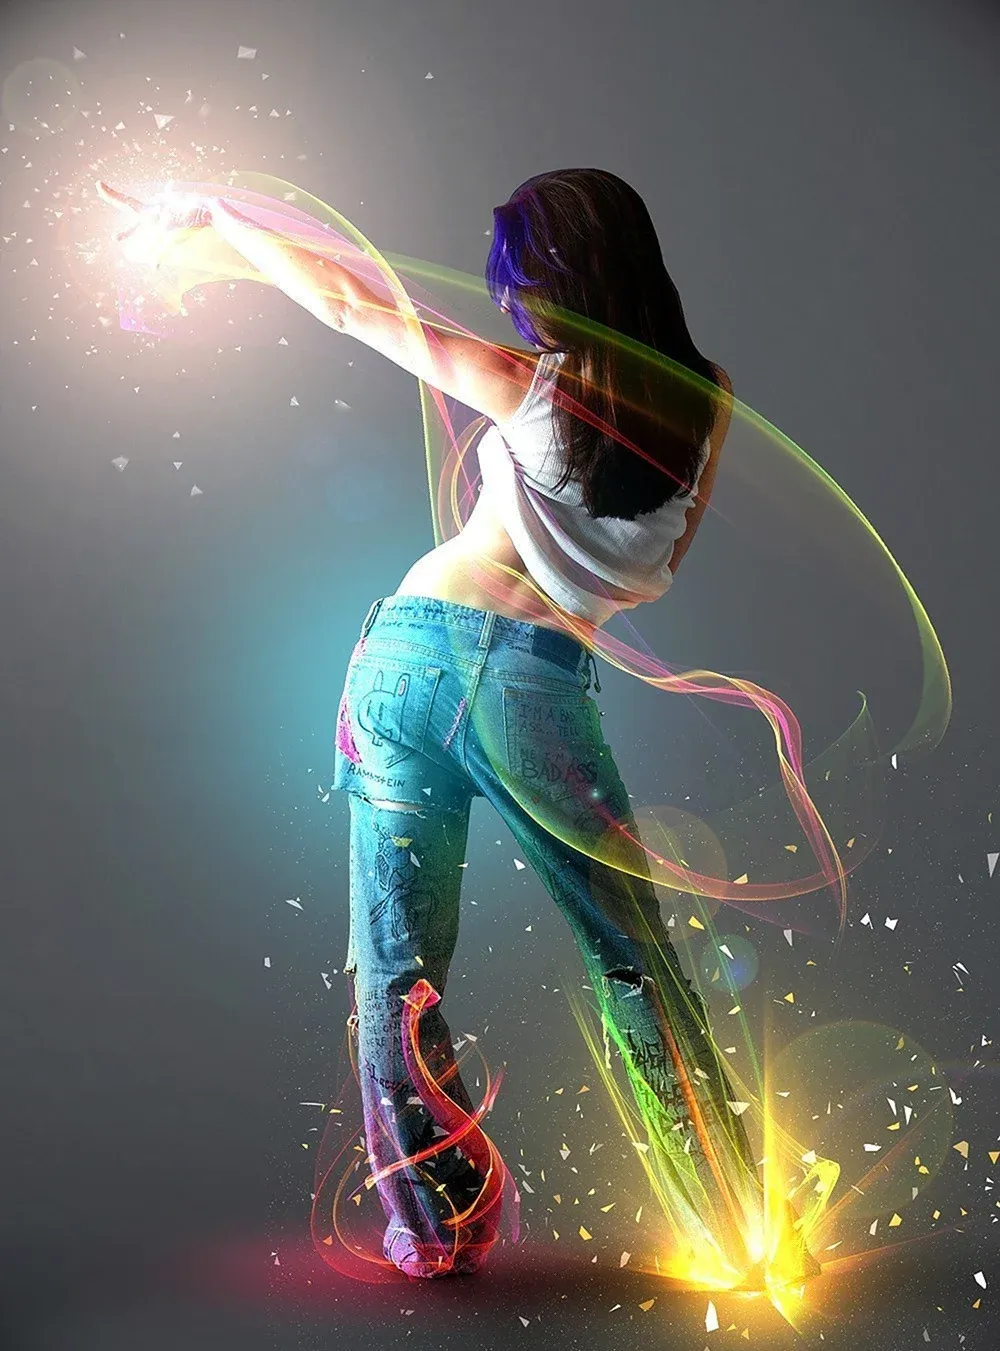
In this Photoshop tutorial from PSD Box, using the "Colors in Motion" textures pack and a model image from deviantArt or ISO Stock, you'll create a vibrant digital artwork. Start by meticulously removing the background with the Pen Tool and placing the model on a new canvas with a gradient backdrop. Enhance the image with non-destructive adjustments for color and contrast, adding realistic shadows for depth. Integrate various light effects from the packs, adjusting blending modes and using tool
Create a Dreamy Lighting Portrait Effect in Photoshop
In this tutorial presented by Andrei Oprinca from PSD Box, you will explore the process of creating a beautiful spotlight effect in Photoshop. By utilizing the brush tool, you can achieve a dreamy lighting effect that enhances any image. The technique is straightforward, making it accessible for users at various skill levels. However, it does require a bit of patience to get the desired outcome. As you follow along, you will learn how to manipulate the brush settings and layer styles to achieve

Get tutorials & freebies delivered to you.

Subscribe to the Photoshop Roadmap newsletter, a weekly roundup of new tutorials, insights and quality downloads, trusted by 6500+ readers.

You might also like

Professional Portrait Retouching with the B.S.T. Method in Photoshop

Professional portrait retouching requires artistic choices that automated tools can't make. The B.S.T. method breaks retouching into three focused steps: removing blemishes with precision, smoothing skin while preserving natural texture, and equalizing skin tones throughout the image. This systematic approach gives you complete control over every...

Create Motion Blur Light Effects in Photoshop

Transform ordinary portraits into dynamic, cinematic images by combining path blur effects with creative background textures. This technique creates the illusion of camera movement while maintaining focus on key elements like the subject's eyes, resulting in professional-looking motion blur effects that add energy and visual interest to static...

How to Paint Realistic Jewelry on Portraits in Photoshop

Adding painted jewelry to portraits transforms ordinary photos into fantasy portraits with ornate accessories that never existed. This digital painting technique uses careful layering, proper lighting, and realistic shadows to create convincing rings, earrings, and decorative headpieces. The method combines basic brush work with advanced blending techniques to build up...

How to Sharpen Images Using the High Pass Filter in Photoshop

The High Pass filter method remains one of the most versatile sharpening techniques in Photoshop, offering precise control over which image areas receive enhancement. This non-destructive approach works by identifying edge details and allowing you to selectively apply sharpening exactly where it's needed most. Unlike automated sharpening tools,...

How to Find Missing Actions in the New Photoshop Actions Panel

The redesigned Actions panel in Photoshop can catch users off guard when their custom actions seem to disappear. With the new tabbed interface, your previously created actions are still there—they're just located in a different tab than before. Understanding the new layout will help you quickly access...

Fast Portrait Retouching: Remove Stray Hairs, Clothing Wrinkles, and Fix Backgrounds

Every portrait photographer knows the feeling: you've captured a beautiful shot, but stray hairs, wrinkled clothing, and messy backgrounds turn editing into hours of tedious work. These common retouching challenges can drain your time and energy, especially when dealing with high-volume projects or tight deadlines. This tutorial demonstrates...

You’ve successfully subscribed to Photoshop Roadmap
Welcome back! You’ve successfully signed in.
Great! You’ve successfully signed up.
Success! Your email is updated.
Your link has expired
Success! Check your email for magic link to sign-in.