Create a Dreamy Lighting Portrait Effect in Photoshop

Create a Dreamy Lighting Portrait Effect in Photoshop

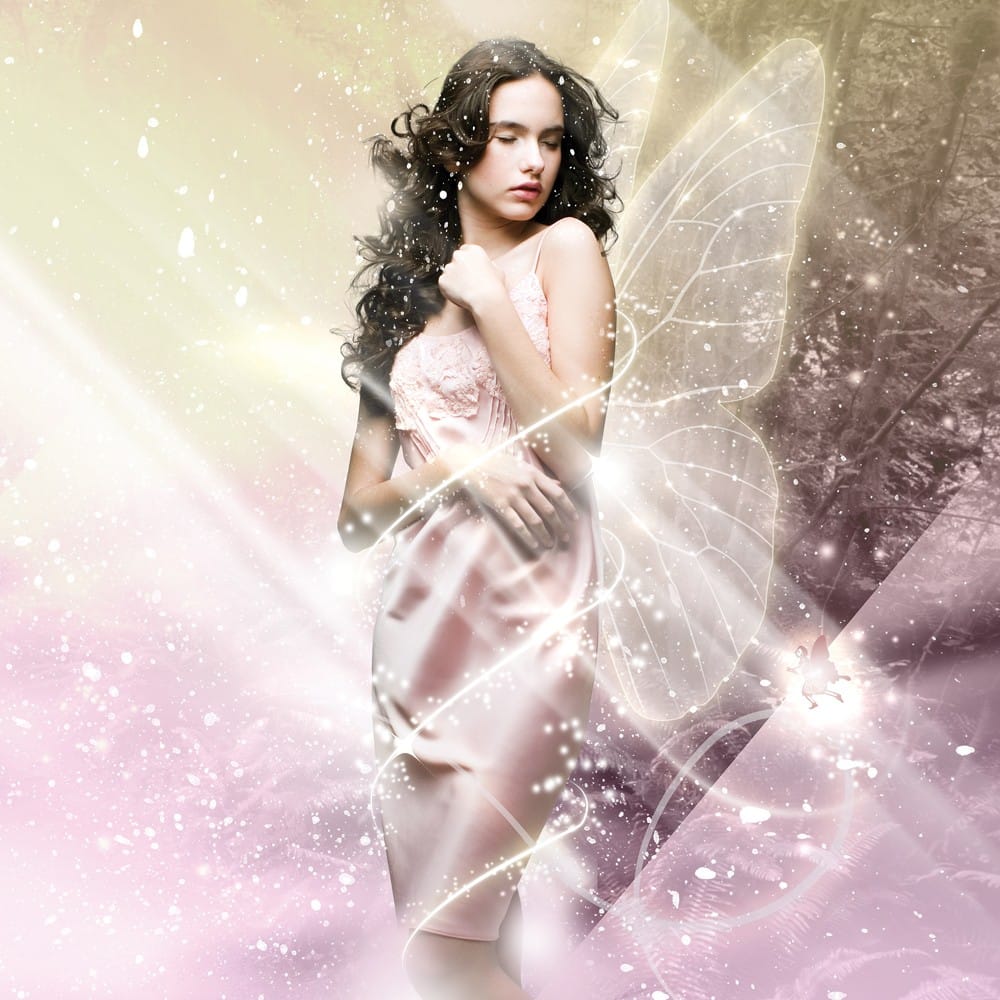
Discover how to infuse your images with a captivating fantasy aesthetic, transforming a simple photo into a scene rich with dramatic light and atmosphere. This process involves more than just filters; it's about meticulously shaping light and shadow to evoke a sense of magic.

This tutorial provides a clear path to achieving these striking visual enhancements, guiding you through essential Photoshop techniques that elevate ordinary compositions into extraordinary digital art.

Watch the Video

Video by PSD Box Official. Any links or downloads mentioned by the creator are available only on YouTube

Cultivating Depth and Drama with Digital Lighting

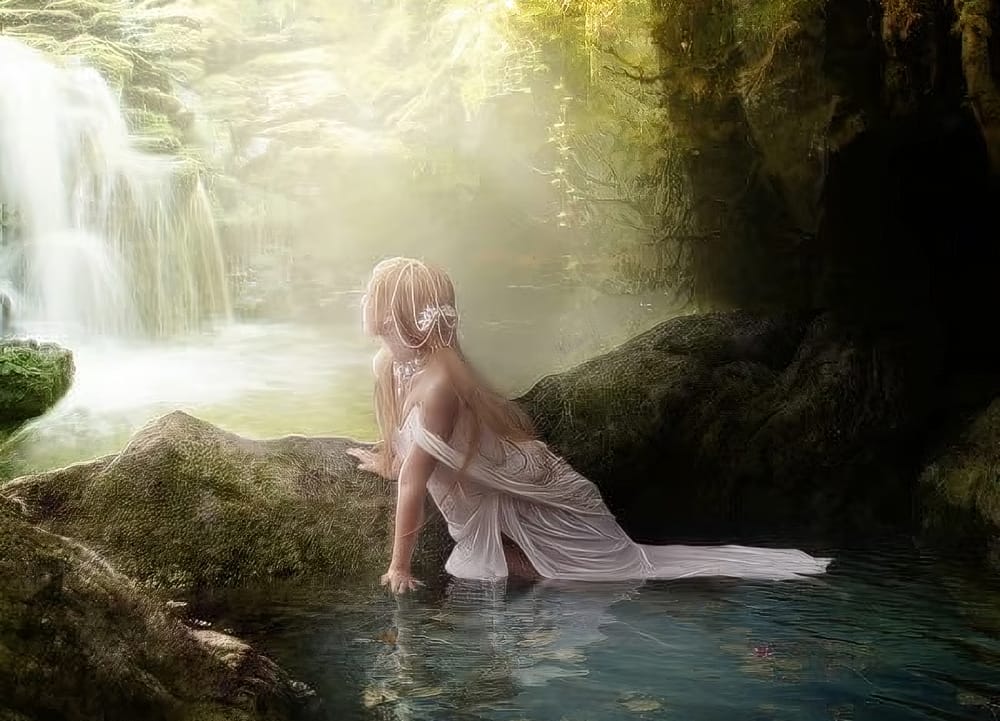
In digital art, particularly within the fantasy genre, the strategic manipulation of light and shadow is paramount for creating immersive and compelling scenes. Beyond mere aesthetics, lighting actively shapes the emotional resonance and narrative depth of an image, guiding the viewer's eye and establishing a palpable atmosphere. By carefully defining where light falls and shadows recede, artists can sculpt perceived forms and imbue flat images with a powerful sense of three-dimensionality.

This deliberate approach to illumination extends beyond simple brightness and contrast. It involves understanding how different light sources interact with a subject and its environment, influencing color, texture, and overall mood. Techniques that build up light and shadow incrementally, often leveraging non-destructive editing methods, allow for greater creative control and refinement. This iterative process ensures that every highlight and every darkened area contributes meaningfully to the desired fantastical ambiance.

Practical Tips for Enhancing Fantasy Lighting

  • Employ a 50% gray layer with an Overlay blend mode for non-destructive dodging and burning, allowing for precise control over highlights and shadows without altering the original image data.
  • Construct dynamic light rays by drawing triangular selections with the Polygonal Lasso Tool, filling them with white, and then applying Motion Blur followed by Gaussian Blur for a volumetric effect.
  • Develop custom dust particle brushes by adjusting Shape Dynamics, Scattering, and Dual Brush settings in the Brushes panel to create organic and varied atmospheric elements.
  • Generate striking glow effects by painting with darker tones on layers set to Color Dodge or Linear Dodge blend modes, which intensifies light in a controlled manner.
  • Create a merged "stamp layer" (Alt+Ctrl+Shift+E) and convert it into a Smart Object before applying final filters like Lighting Effects, ensuring that adjustments remain fully editable.
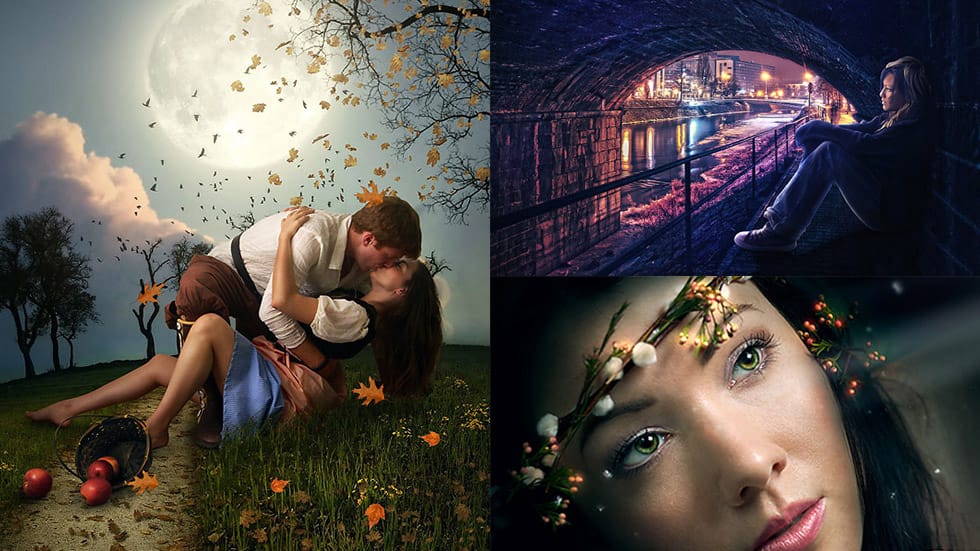
Explore additional resources to deepen your understanding of digital lighting and atmosphere in photo manipulation.

Fantasy Lighting Effects in Photoshop
Fantasy art scenes often rely heavily on digital effects, but there’s a more personal approach you can take. Instead of simply relying on Photoshop plug-ins, consider using Adobe Illustrator to create your own custom brushes. By incorporating scanned elements into Photoshop, it's possible to produce unique, otherworldly scenes filled with vibrant glow effects and light beams. This masterclass focuses on transforming a basic stock model into a stunning visual experience. You’ll learn to layer yo
Learn how to use lighting effects in Photoshop
In this tutorial you will learn how to transform a flat piece of art into a textured, 3-D masterpiece using Lighting Effects in Photoshop! More
Dreamy, Magical and Lighting Effects Photoshop Tutorials
Many years ago Photoshop tutorials were all about special effects, mainly ugly ones. In fact, no matter how ugly they were, any kind of effect was well received, because designers and artists were starting to discover the Web as an invaluable source of inspiration. ButFollowing that line, I created several tutorials lists such as The […] More
Create a Fantasy Photo Manipulation in Photoshop
This tutorial focuses on creating a stunning fantasy photo manipulation in Photoshop. It guides you through the process of combining various stock photos and artworks to achieve your desired effect. You will learn techniques for applying a soft photo effect that adds an ethereal touch to your composition. The tutorial also covers how to add realistic moss to rocks, bringing an organic feel to the environment. Moreover, you’ll discover how to enhance a pool of water by introducing water lilies,

Get tutorials & freebies delivered to you.

Subscribe to the Photoshop Roadmap newsletter, a weekly roundup of new tutorials, insights and quality downloads, trusted by 6500+ readers.

You might also like

Complete Photoshop Editing Workflow: 5 Steps from Raw to Polished

Photoshop offers endless possibilities for photo enhancement, but many photographers never move beyond basic adjustments because the software feels overwhelming. This comprehensive workflow breaks down photo editing into five manageable stages that work consistently across different photography styles. The systematic approach covers everything from initial raw processing to advanced lighting...

Photoshop Workspace Basics: Navigation, Zooming, and Essential Interface Elements

Photoshop's interface can feel overwhelming when you first open the program. Dozens of panels, tools, and menus compete for attention, making simple tasks feel complicated. This tutorial breaks down the essential workspace elements and teaches fundamental navigation skills that form the foundation of efficient Photoshop work. Watch the...

How to Restore Old Damaged Photos Using Nano Banana in Photoshop

Old family photos with scratches, tears, and missing sections can seem beyond repair. Google's Nano Banana AI model, now integrated into Photoshop, makes full restoration possible in minutes rather than hours. This powerful tool excels at maintaining facial characteristics while automatically filling in damaged areas and adding realistic...

How to Get Higher Quality Results from Photoshop's Generative Fill Tool

Photoshop's Generative Fill creates impressive AI extensions, but the results often look blurry and pixelated when viewed at full size. This quality limitation makes many AI-generated areas unusable for printing or large displays. This technique shows how to work around the 1024x1024 pixel quality limit to create much...

How to Use Photoshop's Liquify Tool for Non-Destructive Portrait Retouching

Clothing wrinkles, hair that lacks volume, and awkward fabric bunching can distract from an otherwise great portrait. Photoshop's Liquify tool offers a powerful solution for smoothing out these issues while preserving the natural look of your subject. This tutorial demonstrates how to use the Liquify tool non-destructively with...

You’ve successfully subscribed to Photoshop Roadmap
Welcome back! You’ve successfully signed in.
Great! You’ve successfully signed up.
Success! Your email is updated.
Your link has expired
Success! Check your email for magic link to sign-in.