Adobe's new Rotate Object feature transforms flat 2D images into interactive 3D models that can be repositioned from any angle. This AI-powered tool automatically creates cutouts, maintains original textures, and generates missing details when objects are rotated beyond their original perspective.
The feature opens new possibilities for product photography, compositing, and creative positioning, though it works better with some subjects than others.
Watch the Video
Video by PiXimperfect. Any links or downloads mentioned by the creator are available only on YouTube
Practical Tips
Master the 3D rotation feature with these essential techniques:
- Install the beta version from Creative Cloud's Apps > Beta section and ensure you're using version 27.5 or later
- Enable the contextual taskbar by right-clicking outside the canvas if the rotate object button doesn't appear
- Create quality masks using Select Subject or Remove Background before rotating for better results
- Fix white halos by creating a selection from the layer thumbnail, adding a mask, and using Filter > Other > Minimum
- Use modest rotation angles to maintain realistic details, as extreme rotations can produce artificial-looking results
Related Articles and Tutorials
Explore more techniques for rotating, positioning, and creating dimensional effects with images.
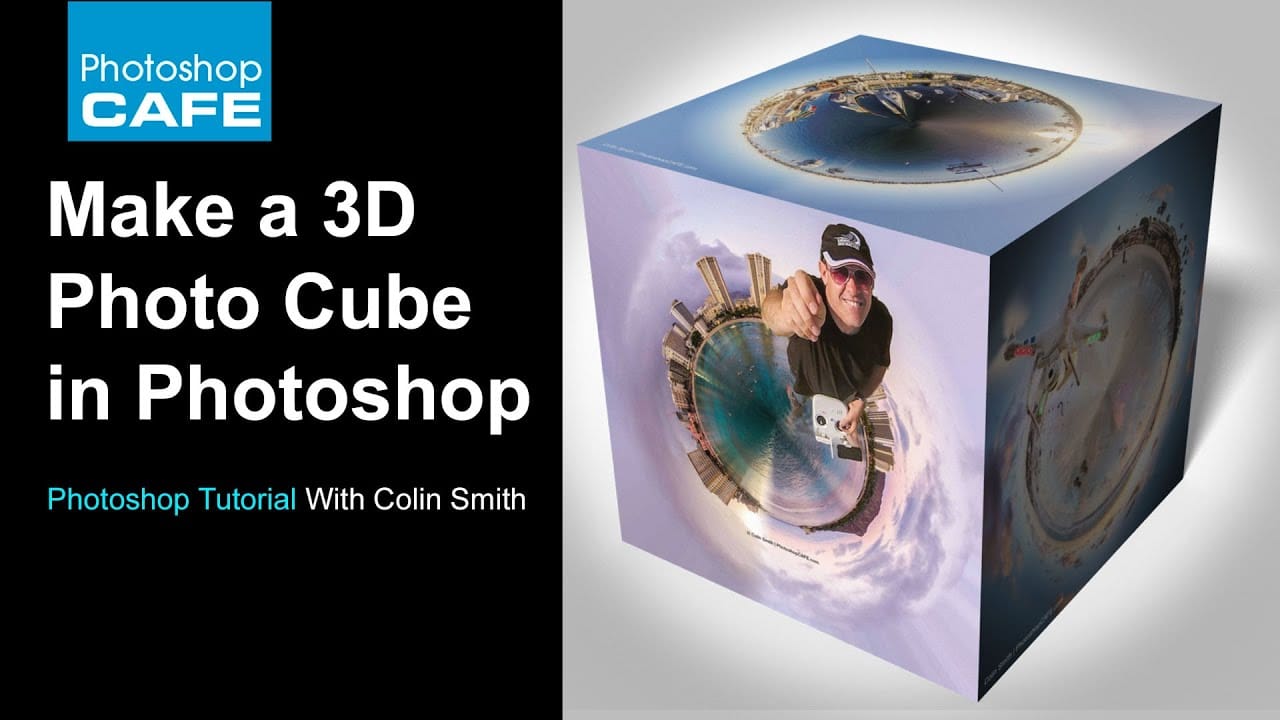
How to make a 3d photo cube in photoshop
According to the tutorial by Colin Smith from Photoshop Cafe, creating a 3D photo cube in Photoshop is a fun and easy process. The instructions are suitable for users of Photoshop CS6 Extended or any version of Photoshop CC.
The author explains that even those with no prior experience in 3D can follow along and create their own 3D photo cube. The tutorial guides the user through the steps of wrapping their photographs onto a 3D cube.
Smith encourages readers to have fun while exploring this fe
Create an intriguing upside down effect in Photoshop
In this tutorial from Tutorials Junction, you will learn how to create an intriguing upside-down effect with just a single picture. The effect is achieved by rotating and flipping an image. To make it more interesting, you'll be adding a person traveling between both worlds.
The author explains that this is a simple effect, but it can be quite striking. By manipulating the image in Photoshop, you can create the illusion of a person existing in two different orientations simultaneously. This can
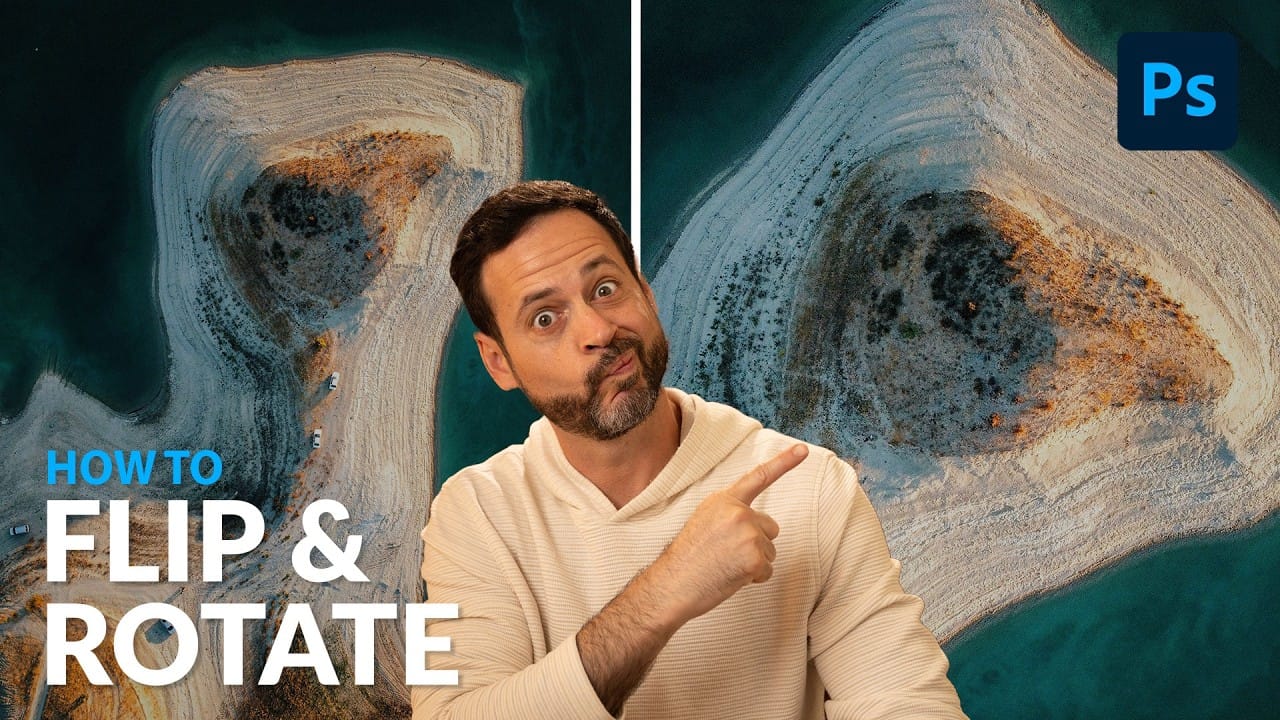
Rotate and Flip Images and Layers with Precision in Photoshop
Often in image editing, photographs or design elements are not oriented correctly or require a creative re-orientation for a new composition. This common challenge can be frustrating when simple rotation tools affect the entire canvas, disrupting other layers, or when precise control over individual elements is needed.
This tutorial demonstrates two distinct methods for rotating and flipping images in Photoshop: one for the entire canvas and another for individual layers.
Understanding these a
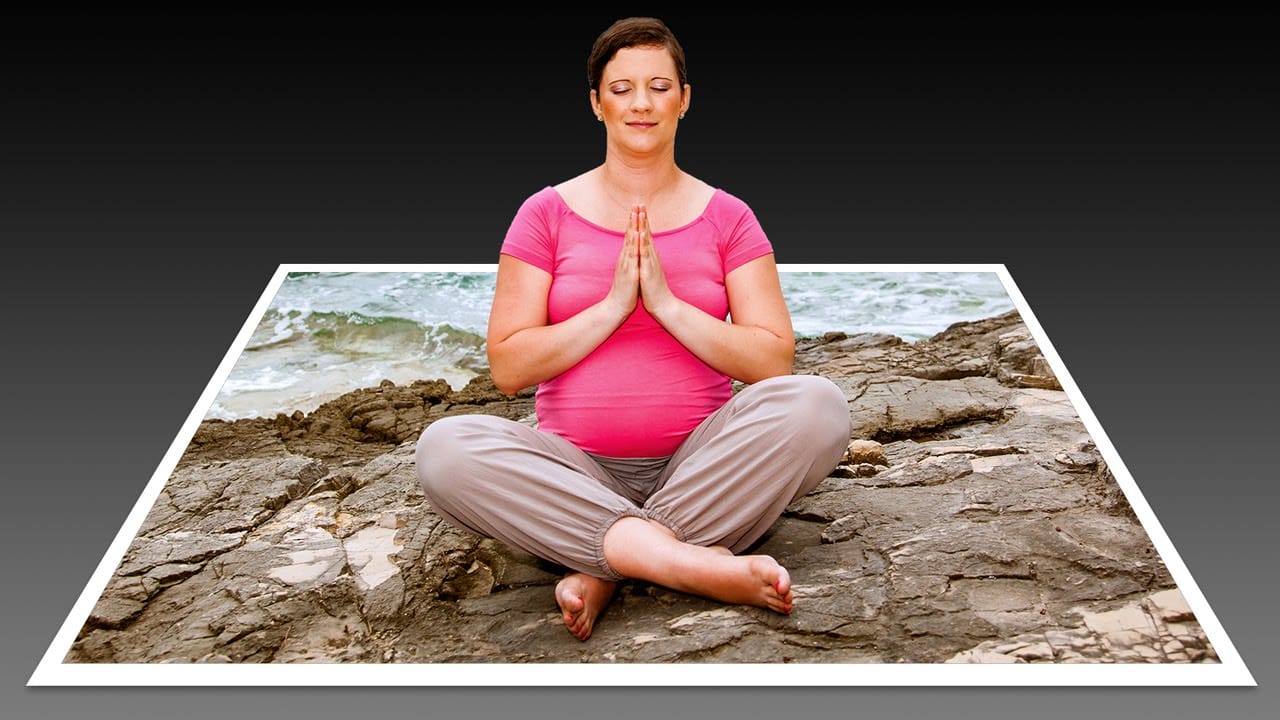
Create a 3D Pop-Out Photo Effect
This tutorial explores a classic Photoshop technique that brings a dynamic, three-dimensional quality to ordinary photographs. It offers a creative approach to making images more engaging by introducing an illusion of depth.
Viewers will learn how to make any object or person appear to pop out of its background, giving images a unique visual depth and engaging appeal. The video guides you through the process, from initial image preparation and subject isolation to the final application of the p
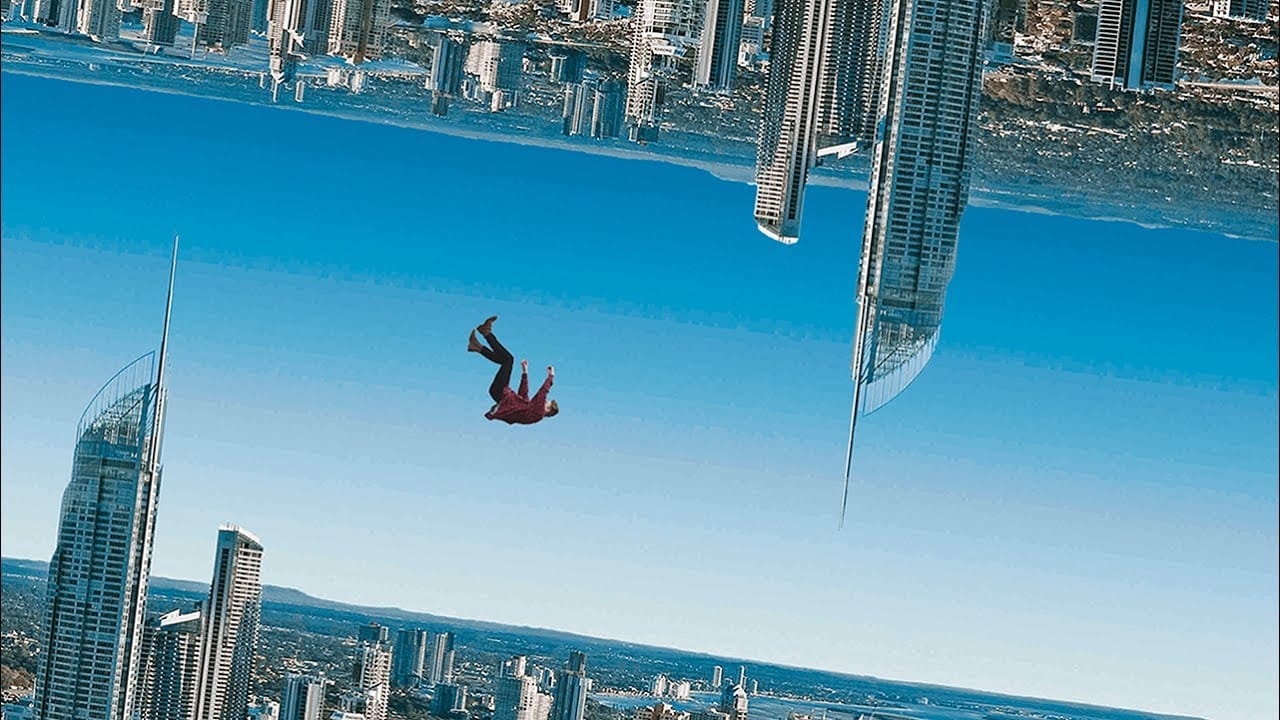
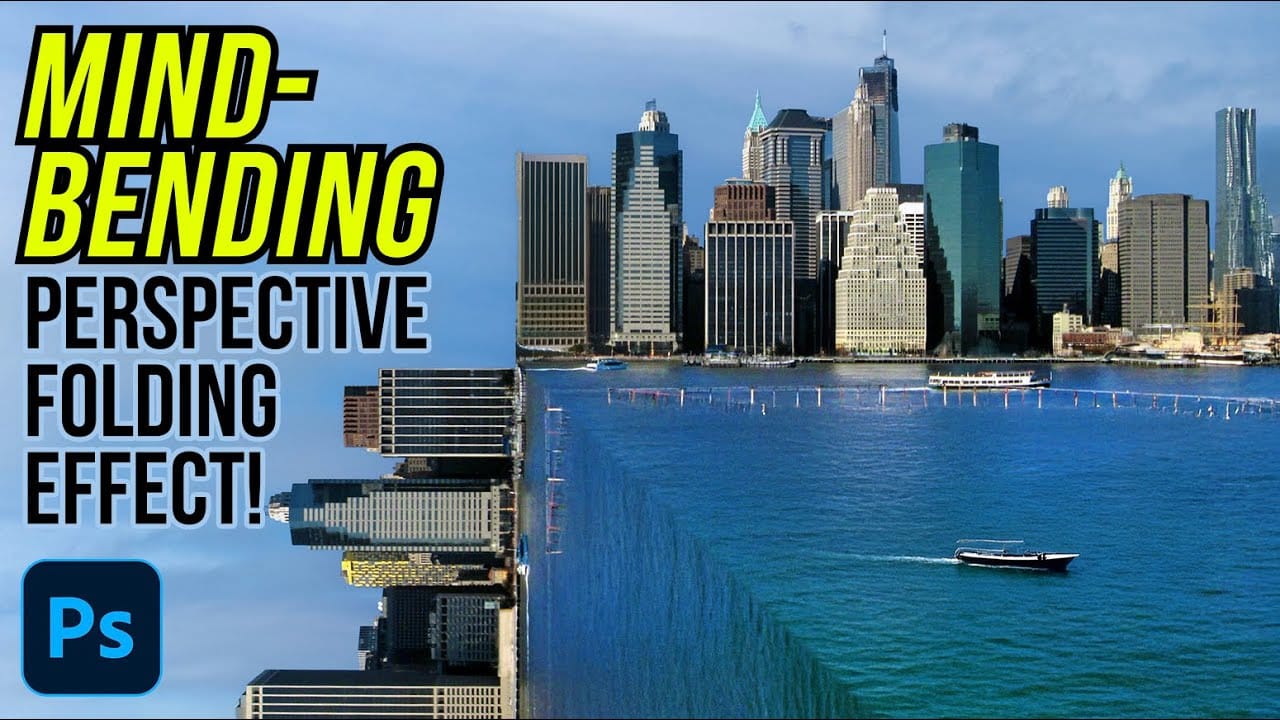
How to Create a Mind-Bending Perspective Effect in Photoshop
Transform an ordinary cityscape into a surreal architectural illusion that defies reality. This perspective-bending technique creates the visual impact of two worlds colliding at impossible angles.
Master the art of rotating, masking, and blending images to achieve cinematic effects that captivate viewers and challenge their perception of space.
Watch the Video
Essential Tips for Perspective Effects
* Enable Snap from the View menu before positioning rotated layers to ensure precise align
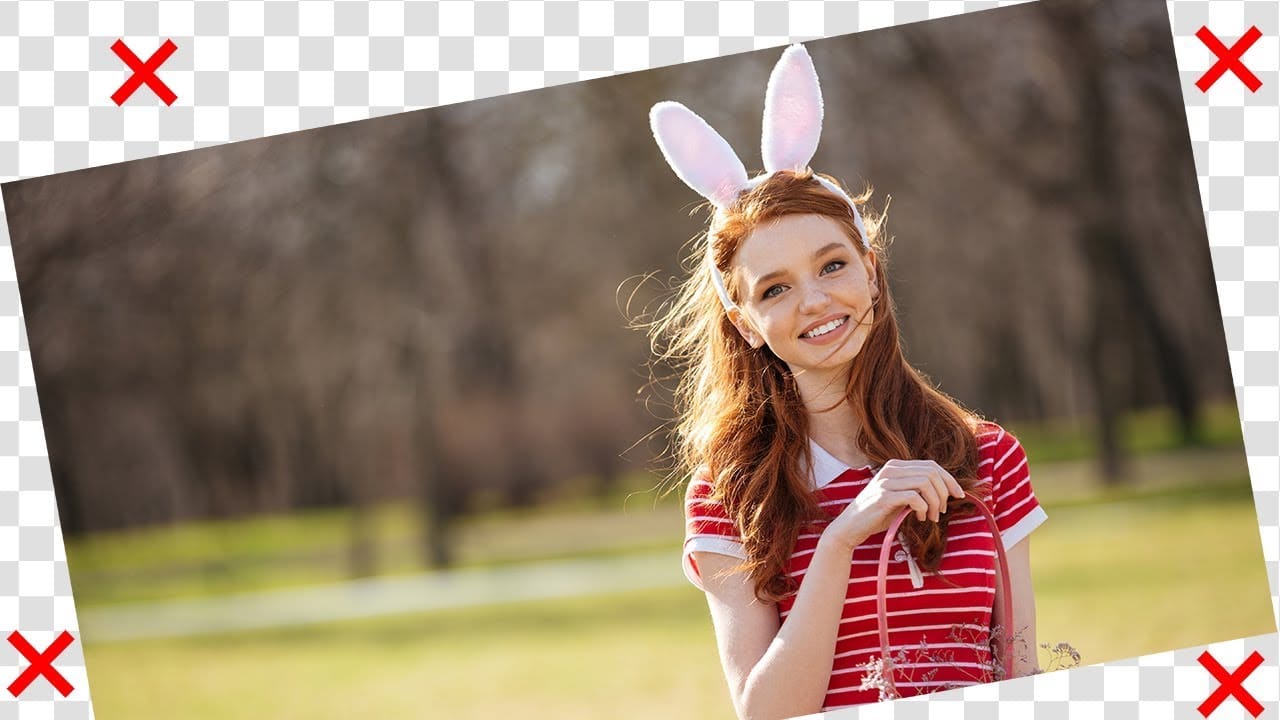
Rotate or straighten images without cropping in Photoshop
In this tutorial, PiXimperfect shows how to rotate or straighten an image without having to crop it in Photoshop. The instructor explains the process of using the Content-Aware Fill feature to fill in the spaces created when rotating the image.
The tutorial guides the viewer through the step-by-step process. First, the image is rotated to the desired angle. Then, the Content-Aware Fill tool is used to fill in the empty spaces around the edges of the image. The author demonstrates how this techn
Epic 3D Text Effects in Photoshop
Transform ordinary text into dynamic 3D visuals using Photoshop's 3D workspace. This tutorial will guide you through creating stunning typographic effects, adding captivating depth and realism to your designs.
You'll learn to build foundational 3D shapes and refine them with Photoshop's compositing tools, combining 3D extrusion precision with artistic freedom for polished, professional results.
Watch the Full Video Tutorial
Integrating Photoshop's 3D and Compositing Workflows
Photoshop's 3

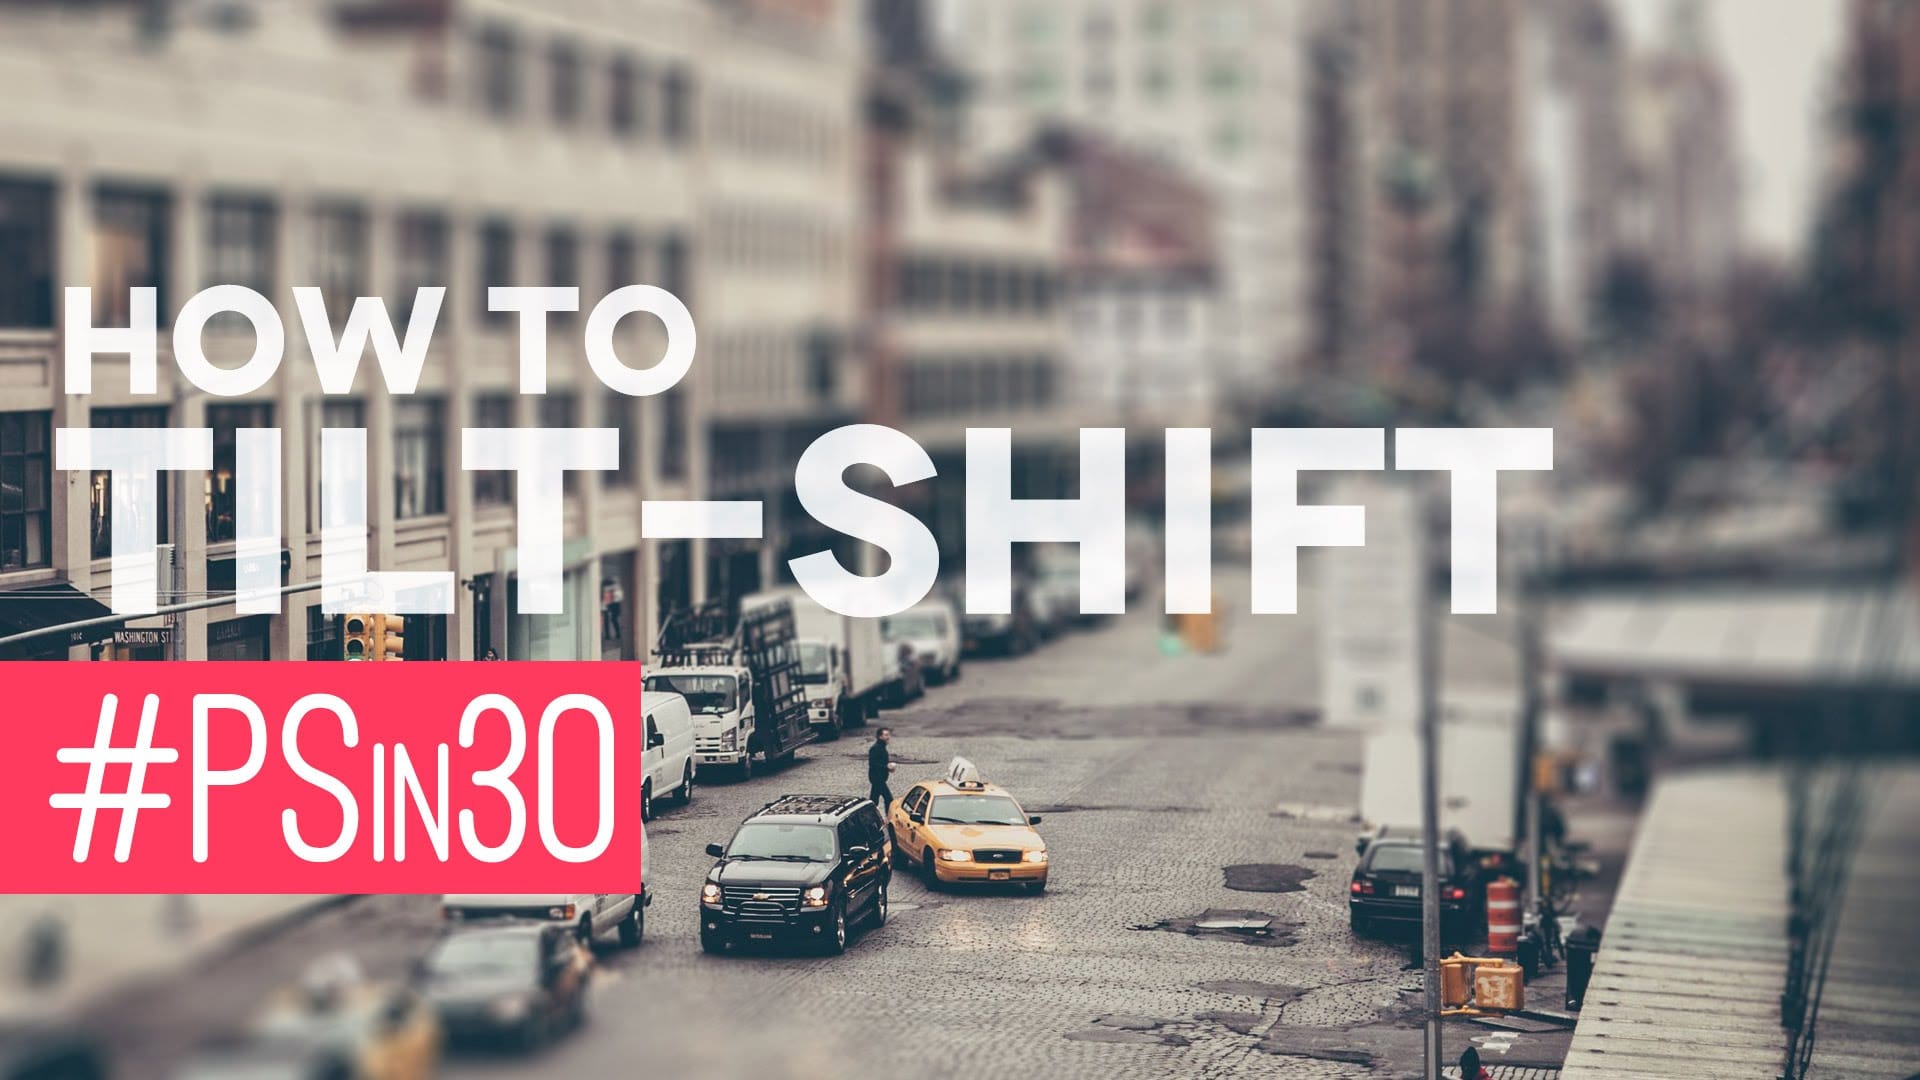
Quick Tilt-Shift in Photoshop
In this Photoshop tutorial by Nathaniel Dodson from TutVid, you'll learn to use the Blur Gallery's "Tilt-Shift" feature to transform a street scene into a miniature 3D model set.
Dodson guides you through the process, showing how to apply the tilt-shift effect to create the illusion of a toy-like cityscape. This tutorial is ideal for those looking to add a unique, eye-catching element to their photos, utilizing the newer capabilities of Photoshop's Blur Gallery.
Whether you're working on urban