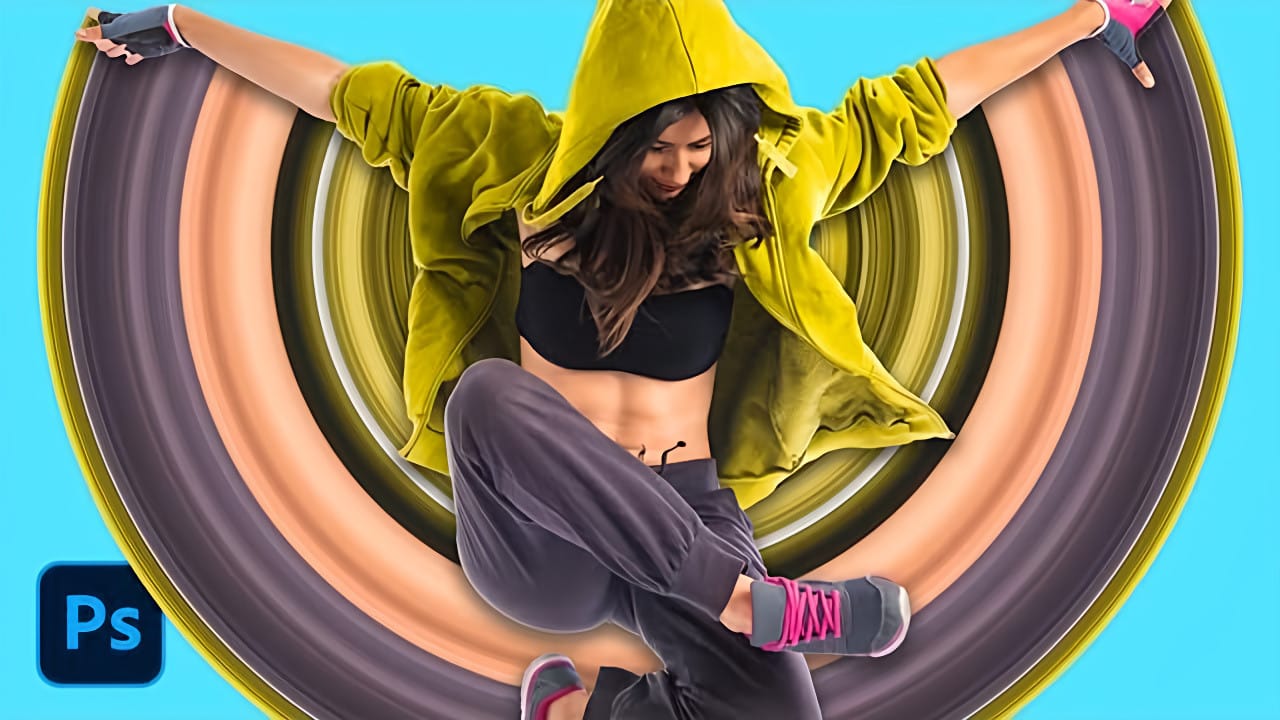
The pixel stretch effect takes a single column of pixels from a subject and extends it horizontally across the frame, creating a sharp, graphic streak that suggests speed or energy. It works on portraits, athletes, and objects alike, and the entire process relies on just a few basic Photoshop tools used in an unconventional way.
Watch the Video
Video by PHLEARN. Any links or downloads mentioned by the creator are available only on YouTube
Practical Tips
These key steps will help you build the effect cleanly and give you control over the final result.
- Use the Single Column Marquee tool to select exactly one vertical column of pixels from your subject — this becomes the source of the stretch.
- After transforming the column with Free Transform, hold Ctrl/Cmd while dragging a side handle to stretch it without distorting the rest of the layer.
- Right-click during the transform and switch to Warp to bend the streak, which also introduces semi-transparency and a more organic look.
- Add a layer mask to the stretched layer and apply a black-to-transparent gradient to fade the streak out smoothly in any direction.
- Keep the top duplicate of the subject visible to place the clean subject over the streak, or lower its opacity to blend the two layers together.
Related Articles and Tutorials
Explore more techniques for stretching, distorting, and pixelating images in creative ways.
Creating Pixel Stretch Effects With Polar Coordinates in Photoshop
Digital artists often seek unique ways to extend and manipulate image elements beyond their original boundaries. The polar coordinates filter in Photoshop offers a powerful method for transforming linear pixel selections into curved, organic shapes that can enhance portraits and creative compositions.
This technique combines strategic pixel sampling with coordinate transformation to create flowing extensions that appear naturally integrated with the original subject. The result adds dynamic mov
Create a pixelated dispersion effect in Photoshop
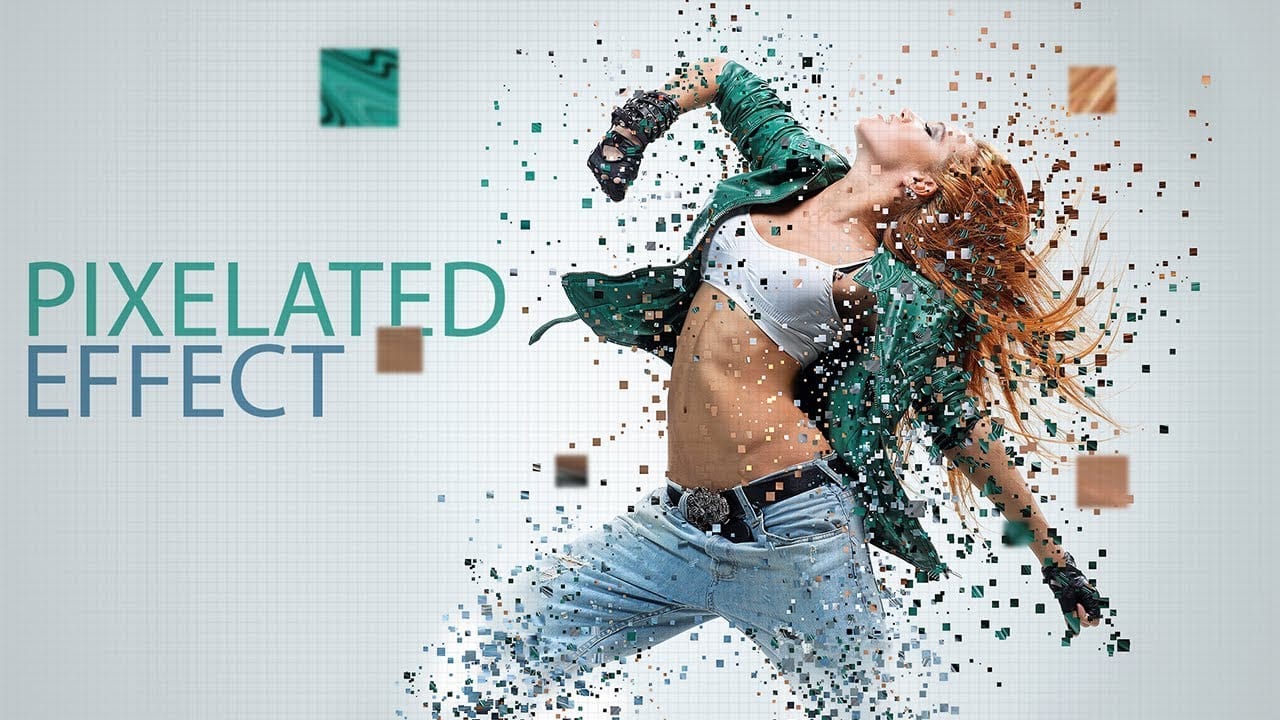
Transform ordinary photos into striking digital artwork using Photoshop's pixel manipulation techniques. This tutorial reveals how to deconstruct images into bold, geometric designs that capture the essence of digital pop art and retro gaming aesthetics.
Watch the Video
Practical Tips for Pixel Art Effects
Master the art of digital pixel transformations with these key techniques:
* Create custom pixel brushes to control size, spacing, and randomness of pixel elements
* Use Liquify filter
How to Create Stretched Perspective Text Effects in Photoshop
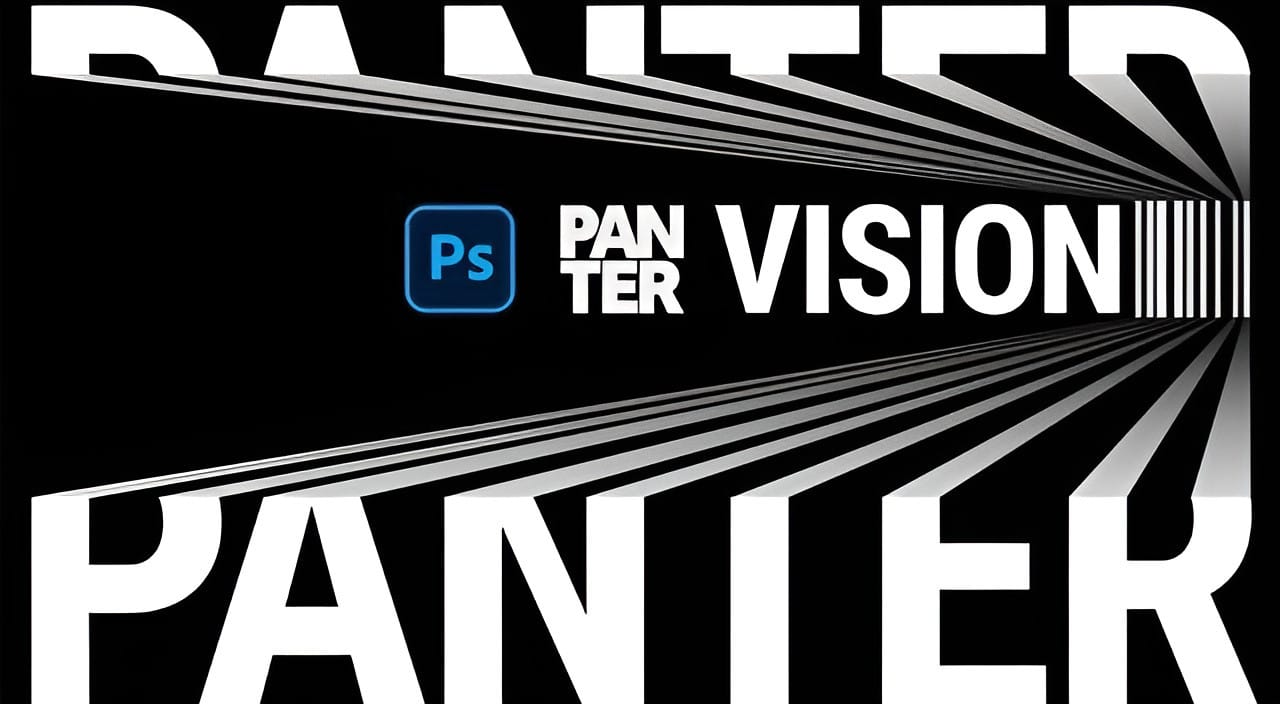
Stretched perspective text creates dramatic visual depth by transforming flat typography into architectural-style elements that appear to recede into space. This trendy effect, popular in poster design, gives text a building-like appearance with multiple vanishing points.
The technique involves manually cutting, duplicating, and connecting text segments using selection tools and careful layer management to build convincing perspective distortion.
Watch the Video
Practical Tips
These key te
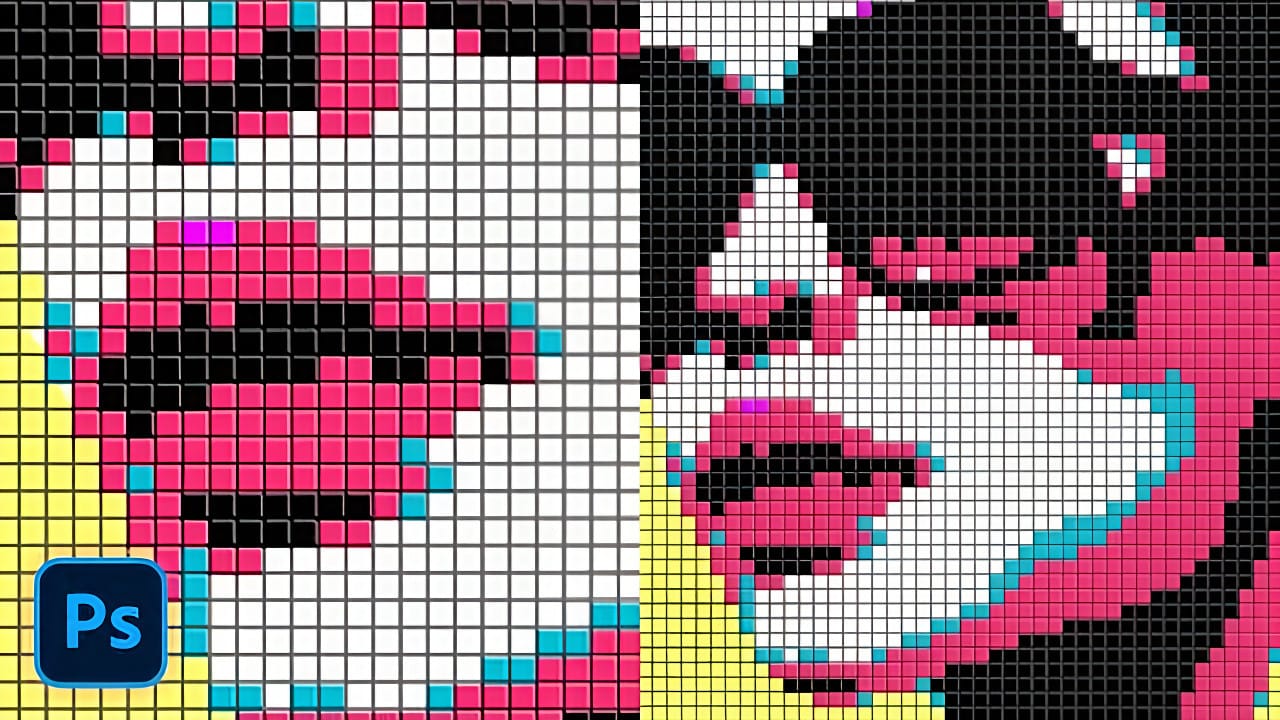
Creating a Colorful Pixelated Effect in Photoshop
The colorful pixelated effect transforms ordinary photographs into vibrant, retro-style artwork reminiscent of 8-bit video games and digital pop art. This distinctive visual style combines traditional mosaic filtering with advanced color manipulation to create bold, simplified imagery that captures attention.
This technique works particularly well for portraits, creating striking poster-like results that blend nostalgic pixel aesthetics with modern design sensibilities.
Watch the Tutorial
U
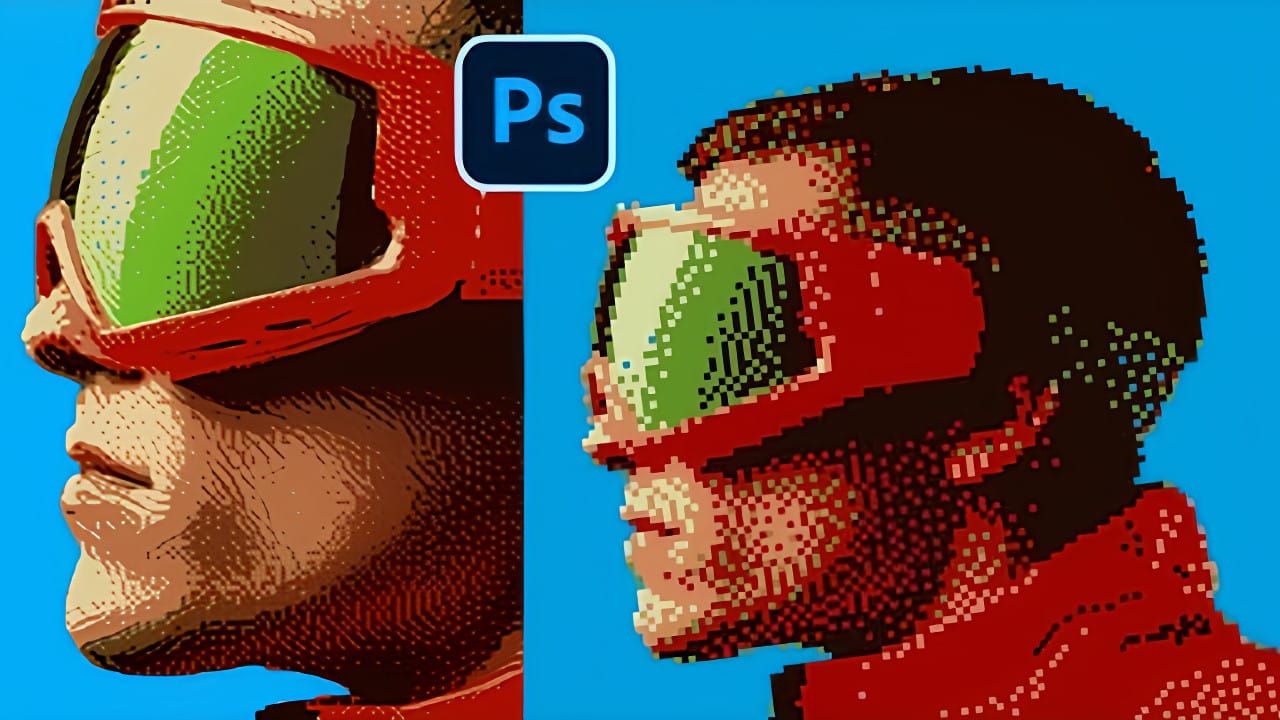
Creating Pixelated Dither Effects in Photoshop
The pixelated dither effect transforms modern photographs into retro-inspired artwork reminiscent of early video games and vintage computer graphics. This distinctive visual style uses controlled color reduction and strategic pixelation to create images that balance nostalgic charm with contemporary design appeal.
The technique relies on Photoshop's export settings and specific file format workflows to achieve authentic dithering patterns. By manipulating resolution, color depth, and dithering
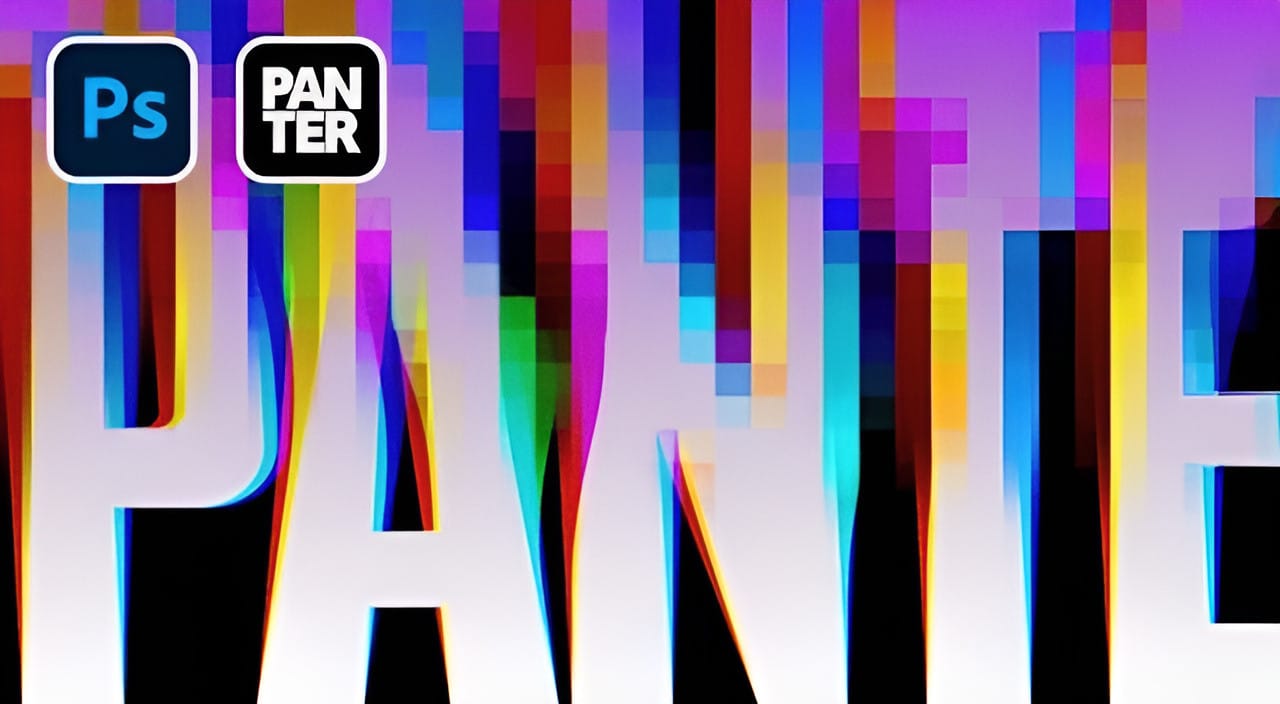
Create Pixelated Liquid Typography with Chromatic Distortion in Photoshop
Liquid typography combines flowing, organic distortions with digital glitch aesthetics to create text that appears to melt and separate into colorful chromatic components. This technique transforms static letters into dynamic, pixelated designs that suggest movement and technological breakdown.
The method uses the Liquify filter to create fluid distortions, then separates the design into RGB color channels before applying pixelation effects for a distinctive retro-digital appearance.
Watch th
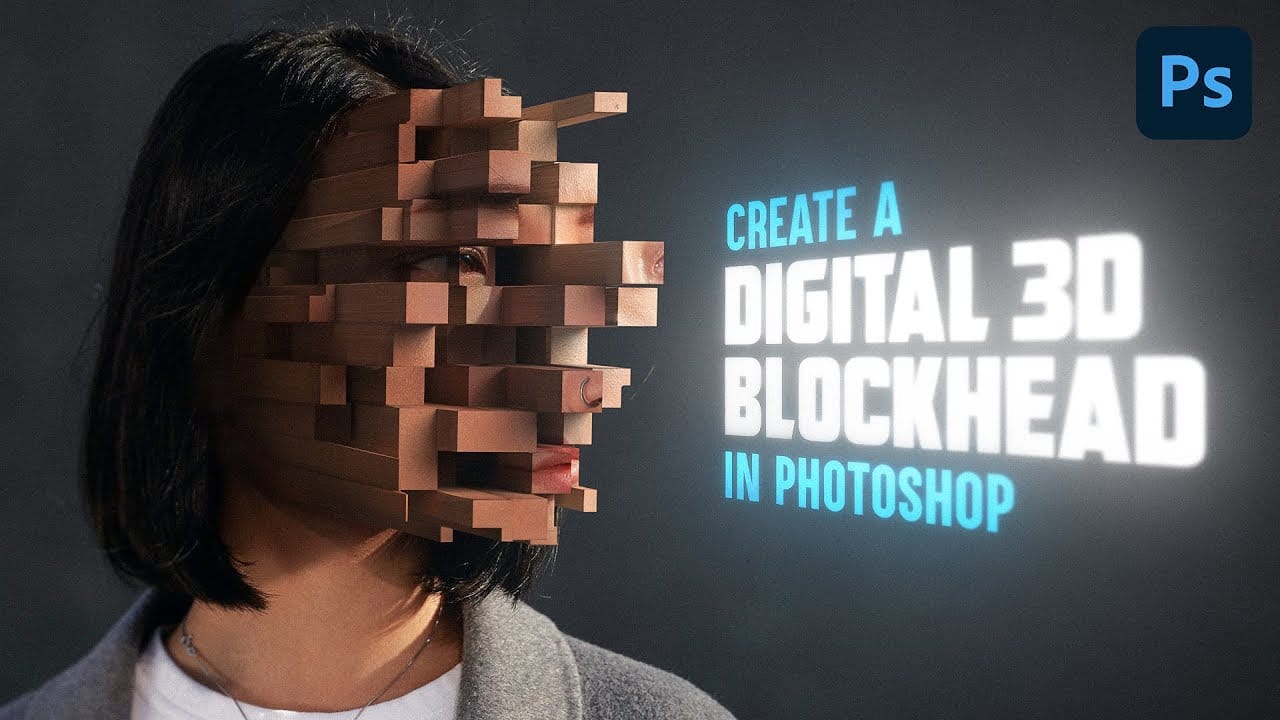
Create a gripping pixelated 3d blockhead effect
Transform ordinary portraits into mind-bending digital sculptures using Photoshop's advanced 3D tools. This tutorial reveals a unique technique to break down facial features into geometric blocks that create a surreal, pixelated visual effect.
Watch the Video
Practical Tips for Creating Pixelated 3D Effects
Master the art of transforming portraits into geometric masterpieces with these key techniques:
* Use the polygonal lasso tool with anti-aliasing turned off to create sharp, blocky sel
Stunning Pixelated Premium Photoshop Action
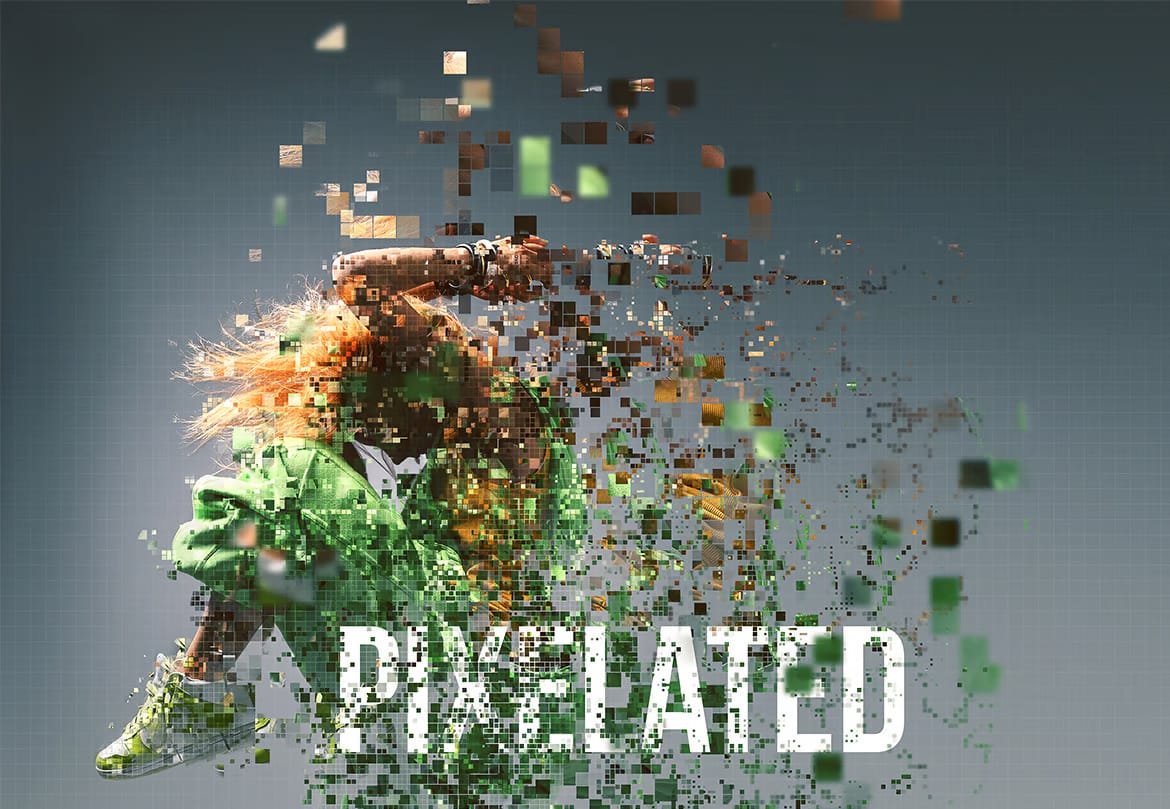
This action transforms your photos into a captivating pixelated effect. It breaks up the image into various-sized squares, creating a dispersed, pixelated appearance. Users can choose from six different directions for the effect, including up, down, left, right, middle, or a custom setting.
The action provides complete layer control over the positioning of all shapes, giving the user maximum flexibility in customizing the final result. Additionally, the action generates 20 color options for the
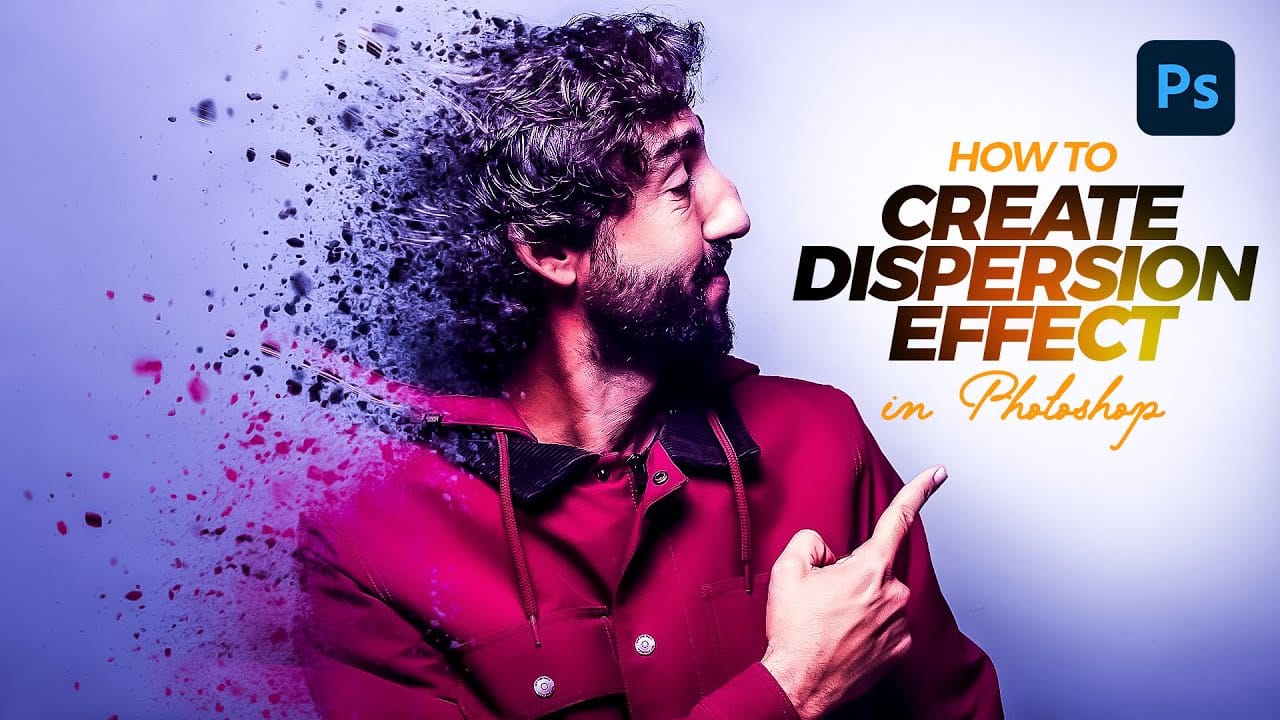
Create a Dispersion Effect in Photoshop
The dispersion effect transforms ordinary photographs into dynamic artwork, creating the illusion that parts of the subject are breaking apart and scattering into particles. This popular technique adds movement and a surreal quality to static images, making them ideal for creative projects and eye-catching digital content.
This tutorial provides a step-by-step guide to achieving a professional dispersion effect using Photoshop's versatile tools. You will learn how to combine custom brushes, lay