Creating Pixel Stretch Effects With Polar Coordinates in Photoshop

Creating Pixel Stretch Effects With Polar Coordinates in Photoshop

Digital artists often seek unique ways to extend and manipulate image elements beyond their original boundaries. The polar coordinates filter in Photoshop offers a powerful method for transforming linear pixel selections into curved, organic shapes that can enhance portraits and creative compositions.

This technique combines strategic pixel sampling with coordinate transformation to create flowing extensions that appear naturally integrated with the original subject. The result adds dynamic movement and visual interest to static images.

Watch the Tutorial

Video by P A N T E R. Any links or downloads mentioned by the creator are available only on YouTube

Understanding Polar Coordinate Transformations

Polar coordinates represent a fundamentally different way of mapping image data compared to the standard rectangular grid system. While traditional image editing works within x and y axes, polar coordinate transformation converts these linear relationships into radial patterns centered around a focal point.

The rectangular to polar conversion takes straight lines and curves them into circular or oval formations. This mathematical transformation becomes particularly powerful when applied to deliberately stretched pixel selections, as it can create organic flowing effects that mimic natural elements like hair, fabric, or abstract energy patterns.

Smart objects play a crucial role in this workflow by preserving the original transformation data. This non-destructive approach allows artists to fine-tune the polar coordinate effect and make additional adjustments without losing image quality or starting the process over.

Practical Tips for Pixel Stretching

  • Use the single row marquee tool to select thin pixel lines from areas with good color variation for more interesting results
  • Convert layers to smart objects before applying polar coordinates to maintain editing flexibility
  • Apply the polar coordinate filter multiple times by converting to smart objects between applications for more complex effects
  • Use layer masks with soft brushes to blend the stretched pixels naturally with the original subject
  • Add drop shadows to the base layer to create depth and separate the subject from the organic extensions

Explore more creative Photoshop techniques for dramatic visual effects.
Frost Effect Photo Manipulation in Photoshop
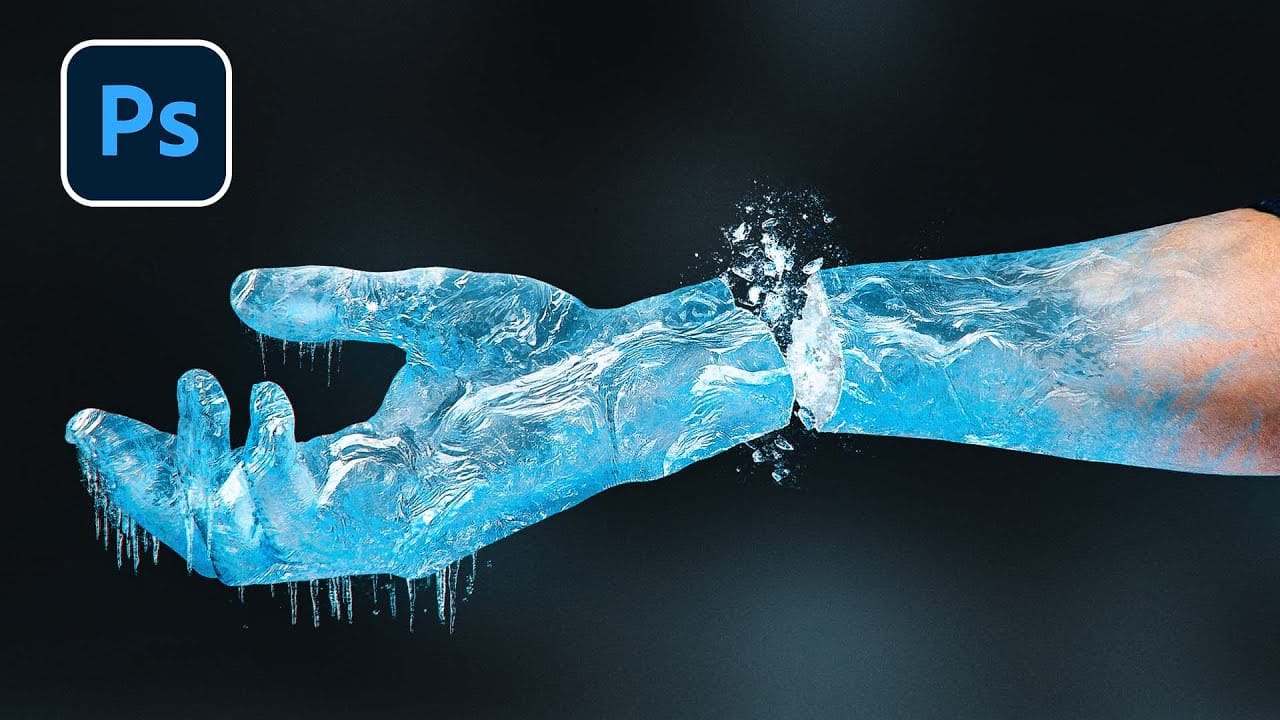
The ability to realistically portray extreme weather effects in photo manipulation can transform an ordinary image into a captivating visual narrative. Mastering elements like frost not only enhances creative projects but also refines advanced compositing skills, allowing artists to convey chilling narratives or fantastical scenes with precision. This tutorial offers a comprehensive guide to producing a striking frost effect on a human arm within Photoshop. Viewers will learn to integrate vario
Rotate or straighten images without cropping in Photoshop
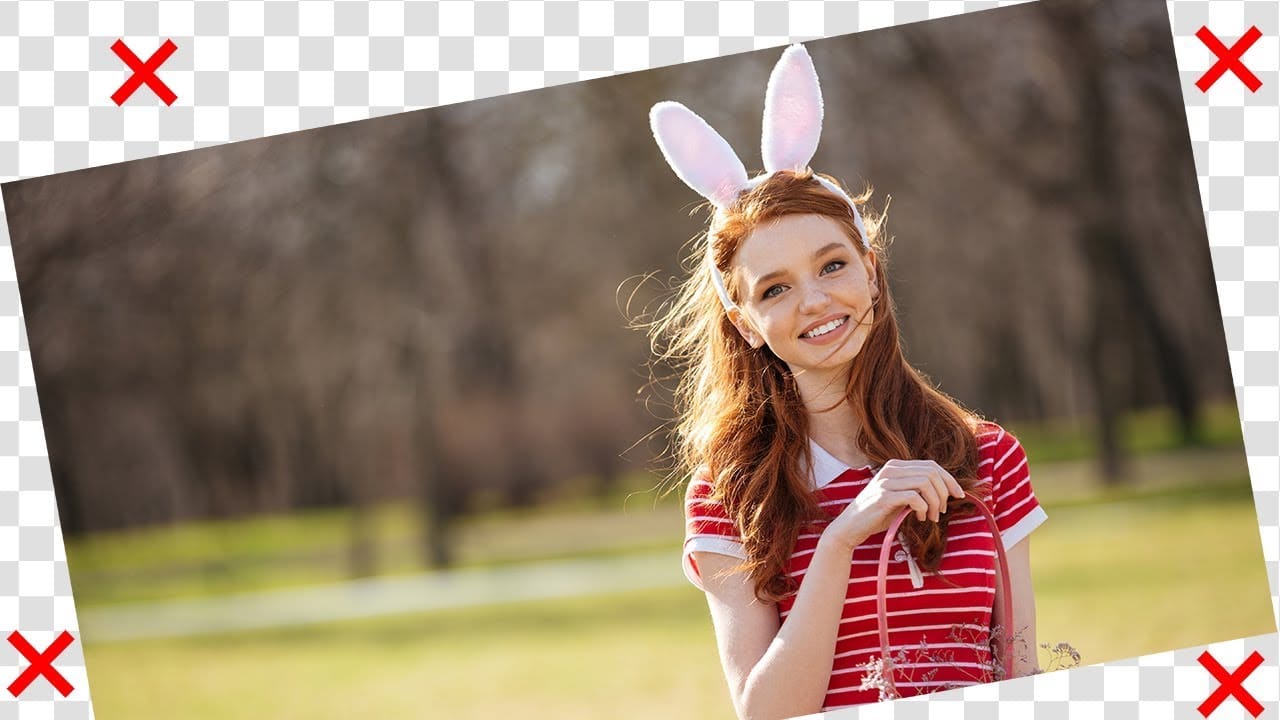
In this tutorial, PiXimperfect shows how to rotate or straighten an image without having to crop it in Photoshop. The instructor explains the process of using the Content-Aware Fill feature to fill in the spaces created when rotating the image. The tutorial guides the viewer through the step-by-step process. First, the image is rotated to the desired angle. Then, the Content-Aware Fill tool is used to fill in the empty spaces around the edges of the image. The author demonstrates how this techn
Quick Tilt-Shift in Photoshop
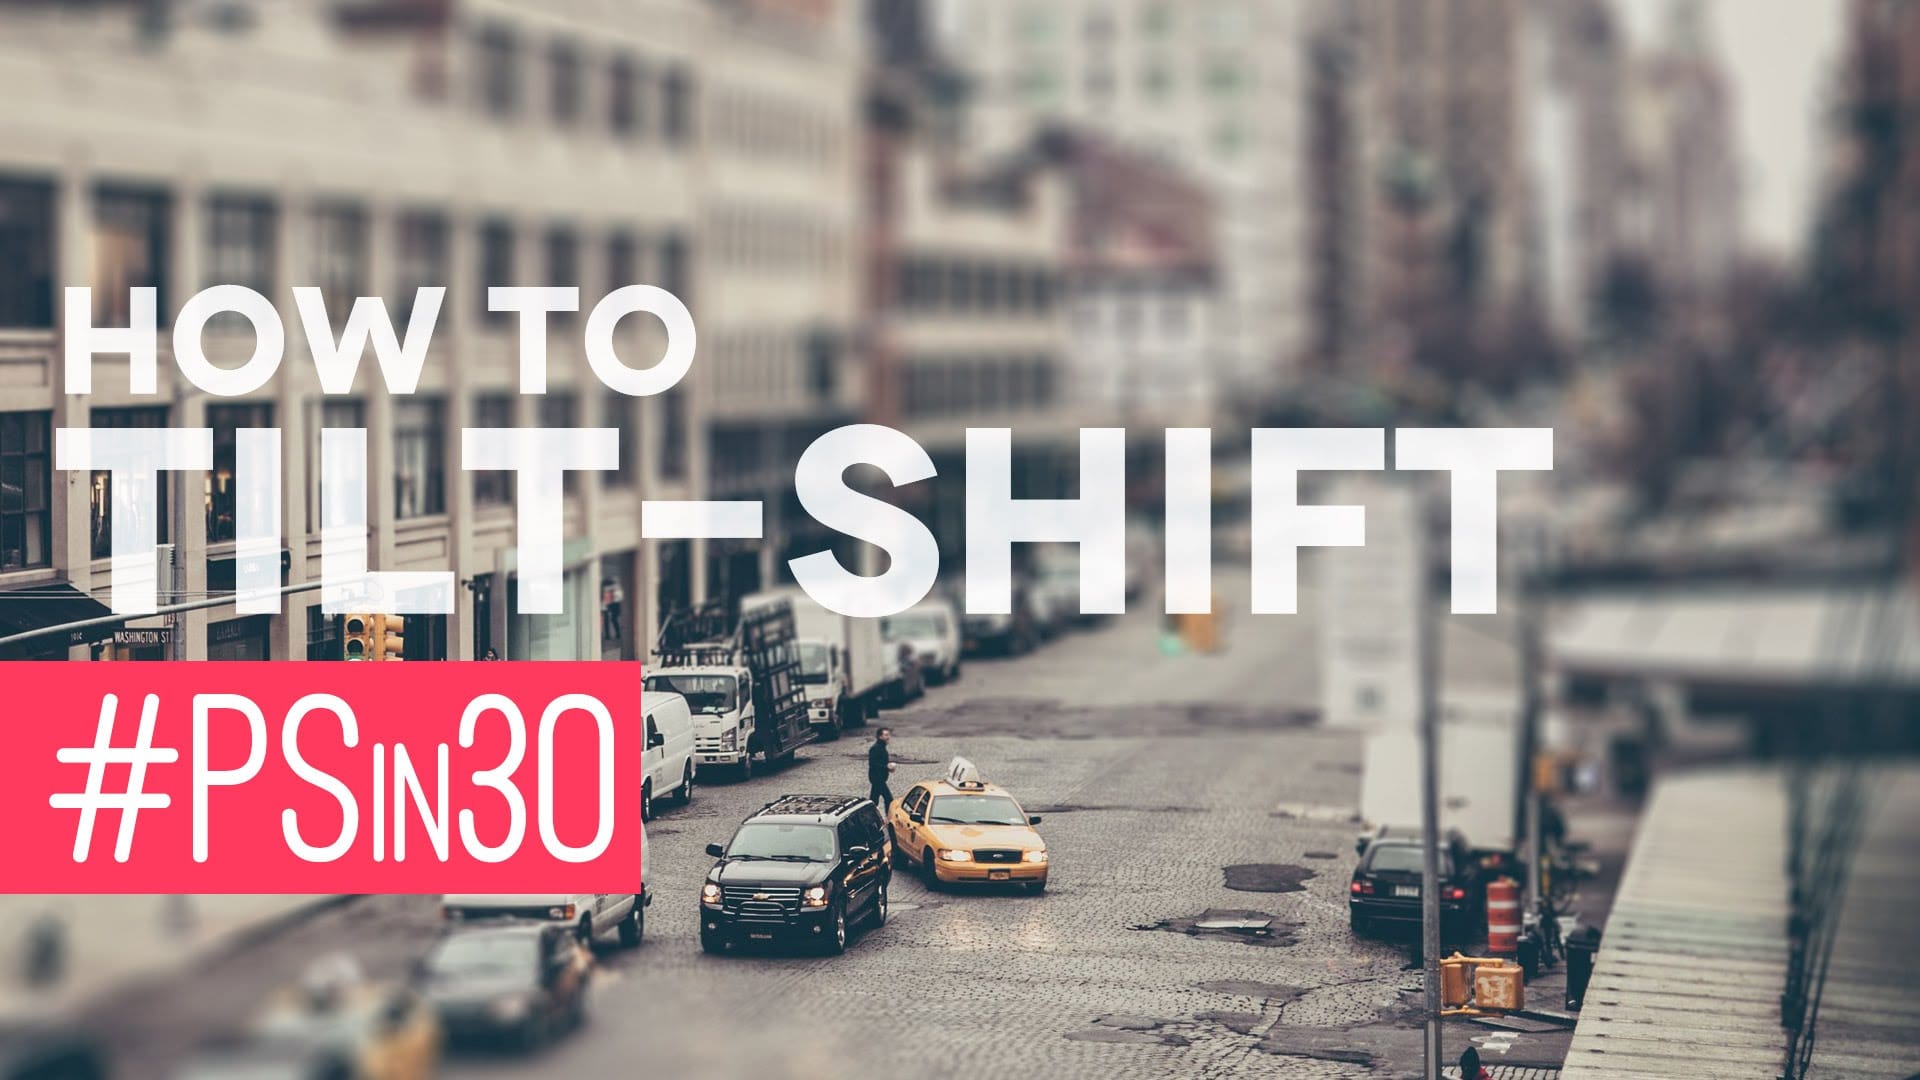
In this Photoshop tutorial by Nathaniel Dodson from TutVid, you'll learn to use the Blur Gallery's "Tilt-Shift" feature to transform a street scene into a miniature 3D model set. Dodson guides you through the process, showing how to apply the tilt-shift effect to create the illusion of a toy-like cityscape. This tutorial is ideal for those looking to add a unique, eye-catching element to their photos, utilizing the newer capabilities of Photoshop's Blur Gallery. Whether you're working on urban
Create a chilling dispersion photo effect in Photoshop
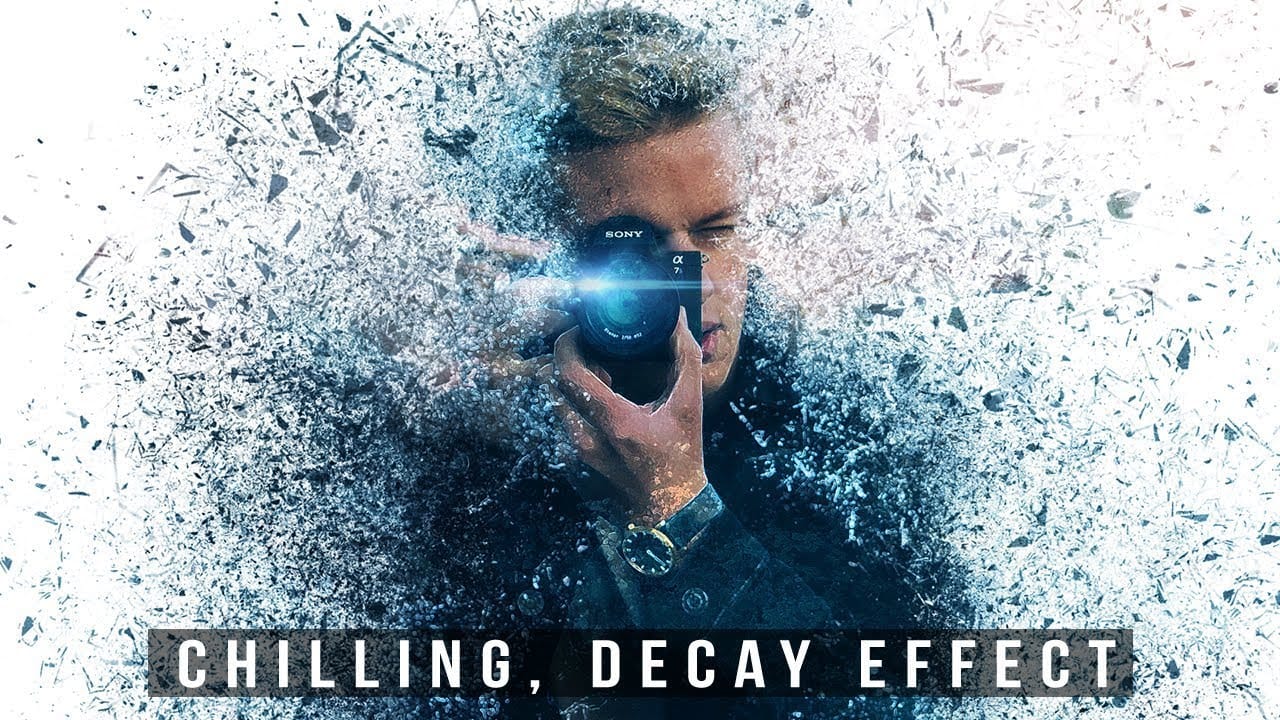
This Photoshop tutorial provides a step-by-step guide on how to create a captivating decay effect using Photoshop brushes. The step by step guide covers the use of various tools, including filters, masks, smart objects, the liquify tool, and textures. This type of dispersal effect allows for a high level of customization, enabling users to control the intensity of the decay and select the textures that will make the effect truly stand out. By following the author's instructions, readers can lea

Get tutorials & freebies delivered to you.

Subscribe to the Photoshop Roadmap newsletter, a weekly roundup of new tutorials, insights and quality downloads, trusted by 6500+ readers.

You might also like

How to Remove Skin Blemishes and Fix Skin Tones in Camera Raw

Two recent additions to Camera Raw make skin retouching significantly faster: an automatic blemish removal tool with separate controls for moles and freckles, and a vectorscope-based skin tone indicator for correcting off-color skin. Both features work non-destructively inside a smart object workflow, so no pixel data is...

Portrait Retouching in Photoshop: Smooth Skin While Keeping Natural Texture

Smooth skin and natural texture are not opposites — achieving both at once is the mark of a professional retouch. This workflow covers blemish removal, flyaway hair cleanup, dark under-eye correction, and eye brightening, all while keeping the skin looking like skin. Watch the Video Practical Tips These key points...

How to Use Camera Raw's Blemish Removal Tool in Photoshop

Camera Raw 18.5 introduced an automatic blemish removal tool that does something previous solutions rarely managed: it removes skin imperfections while preserving the underlying skin texture. It also distinguishes between temporary marks and permanent ones like moles, giving you separate controls for each. Watch the Video Practical Tips These...

Portrait Slice Effect in Photoshop Using Step and Repeat

The portrait slice effect splits a single image into offset vertical bars, creating the illusion of a displaced or fragmented face. The entire technique relies on layer masks and a lesser-known Photoshop shortcut called step and repeat — no filters, no AI, no destructive edits required. Watch the Video Practical...

How to Remove Blemishes in Photoshop: Camera Raw vs. Generative AI

Photoshop now offers two distinct approaches to removing skin blemishes automatically. The Camera Raw Filter includes a dedicated Blemishes option that analyzes and cleans skin with a single checkbox, while Generative AI fills a face selection with clean, texture-consistent results using a simple text prompt. Each method has clear...

Common Photoshop Compositing Mistakes and How to Fix Them

Most compositing errors come down to a handful of repeatable problems: mismatched lighting direction, inconsistent white points, misaligned perspective, and atmosphere applied in the wrong layer order. Catching these issues early — ideally before you shoot — saves significant time in post. Watch the Video Practical Tips These corrections apply to nearly...

You’ve successfully subscribed to Photoshop Roadmap
Welcome back! You’ve successfully signed in.
Great! You’ve successfully signed up.
Success! Your email is updated.
Your link has expired
Success! Check your email for magic link to sign-in.