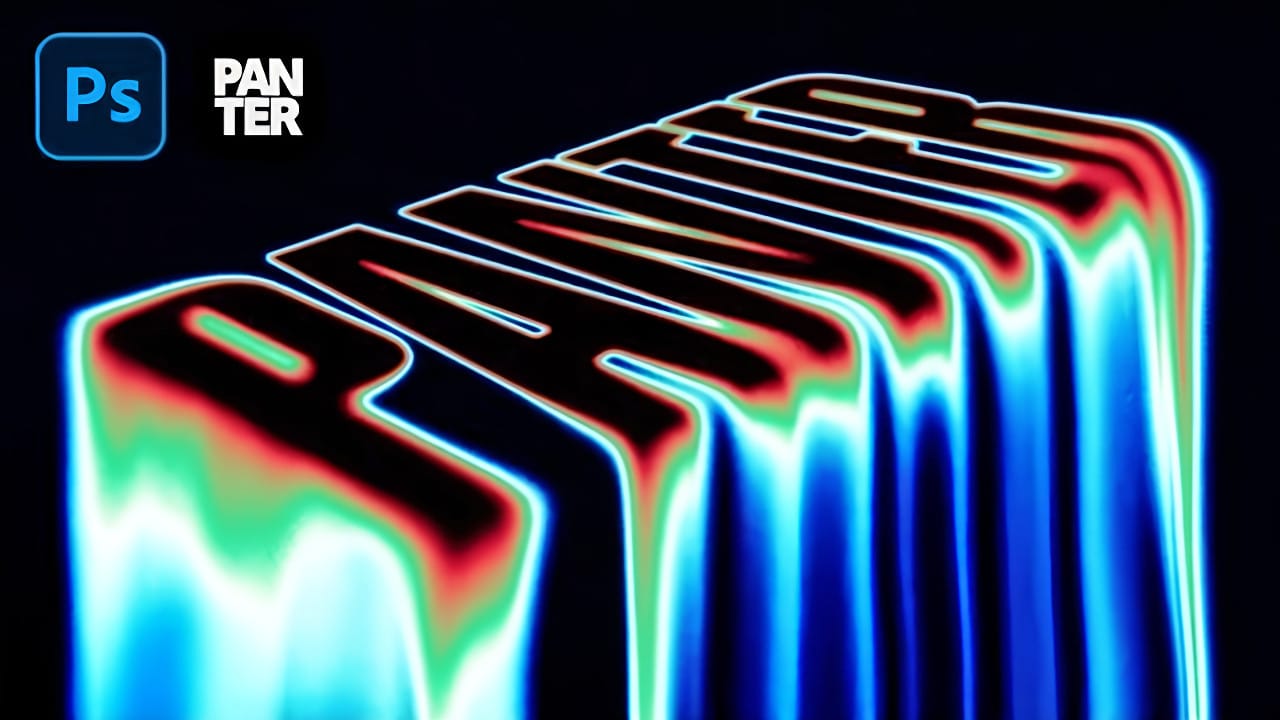
Liquid typography combines flowing, organic distortions with digital glitch aesthetics to create text that appears to melt and separate into colorful chromatic components. This technique transforms static letters into dynamic, pixelated designs that suggest movement and technological breakdown.
The method uses the Liquify filter to create fluid distortions, then separates the design into RGB color channels before applying pixelation effects for a distinctive retro-digital appearance.
Watch the Video
Video by P A N T E R. Any links or downloads mentioned by the creator are available only on YouTube
Practical Tips
Master these key techniques for creating convincing liquid pixelated typography:
- Convert text to Smart Object before applying Liquify filter to maintain editability and non-destructive workflow
- Use specific Liquify settings: size 330, pressure 64, density 30 for controlled distortion that maintains text readability
- Separate RGB channels into individual layers and apply different transform distortions to each for chromatic aberration effect
- Apply Mosaic pixelation filter with cell size around 36 pixels for optimal balance between detail and retro aesthetic
- Mask the smart filter with black brush to selectively remove pixelation from specific areas like text tops
Related Articles and Tutorials
Explore more advanced typography effects and liquid design techniques:
100+ Brilliant Photoshop Text Effects: The Ultimate 2026 Roundup
You won’t admit this: You spend hours making text look like liquid gold. Not for clients. Not for your portfolio. Just because. Here’s the thing: Text effects are your guilty pleasure. You tell yourself you’re “practicing.” You say you’re “building skills.” But really? You just love watching letters transform into
 Enrique Flouret
How to Create a Black Liquid Text Effect in Photoshop
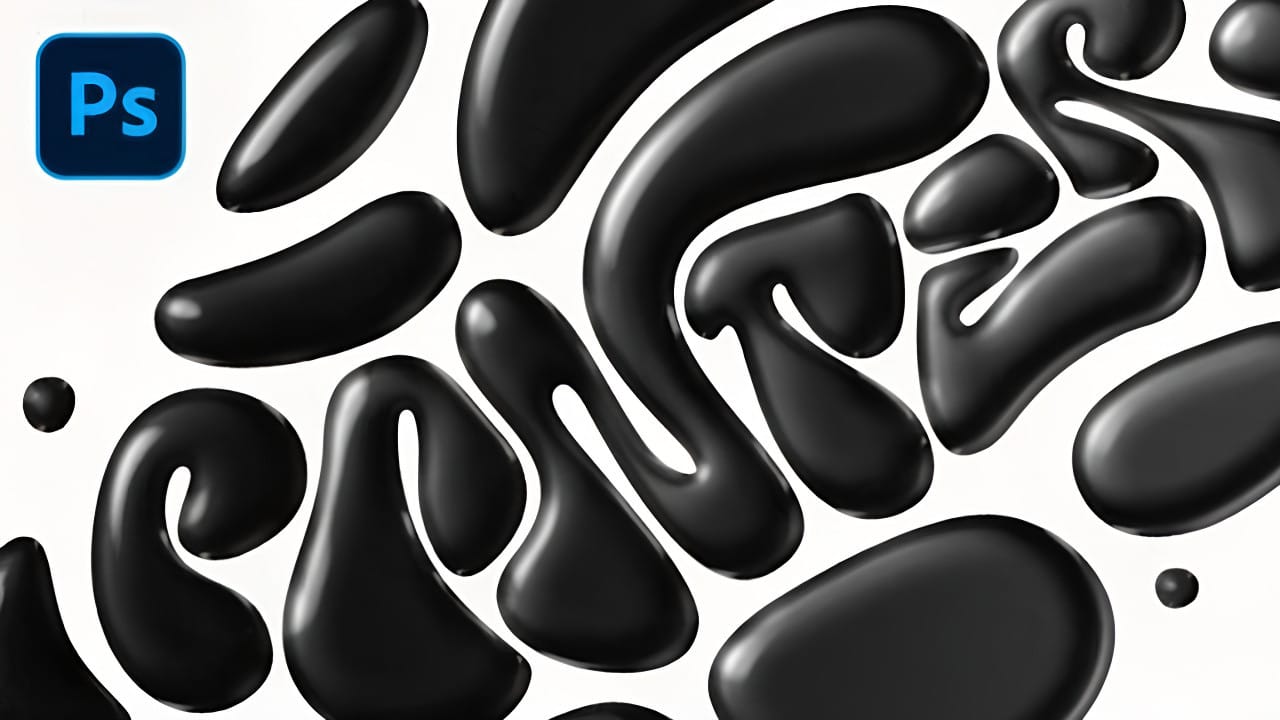
Black liquid typography creates a mysterious, viscous aesthetic that flows between elegant and edgy. This striking effect transforms ordinary text into something that appears to drip, bubble, and shine like thick ink or oil.
The technique combines vector shapes with strategic layer effects to build depth and dimension. Multiple duplicated layers work together to create the signature bubbly, reflective surface that makes liquid text so compelling.
Watch the Tutorial
The Science Behind Liquid
Create Liquid Gradient Text Effect in Photoshop
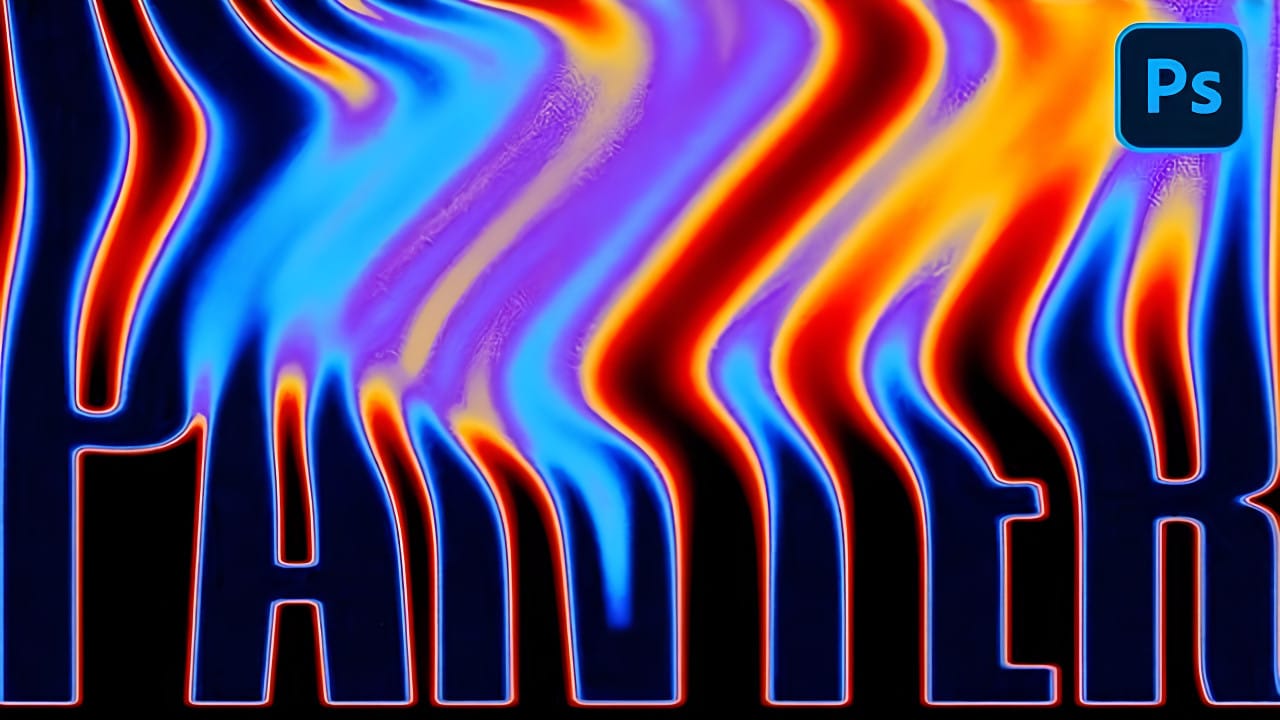
Liquid text effects transform ordinary typography into flowing, organic shapes that seem to move across the page. This dynamic style captures the fluid properties of water, paint, or molten materials, creating text that appears to drip, flow, or splash.
The technique combines shape manipulation with blur effects and gradient mapping to achieve a smooth, liquid appearance that works particularly well for creative projects, digital art, and modern branding applications.
Watch the Video
Unders
Create a Liquid Gel Logo Effect in Photoshop
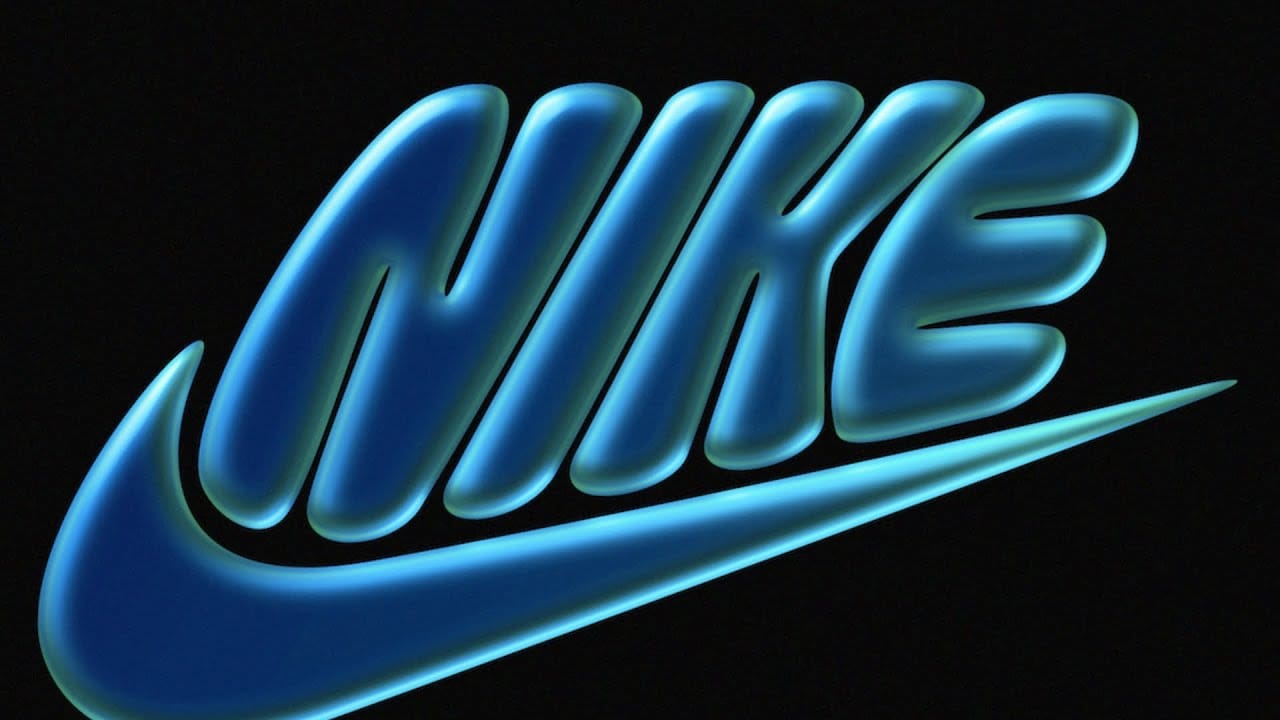
Liquid gel effects transform flat logos into dimensional, glossy designs that appear to bubble and flow. This technique uses multiple layer styles and strategic duplication to build depth, creating surfaces that catch light like thick, viscous liquid.
The method combines gradient overlays, bevel effects, and inner glows across several duplicated layers to achieve the signature bubbly, three-dimensional appearance that makes logos stand out with professional polish.
Watch the Video
Practical
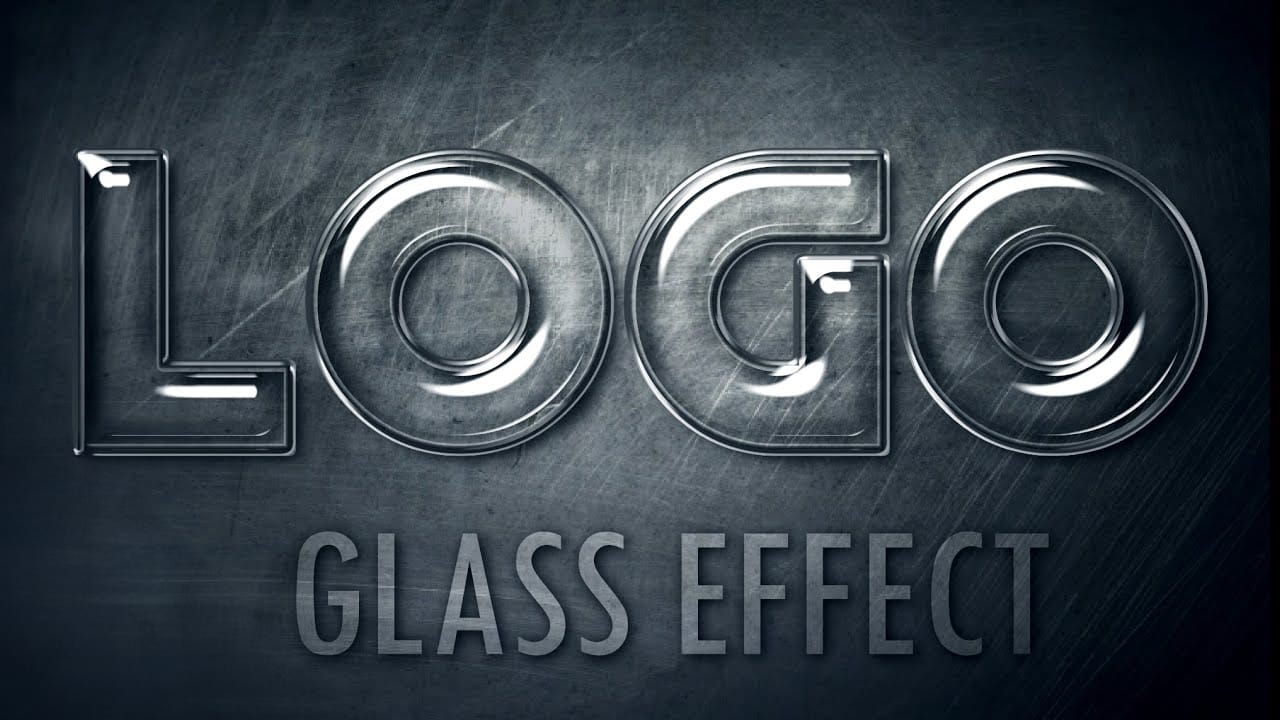
Shiny Glass Text Effect in Photoshop
Glass text effects transform ordinary typography into stunning, translucent designs that catch light and create depth. This visual technique adds elegance and sophistication to logos, titles, and branding materials.
The transparent, reflective qualities make text appear three-dimensional and professionally polished.
Watch the Tutorial
Essential Tips for Glass Text Effects
Master these key techniques to create convincing glass typography:
• Use multiple layer styles combined - apply inner
Create Liquid Melting Acid Text in Perspective in Photoshop
Acid text effects capture the raw energy of corrosive transformation, turning ordinary typography into flowing, organic shapes that appear to melt and dissolve. This distinctive visual style suggests powerful forces reshaping matter itself, creating text that seems alive with chemical reaction.
The technique transforms flat letters into dimensional, perspective-distorted forms using strategic blur effects, liquify tools, and gradient mapping to achieve that signature melting appearance.
Watch