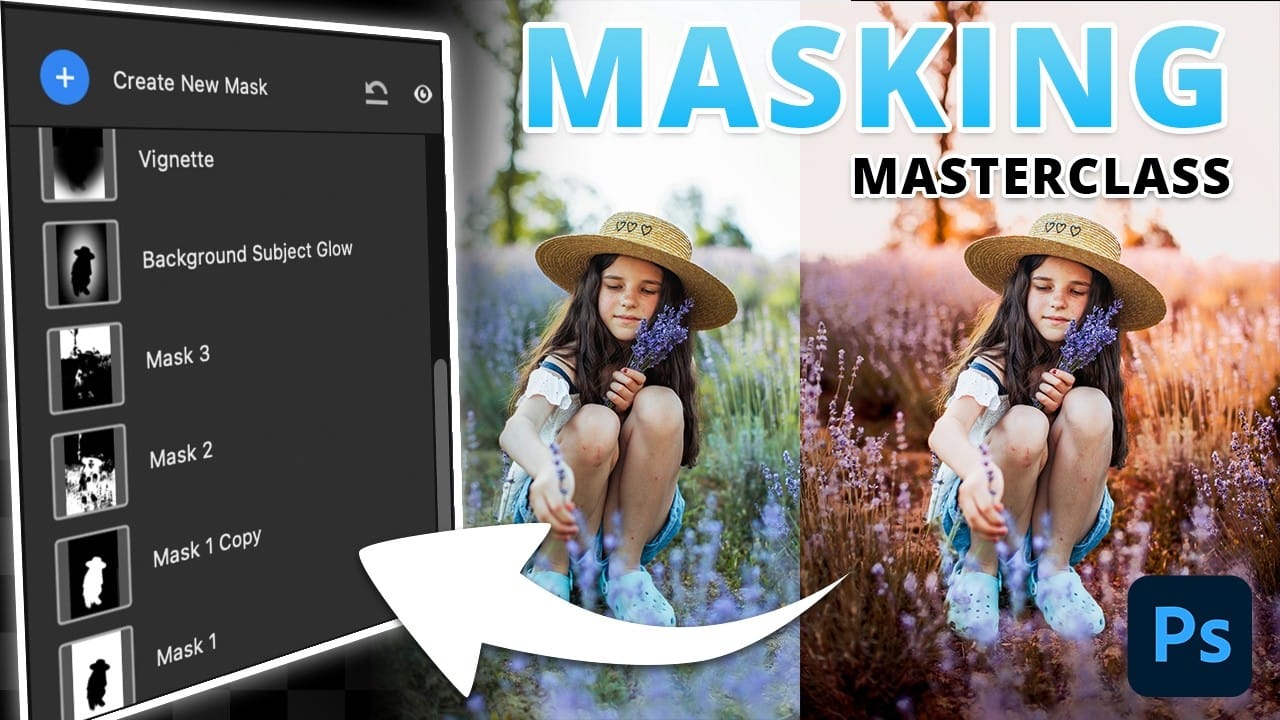
Selecting complex foreground elements — detailed trees, people, motion-blurred figures — used to mean hours of careful masking work. The AI-powered object selection inside Camera Raw changes that entirely, letting you make rough brush strokes and still walk away with a precise, editable mask. Combined with a non-destructive smart object workflow, you can adjust exposure, color temperature, and contrast on specific subjects while leaving the background untouched.
Watch the Video
Video by PHLEARN. Any links or downloads mentioned by the creator are available only on YouTube
Practical Tips
These steps summarize the core workflow demonstrated in the video, from setup to final exposure adjustment.
- Convert your layer to a smart object before opening Camera Raw — go to Filter > Convert for Smart Filters so all Camera Raw edits remain fully editable and non-destructive.
- Use the Objects option inside Camera Raw masking for complex subjects — a loose brush stroke is enough; the AI refines the selection automatically, even around detailed foliage.
- Add multiple subjects to a single mask — use the Add > Select Objects option to paint over additional people or elements, keeping all targeted adjustments in one mask layer.
- Combine object selections with a linear gradient in the same mask — this lets you extend the selection to the ground or foreground without creating a separate mask.
- Double-click the Camera Raw Filter entry under Smart Filters to re-edit at any time — your mask and all exposure, color, and contrast adjustments are preserved and fully adjustable after the fact.
Related Articles and Tutorials
Explore more tutorials on masking techniques and selection workflows to expand your editing toolkit.