How to Use AI Depth Masking in Photoshop for Targeted Subject and Background Editing

How to Use AI Depth Masking in Photoshop for Targeted Subject and Background Editing

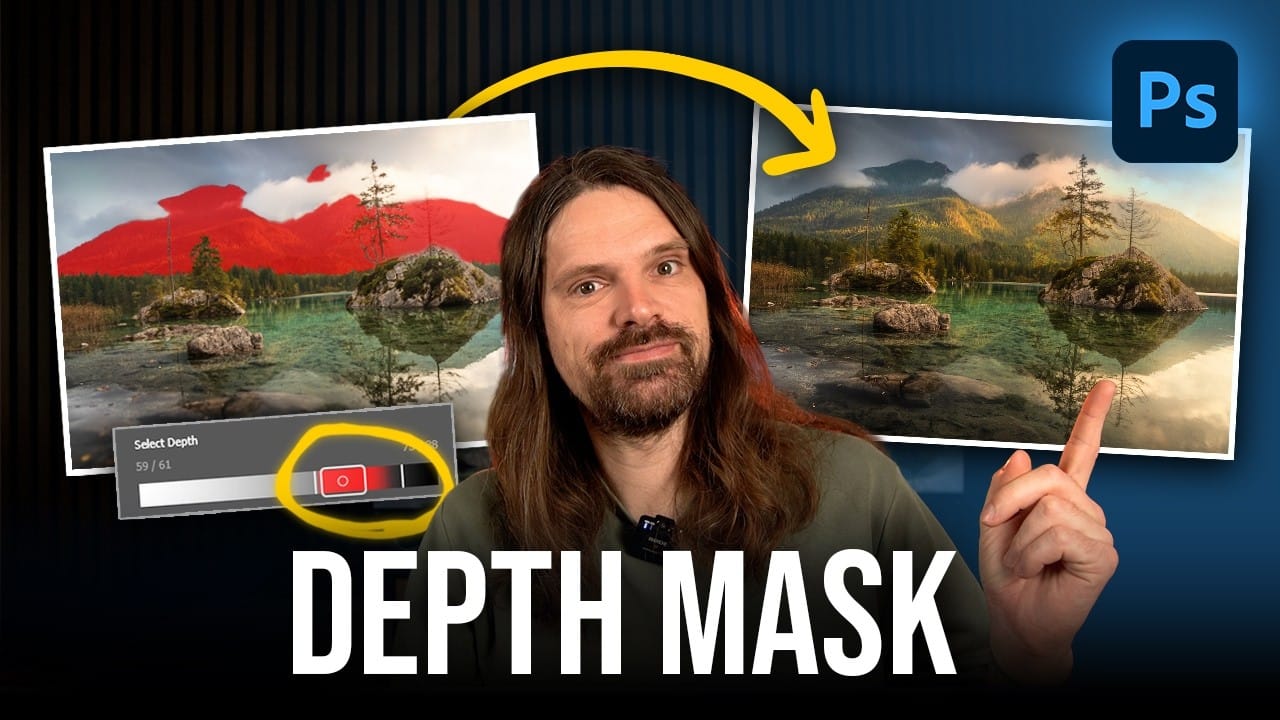
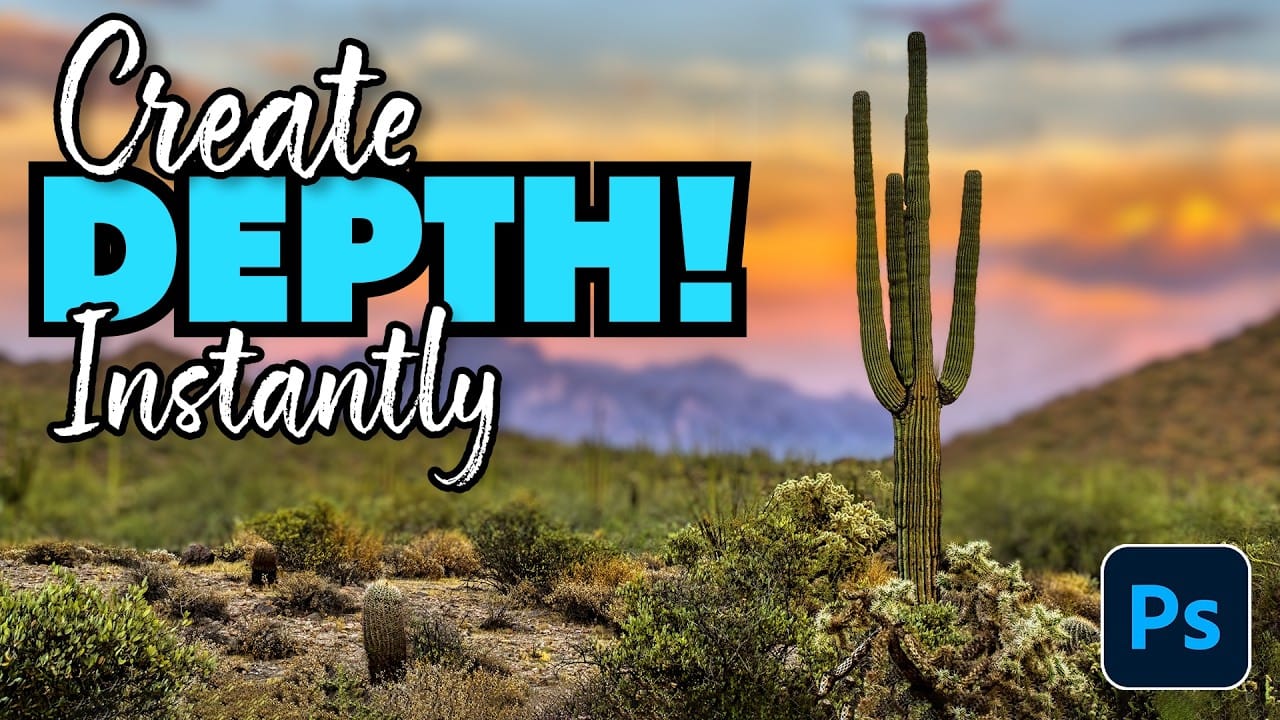
AI depth masking revolutionizes how you select and edit specific areas of your photos by analyzing three-dimensional space rather than shapes or colors. This powerful feature uses artificial intelligence to calculate depth layers, allowing you to brighten subjects while darkening backgrounds or apply targeted adjustments based on distance from the camera.

The technique works within Camera Raw Filter and preserves all your edits when using smart objects, making it perfect for non-destructive workflows that you can modify at any time.

Watch the Video

Video by PHLEARN. Any links or downloads mentioned by the creator are available only on YouTube

Practical Tips

Master depth masking with these essential techniques for professional results.

  • Convert your background layer to a smart object before applying Camera Raw Filter to maintain full editing flexibility
  • Use the eyedropper tool to click on different depth areas in your image rather than adjusting sliders first
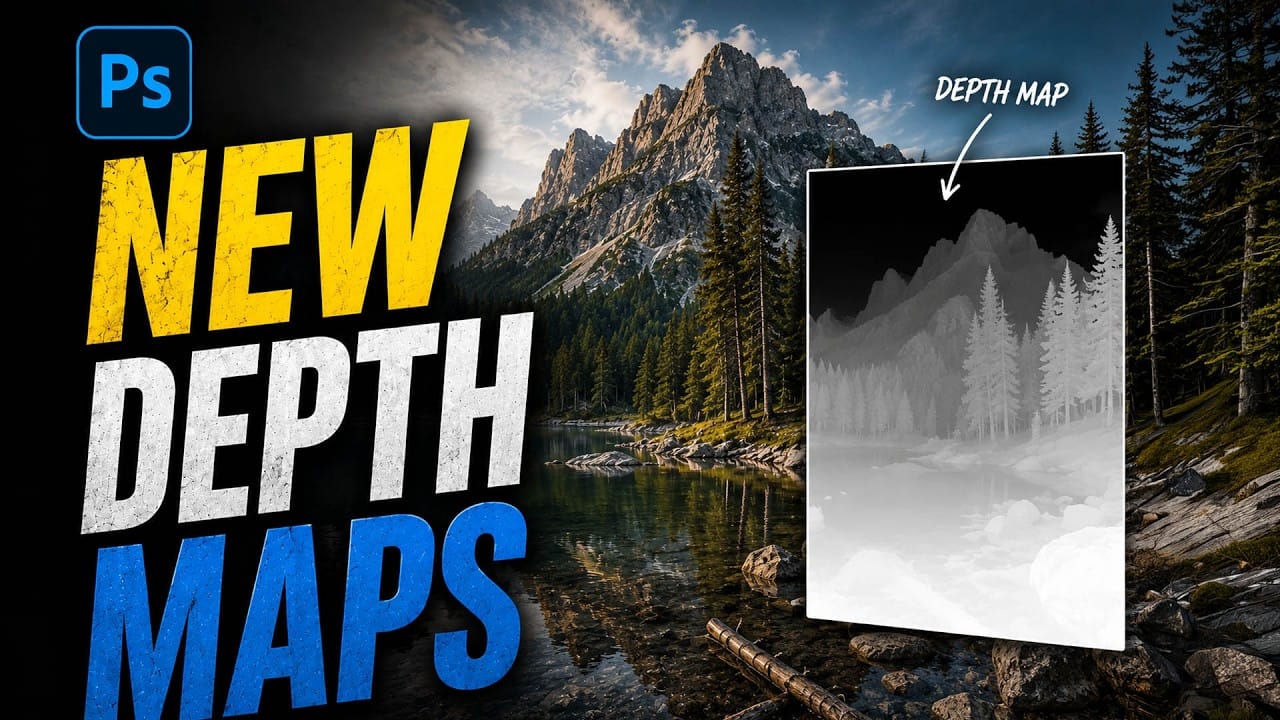
  • Turn on "Show Depth Map" to visualize your selection and fine-tune the range with the gradient slider
  • Create separate depth masks for foreground and background to apply different adjustments to each area
  • Add subtle grain when using lens blur effects to maintain realistic texture and avoid artificial-looking results

Explore more masking techniques and depth-based editing methods to enhance your workflow.

How to Use Depth Range Masking in Camera Raw
Adobe Camera Raw's depth range masking feature allows you to select and adjust specific depth layers in any photograph without needing special camera equipment. Unlike traditional subject and background masks that focus on shapes, depth range masking works with the spatial distance between elements in your image. This AI-powered tool creates a depth map from any photo, letting you target foreground, midground, or background areas with precision. The technique works particularly well for atmosph
Cutting Out Complex AI Images Using Channel Masking in Photoshop
AI-generated images often contain intricate details that challenge standard background removal tools. When automatic selection methods fail to capture complex edges and fine details, manual techniques become essential. This technique demonstrates how to use channel masking to create precise selections that preserve every detail of your AI artwork. Watch the Tutorial Essential Tips for Channel Masking * Select the channel with the highest contrast between your subject and background before
How to Use AI Masking in Adobe Camera Raw for Professional Photo Editing
Adobe Camera Raw's AI masking tools automatically detect subjects, backgrounds, skies, and landscapes, letting you make precise adjustments to specific areas of your photos. These intelligent masks eliminate the need for manual selection work, while allowing you to combine and refine them for complete creative control. The technique works with any image format and preserves all your adjustments when using smart objects, making it perfect for non-destructive editing workflows that you can modify
Photoshop auto masks, new feature no one is talking about
Making precise selections in Photoshop has historically been one of the most time-consuming and challenging aspects of image editing. From intricate hair strands to complex tree foliage, achieving a clean mask often required significant manual effort and advanced techniques. However, recent advancements in artificial intelligence are rapidly transforming this fundamental process. The video demonstrates the groundbreaking improvements in Photoshop's auto-masking capabilities, specifically within
How to Use the New Depth Mask in Adobe Camera Raw for Landscape Photography
Adobe's latest Camera Raw update introduces a powerful depth mask that works with any image, not just smartphone photos with depth data. This new masking tool analyzes distance information in your photos to create precise selections based on how far objects are from the camera. The depth mask excels at targeting specific areas like distant mountains or foreground elements, making it particularly valuable for landscape photographers who need to enhance depth and atmosphere in their images. Wat
Create Artistic Effects with Generative AI in Photoshop
Transforming photographs into artistic masterpieces becomes possible when you combine quick mask techniques with generative AI. By controlling selection density, you can guide how dramatically the AI transforms your images while preserving the original's character and composition. This method works by creating partial selections at specific transparency levels, allowing the AI to see varying amounts of the underlying image. Lower densities maintain more of the original detail, while higher dens
How to Create Realistic Depth Blur Effects in Photoshop
Creating professional depth of field effects can transform flat images into dynamic photographs with natural-looking focus transitions. Two powerful methods in Photoshop offer different advantages: Neural Filters provide automated depth detection with atmospheric effects like haze, while Camera Raw Filter delivers precise manual control with customizable bokeh shapes. Both techniques work with the standard version of Photoshop and can simulate expensive camera lens effects on any photo with a w
Automatically blur backgrounds in Photoshop
Creating professional background blur no longer requires expensive camera lenses or complex manual techniques. Photoshop's Depth Blur Neural Filter uses artificial intelligence to automatically detect subjects and apply realistic depth of field effects to any photo. This AI-powered approach analyzes your image to create natural-looking background separation, making portraits and product photos stand out with convincing bokeh effects that rival professional photography equipment. Watch the Vid
How to Use Inverted Masks in Photoshop to Add Color Depth and Texture
Forest photography often lacks the color depth and texture detail that makes images truly captivating. Flat foliage and monotone tree trunks can leave your landscape photos feeling lifeless, no matter how carefully composed. Inverted mask offer a precise solution for selectively enhancing specific areas of your images. This technique allows you to brush in texture overlays and targeted color fills exactly where they're needed most, creating dimensional depth that transforms ordinary forest scen
Transform Your Photos with These Photoshop Masks
Masking in Photoshop is a powerful technique to isolate and enhance different parts of an image. However, many users find it complicated and time-consuming, often sticking to basic masks or selections that limit creative control. This can make photo editing feel frustrating and slow, especially when trying to achieve subtle but impactful adjustments. This tutorial introduces a structured masking workflow within Camera Raw that simplifies the process while giving you precise control over highlig

Get tutorials & freebies delivered to you.

Subscribe to the Photoshop Roadmap newsletter, a weekly roundup of new tutorials, insights and quality downloads, trusted by 6500+ readers.

You might also like

Create Realistic Rim Light Effects on Portraits in Photoshop

Rim lighting transforms ordinary portraits into dramatic, professional-looking images by adding bright highlights around the edges of your subject. This technique simulates light hitting the outer contours of a person, making them stand out from their background with a natural, glowing effect. The key to convincing rim light lies in...

How to Use Photoshop's Layer Cleanup Tool to Organize Messy Projects

Complex editing projects with Generative Fill and Expand often result in dozens of unnamed layers cluttering your workspace. The new Layer Cleanup tool automates the tedious process of renaming layers and removing empty ones, transforming chaotic layer panels into organized, manageable structures. This workflow improvement saves significant time during post-production...

How to Use Curves for Composite Color Matching in Photoshop

Curves adjustments are essential for making composite elements look natural and cohesive. Understanding how curves manipulate light values and color channels gives you precise control over matching different elements to their new backgrounds. The key to successful color matching lies in analyzing the color temperature and brightness relationships between your...

How to Fix Color Fringing in Subject Cutouts Using Clipping Masks

Perfect layer masks can still produce disappointing results when color fringing appears around hair and fur edges. This common problem isn't caused by poor masking technique—it's the original background bleeding through at the edges. Clipping masks offer a powerful solution by allowing you to paint...

Create Beautiful Floral Oval Frames for Portraits in Photoshop

Transform ordinary portraits into elegant artwork with decorative floral oval frames that blend seamlessly with your subject. This technique combines traditional framing with digital floral elements, creating a painterly effect that's perfect for fine art prints and creative portraits. The process involves creating an oval cutout, adding custom...

You’ve successfully subscribed to Photoshop Roadmap
Welcome back! You’ve successfully signed in.
Great! You’ve successfully signed up.
Success! Your email is updated.
Your link has expired
Success! Check your email for magic link to sign-in.