How to Create Realistic Depth Blur Effects in Photoshop

How to Create Realistic Depth Blur Effects in Photoshop

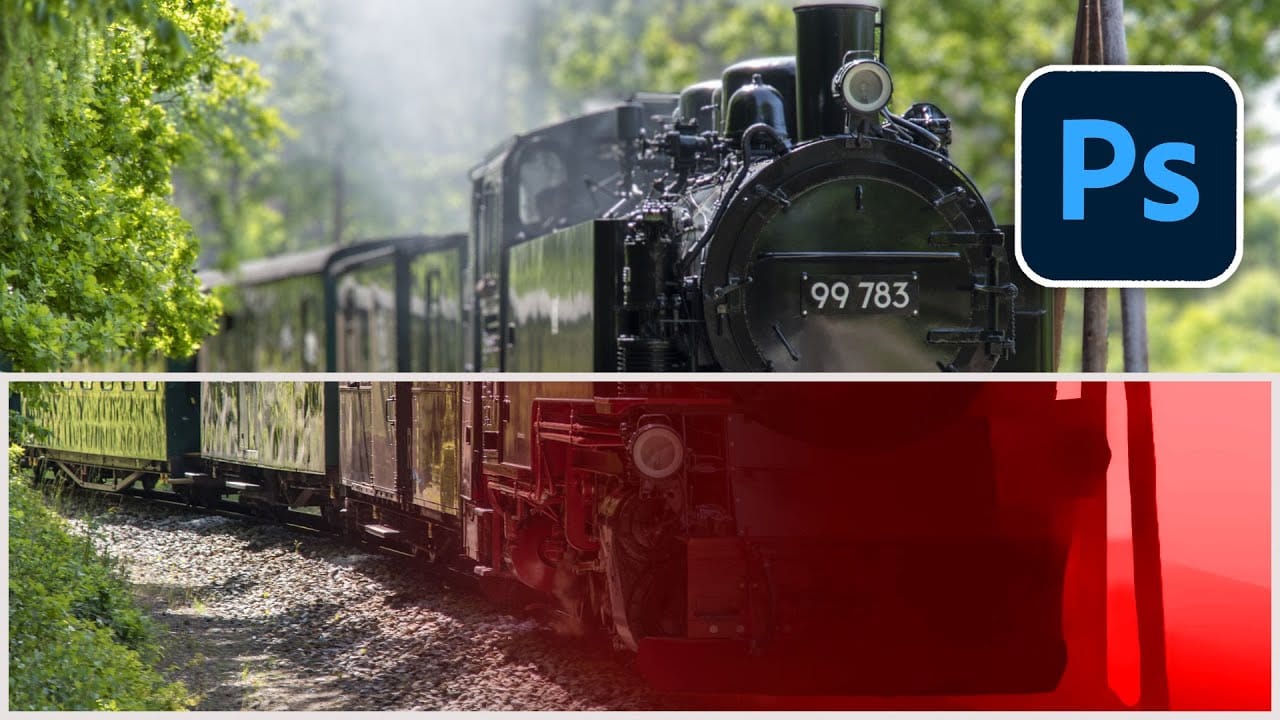
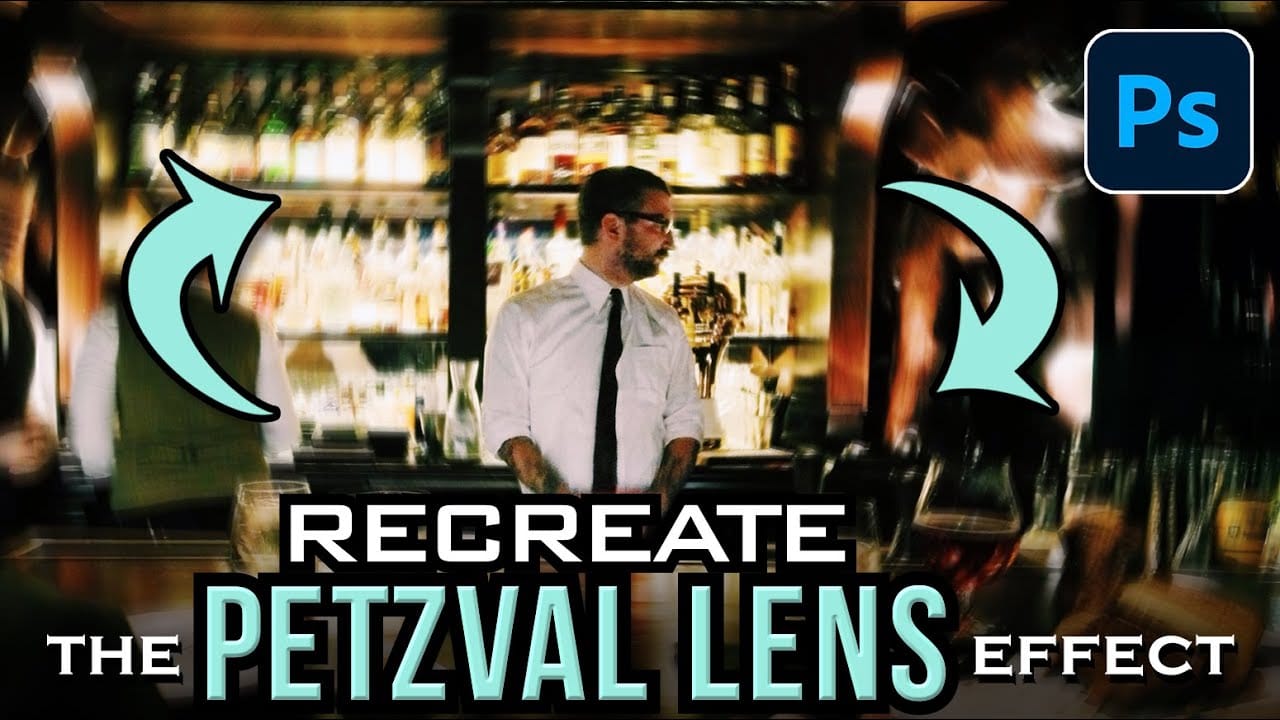
Creating professional depth of field effects can transform flat images into dynamic photographs with natural-looking focus transitions. Two powerful methods in Photoshop offer different advantages: Neural Filters provide automated depth detection with atmospheric effects like haze, while Camera Raw Filter delivers precise manual control with customizable bokeh shapes.

Both techniques work with the standard version of Photoshop and can simulate expensive camera lens effects on any photo with a wide depth of field.

Watch the Video

Video by Photoshop Arthouse. Any links or downloads mentioned by the creator are available only on YouTube

Practical Tips

These essential techniques will help you achieve realistic depth blur effects:

  • Convert your image to a smart object before using Camera Raw Filter to enable non-destructive editing
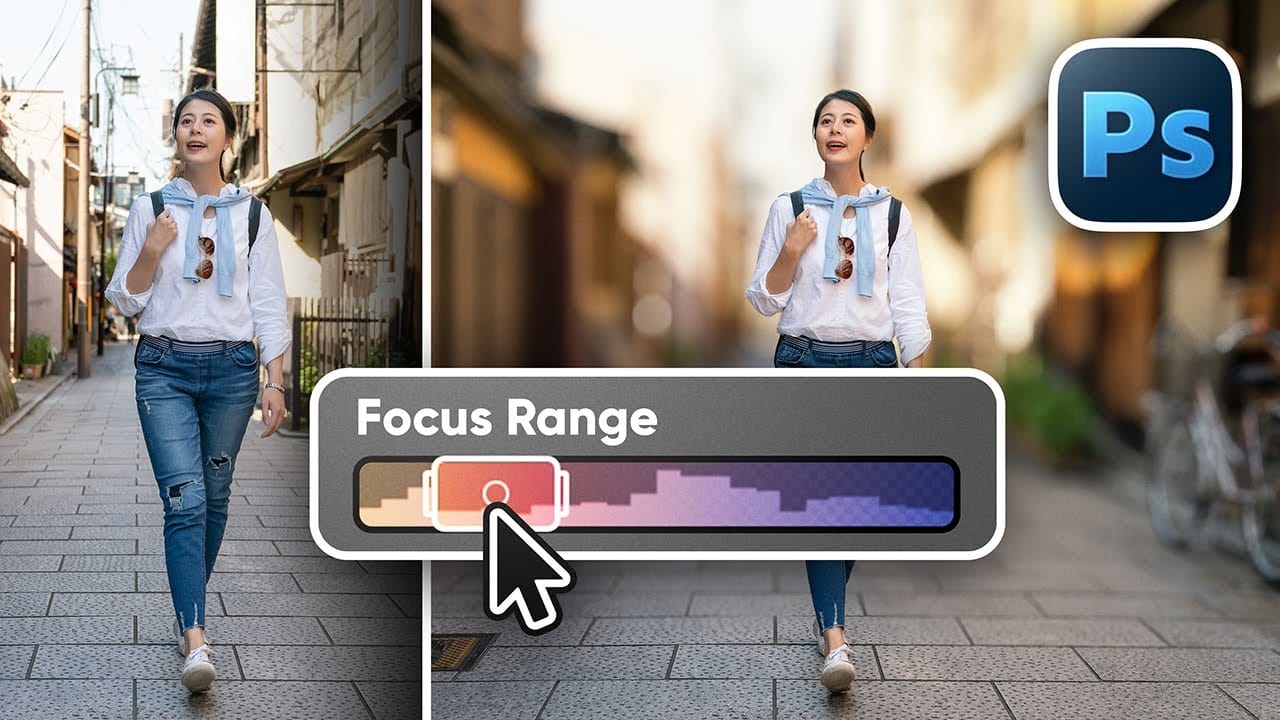
  • Use the depth map visualization to understand how the AI interprets distance in your photo
  • Adjust the focal range by dragging the rectangle edges rather than starting over with new focal points
  • Apply bokeh effects sparingly with the boost slider to maintain natural-looking blur
  • Use the refinement brushes to manually correct areas where automatic detection fails

Explore more depth and blur techniques to enhance your photo editing skills:

Automatically blur backgrounds in Photoshop
Aaron Nace dives into Photoshop's new Depth Blur Neural Filter, a tool designed to simplify the process of blurring backgrounds and simulating a shallow depth of field. This tutorial covers how to use this feature to quickly achieve a soft, out-of-focus background with minimal effort. Aaron provides a step-by-step guide on applying the Depth Blur Neural Filter, highlighting its ease of use and efficiency. He also examines the tool's performance, discussing its strengths and any potential limita
Magically change focus of photos in Photoshop
In this Photoshop tutorial, Colin Smith demonstrates the most powerful way to change the depth of field or background blur in your photos. This technique leverages depth maps, neural filters, and lens blur to achieve professional results. Colin starts by explaining how to create and use depth maps, which are essential for controlling the focus and blur levels in specific areas of your photo. Depth maps allow you to simulate a shallow depth of field, making your subject stand out against a blurr
How to Blur Backgrounds in Photoshop with Precision and Speed
Creating professional-looking background blur can transform ordinary photos into stunning portraits with proper depth of field. The key lies in combining the right selection techniques with blur filters to achieve natural-looking results that rival expensive camera lenses. This approach focuses on precision and speed, ensuring your subject remains sharp while the background gradually transitions into a smooth, pleasing blur that draws attention to your main focal point. Watch the Video Prac
Beautiful Photo Blur Effect in Photoshop
Applying a beautiful blur effect to your photos in Photoshop has never been easier. Jessica Kobeissi's tutorial guides you through the process, showing you how to achieve a stunning, professional-looking result. With just a few simple steps, you can transform your images and add a touch of elegance. The blur effect creates a soft, dreamy look that draws the viewer's attention to the focal point of your photograph. Whether you're looking to enhance a portrait or add a creative flair to a landsca
Apply a stunning bokeh effect to your photos in Photoshop
Bokeh is one of the most trendy effects in photography. When used properly, bokeh can create a striking and beautiful environment around your subject. In this Photoshop tutorial by Aaron Nace from Phlearn, you will learn how to add bokeh that is both beautiful and effective! Here we show you how to add it in photoshop, but to create the effect in camera, shoot with a shallow depth of field by opening up your aperture. The wider your aperture, the softer your background (and any lights in it) wi
How to Use Photoshop's Smudge and Blur Tools for Perfect Masking
Professional photo composites often fall apart at the edges. Sharp selection lines and harsh transitions make even the best cutouts look artificial and fake. The solution lies in two overlooked Photoshop tools that most editors dismiss as destructive and useless. The smudge and blur tools become powerful allies when applied to layer masks instead of image pixels. This approach creates natural, realistic edges that match the original photo's depth of field and lighting conditions. Watch the Tut
Natural Skin Smoothing in Photoshop
Professional beauty retouching demands techniques that smooth skin while preserving natural texture. This advanced method combines inverted layers with Vivid Light blend mode to create seamless skin enhancement without the artificial "plastic" look common in over-processed images. The technique works by canceling out layer information through inversion, then selectively applying blur and sharpening filters to reconstruct realistic skin texture while eliminating blemishes and color irregularitie
Realistic Blend Effect in Photoshop
In this advanced Photoshop tutorial, WebFlippy guides you through creating a realistic blend effect for text, graphics, or logos on any surface. This tutorial is designed to help you seamlessly integrate elements into various backgrounds, making them look like a natural part of the scene. WebFlippy starts by demonstrating how to properly blend text or logos using Photoshop's powerful tools and techniques. You'll learn how to adjust and match the texture, lighting, and perspective of your surfac
How to Create Dotted Halftone Motion Blur Effects in Photoshop
The distinctive look of dotted halftone patterns combined with dynamic motion blur creates striking visual effects that bridge vintage print aesthetics with modern digital design. This technique transforms portrait photography into graphic art pieces with flowing, particle-like textures. The process involves layering multiple filter effects to achieve that coveted Instagram-worthy look where subjects appear to dissolve into dotted trails of movement. Watch the Tutorial Practical Tips for Mo
How to Create a Vintage Petzval Lens Effect in Photoshop
The Petzval lens, invented in 1840, creates a distinctive swirling, dreamlike blur that transforms ordinary photographs into vintage masterpieces. This unique optical effect features sharp central focus with rapidly falling sharpness toward the edges. Recreating this coveted vintage aesthetic in Photoshop allows photographers to achieve the same romantic, spiraling bokeh without investing in expensive historical lenses. Watch the Video Practical Tips for Petzval Lens Effects * Convert you

Get tutorials & freebies delivered to you.

Subscribe to the Photoshop Roadmap newsletter, a weekly roundup of new tutorials, insights and quality downloads, trusted by 6500+ readers.

You might also like

Create Realistic Rim Light Effects on Portraits in Photoshop

Rim lighting transforms ordinary portraits into dramatic, professional-looking images by adding bright highlights around the edges of your subject. This technique simulates light hitting the outer contours of a person, making them stand out from their background with a natural, glowing effect. The key to convincing rim light lies in...

How to Use Photoshop's Layer Cleanup Tool to Organize Messy Projects

Complex editing projects with Generative Fill and Expand often result in dozens of unnamed layers cluttering your workspace. The new Layer Cleanup tool automates the tedious process of renaming layers and removing empty ones, transforming chaotic layer panels into organized, manageable structures. This workflow improvement saves significant time during post-production...

How to Use Curves for Composite Color Matching in Photoshop

Curves adjustments are essential for making composite elements look natural and cohesive. Understanding how curves manipulate light values and color channels gives you precise control over matching different elements to their new backgrounds. The key to successful color matching lies in analyzing the color temperature and brightness relationships between your...

How to Fix Color Fringing in Subject Cutouts Using Clipping Masks

Perfect layer masks can still produce disappointing results when color fringing appears around hair and fur edges. This common problem isn't caused by poor masking technique—it's the original background bleeding through at the edges. Clipping masks offer a powerful solution by allowing you to paint...

Create Beautiful Floral Oval Frames for Portraits in Photoshop

Transform ordinary portraits into elegant artwork with decorative floral oval frames that blend seamlessly with your subject. This technique combines traditional framing with digital floral elements, creating a painterly effect that's perfect for fine art prints and creative portraits. The process involves creating an oval cutout, adding custom...

You’ve successfully subscribed to Photoshop Roadmap
Welcome back! You’ve successfully signed in.
Great! You’ve successfully signed up.
Success! Your email is updated.
Your link has expired
Success! Check your email for magic link to sign-in.