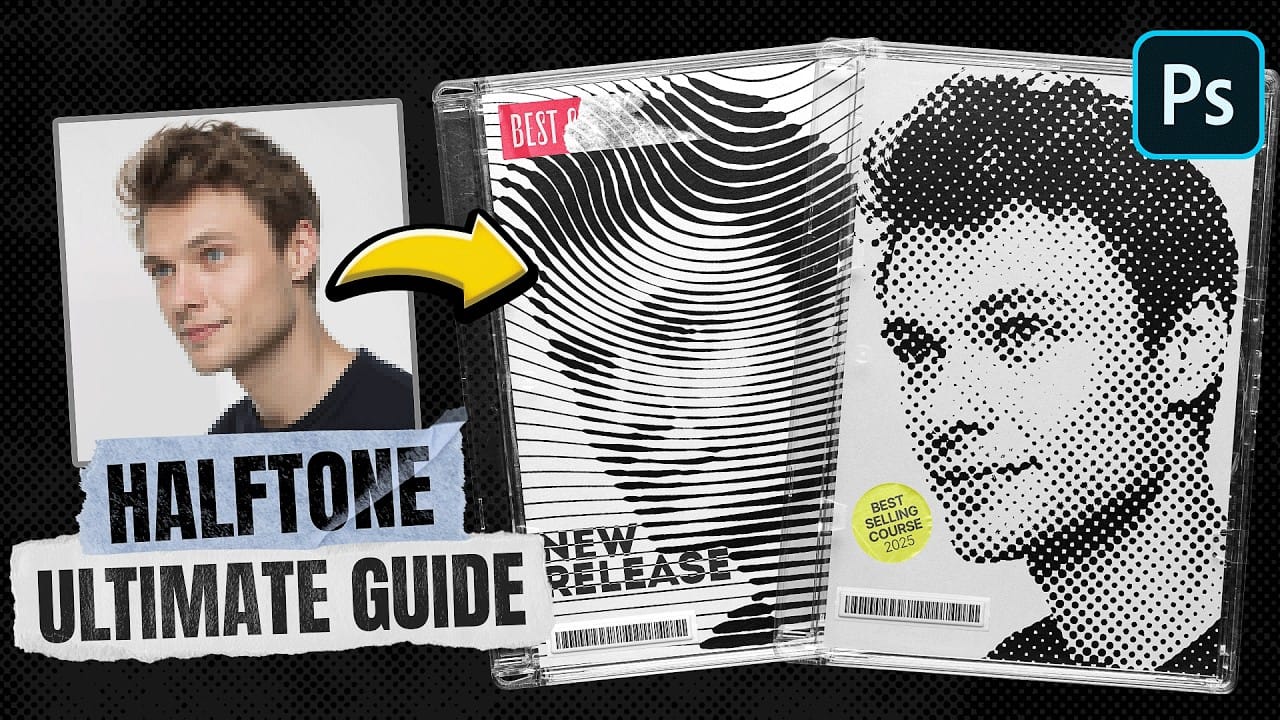
The distinctive look of dotted halftone patterns combined with dynamic motion blur creates striking visual effects that bridge vintage print aesthetics with modern digital design. This technique transforms portrait photography into graphic art pieces with flowing, particle-like textures.
The process involves layering multiple filter effects to achieve that coveted Instagram-worthy look where subjects appear to dissolve into dotted trails of movement.
Watch the Tutorial
Video by P A N T E R. Any links or downloads mentioned by the creator are available only on YouTube
Practical Tips for Motion Halftone Effects
- Use high-resolution images (4000px height) to ensure sharp halftone dots in the final output
- Convert layers to smart objects before applying filters to maintain non-destructive editing capabilities
- Apply motion blur first with high values (400-500px) to create strong directional movement
- Adjust reticulation density settings to control how detailed or simplified your halftone pattern appears
- Set foreground level to zero in reticulation to eliminate unwanted background elements and focus on the subject
More Tutorials About Motion Blur and Halftone Effects
Explore additional techniques for creating dynamic visual effects in Photoshop.
How to Create a Blurry Halftone Text Effect in Photoshop
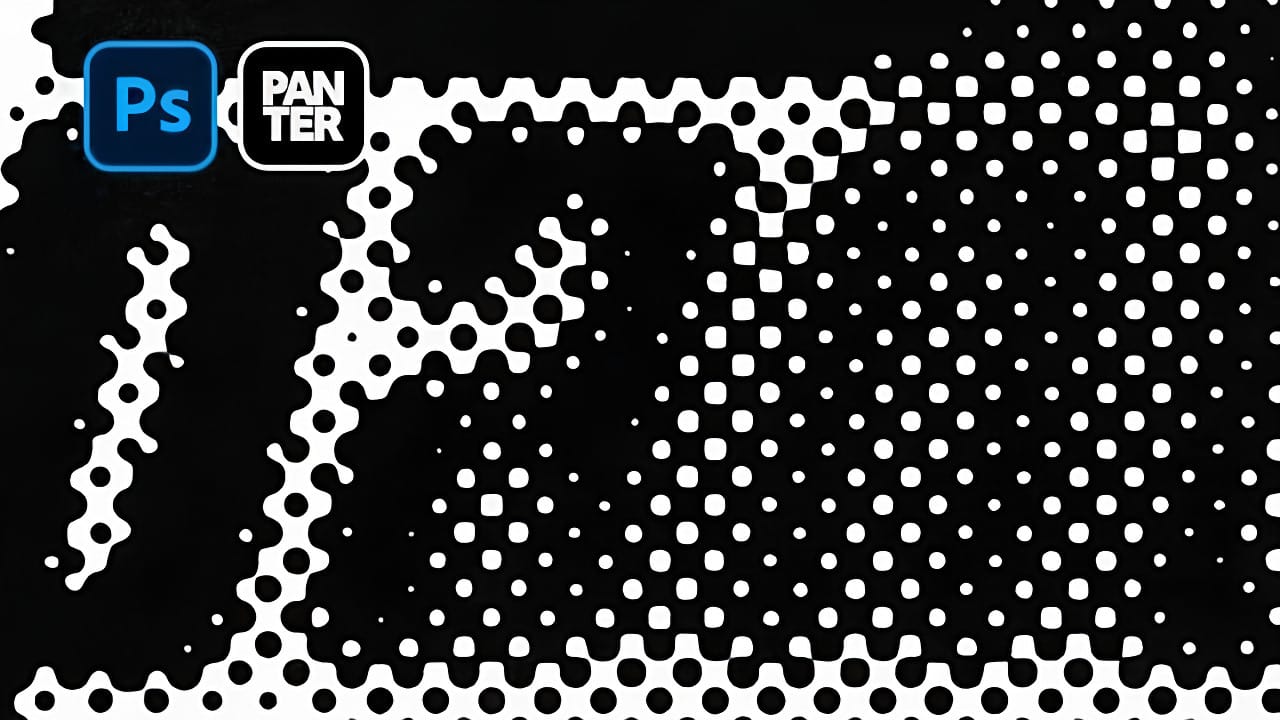
Comic book aesthetics and vintage print textures bring a distinctive visual punch to modern digital typography. The halftone effect—those characteristic dot patterns from traditional printing—creates instant nostalgia and graphic impact when combined with strategic blur techniques.
This technique transforms simple text into dynamic graphic elements that capture the essence of classic print media while maintaining the flexibility of digital design.
Watch the Tutorial
Understanding the Halfto
Generate a Perspective Motion effect with Photoshop
In this tutorial, learn how to put an object into motion by adding motion blur along the perspective. Using the power of multiple paths, we will feed the perspective information into Photoshop, and apply blur along these lines.In this lesson, we will extensively learn how to use the advanced features of Path Blur to not […] More
 PiXimperfect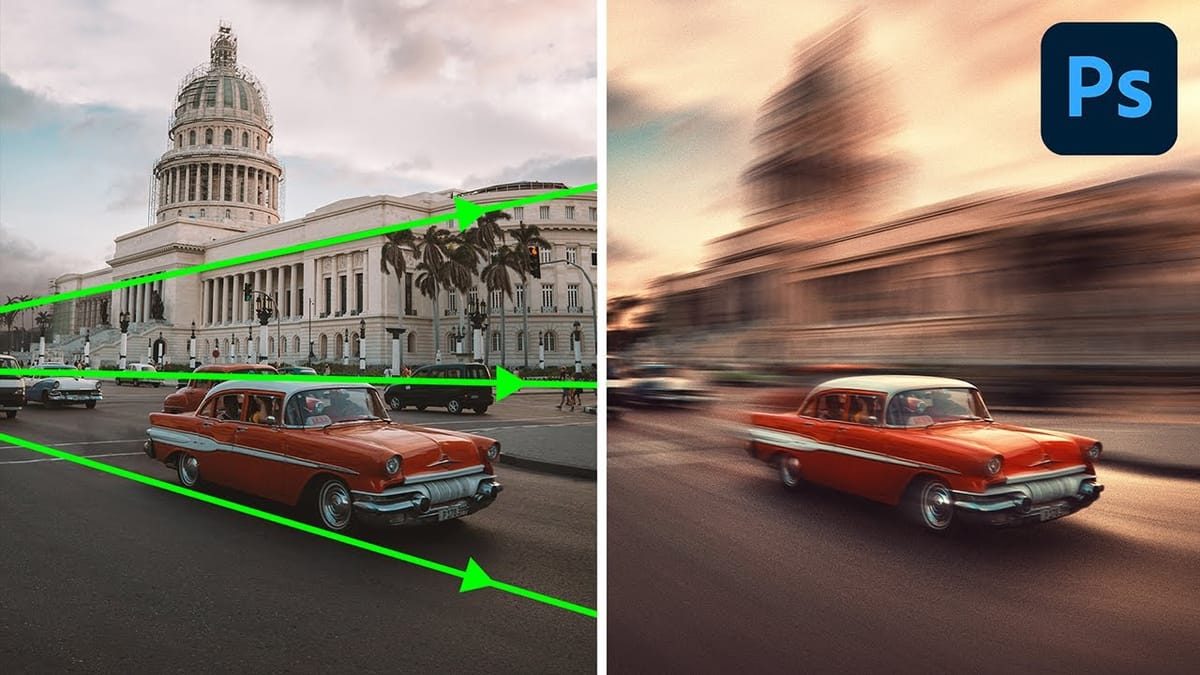
Create Fire Text with Motion Blur and Gradients in Photoshop
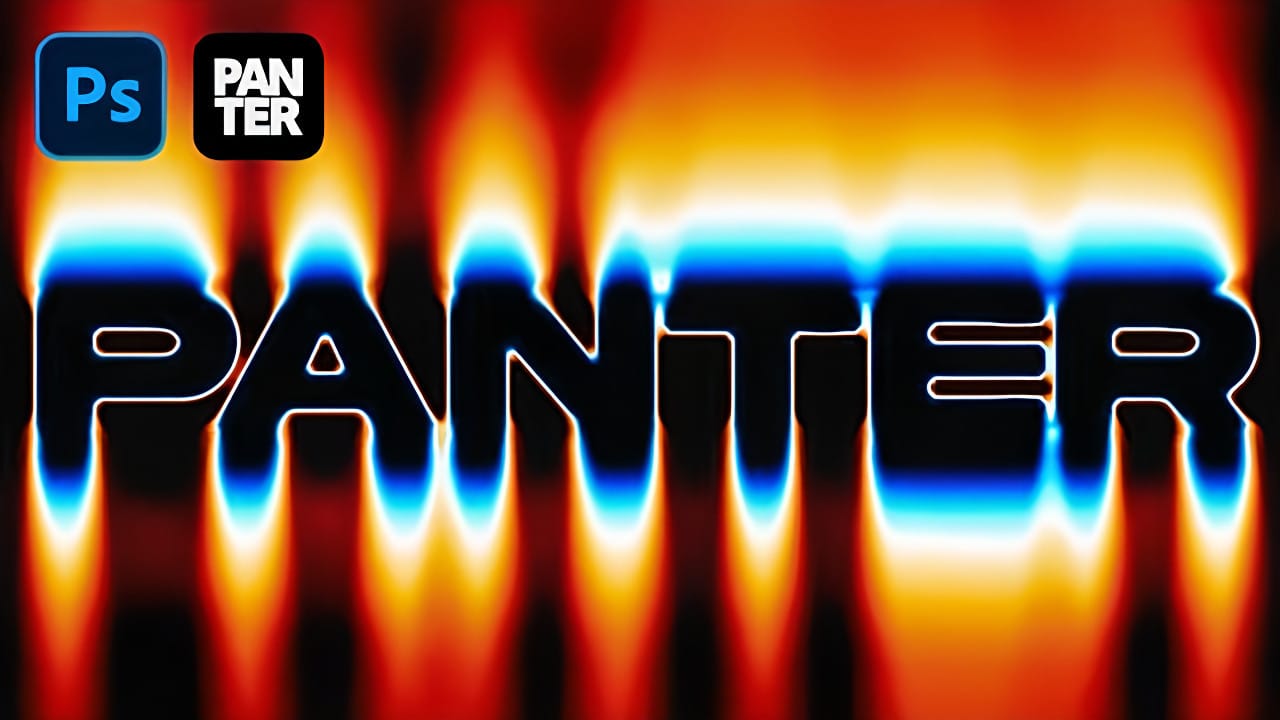
Fire text effects bring raw energy and dynamic movement to any design project. The combination of motion blur and colorful gradients creates the illusion of blazing flames trailing behind text, perfect for logos, posters, and dramatic typography.
This technique transforms static lettering into something that appears to be racing across the screen, leaving a fiery wake behind it.
Watch the Tutorial
The Science Behind Motion Blur Effects
Motion blur occurs naturally when objects move faster
Ultimate Halftone Effect in Photoshop
Halftone effects can transform ordinary photos into striking graphic designs, but many designers struggle with creating patterns that blend naturally with their images. The traditional approach often results in rigid, uniform dots that don't adapt to the underlying image tones and details.
This tutorial demonstrates how to create flexible halftone effects using multiple pattern types and blending techniques. You'll learn to build reusable workflows that can be applied to any image instantly, pl