Ultimate Halftone Effect in Photoshop

Ultimate Halftone Effect in Photoshop

Halftone effects can transform ordinary photos into striking graphic designs, but many designers struggle with creating patterns that blend naturally with their images. The traditional approach often results in rigid, uniform dots that don't adapt to the underlying image tones and details.

This tutorial demonstrates how to create flexible halftone effects using multiple pattern types and blending techniques. You'll learn to build reusable workflows that can be applied to any image instantly, plus advanced methods for combining patterns and adding textures for more dynamic results.

Watch the Tutorial

Any links or downloads mentioned by the creator are available only on YouTube

Understanding Halftone Pattern Behavior

Halftone effects work by varying dot sizes based on image brightness values, mimicking traditional print reproduction techniques. The key to natural-looking results lies in how the pattern interacts with the underlying image through blending modes and blur effects.

When using Color Burn blending mode with halftone patterns, the dots need to be slightly blurred to respond dynamically to image tones. Sharp patterns maintain uniform dot sizes regardless of the underlying brightness, while blurred patterns expand in dark areas and contract in light areas, creating the authentic halftone appearance.

This principle applies whether you're working with traditional dot patterns, lines, circles, or custom shapes. The blur radius typically ranges from 2-4 pixels for most image resolutions, though this can be adjusted based on the desired effect intensity.

Essential Halftone Workflow Techniques

  • Convert pattern layers to Smart Objects before applying filters to maintain non-destructive editing capabilities and allow easy adjustments later.
  • Use Levels adjustment layers to control halftone distribution across highlights, midtones, and shadows. The black and white sliders reveal patterns in previously solid areas.
  • Apply subtle Gaussian blur to your base image layer to prevent fine details like hair from creating unwanted interactions with the pattern overlay.
  • Create pattern-based workflows instead of filter-based ones for better control over scale, rotation, and reusability across multiple projects.
  • Save merged result layers using Alt + Shift + E when experimenting with different patterns to preserve previous versions without losing work.

Explore More Creative Effects

These related tutorials cover additional techniques for enhancing your photo manipulation skills.
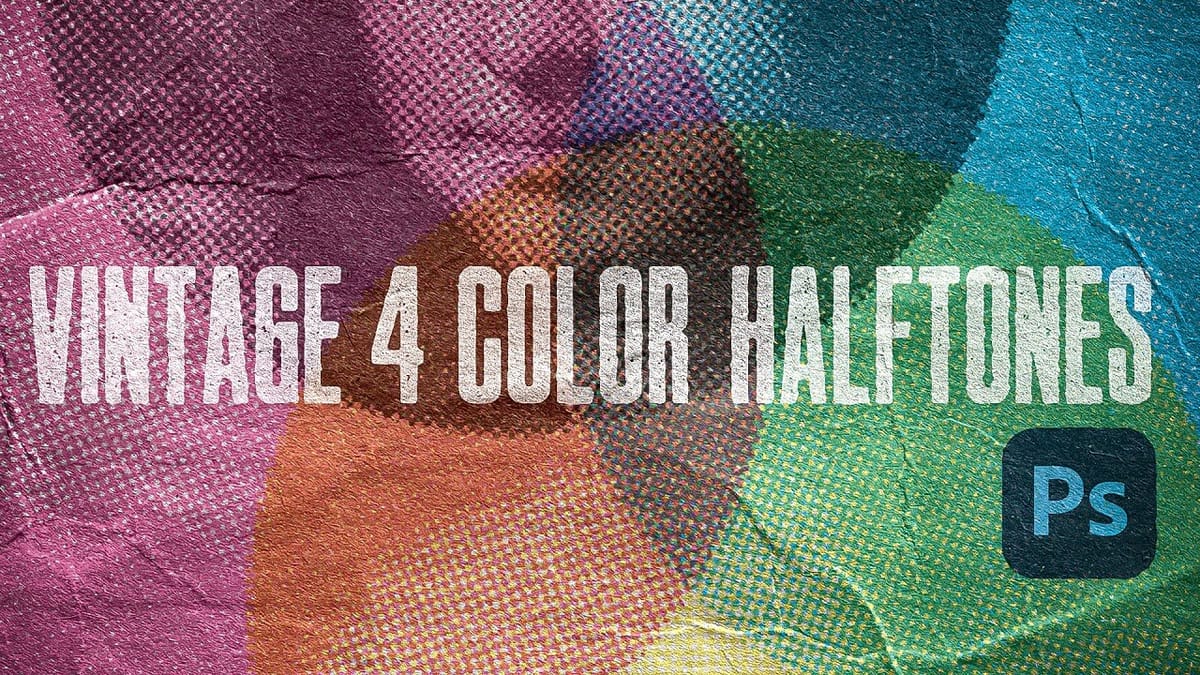
Create Authentic Vintage Halftone Effects with Custom Patterns in Photoshop
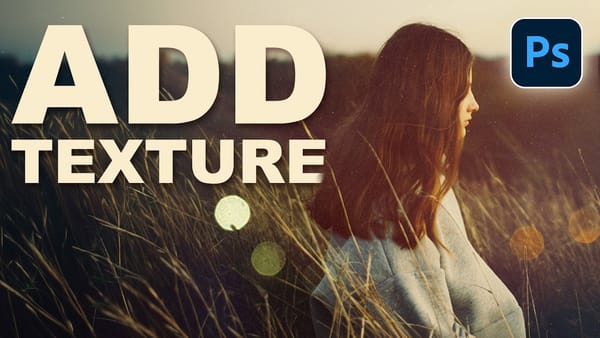
Photoshop’s built-in Color Halftone filter creates rigid, geometric results that lack the authentic character of vintage print work. The filter also fails to produce true CMYK separations in RGB documents, missing the black channel entirely and creating an unconvincing simulation of traditional printing methods. This technique uses custom patterns and
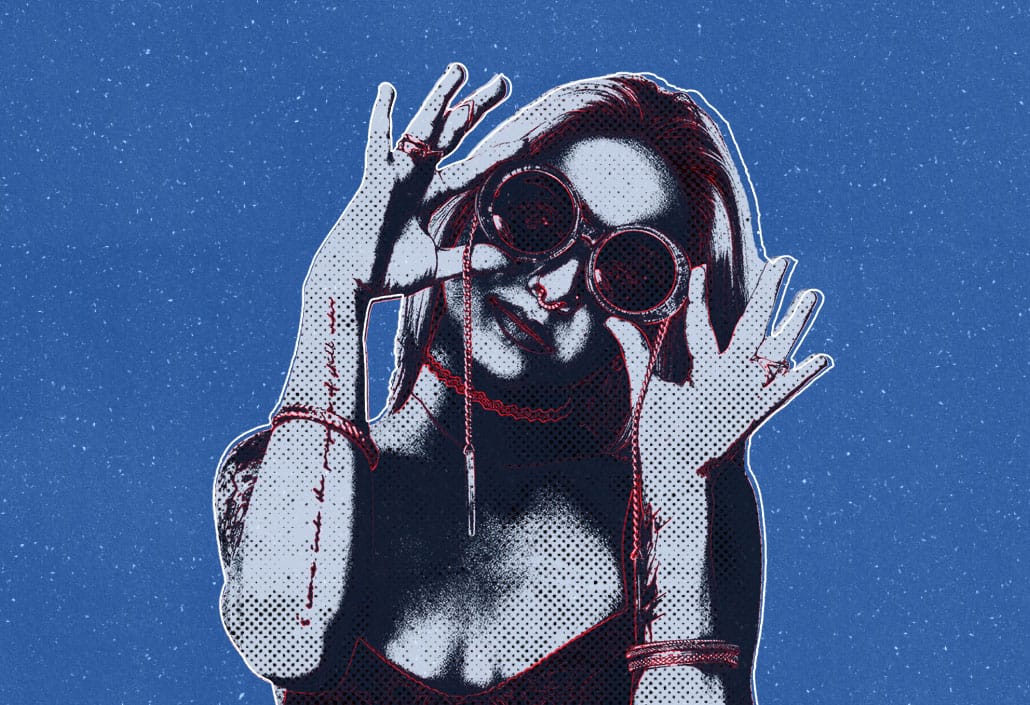
Create an old-school halftone photo effect in Photoshop – Photoshop Roadmap
Creating authentic vintage halftone effects can be challenging when working with modern digital photography. Many designers struggle to achieve that classic print aesthetic without the result looking artificial or overdone. This tutorial demonstrates a multi-layer approach to building realistic halftone vintage effects using threshold adjustments, pattern overlays, and selective masking.
Create awesome retro halftone effects in Photoshop
In this tutorial, I’ll run through the setup I use to create halftone effects in Photoshop. Great for posters, apparel, stickers, or just making cool retro-lookin stuff! This approach will bypass the halftone filters and create the effect from scratch, with the added benefit of being live and adjustable. In the second half of the […] More

Get tutorials & freebies delivered to you.

Subscribe to the Photoshop Roadmap newsletter, a weekly roundup of new tutorials, insights and quality downloads, trusted by 6500+ readers.

You might also like

How to Create Circle Cropped Photos with Transparent Backgrounds in Photoshop

Circular cropping transforms standard photographs into clean, professional profile images perfect for websites, social media, and presentations. The frame tool method creates non-destructive crops with transparent backgrounds that export seamlessly across different platforms. This streamlined workflow eliminates the need for complex selections or masks while maintaining full control over image...

How to Use Generative Upscale to Restore and Enhance Low-Resolution Images in Photoshop

Low-resolution images often limit your creative projects, especially when you need sharp prints or high-quality displays. Photoshop's Generative Upscale feature transforms small, pixelated photos into crisp, detailed images using AI-powered enhancement. This tool offers three distinct AI models, each designed for specific image types—from landscapes and portraits...

How to Use Harmonize to Automatically Match Lighting in Photoshop Composites

Creating seamless composites traditionally requires hours of manual color correction and lighting adjustments. The new Harmonize tool changes this by automatically analyzing your background and matching your subject's lighting, shadows, and color tones with a single click. This AI-powered feature eliminates the need for complex adjustment layers and...

How to Use Adobe Photoshop in ChatGPT for Photo Editing

Adobe Photoshop is now integrated directly into ChatGPT, allowing you to edit photos using simple text descriptions. This new feature lets you enhance images, apply creative effects, and make targeted adjustments without needing a Photoshop subscription. You can describe what you want to change and fine-tune adjustments using familiar Photoshop...

How to Fix Skin Tones in Photoshop - Complete Guide

Skin tones can make or break a portrait, yet color casts and uneven lighting often leave subjects looking unnatural or flat. Whether dealing with mixed lighting conditions, camera white balance issues, or post-processing mishaps, getting skin colors right requires a systematic approach that works consistently across different scenarios. This comprehensive...

You’ve successfully subscribed to Photoshop Roadmap
Welcome back! You’ve successfully signed in.
Great! You’ve successfully signed up.
Success! Your email is updated.
Your link has expired
Success! Check your email for magic link to sign-in.