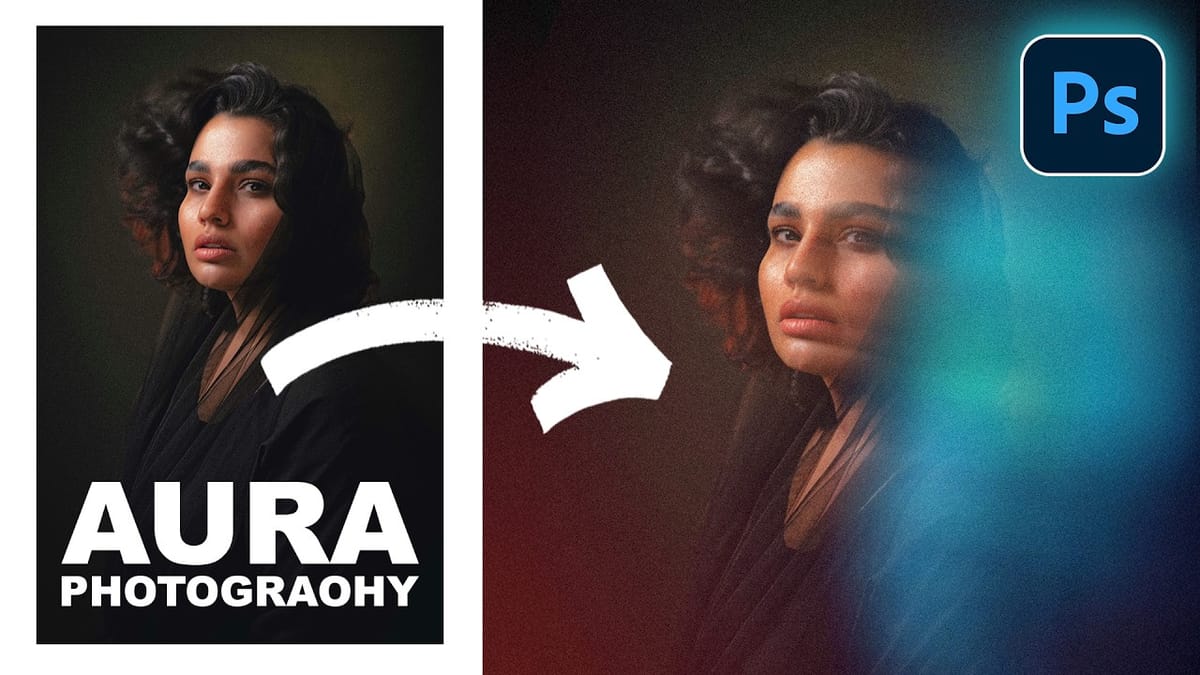
Transform ordinary portraits into dynamic, cinematic images by combining path blur effects with creative background textures. This technique creates the illusion of camera movement while maintaining focus on key elements like the subject's eyes, resulting in professional-looking motion blur effects that add energy and visual interest to static photos.
Watch the Video
Video by PHLEARN. Any links or downloads mentioned by the creator are available only on YouTube
Practical Tips
Key techniques for creating convincing motion blur light effects:
- Always convert layers to smart objects before applying blur filters to maintain non-destructive editing capabilities
- Use path blur with multiple paths on your subject to create more complex and realistic motion effects
- Create two versions of your subject - one blurred and one sharp - then mask the sharp version over important details like eyes
- Match the brightness of new backgrounds to the original lighting by adjusting levels before applying blur effects
- Add subtle grain as the final step to make digital effects appear more photographic and authentic
Related Articles and Tutorials
Explore more lighting and blur techniques to enhance your photo effects:
Lighting Effects to Create Drama in Photoshop
In this tutorial, John Whitehead demonstrates how to add dramatic lighting effects in Photoshop to transform flat lighting into something much more dynamic. You'll learn how to use various tools such as lighting effects filters, lens flare, smart objects, and LUTs to completely alter the mood and appearance of your image.
If you want to follow along with the tutorial, you can download the provided image and apply the same techniques. This guide is perfect for photographers and digital artists l
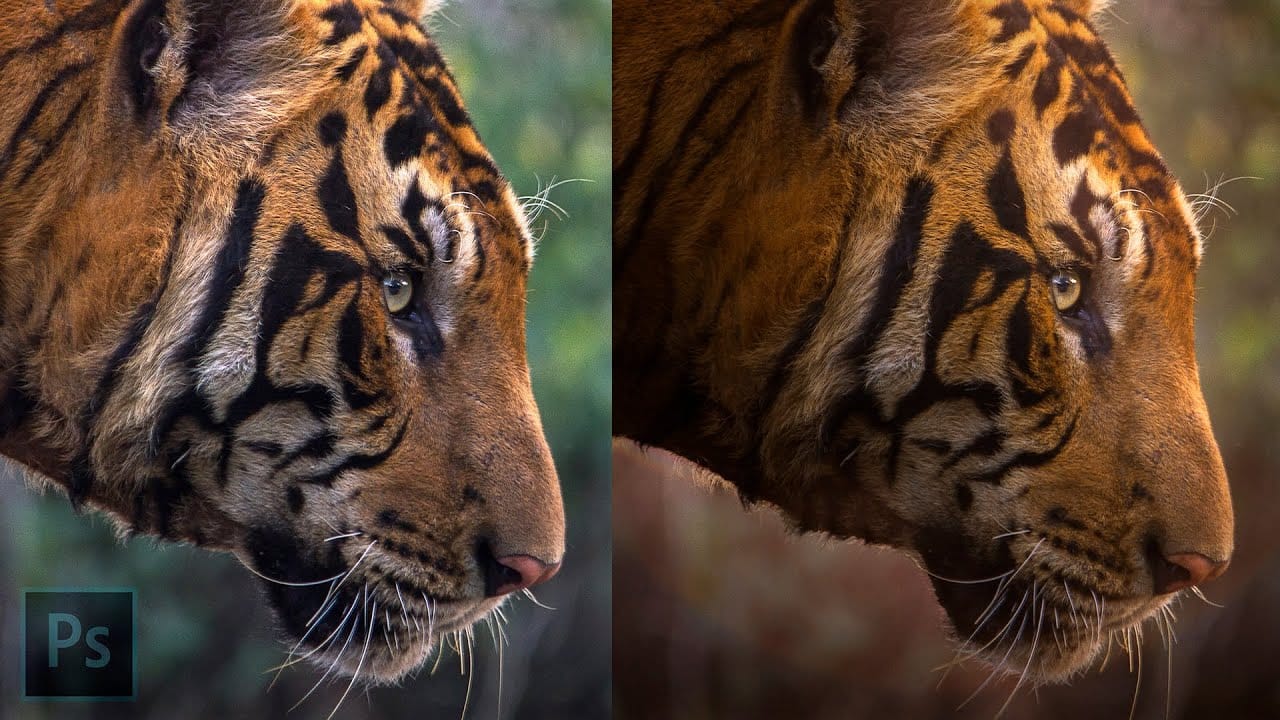
Create lighting effects using Gradient Maps in Photoshop
In this Photoshop tutorial by Unmesh Dinda from Piximperfect you will learn an interesting technique to completely mold and control light in Photoshop using Gradient Maps along with amazing light effects to add drama, depth, and dimension.
In this video, learn how to manipulate multiple levels of light. Whether you want to remove shiny flash hotspots or add more shine, make harsh light soft or soft light harsh, with Gradient Maps, you can control almost everything. Gradient Map allows you to co
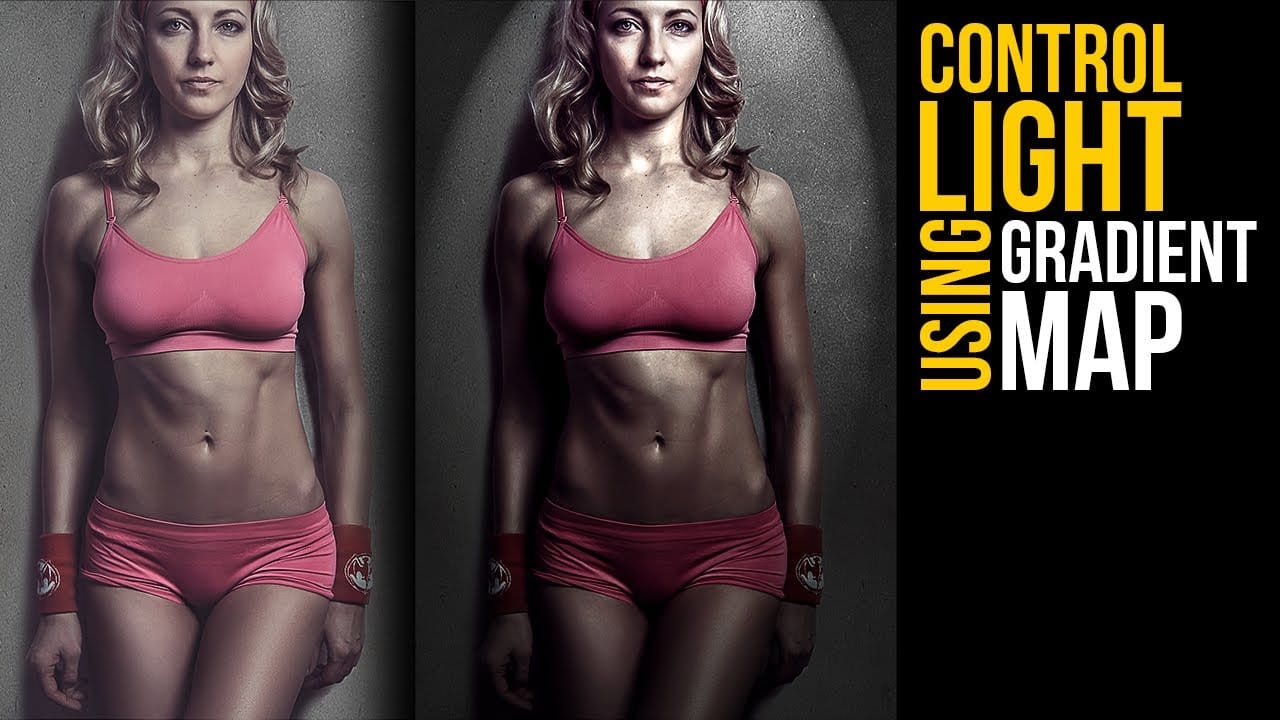
How to Create Cinematic Color Grading Using Camera Raw Filter in Photoshop
Color grading transforms ordinary photos into cinematic masterpieces by adding mood and visual depth. The Camera Raw filter built into Photoshop provides professional-level color grading tools that rival dedicated editing software, allowing you to adjust shadows, midtones, and highlights with precision. This technique uses smart filters to ensure non-destructive editing,
 Phlearn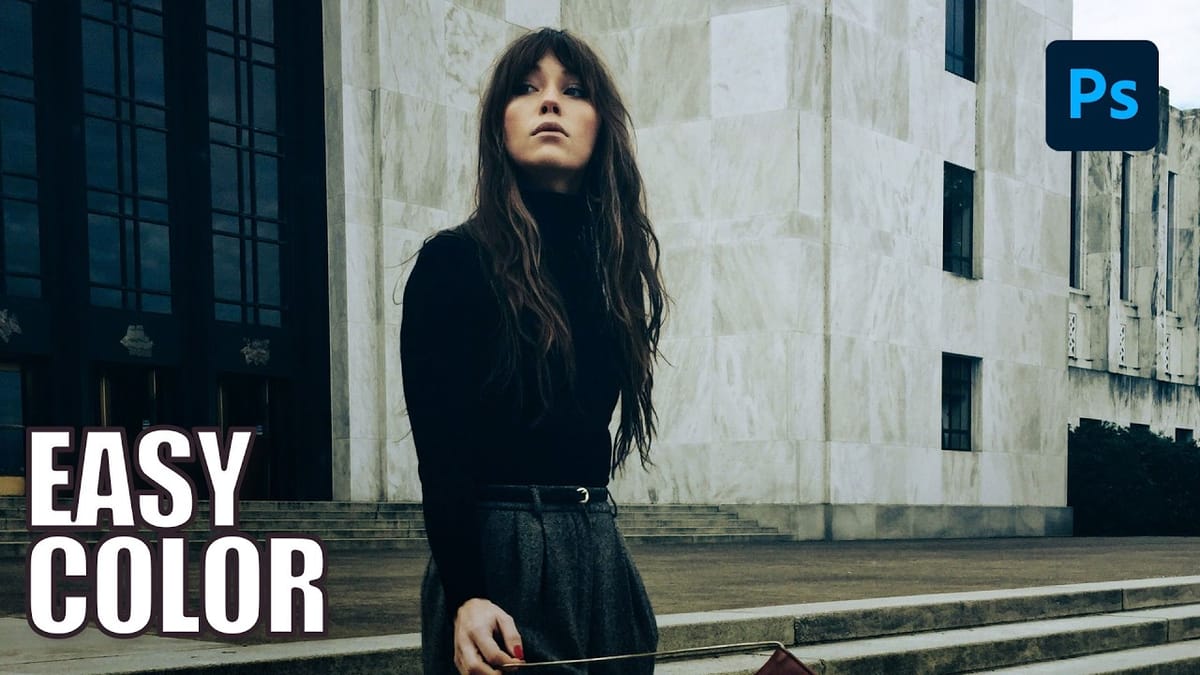
How to Add Custom Textures to Photos in Photoshop
Adding textures to photographs can transform ordinary images into compelling artistic compositions. This technique uses multiple texture layers combined with strategic blending modes and color adjustments to create depth and visual interest. The process involves layering different texture types—color overlays, surface patterns, and lighting effects—then using masking techniques
 Phlearn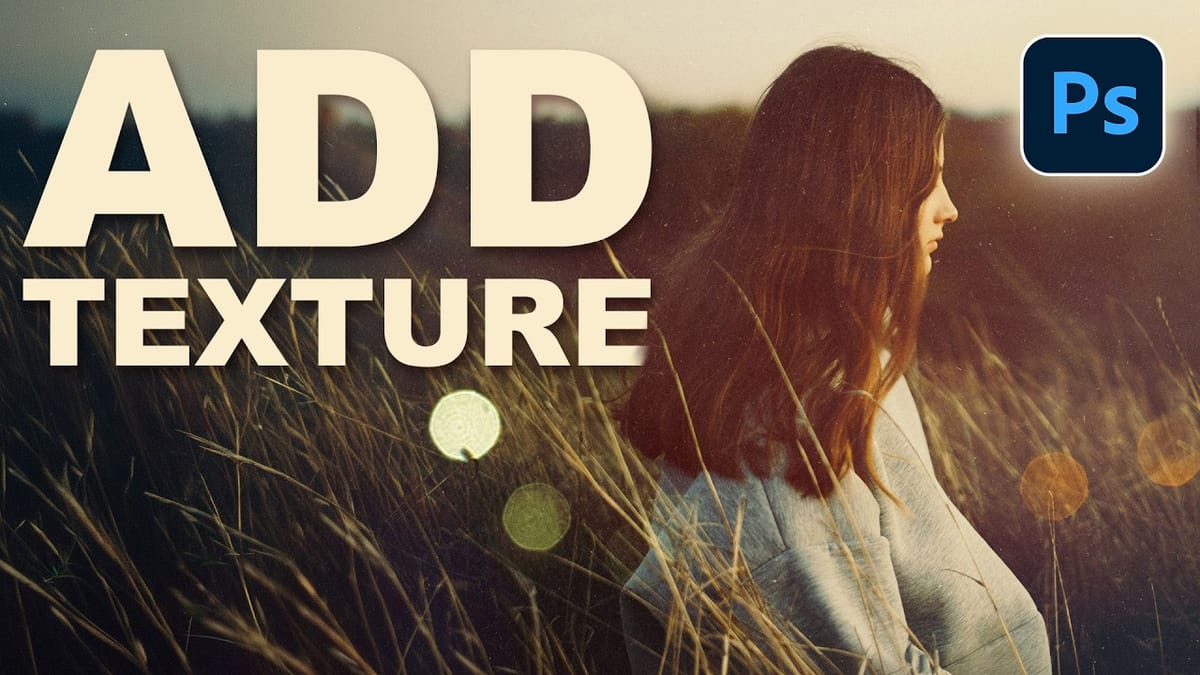
How to Create a Double Exposure Effect in Photoshop Using Screen Blend Mode
Double exposure effects transform ordinary portraits into striking artistic compositions by blending two images seamlessly. This technique works best with high-contrast images—silhouettes against bright backgrounds paired with nature scenes or textures. The key to successful double exposures lies in the contrast between light and dark areas. When you combine
 Phlearn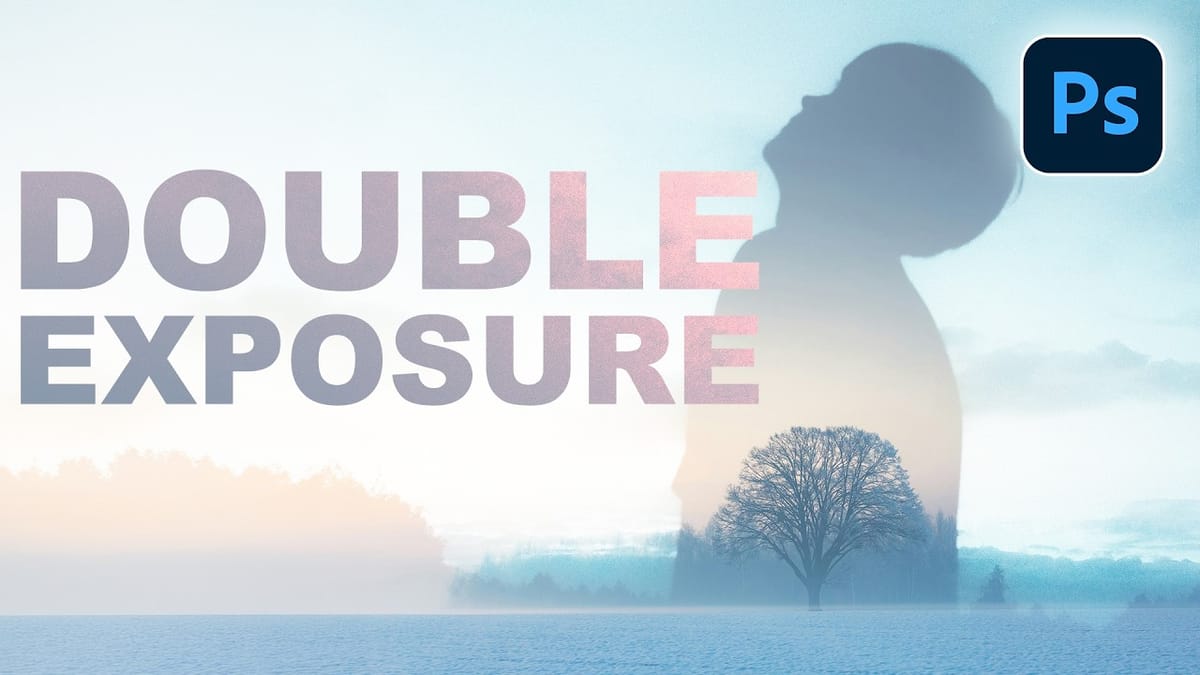
How to Create Glow Motion Effects with Gradient Maps in Photoshop
Motion blur combined with colorful gradients creates striking visual effects that transform ordinary photos into dynamic, cinematic images. This technique uses gradient maps to automatically color light and dark values, producing flowing color transitions that follow the movement of your subject. The process involves subject isolation, strategic gradient placement, path
 Phlearn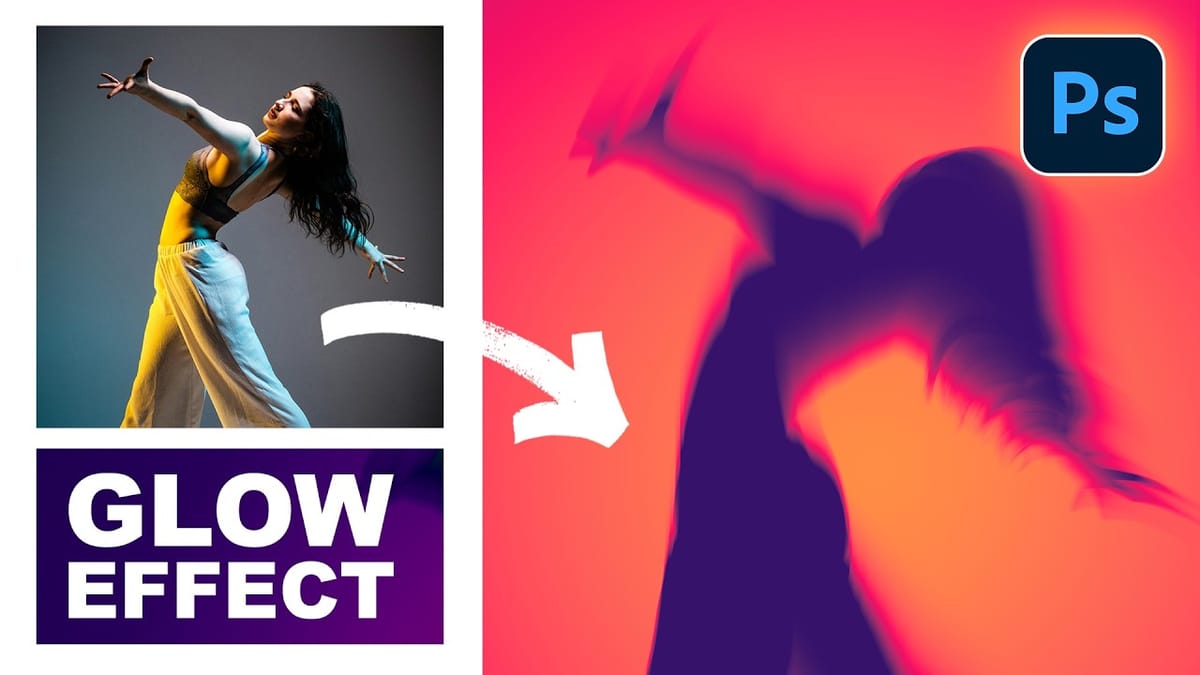
How to Create a Colorful Aura Effect for Portraits in Photoshop
Portrait photography becomes truly captivating when enhanced with atmospheric effects that draw the viewer’s eye. The colorful aura effect transforms ordinary portraits into striking visual statements by surrounding the subject with ethereal, glowing light that feels both magical and professional. This technique works best with portraits shot against dark backgrounds
 Phlearn