The portrait slice effect splits a single image into offset vertical bars, creating the illusion of a displaced or fragmented face. The entire technique relies on layer masks and a lesser-known Photoshop shortcut called step and repeat — no filters, no AI, no destructive edits required.
Watch the Video
Video by PHLEARN. Any links or downloads mentioned by the creator are available only on YouTube
Practical Tips
These key techniques from the tutorial will help you build and refine the effect efficiently.
- Use step and repeat (Option/Alt + Command/Ctrl + T to step, then Shift + Option/Alt + Command/Ctrl + T to repeat) to duplicate bars at an identical spacing without creating separate layers.
- Fill your initial rectangular marquee selection with white on a dedicated blank layer, then load that layer as a selection to drive the layer mask — this keeps the bar geometry separate from your image data.
- Toggle the chain link between a layer and its mask to switch between two distinct effects: linked moves both together for a duplicated-feature look, while unlinking slides the image behind the masked layer for a subtler offset.
- Experiment with bar width early — thin bars and thick bars produce noticeably different results, and because the technique is non-destructive, you can maintain both versions as separate masked layers and compare them.
- Hold Shift while dragging with the Move tool to constrain movement to a straight horizontal line, keeping the slice alignment clean.
Related Articles and Tutorials
More portrait manipulation techniques worth exploring from the archive.
15 Fantastic Photoshop Portrait Effects You’ll Want to Slap on Every Selfie Right Now
Sure, the title says you’ll want to slap these effects on every selfie (that was me trying to grab your attention 😅) — but let’s be honest: these aren’t one-tap filters. Every tutorial here is built on real Photoshop craftsmanship — lighting, masking, blending, and a good dose of
 Enrique Flouret
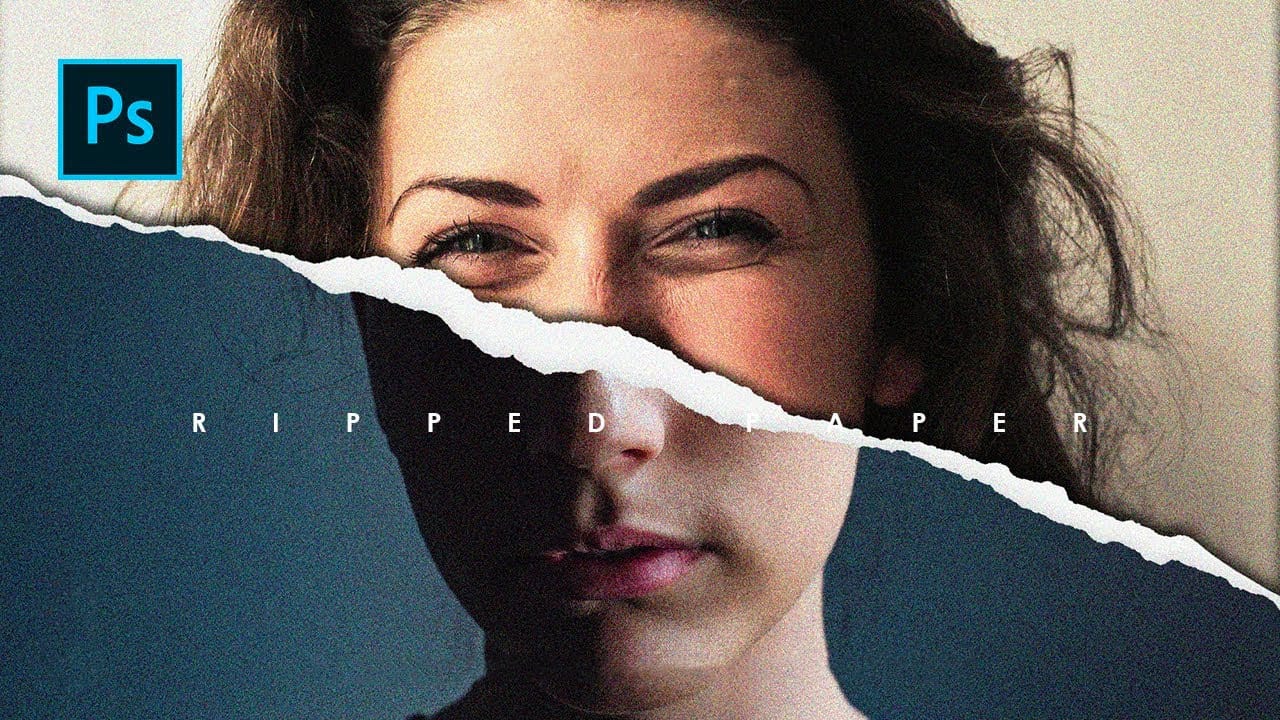
Create ripped paper portrait effect in Photoshop
This video will show you how to create a captivating ripped paper photo manipulation effect. Learn how to create a realistic tear that reveals a hidden image beneath, effectively layering two portraits into one unique composition.
The video will guide you through using layer masks and selection tools to achieve a seamless tear effect, while also exploring techniques for adding texture and depth to the "paper" for a believable final outcome.
Watch tutorial
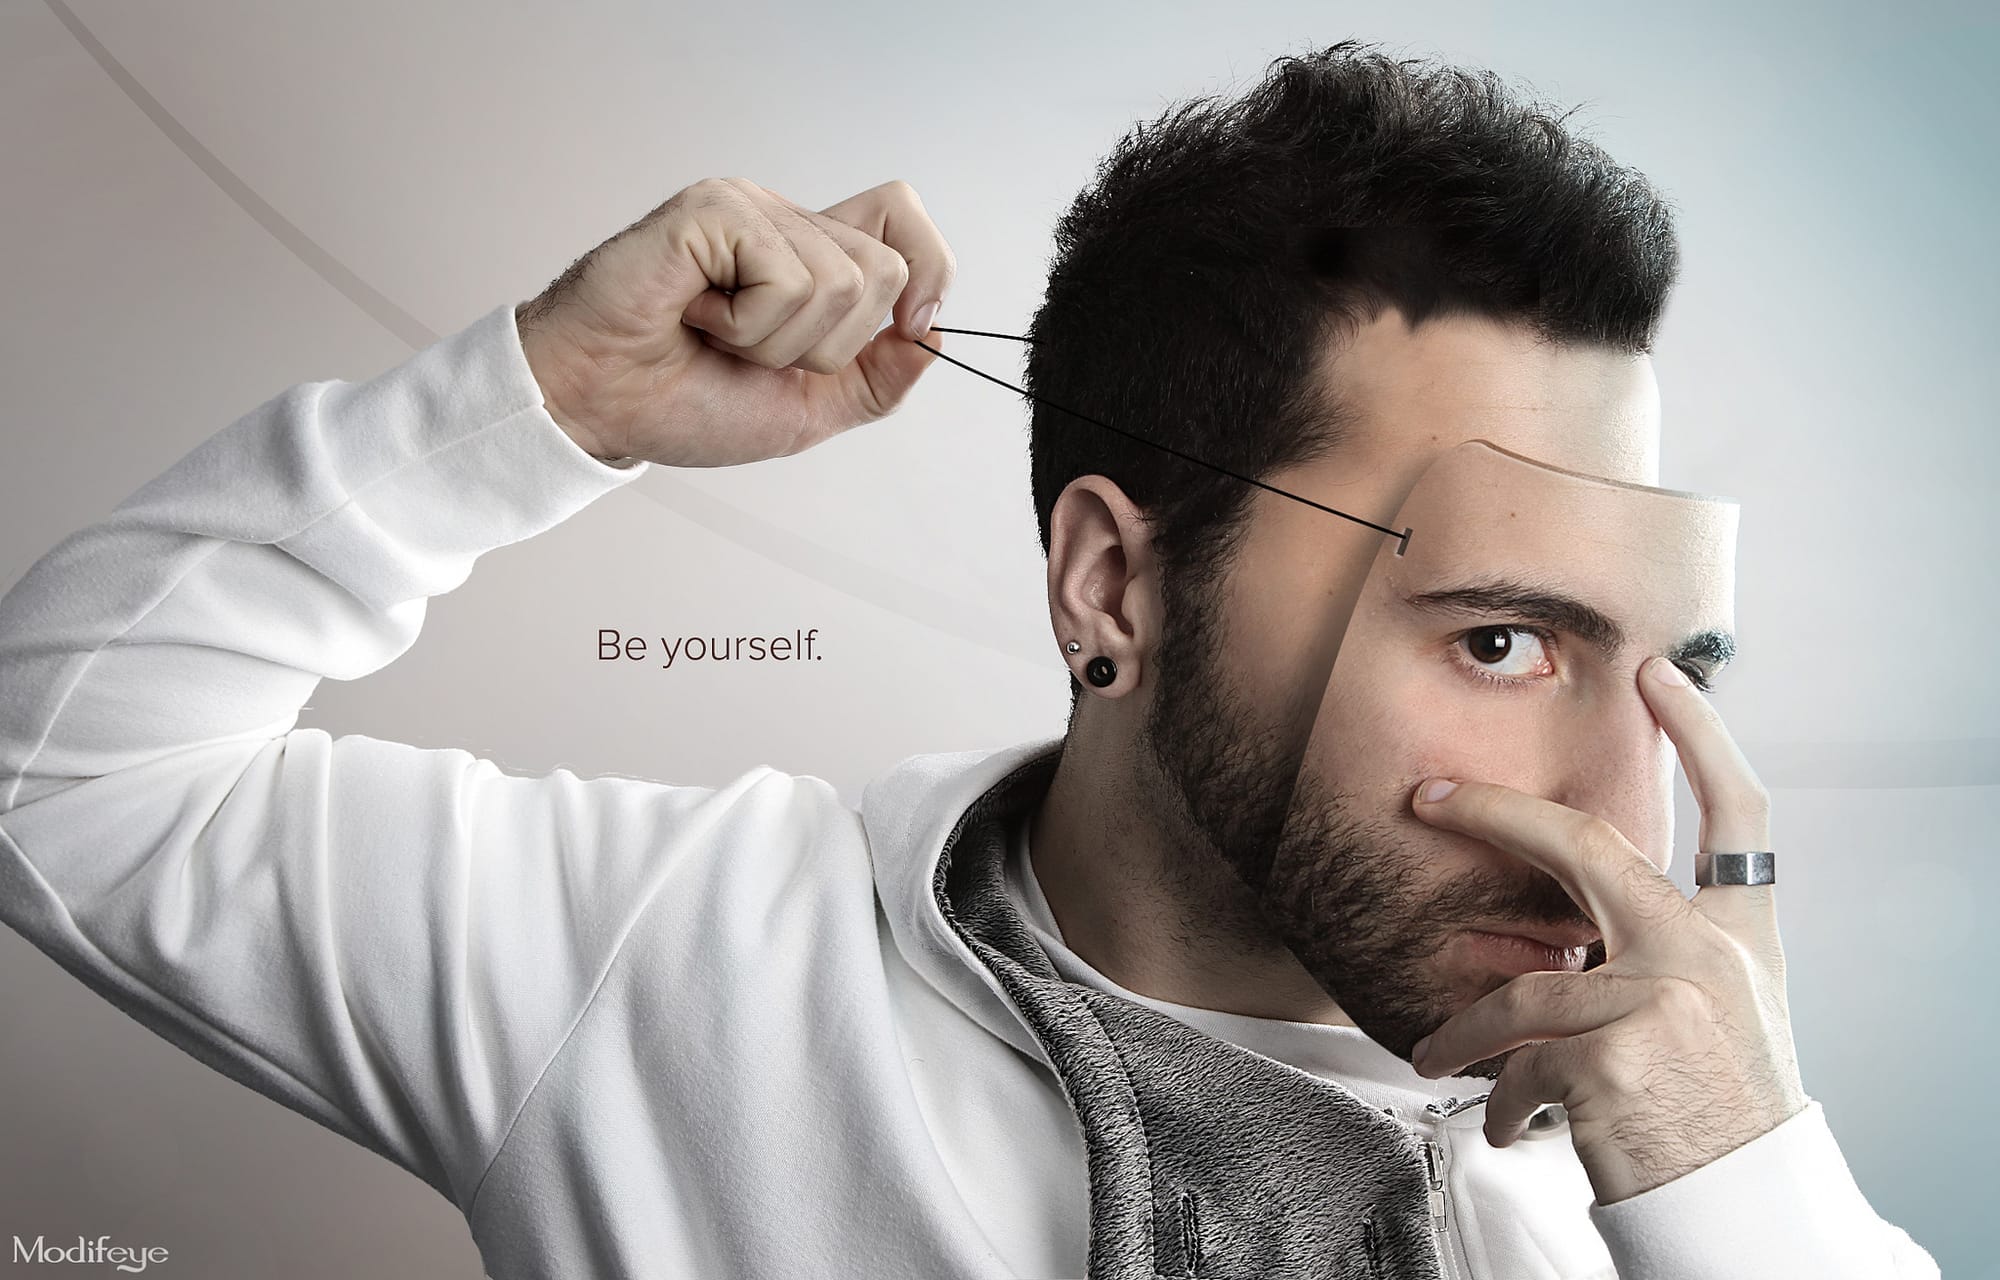
Create a Portrait Mask Illusion With Photoshop
Here is a longer version with paragraphs, written in the third person or second singular voice, and without using the prohibited words:
If you're looking to create an eye-catching portrait illusion, this tutorial is for you. You'll learn how to make a face mask using a photo of the subject's own face. The author demonstrates the simple techniques they used to achieve this effect in Photoshop.
First, you'll need to capture a high-quality photo of the subject's face. Then, you'll edit the image
Create a Striking Text Portrait Poster in Photoshop
Transforming an ordinary portrait into a captivating text-based artwork presents a unique creative challenge in Photoshop. Often, the frustration lies in making text appear to organically wrap around a subject's contours rather than just sitting flat over the image. Achieving this seamless integration, especially when dealing with complex shapes, can feel like navigating an intricate technical puzzle.
This tutorial offers a clear pathway to mastering text portrait effects using advanced masking
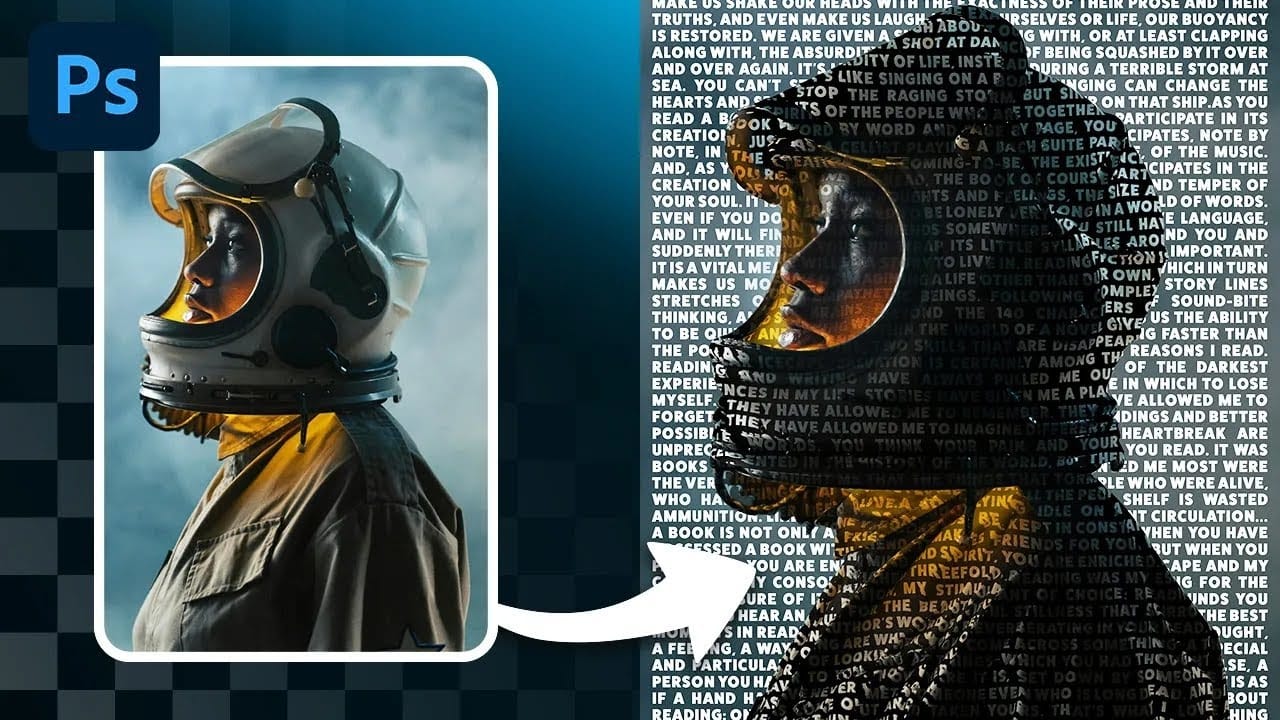
Create a cool text portrait in Photoshop
Learn how to create a striking typographic portrait poster in Adobe Photoshop, transforming a standard photo into an artwork where text defines the contours of the subject's face. You'll practice essential techniques: precise subject selection, background preparation, thoughtful text integration, and subtle refinements to enhance legibility and visual impact.
Watch the Video
Practical Tips for Text Portrait Posters in Photoshop
* Desaturate your base image to black and white early in the p
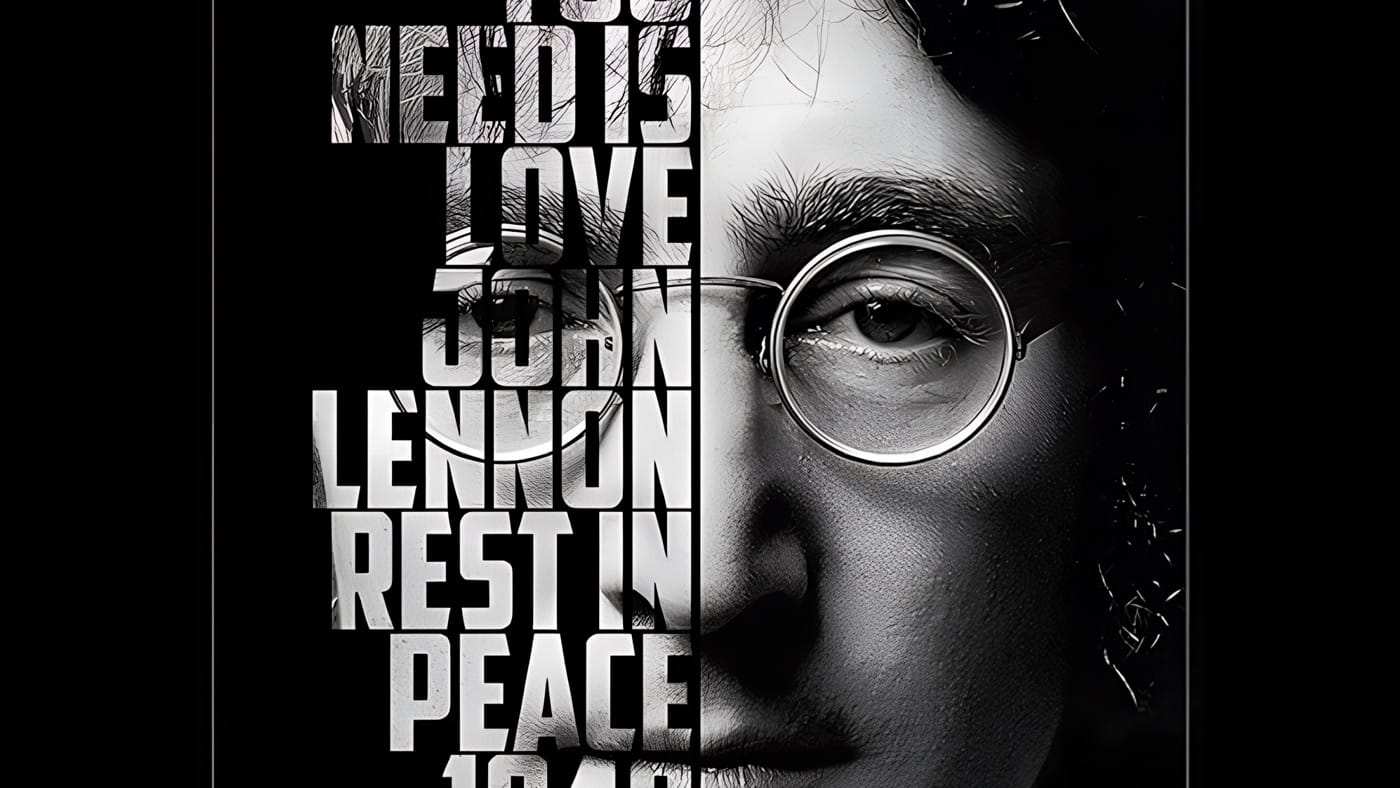
Apply a painterly splatter effect to a photo in Photoshop
In this tutorial, you will learn how to create a unique and visually striking portrait photo with a splatter paint and drip effect in Photoshop. The techniques covered include overlay painting, blending, and coloring methods.
You'll start by working with your portrait image, experimenting with different overlay modes and blending options to achieve the desired paint-like effect. Then, you'll explore adding drips and splatters to the image, using various brushes and techniques to ensure a natura
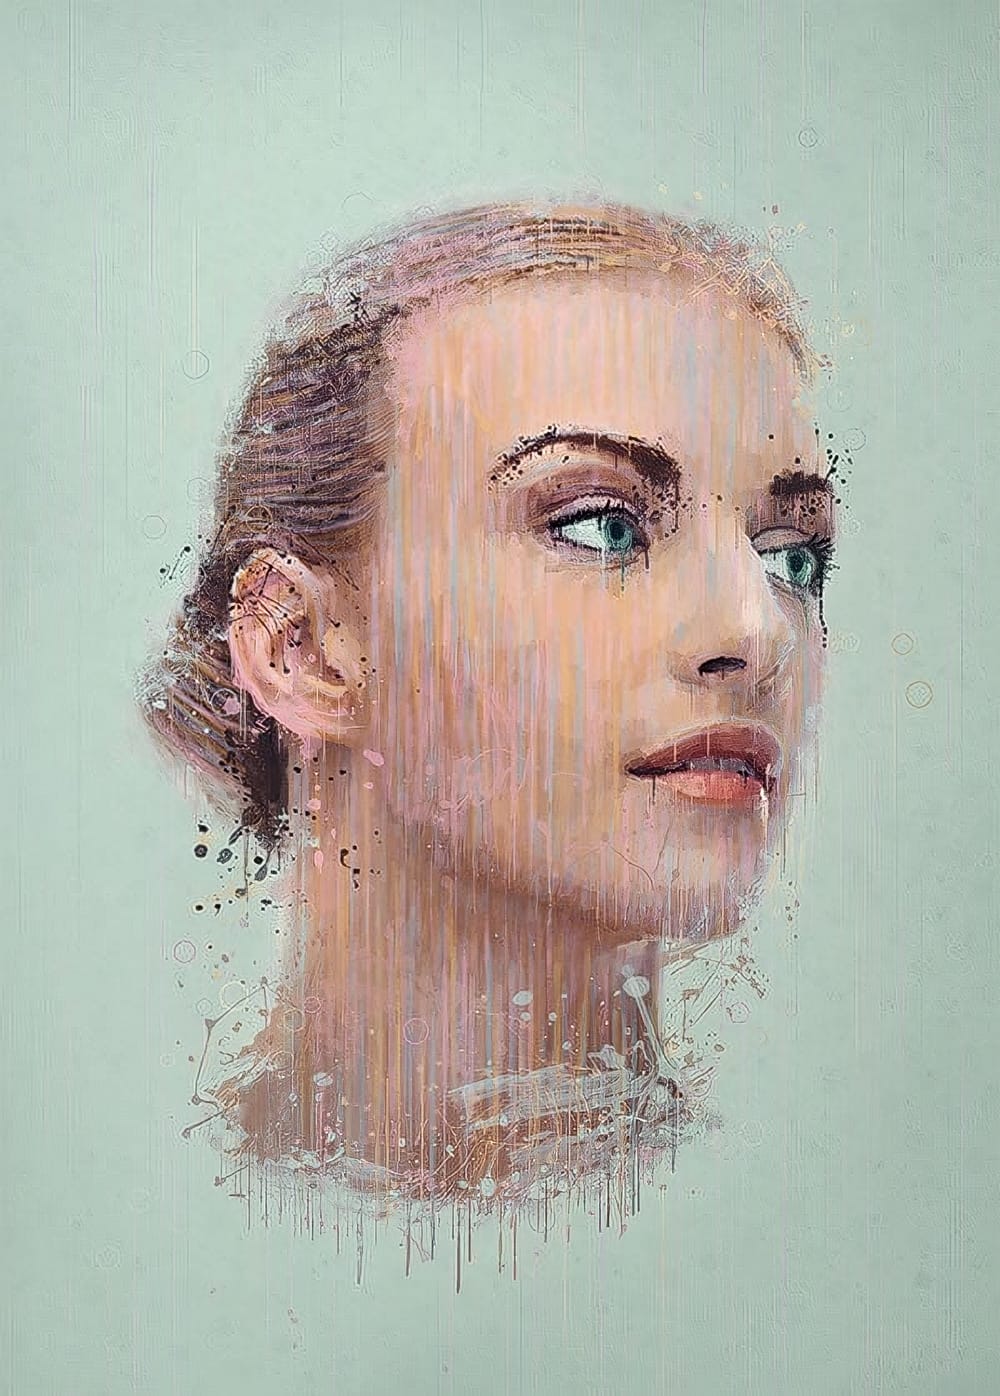
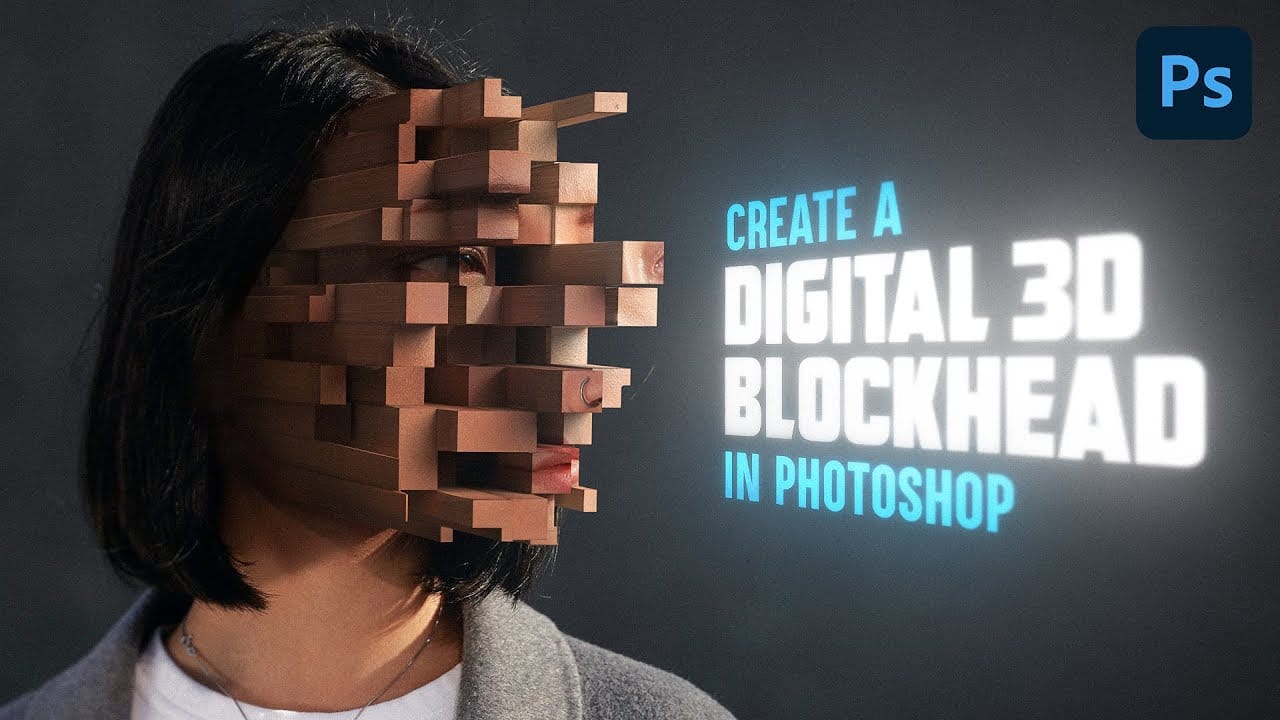
Create a gripping pixelated 3d blockhead effect
Transform ordinary portraits into mind-bending digital sculptures using Photoshop's advanced 3D tools. This tutorial reveals a unique technique to break down facial features into geometric blocks that create a surreal, pixelated visual effect.
Watch the Video
Practical Tips for Creating Pixelated 3D Effects
Master the art of transforming portraits into geometric masterpieces with these key techniques:
* Use the polygonal lasso tool with anti-aliasing turned off to create sharp, blocky sel
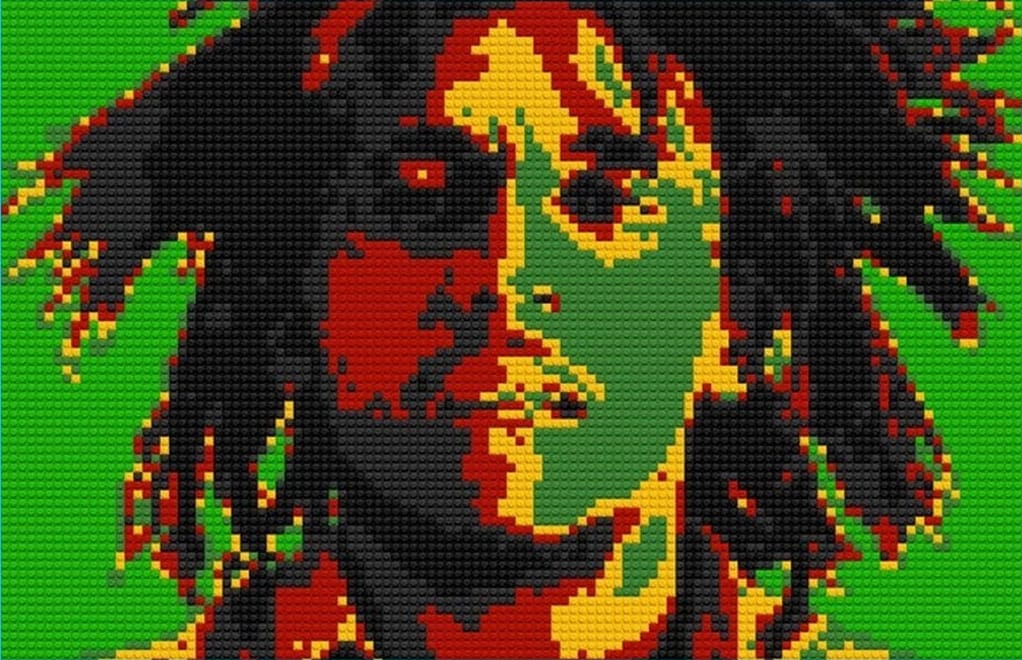
Create a Lego Portrait Effect in Photoshop
In this tutorial, you will learn how to create a portrait made of Legos in Adobe Photoshop. The process may seem daunting at first, but with the clear step-by-step instructions, you'll be able to achieve impressive results.
The tutorial covers the basics of setting up your canvas, selecting the right Lego colors, and arranging them to form the desired portrait. You'll also learn how to add realistic shadows and highlights to make the Lego pieces look more authentic.
By the end of this tutorial
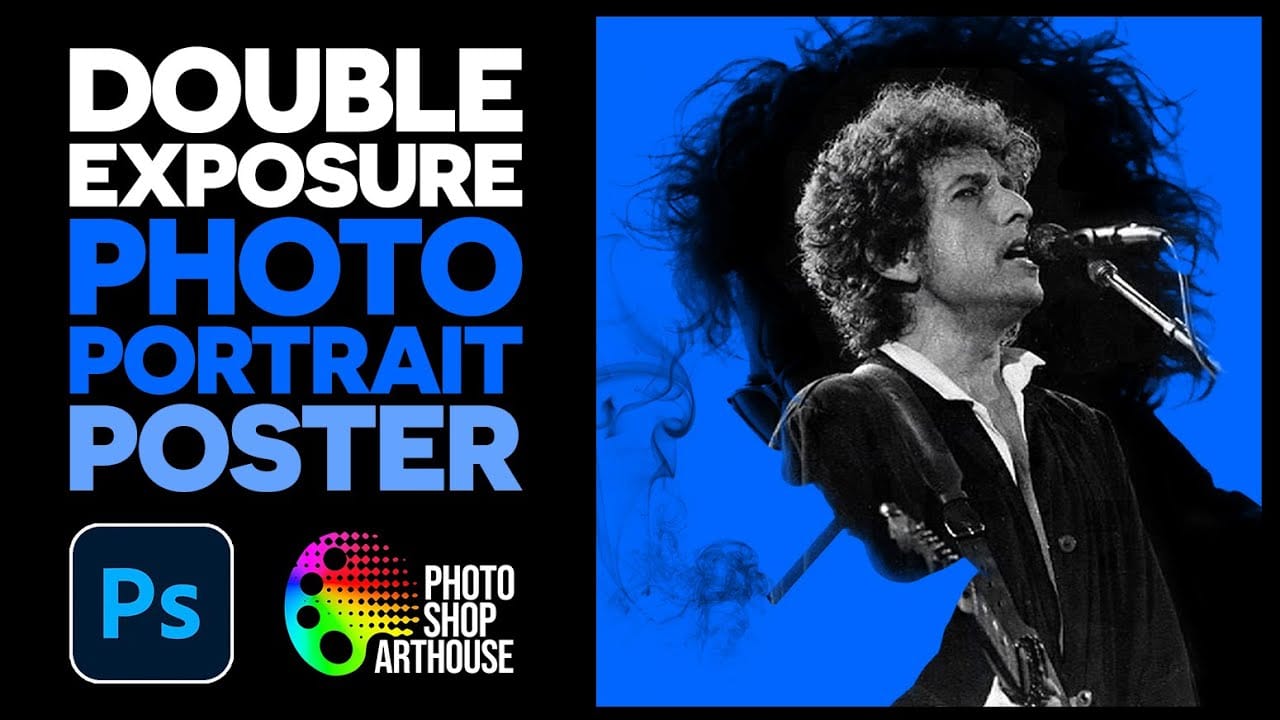
How to Create a Double Exposure Portrait Poster in Photoshop
Double exposure effects transform ordinary portraits into striking artistic compositions by blending a silhouette with another image. This technique creates dramatic posters where the subject's profile becomes a window into landscapes, textures, or abstract elements.
The process uses channel selections, layer masks, and clipping masks to seamlessly merge two images while maintaining clean edges and professional results.
Watch the Video
Practical Tips
These essential techniques will help yo