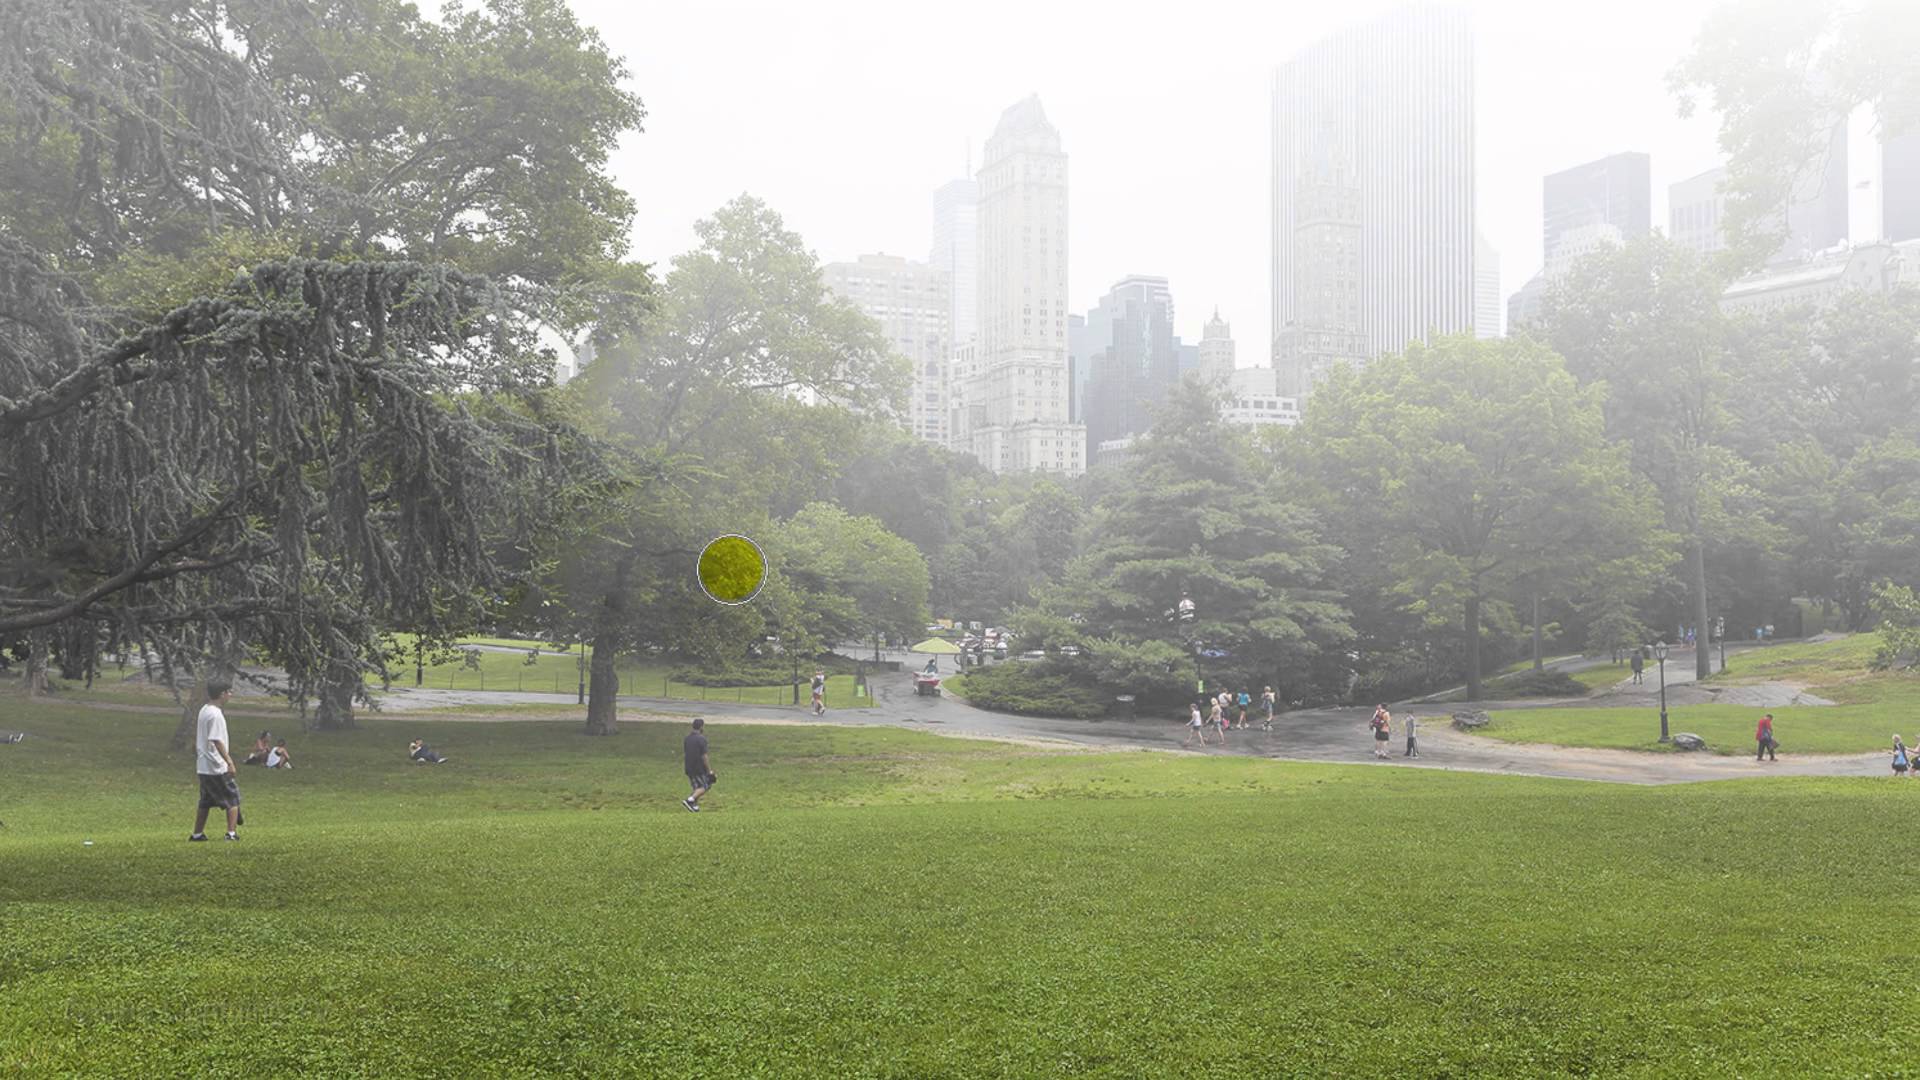
Fog can add depth and mood to an image, but a strong brush effect can easily take over the scene. When the mist is too dense or too uniform, it hides important details, pulls attention away from the subject, and looks painted on instead of natural. Because the effect is often applied directly to the image, it also becomes hard to adjust or undo once you want to change it.
The following video shows you how to fix that.
Watch the Video
Video by SandraD Imagery. Any links or downloads mentioned by the creator are available only on YouTube.
Quick Tips & Key Takeaways
Make these small workflow choices to keep the effect editable and easier to refine.
- Keep brushwork separate: Create a blank layer for the fog so you can change its blend mode, opacity, and position without altering the photo.
- Use separate dabs: Click to place fog rather than dragging continuously; individual dabs are easier to control and can look less rigid.
- Refine the layer’s look: Try Soft Light and lower the layer opacity if the fog feels too strong.
- Reposition before masking: Use
Ctrl+Ton Windows orCommand+Ton Mac to move the fog layer into place. - Soften with gray: Add a white layer mask, set the foreground color to
#808080, and brush over areas where you want less fog. Gray reduces the effect; black hides it more completely.
Related Articles and Tutorials
Photoshop Weather Effects That Completely Change the Mood of a Photo
Weather can completely change how a photo feels.
A soft rain can make a scene calm or emotional. Fog can add mystery. Snow can turn an ordinary photo into something quiet and cinematic. A warm sunset can make everything feel nostalgic. Even a simple sky change can shift the whole story.
In this roundup, you’ll find some of the best Photoshop tutorials for adding weather effects that change the mood of a photo. From rain and snow to fog, sunsets, and dramatic skies, these techniques help you tu
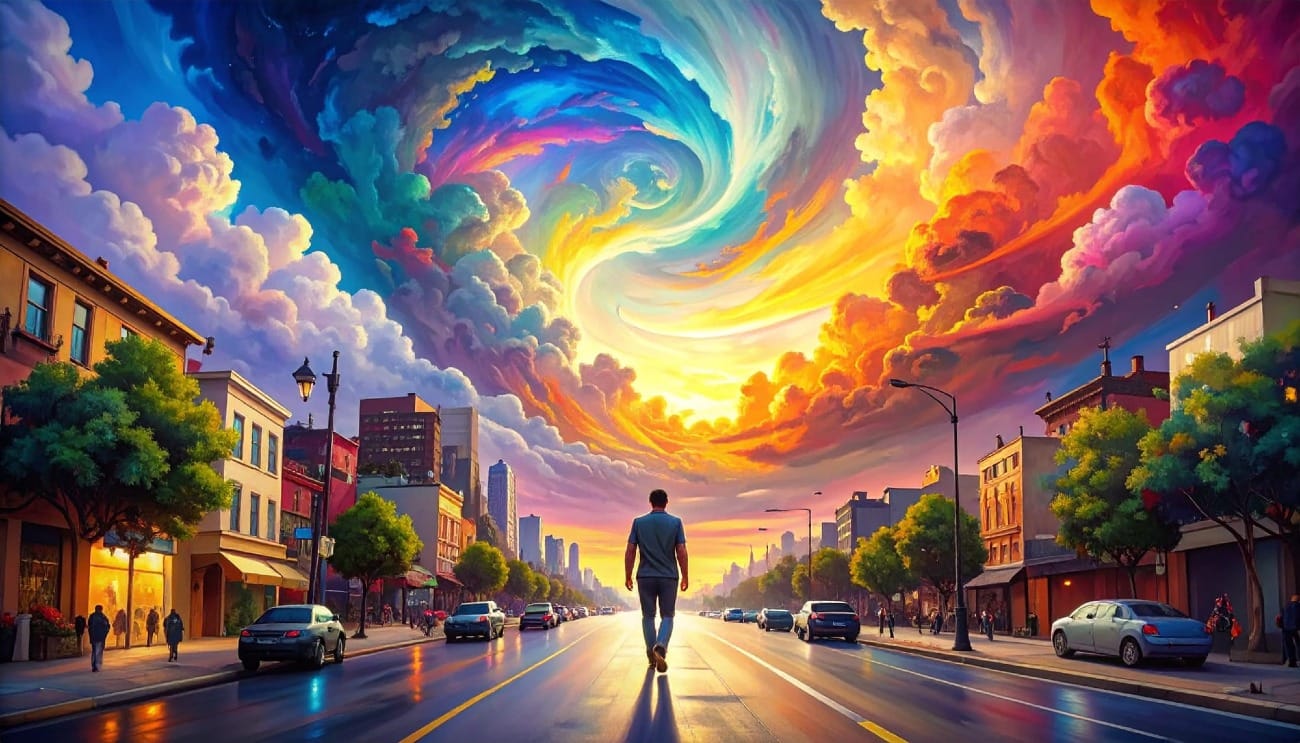
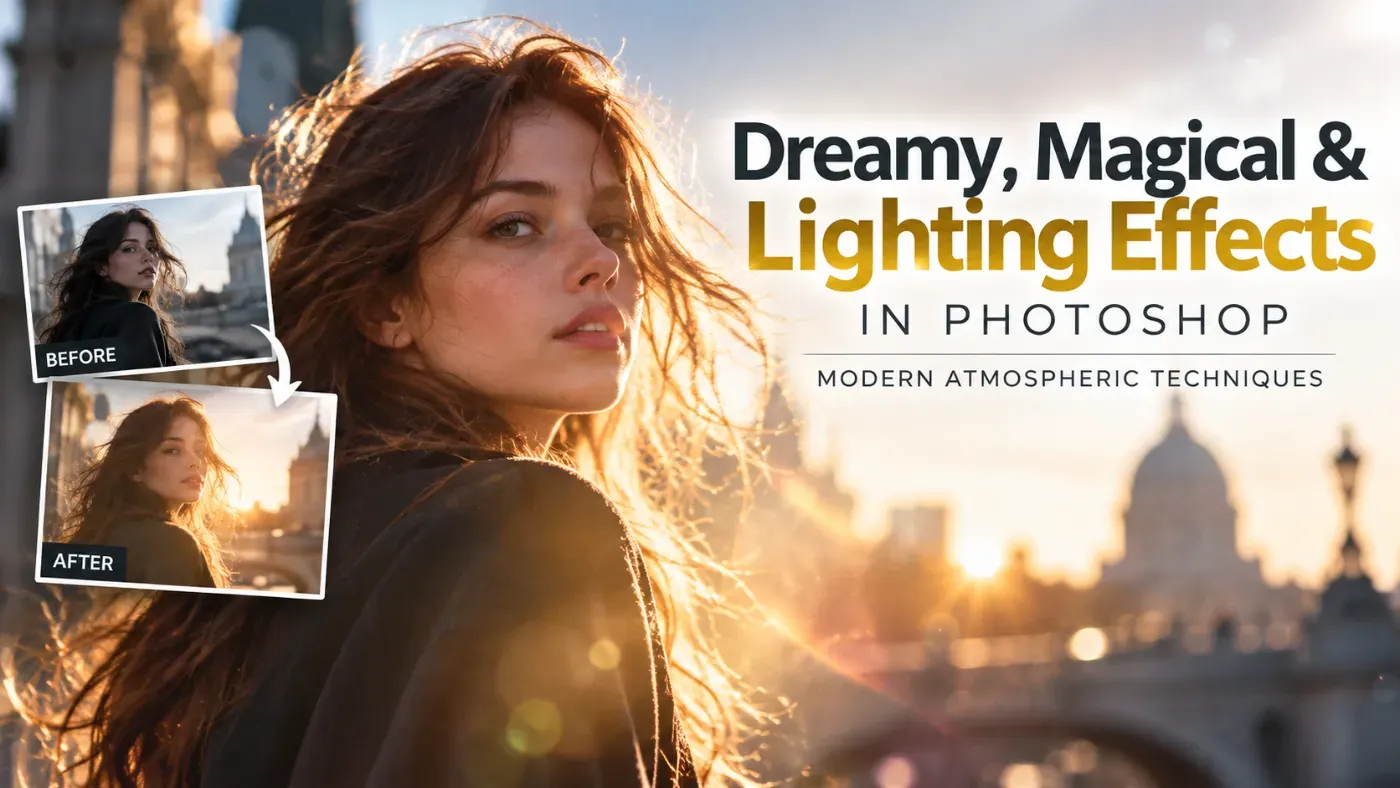
Dreamy, Magical & Lighting Effects in Photoshop: Modern Atmospheric Techniques
Manipulating light and atmosphere in Adobe Photoshop relies on replicating physical optics rather than relying on heavy digital compositing. Modern photographic editing focuses on volumetric haze, controlled highlight diffusion, kinetic light motion, and subtle analog imperfections to establish a compelling, ethereal atmosphere.
This guide explores key techniques for shaping natural and stylized light effects to give photographic imagery a refined, dreamlike quality.
1. Ambient Ligh
How to Add and Remove Fog in Photoshop
Atmospheric conditions like haze and fog can make or break a photograph. Sometimes natural haze obscures important details in your images, while other times you might want to add fog for dramatic effect. Learning to control these elements gives you complete creative control over the mood and clarity of your photos.
This tutorial covers both scenarios: quickly removing unwanted haze using a powerful tool, and creating realistic fog effects from scratch using cloud filters and blending techniques

How to Create Realistic, Fog and Mist in Photoshop
This video explores how to add realistic atmospheric effects to your photographs. Understanding the nuances of light and haze can dramatically transform a scene, lending it a sense of depth and mystery.
Viewers will learn practical techniques for simulating fog and mist, focusing on how these elements interact with foreground and background objects. The tutorial demonstrates how to achieve a natural, ethereal look, enhancing the mood of any landscape.
Learn to Create Realistic Fog and Mist