A cinematic color grade does not have to leave skin looking orange, blue, or dull. In Photoshop, a single Curves adjustment layer can add color to shadows and highlights while keeping midtones near neutral. That separation gives you room to shape the mood without pushing skin tones too far.
Video by PHLEARN. Any links or downloads mentioned by the creator are available only on YouTube
Quick Tips & Key Takeaways
Use these small workflow adjustments to make your edits easier to control and reuse.
- Work on an adjustment layer: Add Curves from the Adjustments panel so you can revise or disable the grade without changing the original photo.
- Target shadows and highlights: Select the red, green, or blue channel, then use the on-image adjustment tool to drag in a shadow or highlight and adjust that tonal range.
- Keep skin tones steady: After adding color to shadows and highlights, place a midtone point near the channel’s center line to limit unwanted color shifts in skin.
- Check the full image: Toggle the Curves layer visibility to compare the grade with the original, and ease back any channel adjustment that makes skin look unnatural.
- Reuse a finished look: In the Curves Properties panel, choose Save Curves Preset. Load it from the panel menu later, or install presets in Photoshop’s preset folder.
Related Articles and Tutorials
15 Fantastic Photoshop Portrait Effects You’ll Want to Slap on Every Selfie Right Now
Sure, the title says you’ll want to slap these effects on every selfie (that was me trying to grab your attention 😅) — but let’s be honest: these aren’t one-tap filters. Every tutorial here is built on real Photoshop craftsmanship — lighting, masking, blending, and a good dose of
 Enrique Flouret

A Definitive Guide to Portrait Beauty Retouching in Photoshop
Mastering beauty retouching gives you the ability to take any portrait further, fixing what the camera couldn't, refining what the light missed, correcting the natural imperfections that skin always carries, and delivering results that hold up at any size and in any context.
That range is wider than it seems. Beauty retouching serves editorial and model photography, where every detail is handled with professional precision — but it's just as relevant for a school video, a family portrait, or an
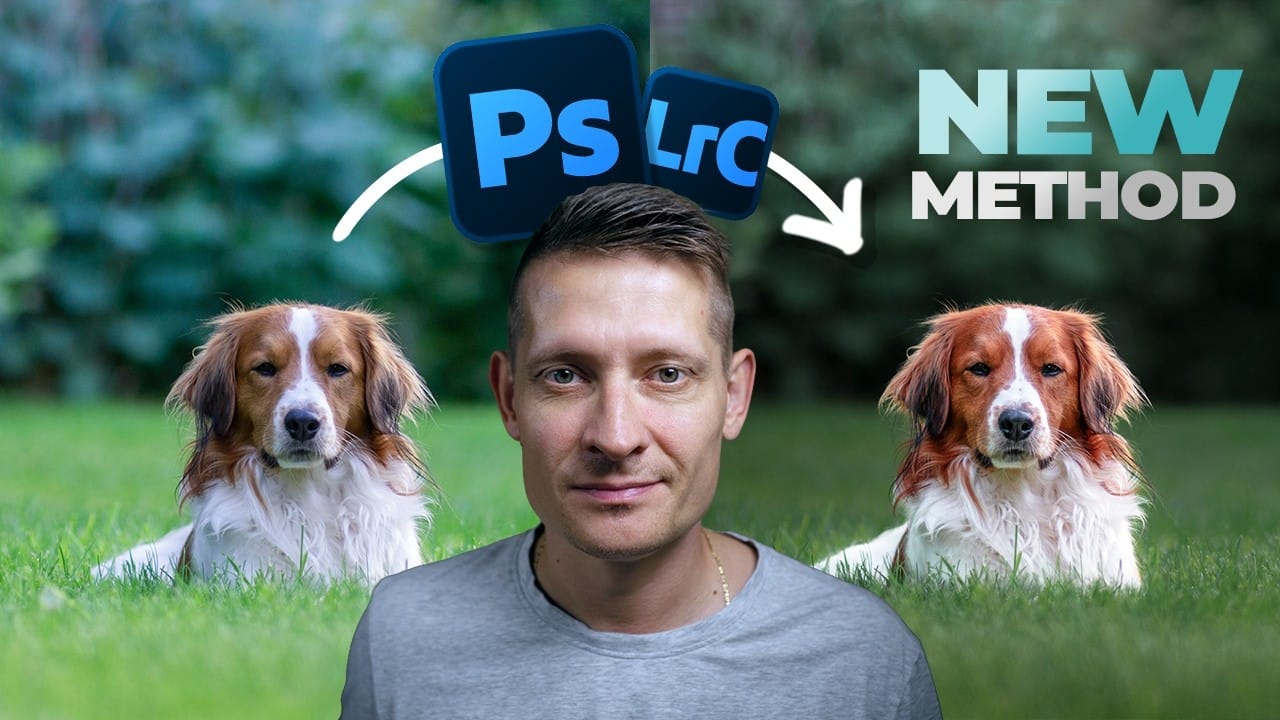
How to Apply a Cinematic Color Grade in Photoshop or Lightroom
Separating a subject from its background through selective toning is one of the most effective ways to give a photo a cinematic feel. This walkthrough covers a full color grading workflow using Camera Raw masks, radial gradients, and the color mixer to create warm subject tones against a cooler, darker background.
Watch the Video
Practical Tips
These techniques will help you get consistent results when applying a cinematic color grade.
* Convert your layer to a smart object before opening
How to Use Textures for Color Grading in Photoshop
Textures offer a powerful way to color grade images beyond traditional adjustment layers. By layering colored textures with specific blend modes, you can create unique tonal shifts, add visual depth, and achieve artistic looks that standard color correction can't match. This technique works by using the color information in
 SandraD Imagery