How to Use Textures for Color Grading in Photoshop

How to Use Textures for Color Grading in Photoshop

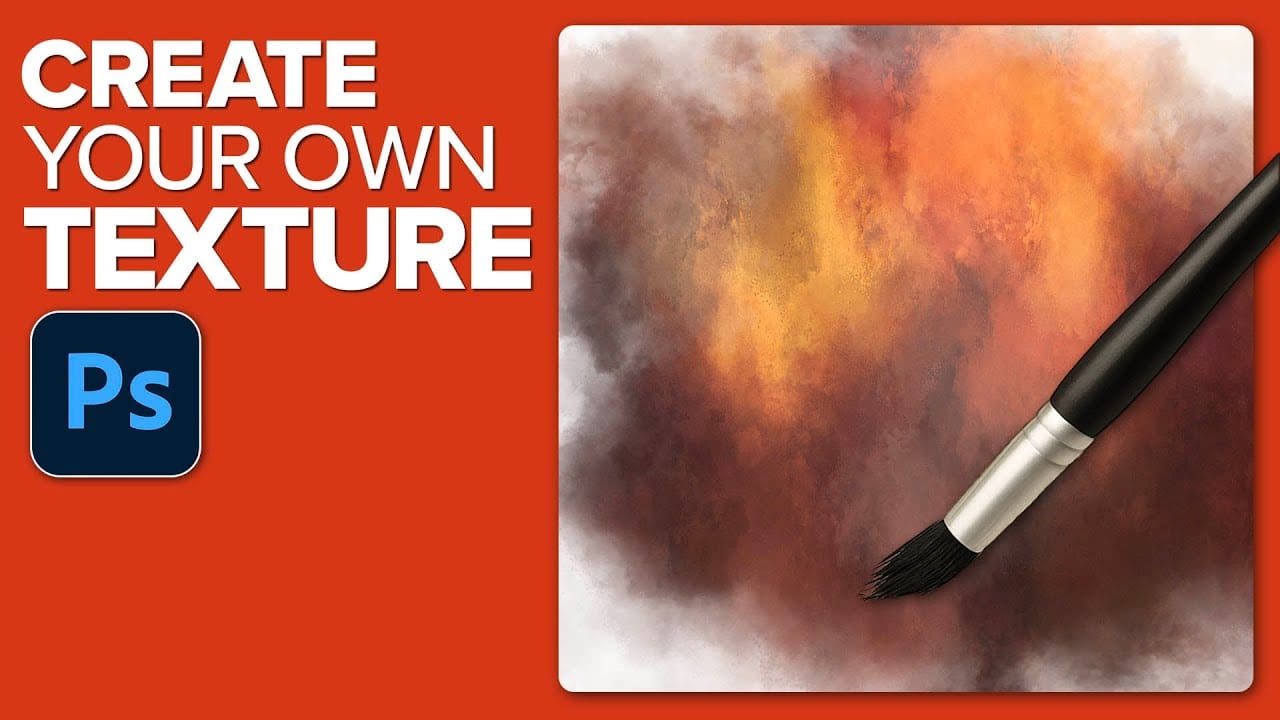
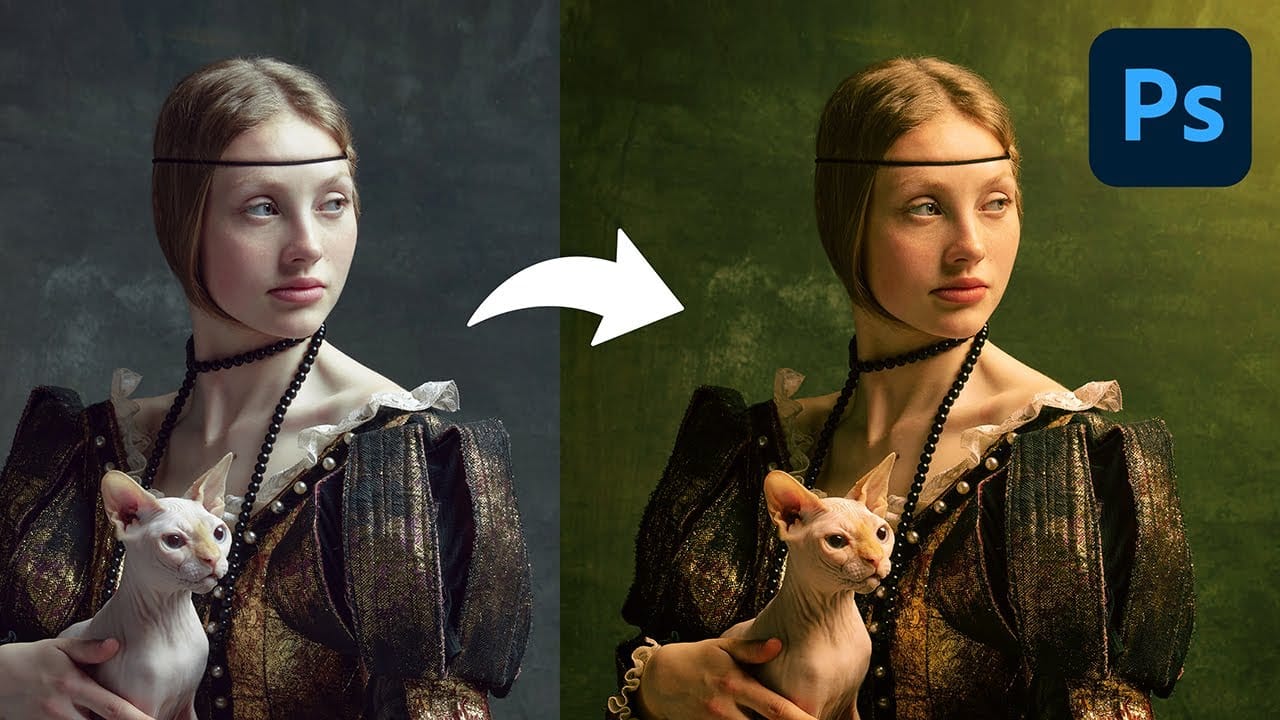
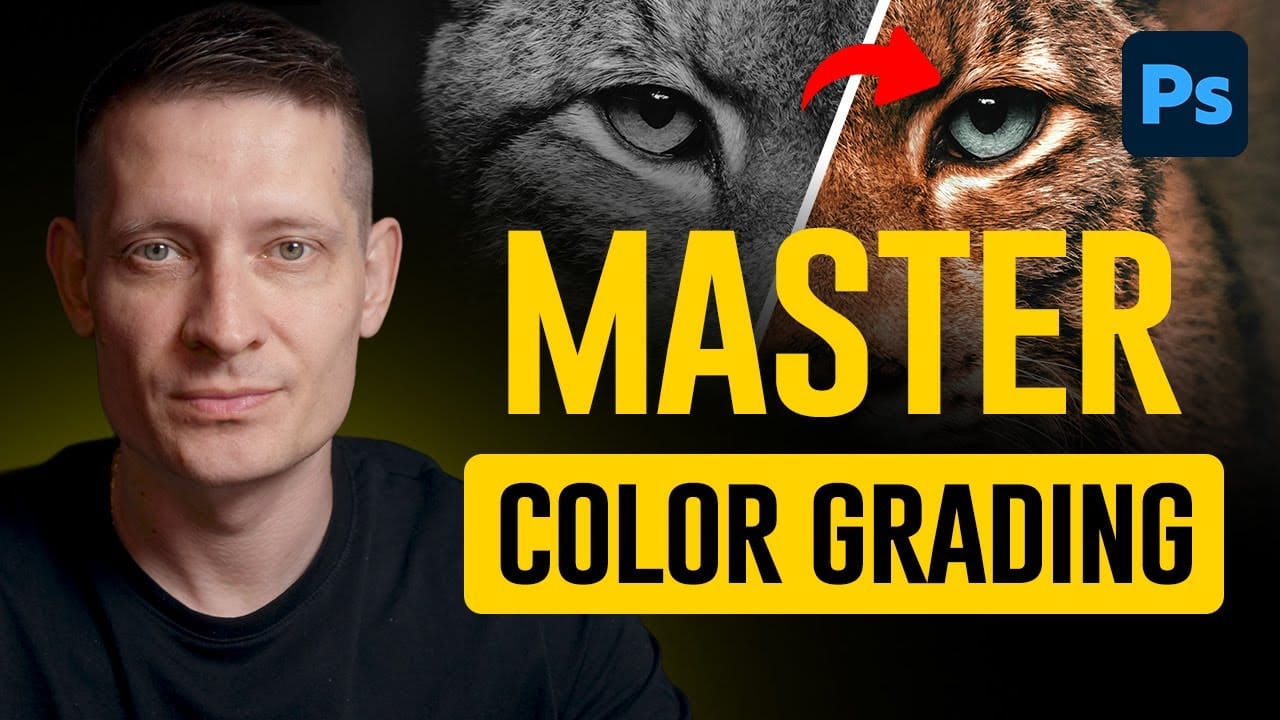
Textures offer a powerful way to color grade images beyond traditional adjustment layers. By layering colored textures with specific blend modes, you can create unique tonal shifts, add visual depth, and achieve artistic looks that standard color correction can't match.

This technique works by using the color information in textured overlays to influence your image's existing tones, similar to how traditional film photographers used colored gels and multiple exposures to create mood and atmosphere.

Watch the Video

Video by SandraD Imagery. Any links or downloads mentioned by the creator are available only on YouTube

Practical Tips

These essential techniques will help you master texture-based color grading:

  • Start with multiply or soft light blend modes for natural-looking color shifts that preserve image detail
  • Experiment with opacity settings between 60-90% to find the sweet spot where texture enhances without overwhelming
  • Use layer masks to selectively remove texture from areas where it creates unwanted effects or color casts
  • Duplicate texture layers with different blend modes to build complex, layered color treatments
  • Sample colors from successful areas and paint over problem spots using a low-opacity brush for seamless blending

Explore more color grading and texture techniques to expand your creative toolkit:
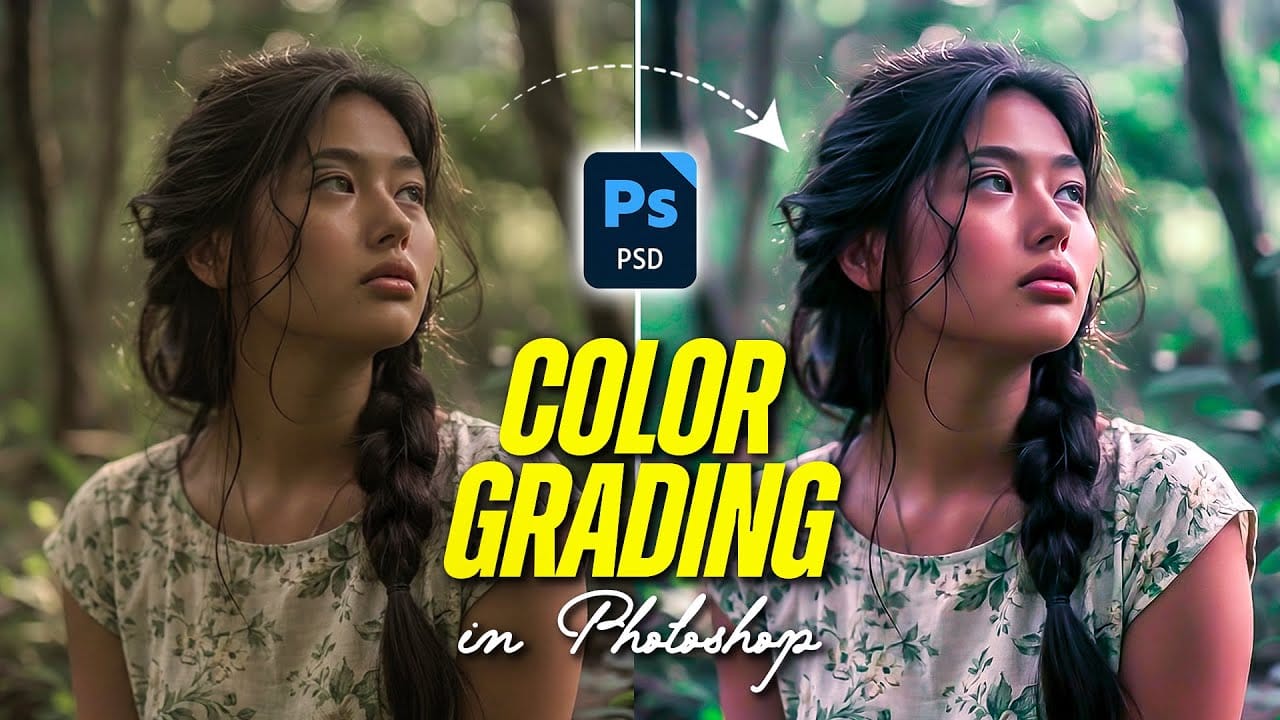
Professional Color Grading Techniques in Photoshop
Color grading transforms ordinary photos into compelling images with professional mood and atmosphere. These non-destructive techniques let you adjust tones, enhance specific colors, and create cinematic looks while preserving your original image data. Master these four essential color grading methods to develop a consistent editing workflow that elevates your photography. Watch the Video Practical Tips These techniques will help you achieve professional color grading results: * Start wi
Advanced Color Grading with Apply Image Layer Masks in Photoshop
Professional color grading can transform ordinary photos into cinematic masterpieces, but heavy adjustments often create that obvious "filtered" look that screams amateur editing. The difference between natural-looking color enhancement and overdone processing lies in how the adjustments interact with your image's existing tonal structure. This advanced technique uses layer masks combined with selective color adjustments to create rich, believable color grades that enhance rather than overpower
How to Create Custom Textures in Photoshop Using Brushes
Custom textures add depth and character to photos without relying on expensive texture packs. This technique uses specialized Photoshop brushes and blending modes to create unique overlay textures from scratch. The process combines multiple layers, color variations, and finishing filters to produce professional-quality textures that work perfectly for photo blending projects. Watch the Tutorial Essential Tips for Creating Custom Textures * Start with a large brush size nearly as big as yo
How to Create Dramatic Colors in Photoshop: A 5-Step Color Grading Process
Photography often captures moments in natural tones, but sometimes an image calls for something bolder. Dramatic color grading transforms ordinary photos into striking visual statements that grab attention and evoke emotion. This comprehensive approach combines Camera Raw adjustments with Photoshop's powerful color tools to create rich, cinematic looks. The process works especially well for outdoor scenes where you can push blues, oranges, and complementary colors to their limits. Watch the T
Create a Professional Color Grade in 90 Seconds in Photoshop
Cinematic color grading transforms ordinary photos into visually compelling narratives, creating mood, directing focus, and enhancing storytelling. This subtle yet powerful technique allows photographers and digital artists to infuse their images with the atmospheric depth and professional finish often seen in film. In this concise tutorial, you'll discover a rapid workflow for achieving a cinematic color grade directly within Photoshop. The method leverages the powerful Camera Raw filter as a
Create a bright and beautiful color grade in Photoshop
In this tutorial, Aaron Nace from Phlearn demonstrates how to enhance your photos with a bright and vibrant color grade using the Camera RAW filter in Photoshop. This technique is particularly effective for model photography and landscape shots, offering a way to elevate the visual appeal of your images with a polished, professional finish. Aaron guides you through the process of applying and adjusting color grades, showing how the Camera RAW filter can be used to fine-tune colors and achieve a
Two Simple Color Grading Techniques Using Photoshop Curves and Levels
Color grading transforms flat images into vibrant, cinematic visuals that capture attention and convey mood. The difference between an ordinary photo and one with professional depth often comes down to how well shadows, midtones, and highlights work together to create visual interest. These two Photoshop techniques using Curves and Levels offer a quick path to achieving that coveted "pop of color" without complex workflows or advanced skills. Watch the Tutorial Understanding Auto Color Opti
Speed Up Your Color Grading Workflow with Photoshop Actions
Color grading can transform your images, but manually adjusting curves and levels for every photo takes time. Photoshop actions offer a faster approach by applying professional color treatments with a single click. This workflow uses pre-built actions, tints, and LUTs to achieve various moods and styles instantly, letting you layer multiple effects to build the exact look you want. Watch the Tutorial Practical Tips for One-Click Color Grading * Set your Actions panel to button mode for fa
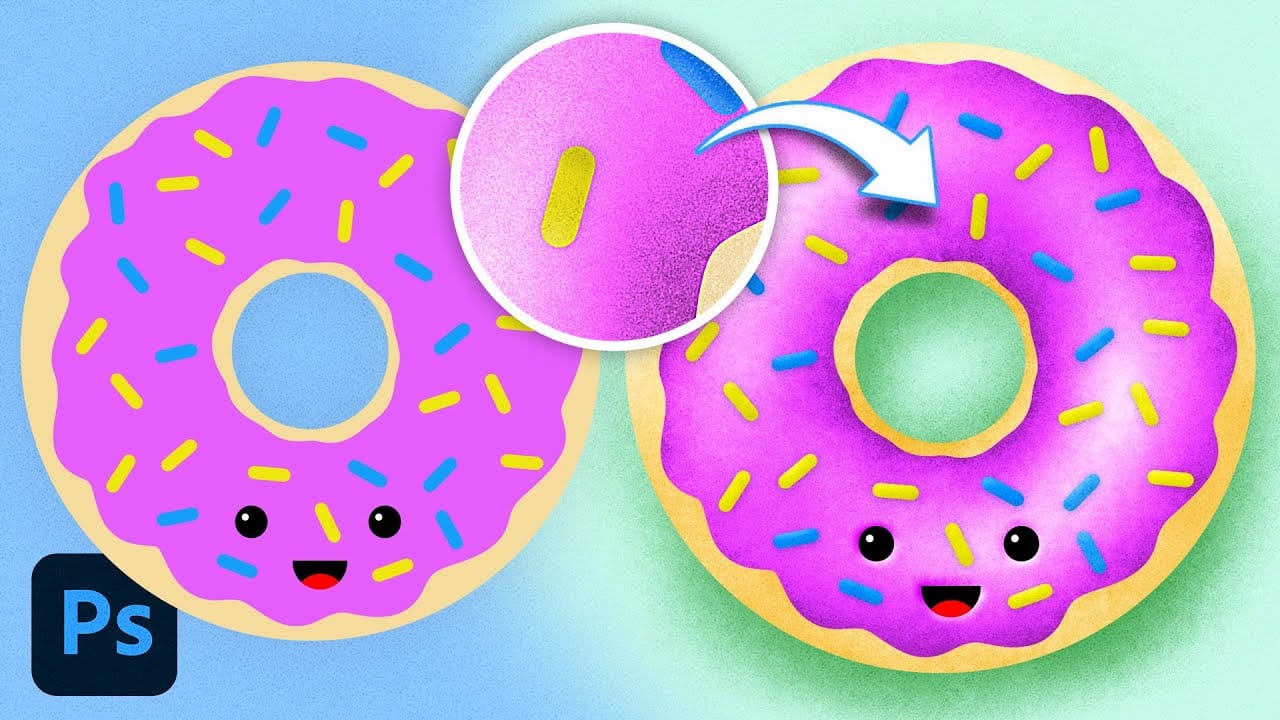
Add Grady Shading to Enhance Your Photoshop Art
Flat digital artwork often lacks the visual depth and organic texture that makes illustrations feel alive and engaging. While clean vector-style graphics have their place, many artists struggle to add convincing shadows, highlights, and surface textures without making their work look muddy or overworked. This tutorial demonstrates how to use specialized grain shader brushes and blending modes to create realistic textured shading effects in Photoshop. The techniques shown work for any type of di
How to Color Grade Without Oversaturating Skin Tones Using Camera Raw
Professional color grading often creates a dilemma: boosting vibrant colors while keeping skin tones natural. Traditional saturation adjustments can make portraits look overprocessed, turning skin an unflattering orange or magenta. This technique uses Camera Raw's masking tools to selectively enhance background colors while protecting skin tones, creating vibrant images that still look authentic. Watch the Video Practical Tips These key techniques will help you achieve professional color g

Get tutorials & freebies delivered to you.

Subscribe to the Photoshop Roadmap newsletter, a weekly roundup of new tutorials, insights and quality downloads, trusted by 6500+ readers.

You might also like

Painting Digital Art Backgrounds: Techniques and Workflow

A well-crafted background can anchor an entire digital painting, providing atmosphere, depth, and visual context for the subject. This video demonstrates practical approaches to building backgrounds from scratch using digital tools, covering brush selection, color layering, and compositional thinking. Watch the Video Practical Tips Keep these core principles in...

How to Use the Light Adjustment Layer in Photoshop

Photoshop's new Light adjustment layer brings Camera Raw controls — exposure, contrast, highlights, shadows, whites, and blacks — directly into the layers panel as a fully non-destructive, maskable layer. This means you can stack multiple light adjustments, target specific subjects, and combine them with Blend If and other adjustment...

How to Use Object Selection, Remove Background, and the Selection Brush in Photoshop

Selections determine the quality and flexibility of almost every edit you make in Photoshop. Three modern tools — the Object Selection tool, Remove Background with Harmonize, and the Selection Brush — handle the most common selection tasks with far less manual effort, while keeping your original image intact through non-destructive layers....

How to Paint a Digital Background and Composite Wildlife Into It

Building a painted digital background from scratch gives you full control over color, mood, and composition before a single wildlife photo is placed. This walkthrough covers the complete process: blocking in shadows on a black canvas, layering foliage with textured brushes, positioning bird subjects on hand-painted stones, and using...

How to Sharpen Skin Texture Using Frequency Separation in Photoshop

Retouched skin can look great up close but lose all its natural texture the moment you zoom out. Rather than relying on standard sharpening filters, you can recover that texture by duplicating the high-frequency layer inside a frequency separation setup — a method that works whether or not you'...

You’ve successfully subscribed to Photoshop Roadmap
Welcome back! You’ve successfully signed in.
Great! You’ve successfully signed up.
Success! Your email is updated.
Your link has expired
Success! Check your email for magic link to sign-in.