Custom textures add depth and character to photos without relying on expensive texture packs. This technique uses specialized Photoshop brushes and blending modes to create unique overlay textures from scratch.
The process combines multiple layers, color variations, and finishing filters to produce professional-quality textures that work perfectly for photo blending projects.
Watch the Tutorial
Video by Matt Kloskowski. Any links or downloads mentioned by the creator are available only on YouTube
Essential Tips for Creating Custom Textures
- Start with a large brush size nearly as big as your canvas, then gradually reduce size for layered detail
- Place lighter colors toward the top of your composition to simulate natural light direction
- Use separate layers for each color application to maintain flexibility with blend modes and opacity adjustments
- Experiment with blend modes like multiply, screen, and overlay to create varied color interactions between layers
- Add finishing touches using Camera Raw filter's texture slider and minimal noise to create grit and surface detail
Related Articles and Tutorials about Textures
Explore more texture resources and techniques for your creative projects.
How to Add Texture Overlays in Photoshop: Two Essential Methods
Texture overlays transform ordinary photos into compelling artistic images with depth and visual interest. The right texture can add warmth, grunge, or subtle mood changes that elevate your creative work. This tutorial demonstrates two reliable methods for applying texture overlays, showing you when and how to use each technique in
 SandraD Imagery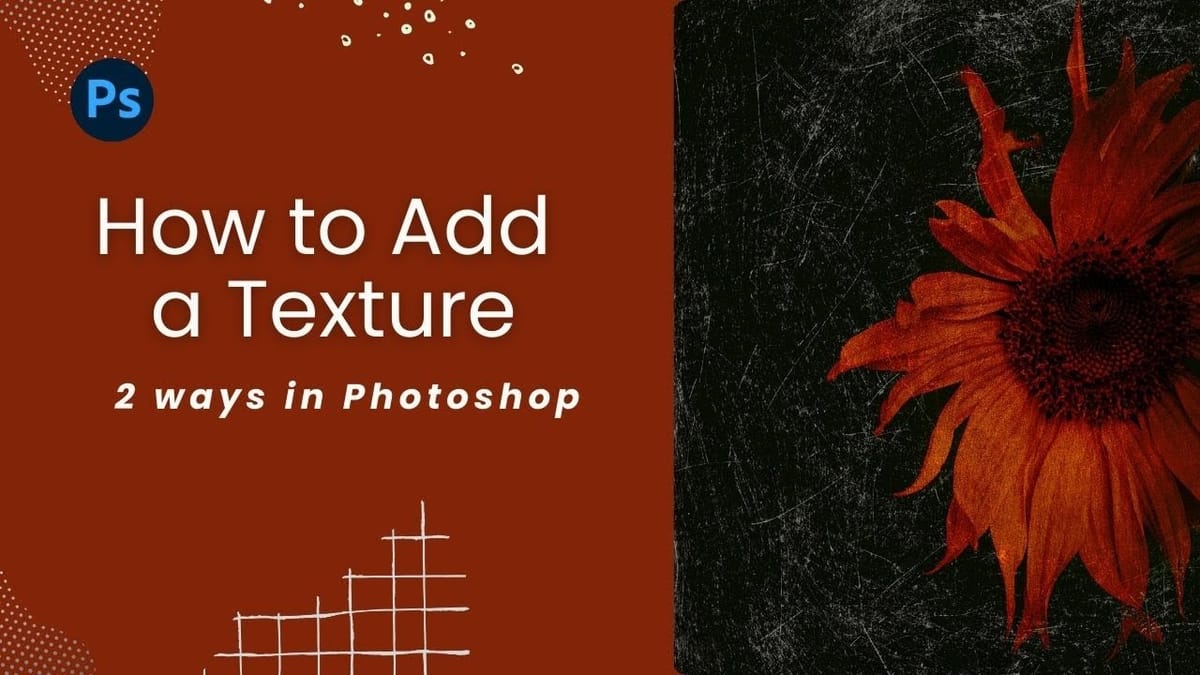
This magic texture creates an engraved money effect in Photoshop
Create this strange and simple texture in Photoshop to apply an engraved Illustrated look to your photos and artwork. In this tutorial, we’ll run through the basics of getting it set up, then take a look at a few techniques to give your image a more authentic dollar-bill style treatment. To create the Sun Rays […] More
 Texturelabs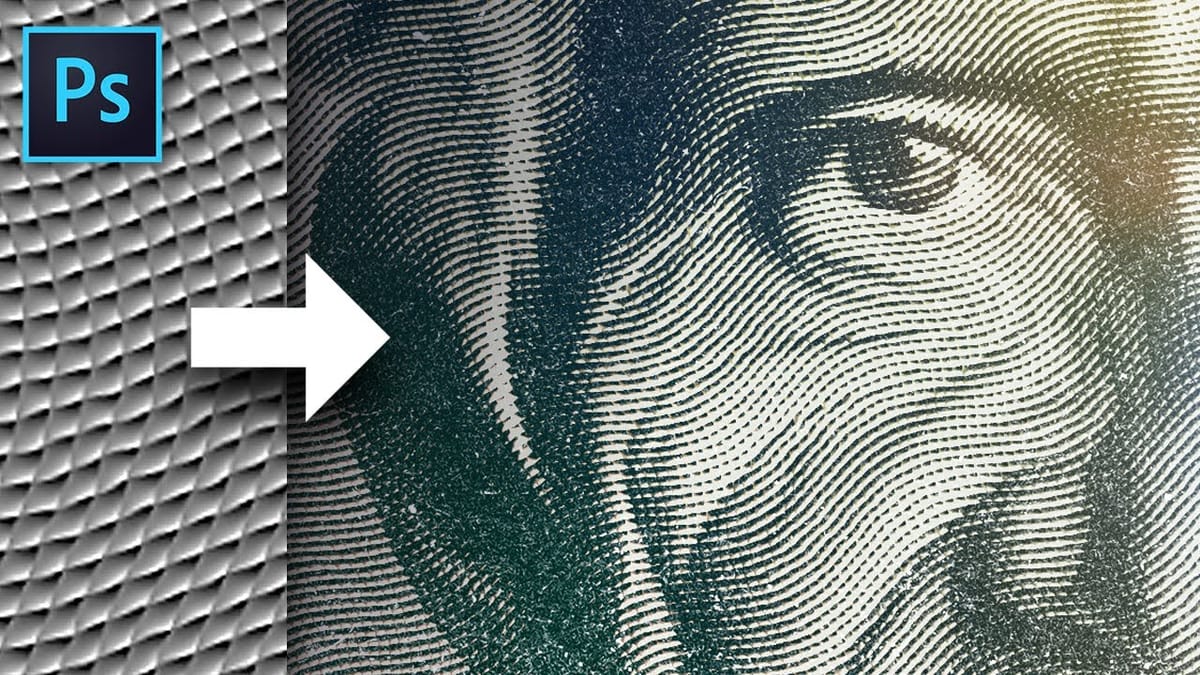
Rust & Ruin: 5 Bold Grunge and Distressed Textures
Introducing Rust and Ruin, a set of 5 free high-resolution distressed backgrounds designed to add gritty texture, character, and atmosphere to your creative projects. These rugged, AI-generated visuals capture the raw beauty of rust, decay, stains, and weathered surfaces. Each image is provided in JPG format at 4096 × 3073 px,
 Creative Closeup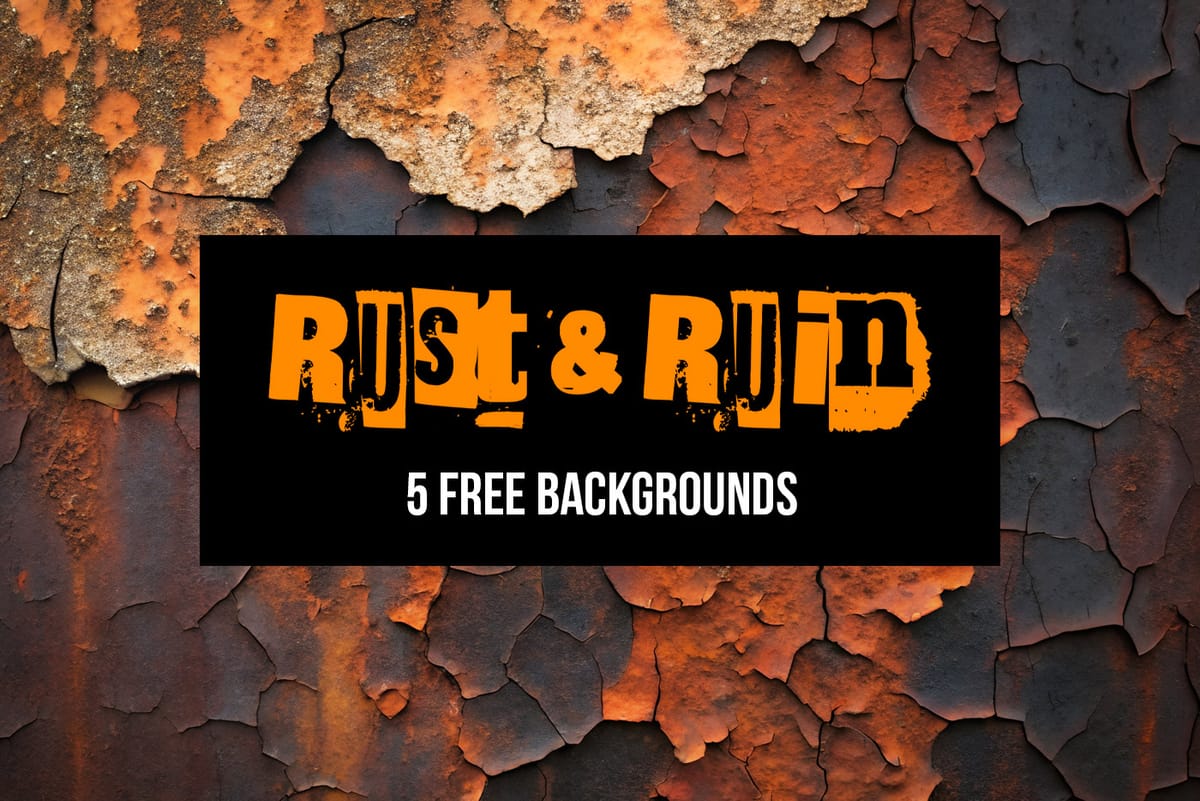
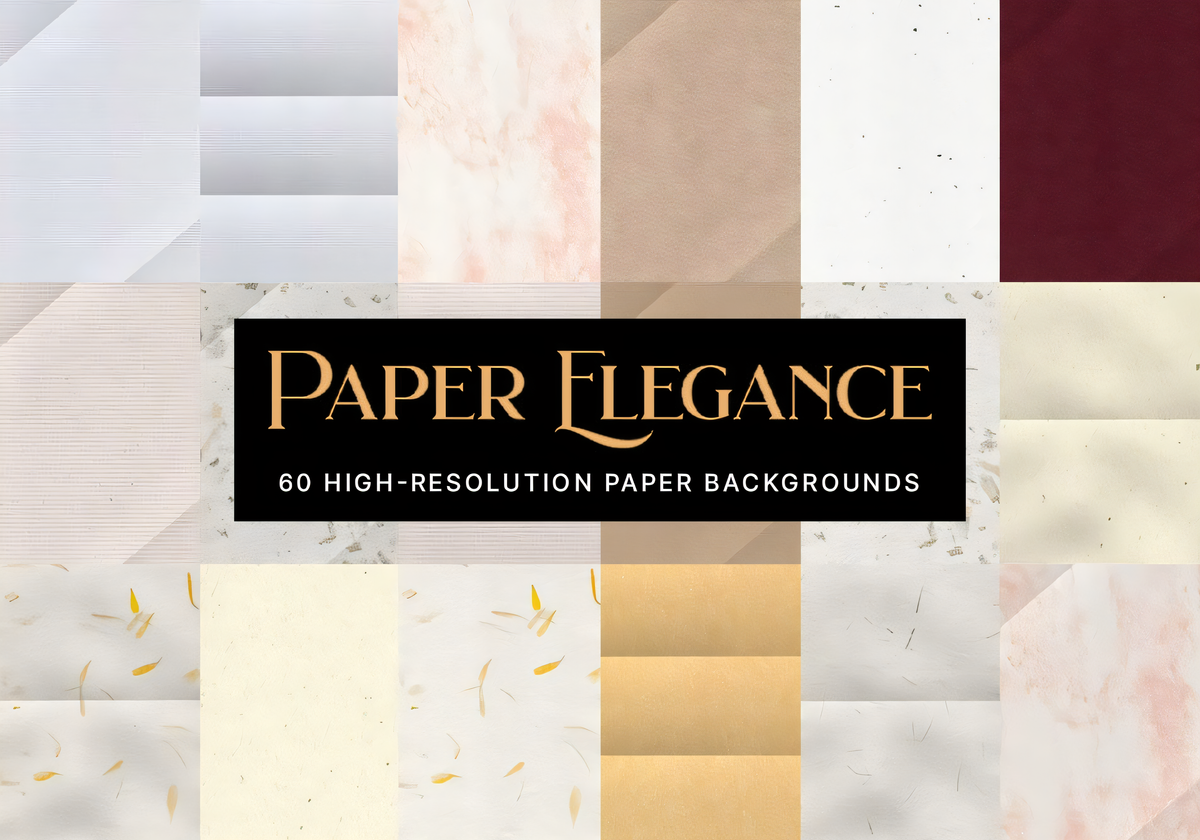
Paper Elegance: 60 Beautiful High Resolution Paper Backgrounds
Design enthusiasts and creatives are often on the lookout for versatile, high-quality resources to enhance their projects. Paper Elegance delivers exactly that—a curated collection of 60 high-resolution paper backgrounds, perfect for adding a touch of sophistication and texture to your work. This collection includes 15 unique paper textures, each
 Creative Closeup