Photoshop's new Relight Layer brings AI-powered directional lighting into the compositing workflow, filling the gap left by the deprecated Lighting Effects tool. You can place up to three independent light sources, control their color, intensity, diffusion, and distance, and blend them with the image's original ambient lighting.
Watch the Video
Video by photoshopCAFE. Any links or downloads mentioned by the creator are available only on YouTube
Practical Tips
Here are the key techniques from the video for getting useful results with the Relight Layer.
- Drag the light dot off the canvas edge to simulate a distant source — the further away it is, the more gradual and natural the falloff across the image.
- Use the Close slider to control depth: push the light far to backlight a subject, or pull it close to frontlight it — dragging on canvas does the same thing but less precisely.
- Lower the ambient (original) lighting slider to isolate the effect of your added lights, then blend it back up to taste for a more natural mix.
- Adjust diffusion to control light quality — higher diffusion spreads a soft, even light; lower diffusion creates a harder, more directional source.
- For compositing, add a second light in a contrasting color and temperature to match the scene's existing light sources, then reduce its intensity so it reads as a subtle fill rather than a dominant source.
Related Articles and Tutorials
These tutorials cover related lighting and adjustment techniques worth exploring alongside this one.
Photoshop 2026: 5 New Features Worth Adding to Your Workflow
Photoshop 2026 arrives with a set of updates that genuinely change how certain editing tasks get done. The Light adjustment layer alone could replace a step many photographers have been routing through Camera Raw for years — and that's just the start.
Watch the Video
Practical Tips
Here are the key takeaways from the video, covering each of the five features and how to get the most out of them.
* Use the new Light adjustment layer to recover highlights and shadows directly on the canvas —

How to Use the Light Adjustment Layer in Photoshop
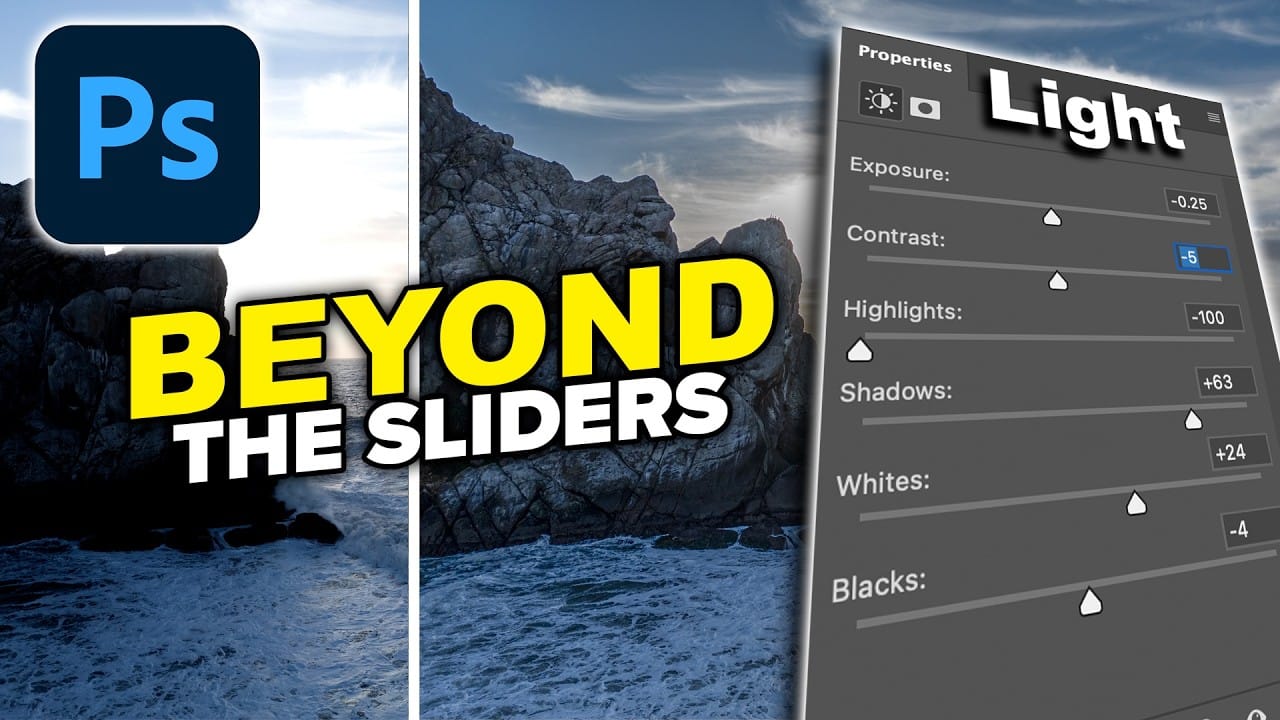
Photoshop's new Light adjustment layer brings Camera Raw controls — exposure, contrast, highlights, shadows, whites, and blacks — directly into the layers panel as a fully non-destructive, maskable layer. This means you can stack multiple light adjustments, target specific subjects, and combine them with Blend If and other adjustment layers without ever flattening your file.
Watch the Video
Practical Tips
Key techniques covered in this tutorial for working with the Light adjustment layer ef
Create a dual lighting effect with just 2 layers in Photoshop
The author, PixImperfect, presents a straightforward technique to create the dual color lighting effect in Photoshop. Using the power of Gradient Maps, this tutorial demonstrates how to color multiple lights from different directions. Viewers also learn to utilize the "Blend If" feature to make the light more realistic. Optionally, the video explores techniques to add and modify interesting light elements to the image.
This concise yet informative tutorial guides viewers through the process ste
How to Use the Light Adjustment Layer in Photoshop Effectively
Photoshop's Light adjustment layer brings Camera Raw-style tonal controls — exposure, contrast, highlights, shadows, whites, and blacks — directly into a non-destructive layer workflow. The real value isn't in what the sliders do individually, but in how you sequence them to expand dynamic range and reveal detail in both shadows and highlights.
Watch the Video
Practical Tips
Here are the key techniques covered in this tutorial for getting the most out of the Light adjustment layer workflow.
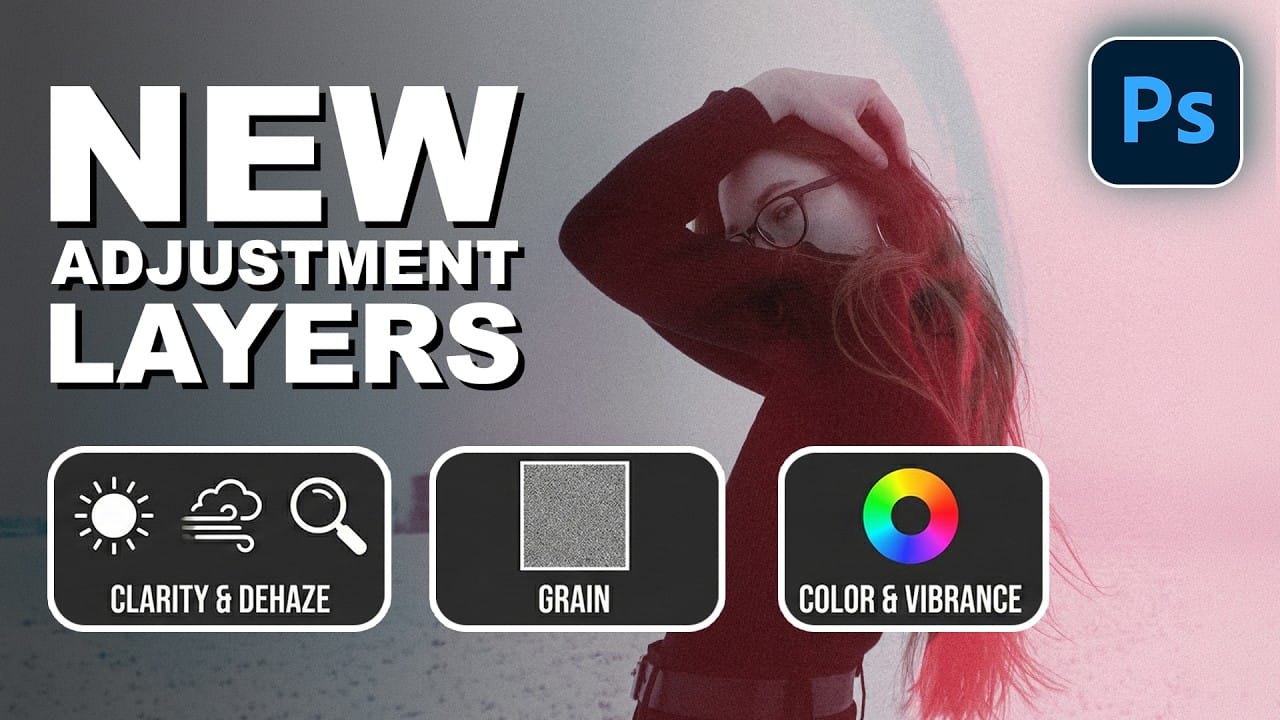
How to Use the New Color, Clarity, Dehaze, and Grain Adjustment Layers in Photoshop
Three powerful new adjustment layers bring Camera Raw's most popular tools directly into your layers panel. Color and Vibrance, Clarity and Dehaze, and Grain adjustments now work as standard adjustment layers with full masking capabilities and non-destructive editing.
These tools eliminate the need for smart objects when applying these specific adjustments, creating cleaner workflows while maintaining the precision control photographers expect from professional editing software.
Watch the Vid
5 Recent Photoshop Features Worth Adding to Your Workflow
Photoshop has been receiving a steady stream of updates, and a handful of genuinely useful features have quietly slipped past most users. From one-click lighting harmonization to AI-powered object removal and automatic layer naming, these tools can meaningfully reduce the time spent on repetitive editing tasks.
Watch the Video
Practical Tips
Here are the key takeaways from the video, covering each of the five features and how to get the most out of them.
* Use Harmonize as a starting poin

Learn how to use lighting effects in Photoshop
Bringing different elements together in Photoshop requires more than just careful selection and placement; it demands mastery of lighting to achieve true realism. When composing an image, the way light interacts with each object determines its perceived depth, form, and how seamlessly it integrates into the scene. Neglecting proper lighting can make even the most detailed composite look flat and artificial.
This tutorial demystifies Photoshop's powerful lighting effects, showing how to transfor
Photoshop 27.6: Complete Guide to New Features and Tools
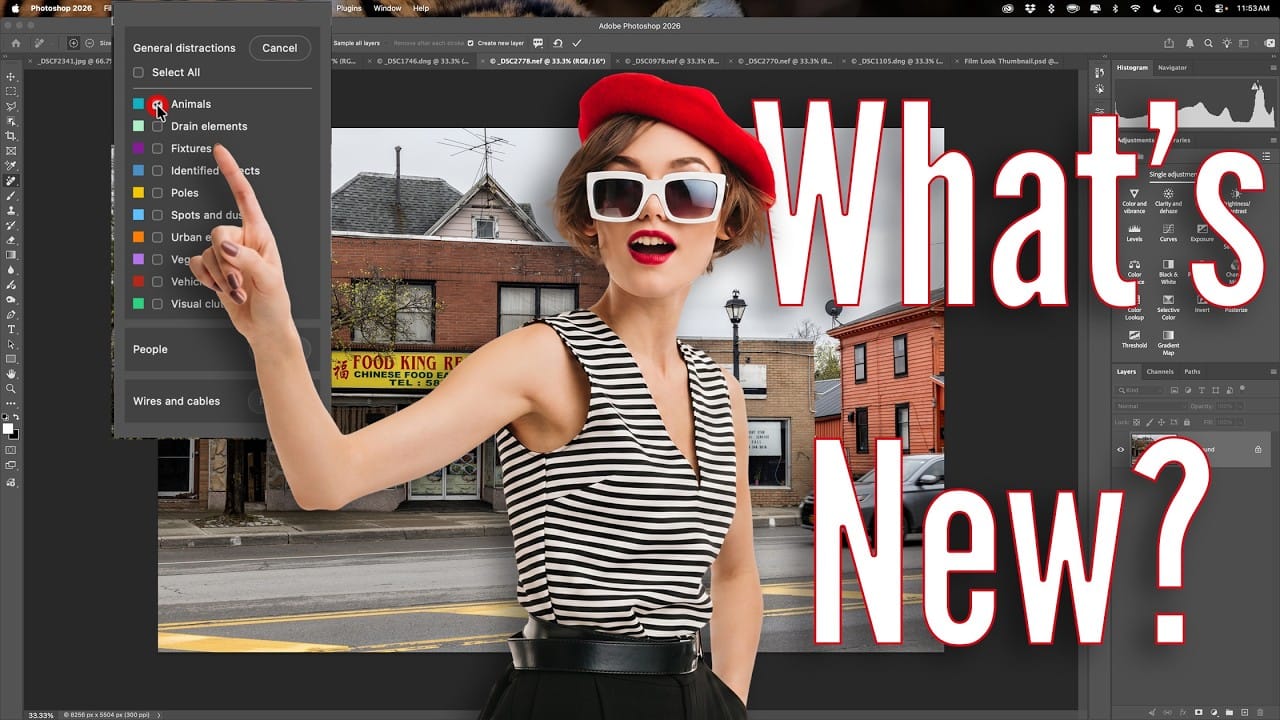
Photoshop 27.6 introduces several powerful features that streamline common editing tasks. From bringing reflection removal directly into the main interface to AI-powered distraction detection, these updates focus on making complex workflows more accessible and efficient.
The update also includes enhanced generative models, improved layer management tools, and a redesigned actions panel that provides visual previews before applying effects.
Watch the Video
Practical Tips
Key techniques to m
Essential New Photoshop Features for Professional Retouchers with Lisa Carney
Professional retoucher Lisa Carney demonstrates the latest Photoshop features that streamline common editing tasks without the flashy headlines. These updates focus on practical workflow improvements—from automated distraction removal to intelligent layer cleanup—that save significant time on real projects.
The session covers reflection removal, object rotation with 3D positioning, layer organization tools, and advanced AI model combinations that work together to solve complex retouching challe

Photoshop January 2026 Update: 5 New Features Including Grain and Clarity Adjustment Layers
Photoshop's January 2026 update brings five significant features that streamline common editing tasks. The highlight is new adjustment layers for grain and clarity effects, eliminating the need to work in Camera Raw for these adjustments.
The update also introduces an improved generative AI model with higher resolution output and enhanced reference image capabilities, plus a more effective Remove Tool for cleaner object removal.
Watch the Video
Practical Tips
Here are key techniques for wo