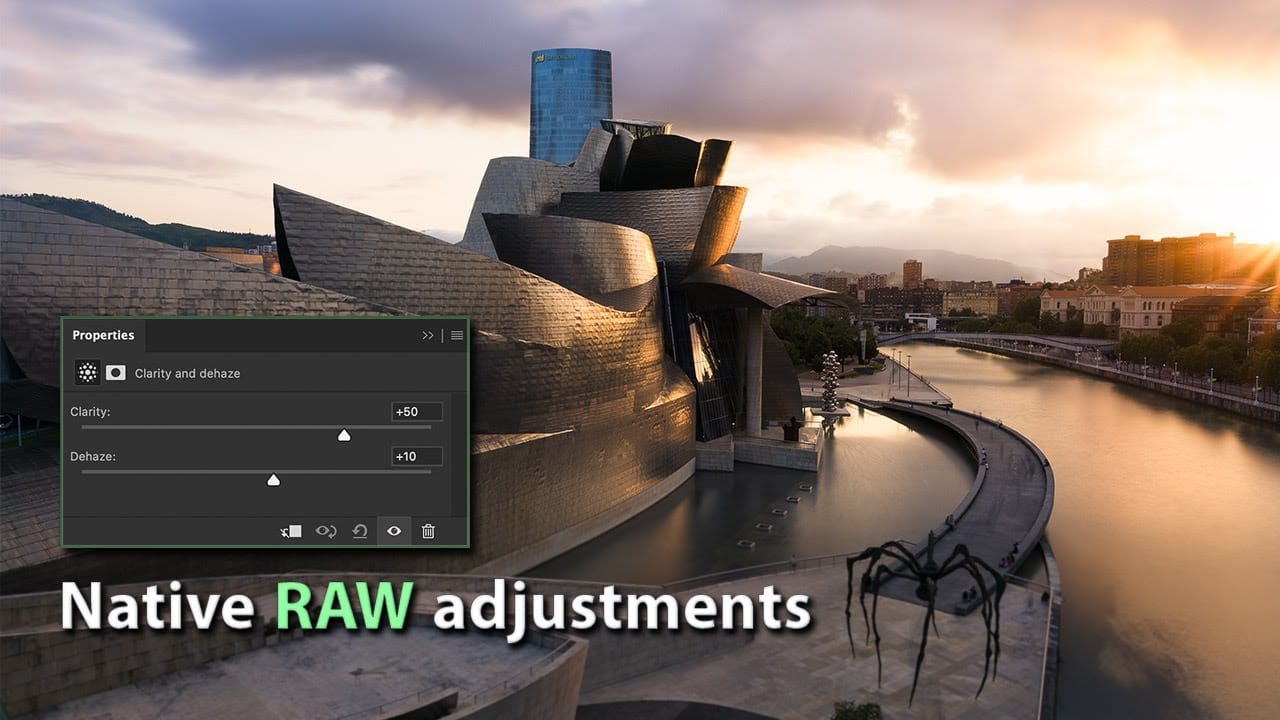
Three powerful new adjustment layers bring Camera Raw's most popular tools directly into your layers panel. Color and Vibrance, Clarity and Dehaze, and Grain adjustments now work as standard adjustment layers with full masking capabilities and non-destructive editing.
These tools eliminate the need for smart objects when applying these specific adjustments, creating cleaner workflows while maintaining the precision control photographers expect from professional editing software.
Watch the Video
Video by PHLEARN. Any links or downloads mentioned by the creator are available only on YouTube
Practical Tips
Master these new adjustment layers with these essential techniques:
- Use vibrance instead of saturation for portraits to protect skin tones from becoming orange or unnatural
- Click the eyedropper on gray areas (not colored objects) when setting white balance to avoid unwanted color shifts
- Invert layer masks to black and paint white with a brush to apply clarity selectively to subjects without affecting backgrounds
- Combine multiple adjustment layers - apply dehaze globally, then add a second layer with clarity painted only on specific areas
- Reduce grain layer opacity after applying the effect if the initial settings appear too intense for your image
Related Articles and Tutorials
Explore more advanced adjustment layer techniques and color correction workflows:
Photoshop 2025: New Adjustment Brush Tool Explained
The new Adjustment Brush tool in Photoshop 2025 streamlines color and lighting adjustments by combining painting and adjustment layers into a single workflow. Instead of manually creating adjustment layers and painting masks, this tool automatically generates the layers and masks as you paint directly on your image.
This approach makes selective adjustments more intuitive, whether you're changing the color of specific objects or fine-tuning exposure on particular areas of your photo.
Watch th
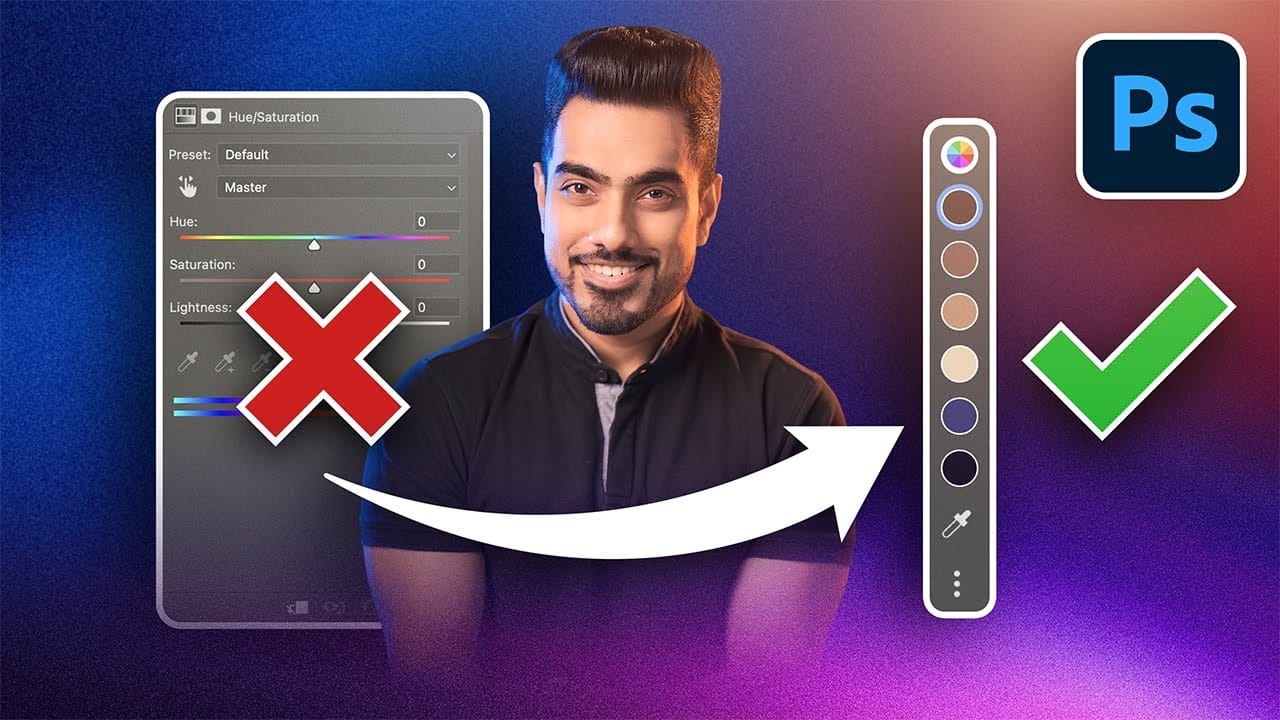
Photoshop's New Adjust Colors Feature vs Traditional Hue/Saturation
Color adjustments just became dramatically simpler in Photoshop. The new Adjust Colors feature automatically detects the six most prominent colors in any image, letting you target and modify specific hues with a single click. No more guessing which color range to select or struggling with imprecise selections.
This intuitive approach transforms what used to be a multi-step process into an instant workflow. Traditional hue/saturation adjustments often missed their target or required extensive fi
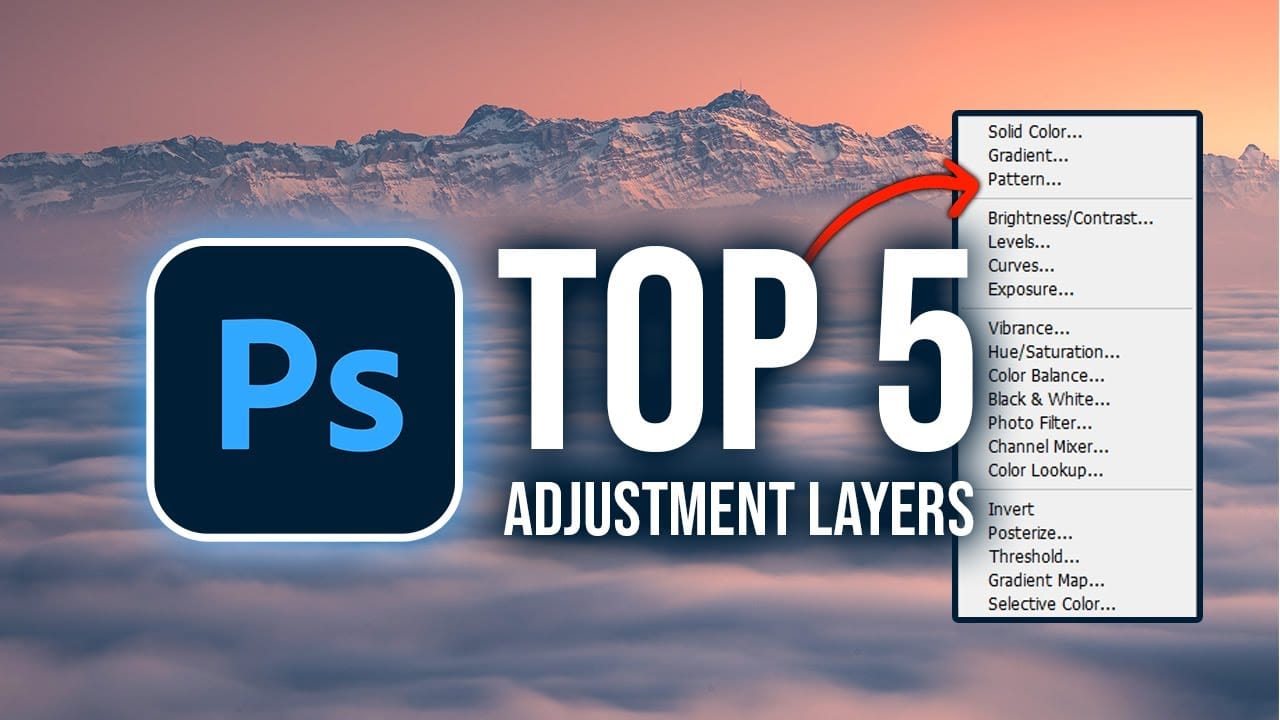
Master Photoshop Adjustment Layers for Non-Destructive Editing
Fine-tuning images without destroying original pixel data transforms ordinary photos into compelling visuals. Adjustment layers provide the flexibility to experiment with colors, contrast, and tones while maintaining complete control over every edit.
This comprehensive guide demonstrates how to harness Photoshop's most powerful adjustment layers for landscape photography, from basic contrast enhancements to sophisticated color grading techniques.
Watch the Tutorial
Understanding Non-Destruc
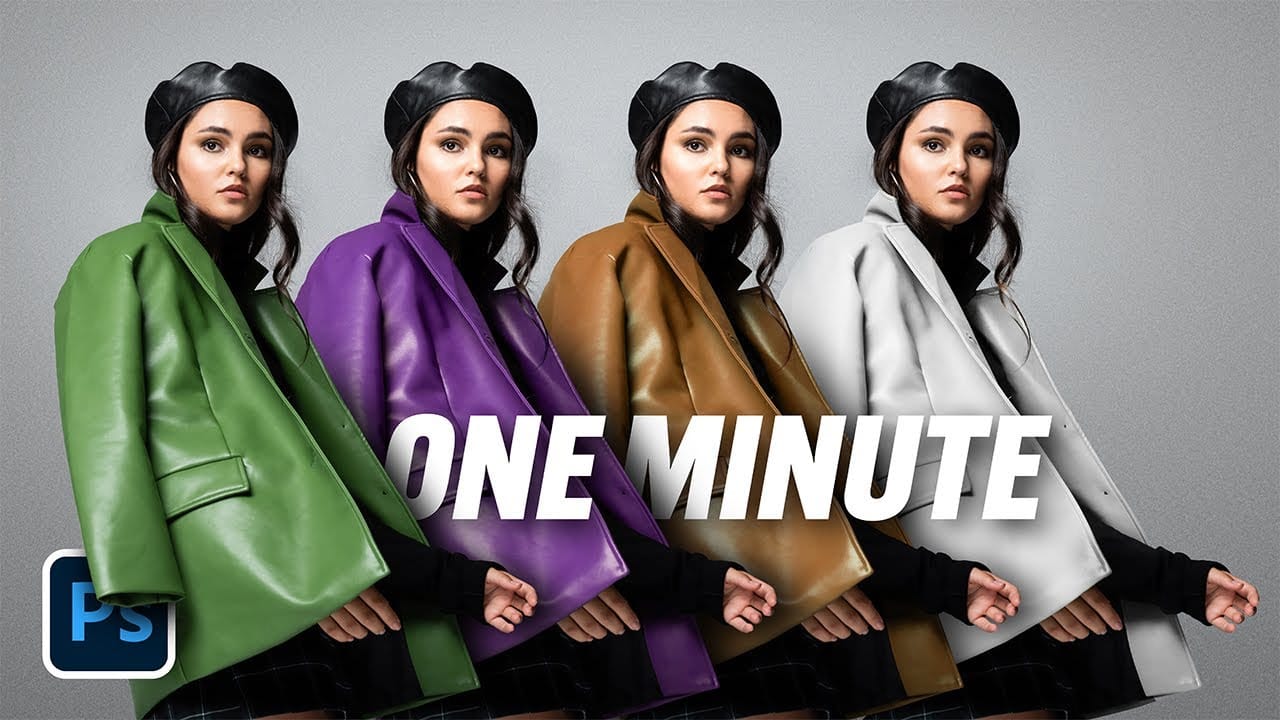
The easiest way to change any color in Photoshop
Changing the color of specific elements within an image can often be a frustrating challenge for designers and photographers. Achieving a precise color shift without affecting surrounding areas, or dealing with complex selections, often leads to a time-consuming and imperfect process.
This guide introduces a highly efficient method utilizing Photoshop's latest updates, specifically the "Adjust Colors" feature found in the contextual taskbar. This technique simplifies accurate color manipulation
How to Use New Camera Raw Adjustment Layers in Photoshop Beta
Three new adjustment layers in Photoshop beta bring Camera Raw's most powerful tools directly into your layers panel. Color and Vibrance, Clarity and Dehaze, and Grain adjustments now work as standard adjustment layers, eliminating the need for smart objects while maintaining all the precision masking and blending capabilities you expect.
This breakthrough allows photographers to apply global-quality Camera Raw adjustments with local control, creating more efficient workflows without file bloat
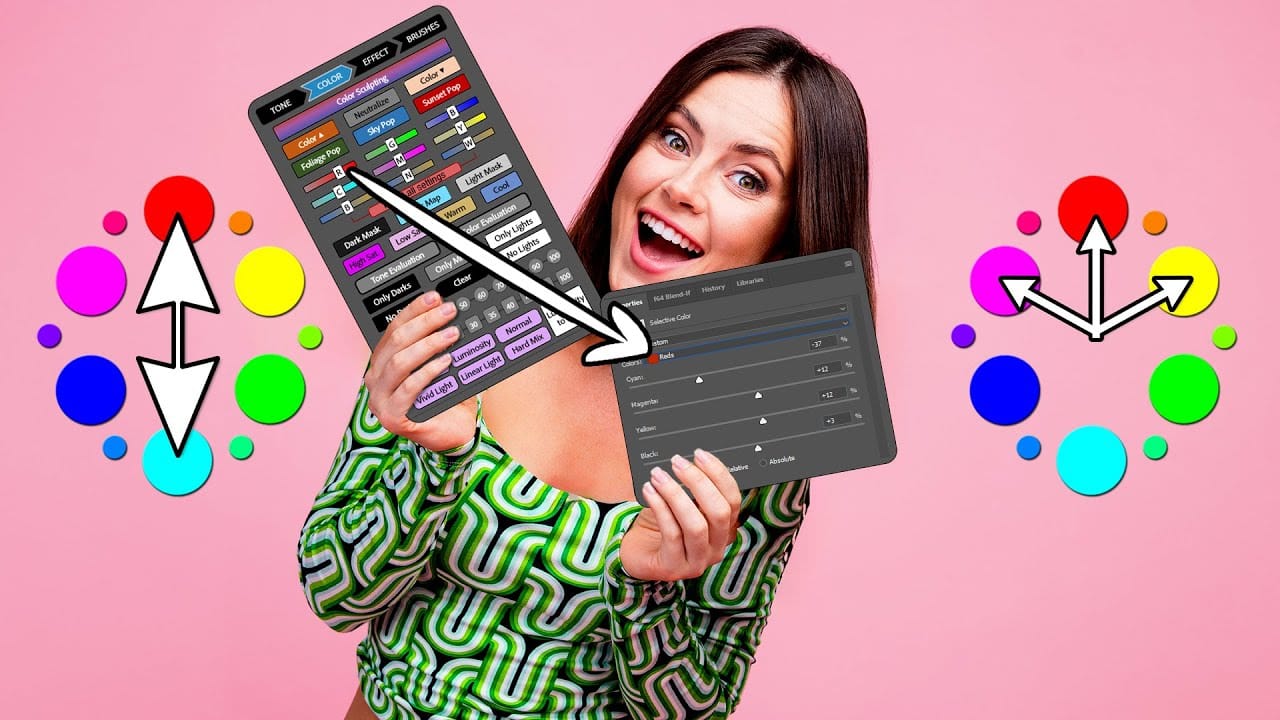
The Single Best Color Tool in Photoshop
In this tutorial, you will uncover the often-overlooked capabilities of Photoshop's Selective Color Adjustment Layer.
This powerful tool allows you to perform both subtle and dramatic color grading, giving your images a polished look similar to fine art. You'll learn techniques to intensify colors, separate various hues for added depth, and achieve better overall color balance in your work. This ensures that your images maintain their vibrancy without the risk of over-saturation.
The tutorial
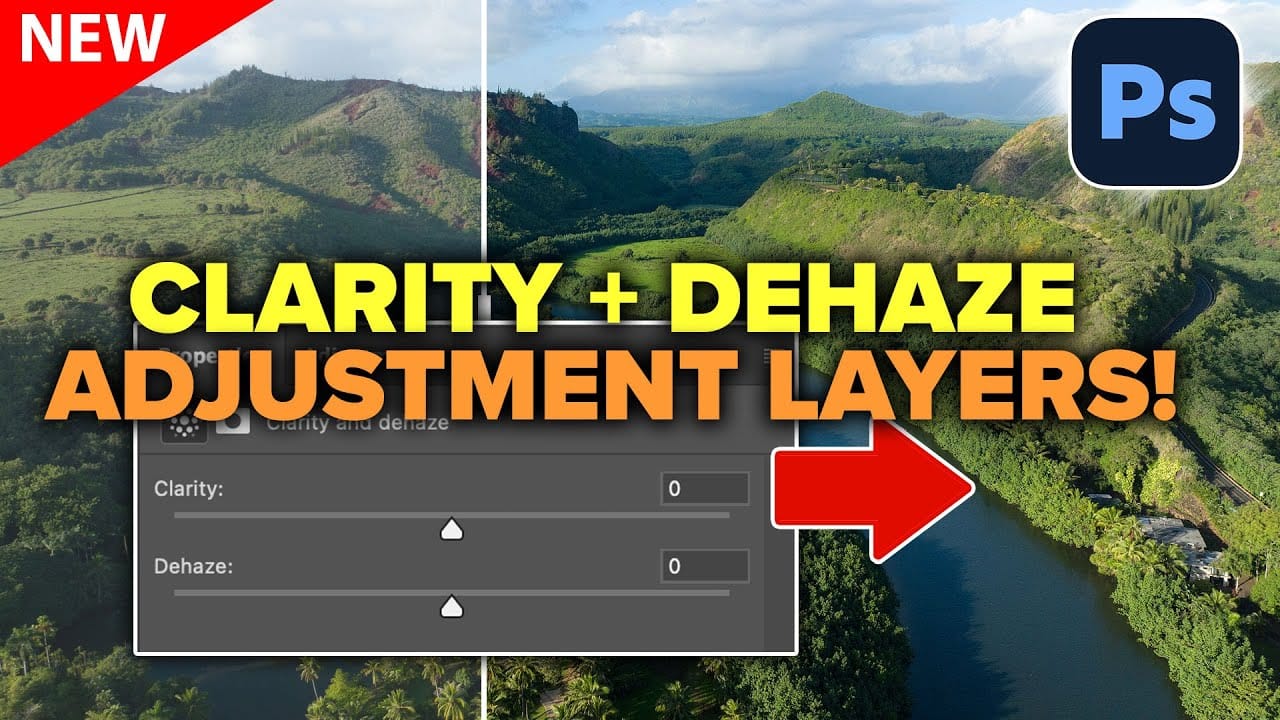
How to Use Clarity and Dehaze Adjustments in Photoshop
Two of the most popular adjustments from Camera Raw—Clarity and Dehaze—are now available as adjustment layers in Photoshop beta. These tools work on different image frequencies to enhance contrast and cut through atmospheric haze, giving you precise control over midtone contrast and low-frequency areas.
Understanding how these adjustments affect different parts of your image helps you combine them effectively for maximum impact while maintaining natural-looking results.
Watch the Video
Prac
7 Overlooked Photoshop Tools That Will Save You Hours
You're probably using Photoshop the hard way.
You've mastered the basics - Magic Wand for selections, Clone Stamp for removals, layer masks for compositing. But you're likely missing out on dozens of features that could cut your editing time in half.
Adobe has quietly (okay, not so quietly) added dozens of time-saving features that most users never discover.
Here's the thing: Photoshop's interface is overwhelming. With hundreds of tools and panels, it's natural to stick with what works and ig
TOP New Features in Photoshop – May 2025 Update
Many Photoshop users frequently encounter common challenges such as time-consuming manual selections for complex objects, difficulties in achieving precise color adjustments across an image, or struggling with inconsistent results when removing unwanted elements like reflections. These hurdles often slow down the creative process, making it frustrating to achieve a desired professional look efficiently.
This guide explains how Photoshop's latest updates introduce powerful new functionalities, i

Curves vs Levels in Photoshop: Learn The Difference
Curves and Levels are two of the most powerful adjustment tools in Photoshop, but many users struggle to understand when to use each one. While both tools manipulate light and color information in similar ways, they offer different levels of control and complexity.
Understanding their similarities and key differences will help you choose the right tool for each editing situation, whether you're making simple exposure corrections or advanced color grading adjustments.
Watch the Video
Practic