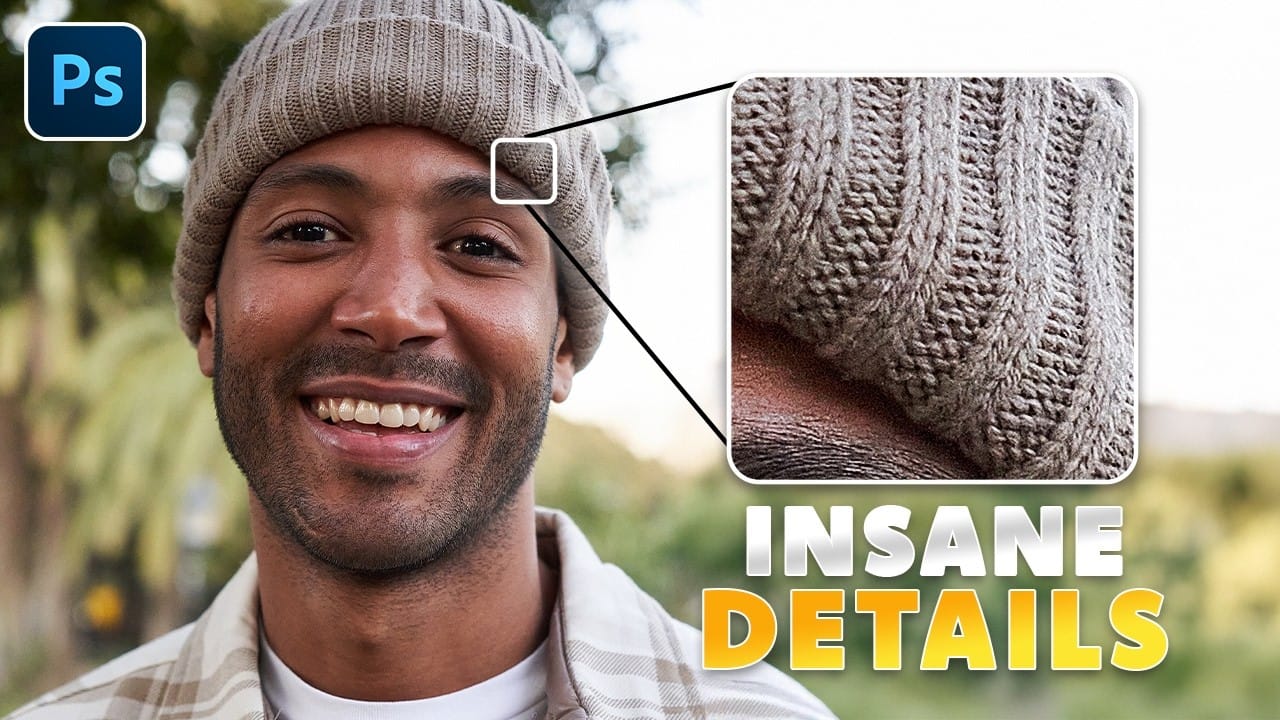
Retouched skin can look great up close but lose all its natural texture the moment you zoom out. Rather than relying on standard sharpening filters, you can recover that texture by duplicating the high-frequency layer inside a frequency separation setup — a method that works whether or not you've already done skin retouching.
Watch the Video
Video by PiXimperfect. Any links or downloads mentioned by the creator are available only on YouTube
Practical Tips
These steps summarize the core technique and the most useful refinements shown in the tutorial.
- Set up frequency separation first, then select the high-frequency layer and duplicate it (Ctrl/Cmd+J) — this alone restores visible skin texture without any additional filters.
- Use Blend If on the duplicated layer to remove the texture boost from shadow areas: hold Alt/Option and drag the left Underlying Layer slider to soften the transition and reduce halos.
- Add a negative mask (Alt/Option+click the mask button) and paint with white only over the areas where sharpening is needed, keeping it off hair, eyes, and out-of-focus regions for a natural depth effect.
- Control overall intensity by adjusting layer opacity — with a non-brush tool selected, press number keys to set opacity quickly (e.g., 5 for 50%, 67 for 67%).
- If one duplicate is too strong, reduce opacity rather than adding multiple copies; stack a second duplicate only when a more pronounced texture effect is the goal.
Related Articles and Tutorials
Explore more tutorials on skin retouching, texture work, and sharpening techniques.
A Definitive Guide to Portrait Beauty Retouching in Photoshop
Mastering beauty retouching gives you the ability to take any portrait further, fixing what the camera couldn’t, refining what the light missed, correcting the natural imperfections that skin always carries, and delivering results that hold up at any size and in any context. That range is wider than it
 Enrique Flouret
Frequency Separation Beauty Retouch With The Mixer Brush
In this Photoshop tutorial, the author Kevin Roodhorst shares the professional way to soften skin for high-end retouching. The tutorial focuses on the technique of frequency separation, which is a widely used method in the world of photo editing.
The author explains that frequency separation involves separating the image into two layers: the high-frequency layer, which contains the details and textures, and the low-frequency layer, which contains the overall color and tone. By working on these

Mastering Skin Smoothing with Frequency Separation
In photography, achieving flawless subject skin can often be a challenge. Blemishes, uneven tones, and harsh shadows frequently detract from an otherwise great photo, leading to frustration for both photographers and subjects.
This guide explores frequency separation, a powerful technique that allows precise skin retouching without sacrificing natural texture. Learn how to apply this method, enhance it with advanced steps, and integrate tools that streamline your workflow for professional resul
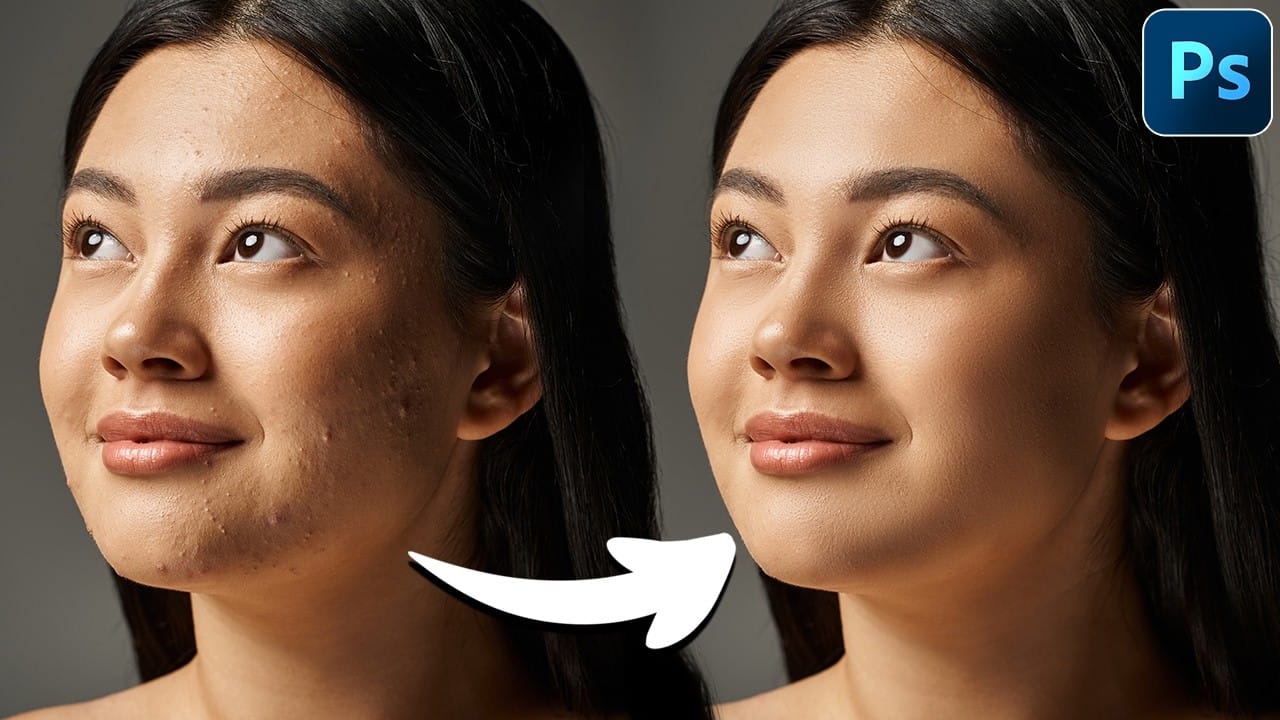
Skin Retouching and Soft Light Effect in Photoshop
In this tutorial, the author, Click 3D, guides viewers through the process of high-end skin retouching using the Frequency Separation technique and applying a soft light effect in Photoshop. The author explains the step-by-step instructions, making it accessible for both novice and experienced Photoshop users.
The tutorial covers how to use Frequency Separation to smoothen and refine skin texture, while maintaining the natural details. Additionally, the author demonstrates the application of th

High-End Skin Retouching in Photoshop
Combining the power of Frequency Separation along with manual Sampling and Painting, learn how to recreate and sculpt the skin, maintaining a beautiful skin texture, in this tutorial by PiXimperfect.
Using this technique, you will not only achieve a smooth skin but also will have the control to naturally remove wrinkles, lift up the cheekbones, and renovate the whole structure of the skin with the skin texture still intact. This is an All-in-One Method whether you want to soften the skin or jus
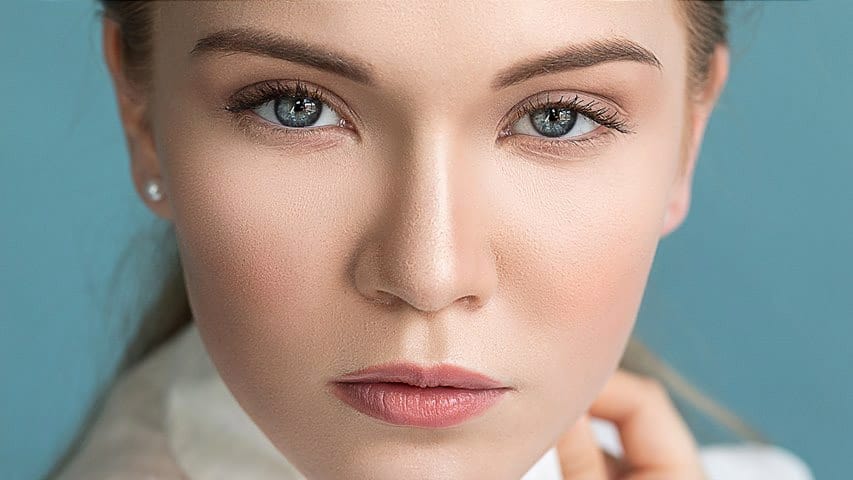
How to Remove Dark Eye Circles Using Frequency Separation in Photoshop
Dark under-eye circles can make portrait subjects look tired or unhealthy, even when they're not. Traditional brightening methods often create unnatural results or destroy important skin texture.
This tutorial demonstrates frequency separation, a professional retouching technique that removes dark circles while preserving natural skin texture and realistic lighting transitions.
Watch the Tutorial
Essential Tips for Dark Circle Removal
* Set up frequency separation properly: Create two lay
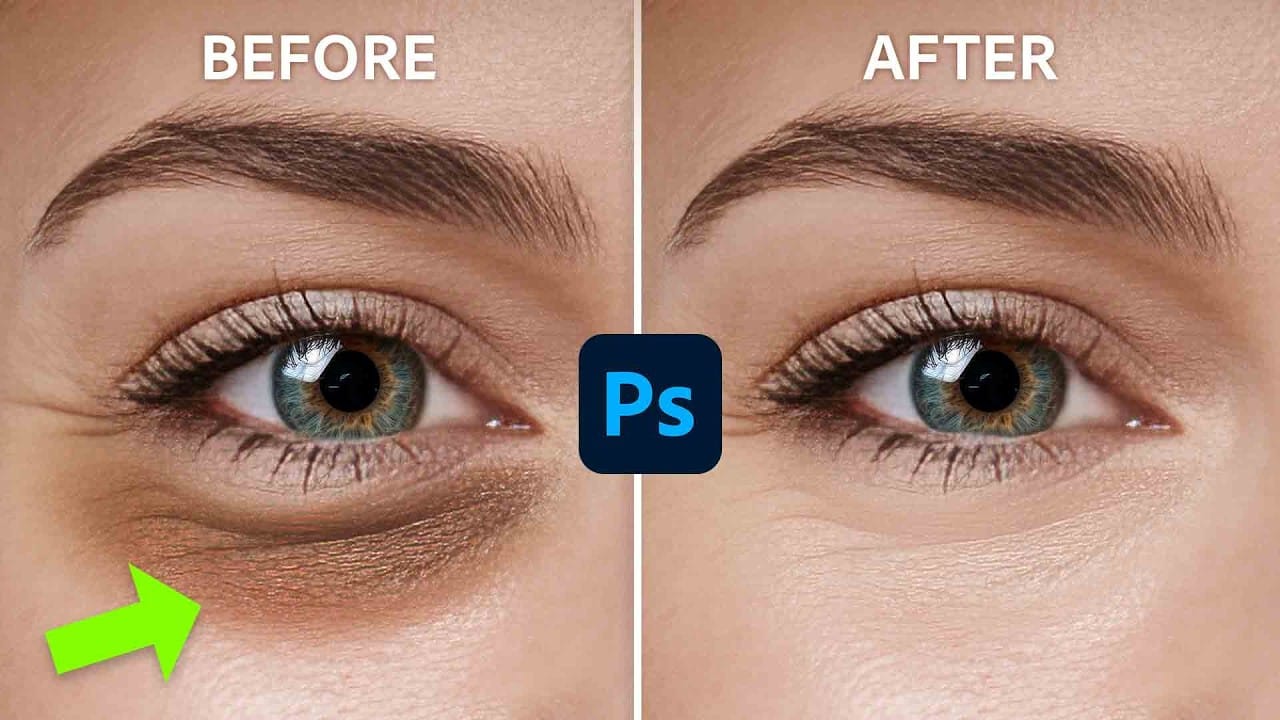
Removing Makeup with Frequency Separation in Photoshop
In this tutorial by Michael Woloszynowicz, learn how to remove makeup using Frequency Separation in Photoshop.
The video demonstrates how to scale back eye-shadow and replace it with natural skin tones. This technique is perfect for removing makeup like blush or eye-shadow, providing a clean, natural look.
Enhance your Photoshop skills and discover an effective method for makeup removal in portrait retouching.
Watch tutorial

Natural Skin Smoothing in Photoshop
Professional beauty retouching demands techniques that smooth skin while preserving natural texture. This advanced method combines inverted layers with Vivid Light blend mode to create seamless skin enhancement without the artificial "plastic" look common in over-processed images.
The technique works by canceling out layer information through inversion, then selectively applying blur and sharpening filters to reconstruct realistic skin texture while eliminating blemishes and color irregularitie
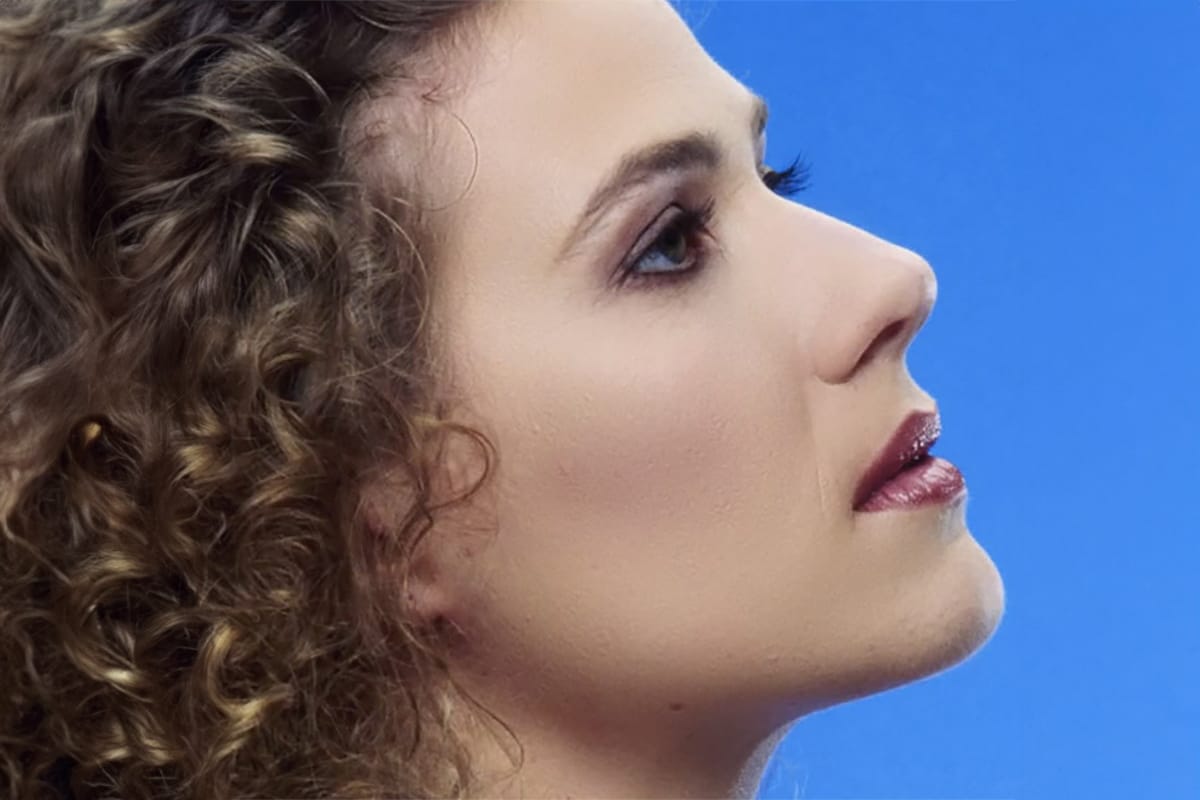
Hidden trick to perfectly sharpen photos in Photoshop
In this detailed tutorial, Colin Smith from Photoshop Cafe uncovers a sophisticated technique for achieving impeccable sharpening results in Photoshop. He dives deep into three essential sharpening methods: Smart Sharpen, High Pass, and Unsharp Mask, each of which offers distinct advantages depending on your editing needs.
Colin's approach goes beyond basic sharpening techniques, incorporating a clever twist that enhances the effectiveness of these tools. He demonstrates how to leverage Smart S
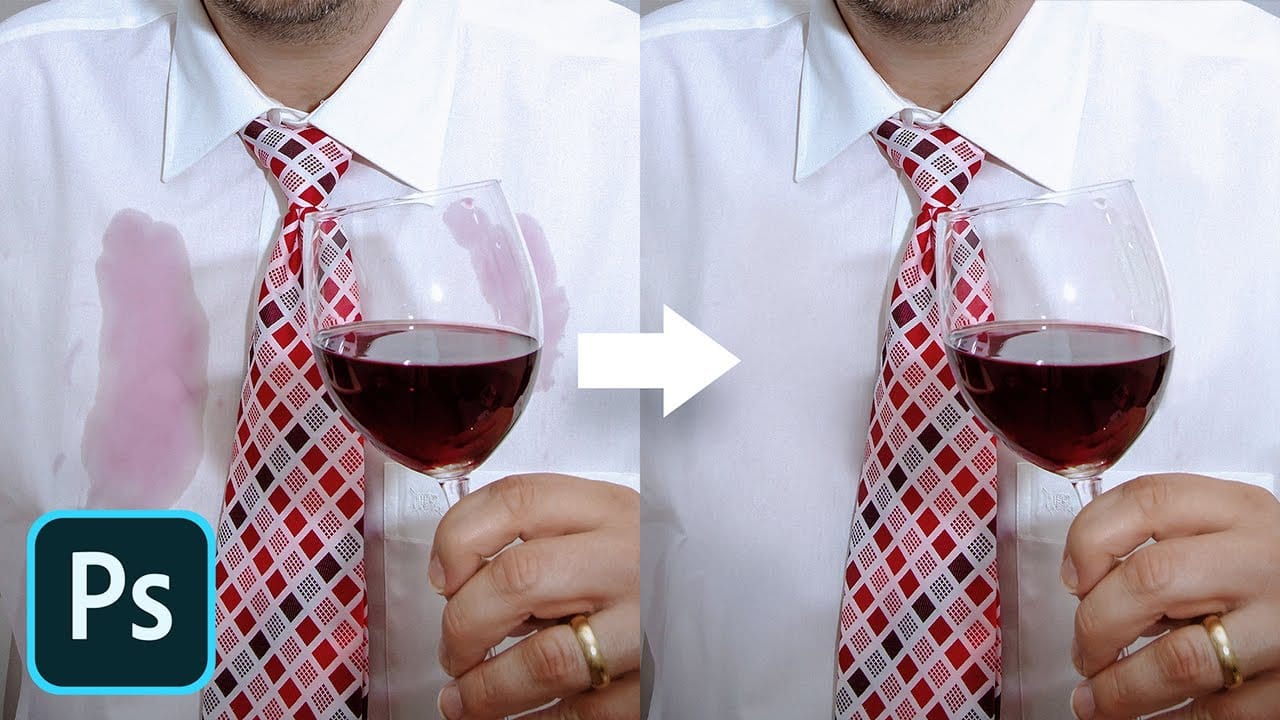
Remove any stain with frequency separation in Photoshop
In this captivating Photoshop tutorial, PiXimperfect guides viewers on how to effortlessly remove any stain using the Frequency Separation technique. Through clear step-by-step instructions, the author demonstrates the power of this versatile tool, allowing users to address discoloration without compromising the underlying texture or the natural folds of the surface.
PiXimperfect's expertise shines as they skillfully navigate the Photoshop interface, showcasing the precise methods needed to ach
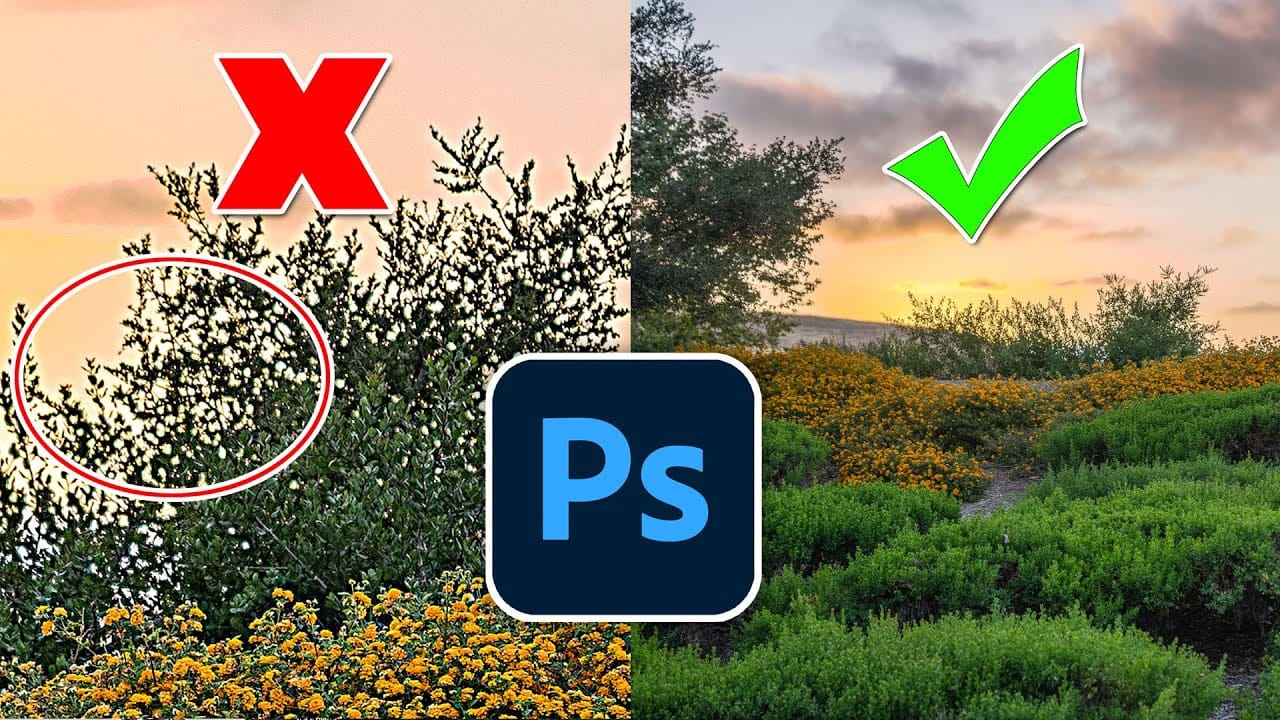
The only Photohop Sharpening Tool You Need
Achieving sharp, detailed images is a common goal for photographers and designers, yet many find the process frustrating. Traditional sharpening tools can often lead to over-processed results, introducing halos, noise, or an unnatural appearance. The challenge lies in enhancing clarity without sacrificing image quality or introducing unwanted artifacts.
This tutorial reveals a powerful and often overlooked technique for precise image sharpening in Photoshop. By mastering the application of the