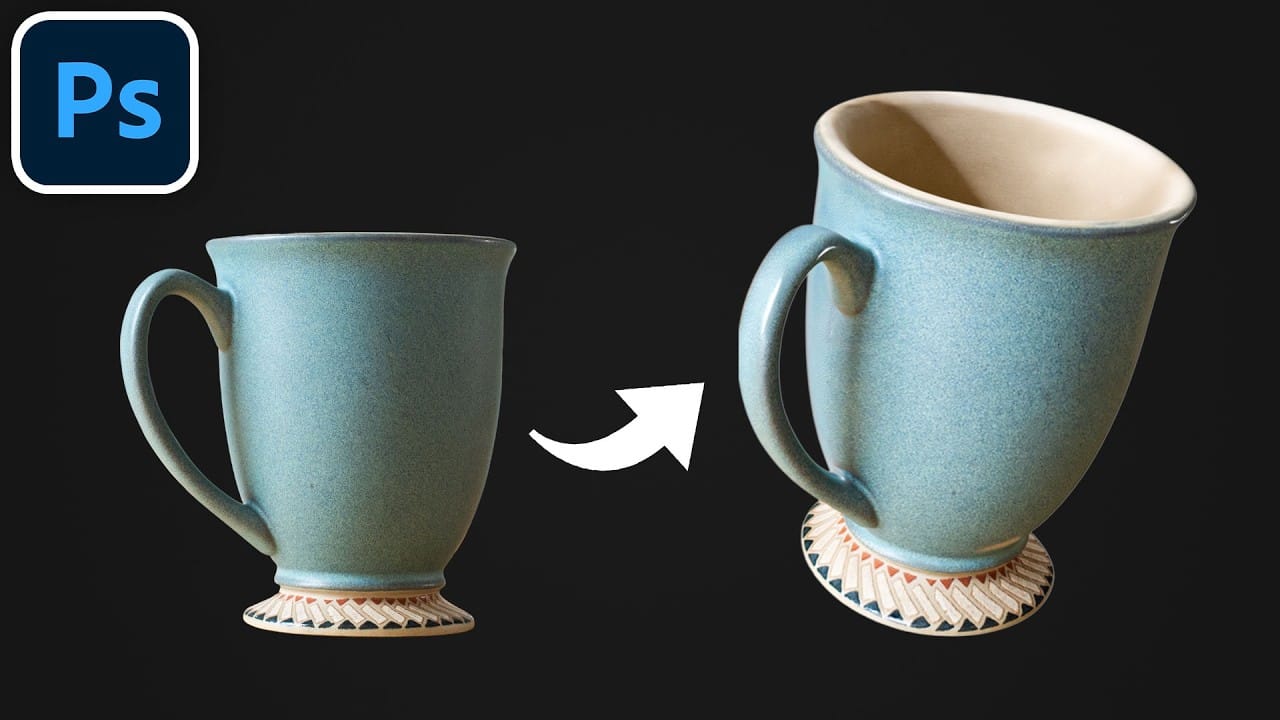
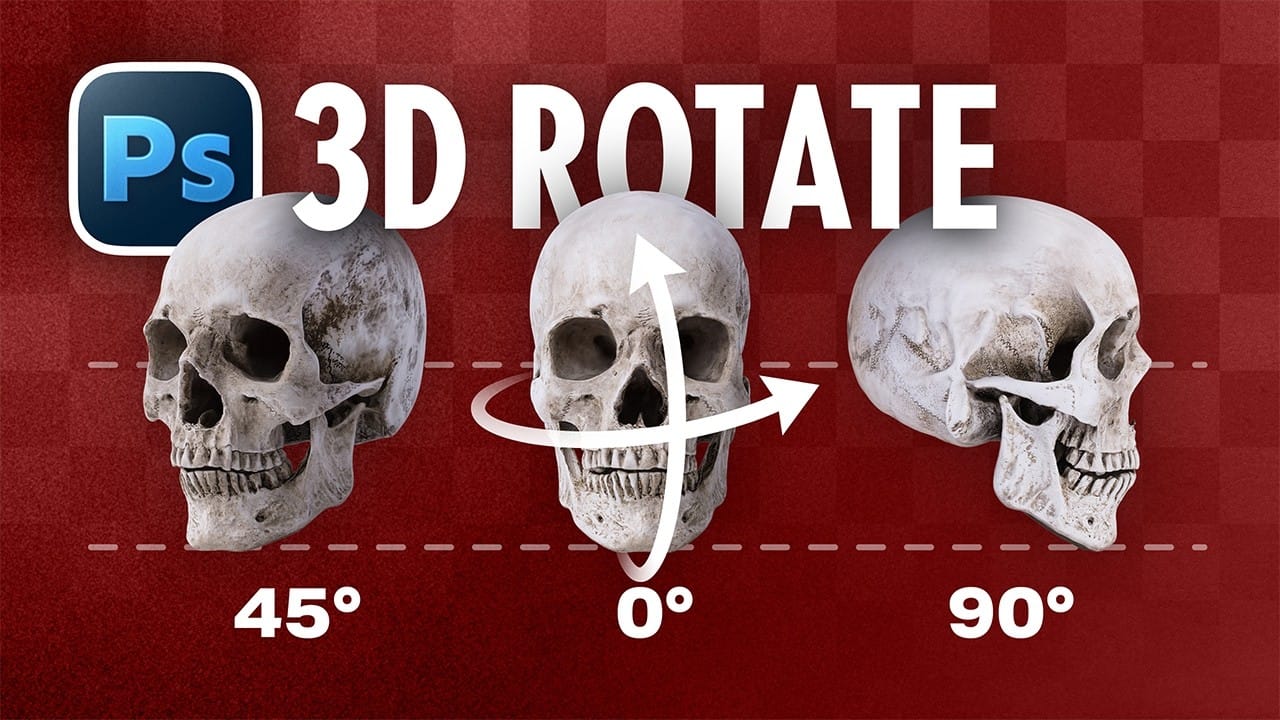
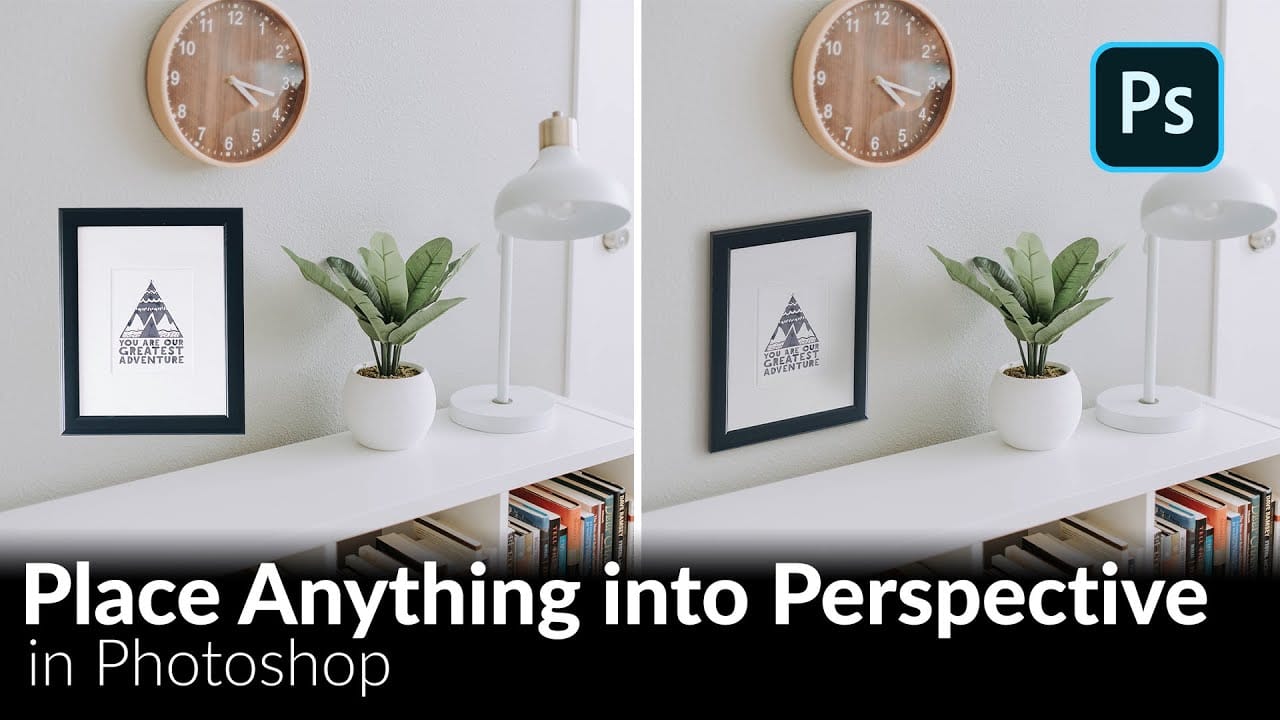
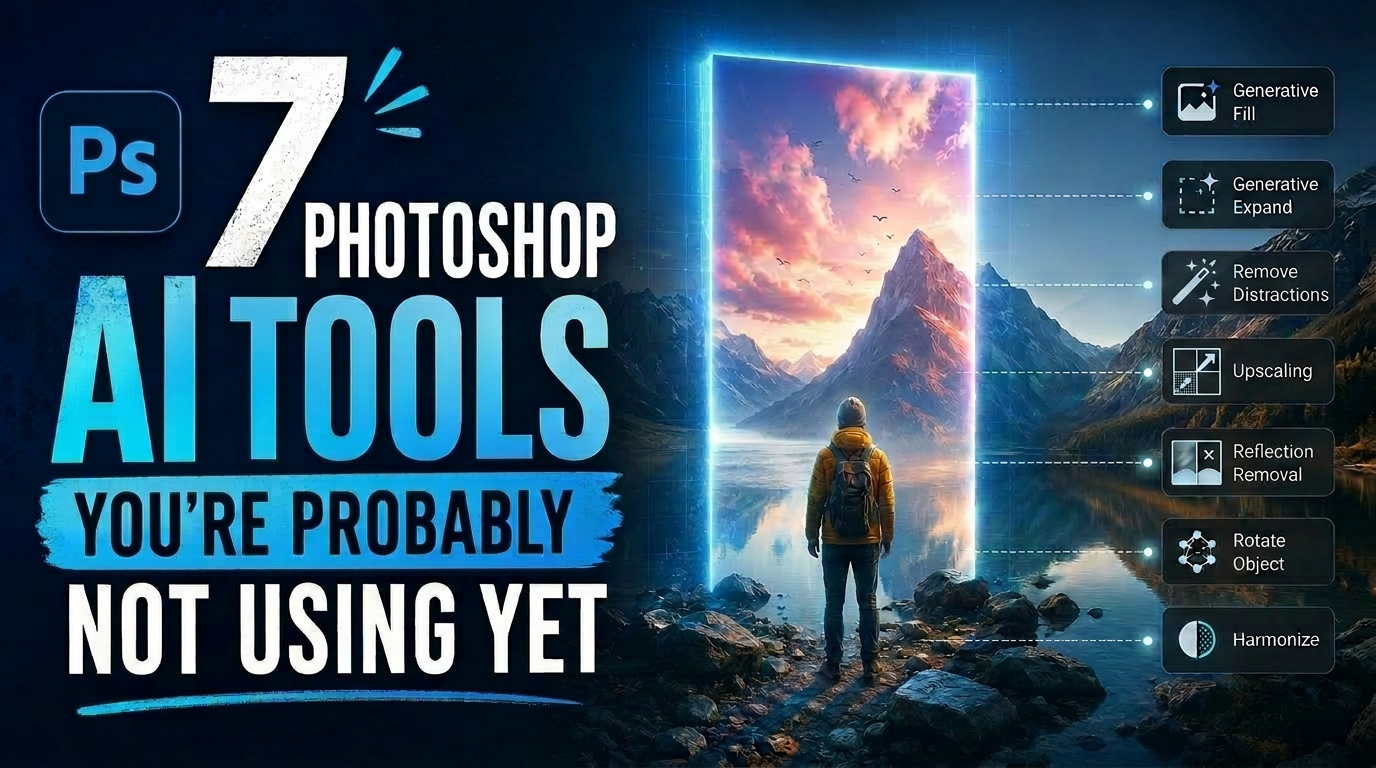
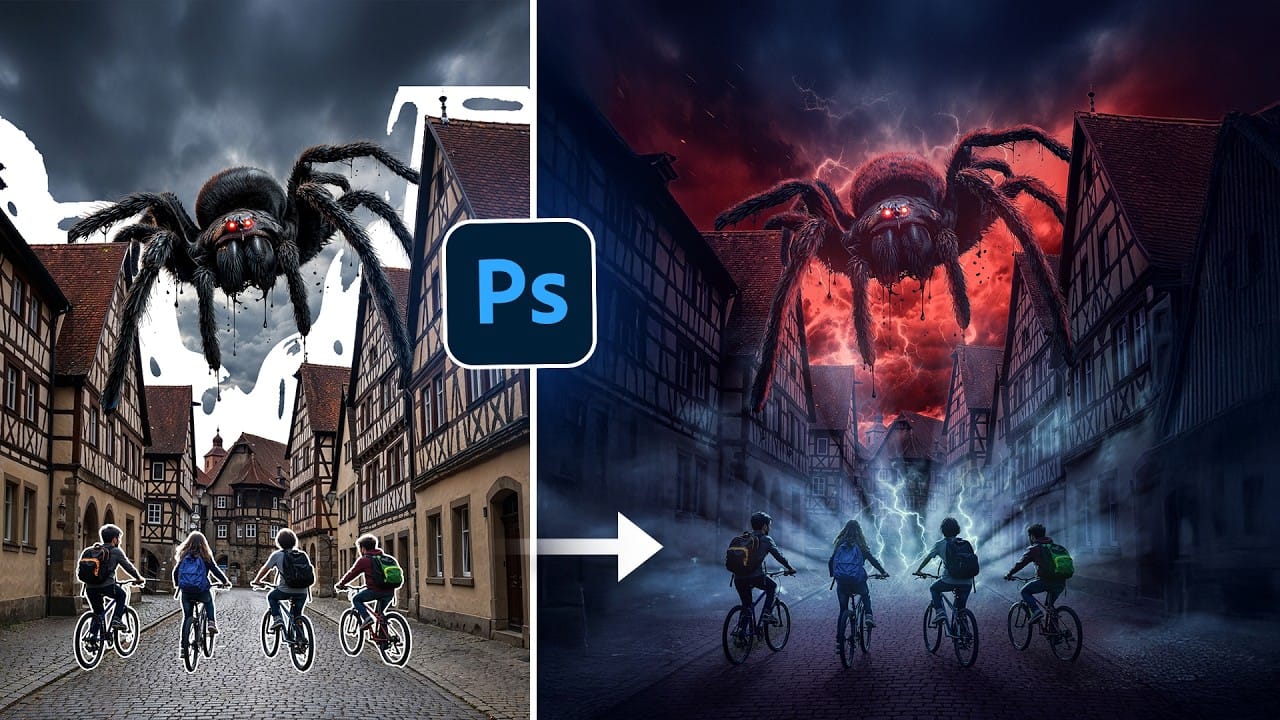
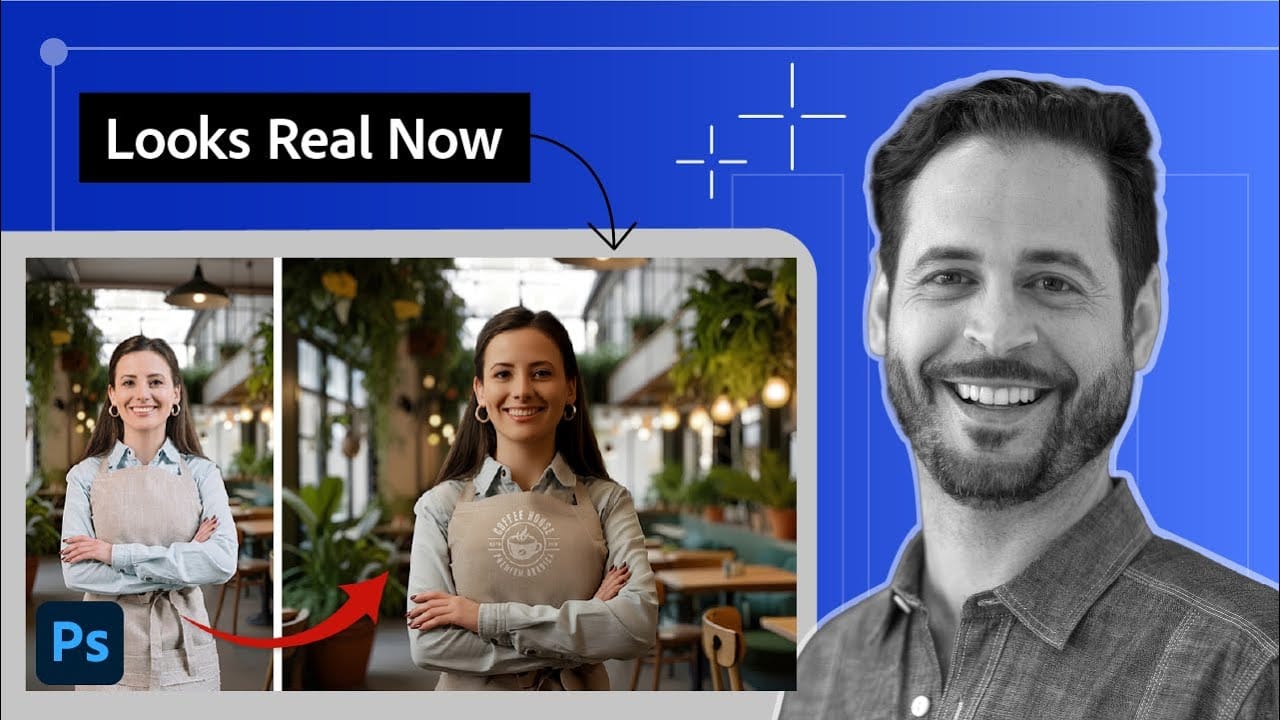
Placing a product into a scene used to fall apart the moment the perspective didn't match. Photoshop's new Rotate Object tool solves that by using AI to reposition a flat image in three-dimensional space, letting you tilt, turn, and adjust perspective until it fits the scene naturally.
This tutorial covers the full three-step compositing workflow: rotating the object to match the background's perspective, using Harmonize to match lighting and cast shadows, and using Generative Fill to clean up where the object meets the ground.
Watch the Video
Video by PHLEARN. Any links or downloads mentioned by the creator are available only on YouTube
Practical Tips
These steps reflect the core workflow demonstrated in the video and will help you get consistent results when compositing objects into new scenes.
- Cut out the object before using Rotate Object. Isolating the subject first gives the AI a clean shape to work with and produces more accurate perspective adjustments.
- Use Rotate Object for subtle angle corrections, not extreme transformations. The tool works best when you need a modest tilt or perspective shift — pushing it too far can degrade quality noticeably.
- Adjust Perspective Warp to match the scene's focal length. Dragging the perspective warp control up flattens the object as if shot with a telephoto lens; dragging down exaggerates distortion like a wide-angle lens.
- Run Harmonize after rotating to match lighting and shadows. Generate multiple variations and compare them before committing — results vary, and regenerating costs credits.
- Paint a selection over the ground contact area and use Generative Fill with the prompt "shadow". This is the step most likely to make or break the realism of the final composite.
Related Articles and Tutorials
More tutorials covering compositing techniques, perspective matching, and AI-assisted blending workflows.