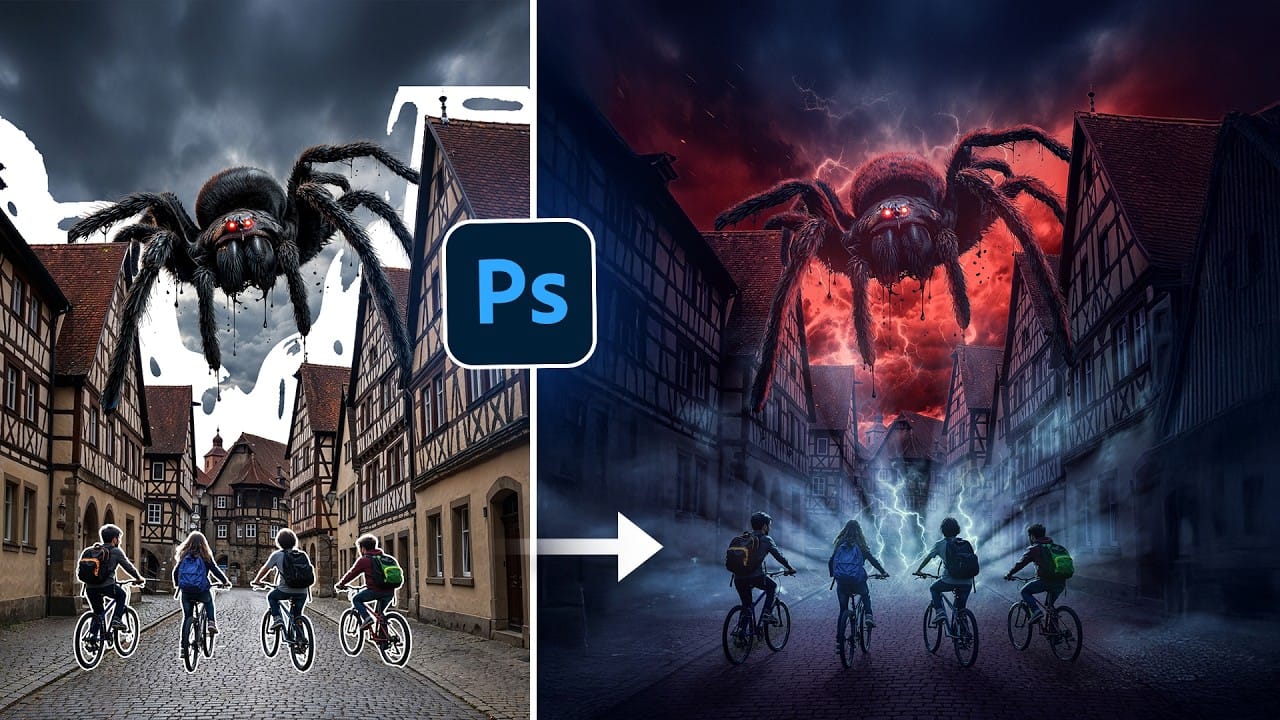
How to Use Curves for Composite Color Matching in Photoshop

How to Use Curves for Composite Color Matching in Photoshop

Curves adjustments are essential for making composite elements look natural and cohesive. Understanding how curves manipulate light values and color channels gives you precise control over matching different elements to their new backgrounds.

The key to successful color matching lies in analyzing the color temperature and brightness relationships between your subject and background, then using individual color channels to bridge those differences seamlessly.

Watch the Video

Video by Nucly • Photoshop and Creative Design Training. Any links or downloads mentioned by the creator are available only on YouTube

Practical Tips

Master these essential curves techniques for better composite color matching:

  • Use adjustment layer curves with clipping masks to affect only specific layers without permanent changes
  • Add multiple curve points strategically to protect certain tonal ranges while adjusting others
  • Work primarily in individual color channels (red, green, blue) rather than RGB to target specific color casts
  • Analyze your background's color temperature first, then adjust your subject to match that environment
  • Keep clipping values low (around 0.1%) to preserve detail in highlights and shadows during adjustments

Explore these comprehensive guides to master color matching and compositing techniques.
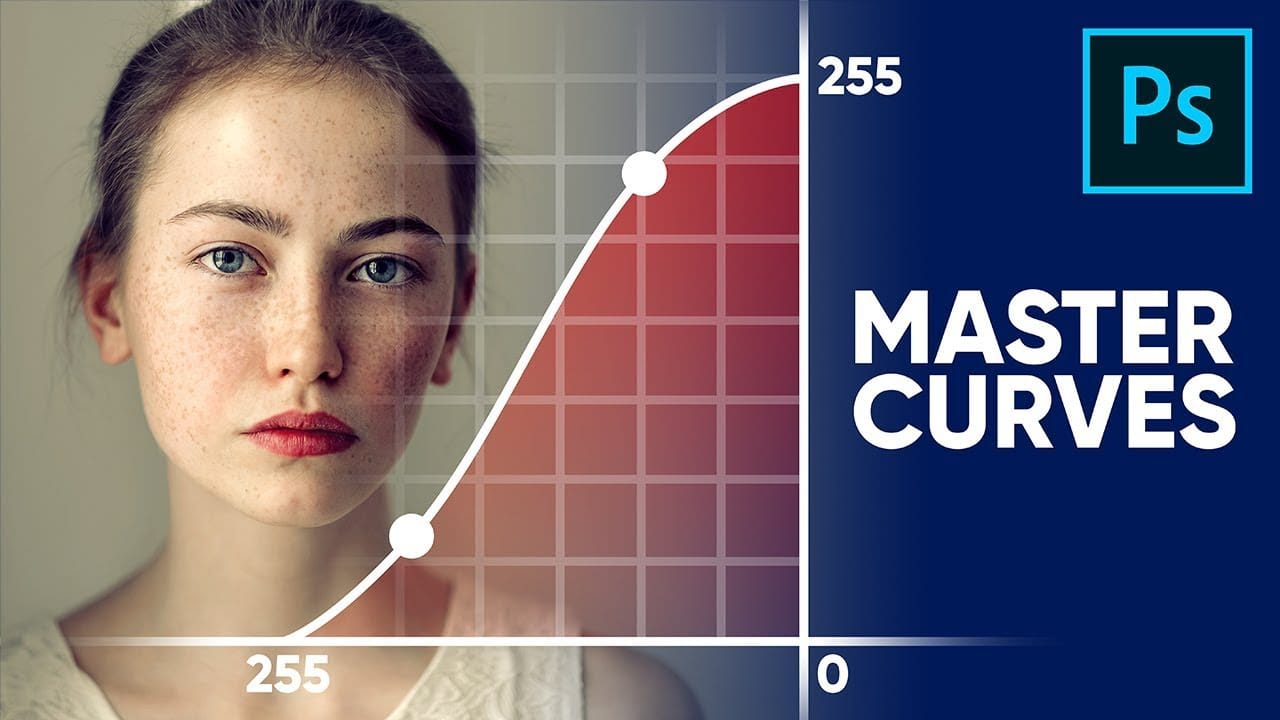
Master Curves from Start to Finish in Photoshop
This insightful tutorial from PiXimperfect provides a comprehensive guide to mastering the powerful Curves tool in Photoshop. They guarantee that after watching this video, viewers will become true masters of the Curves function. The tutorial delves into the fundamental concepts behind Curves and explores the limitless applications of this versatile tool. Whether it's stylizing images or matching colors, the author demonstrates how Curves can be a game-changer in the world of digital imaging.
How to Use Photoshop Curves Auto Options for Color Grading
Professional color grading transforms ordinary images into visually striking compositions with rich depth and atmosphere. Hidden curves auto options in Photoshop let you assign custom colors to shadows, midtones, and highlights for dramatic enhancement. This technique goes beyond basic adjustments to create cinematic looks that bring images to life with minimal effort. Watch the Tutorial Essential Tips for Curves Color Grading * Hold Alt/Option + Auto in Curves adjustment to access hidden
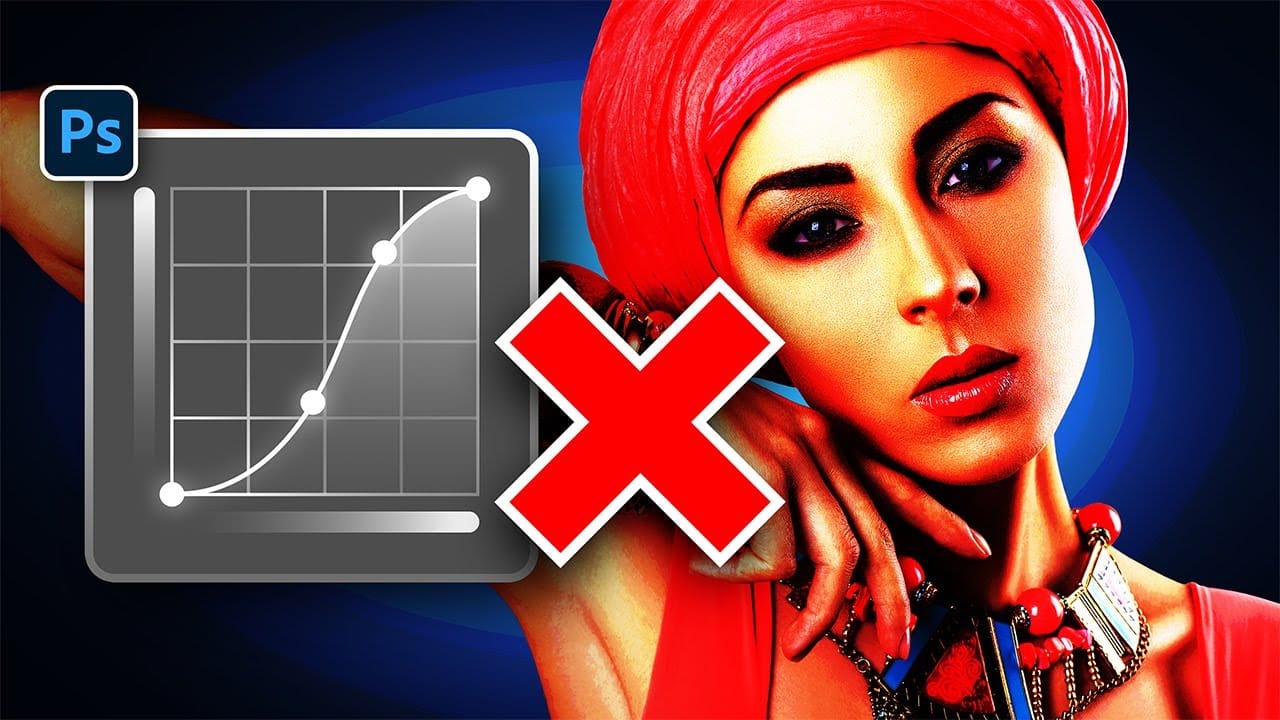
Stop Ruining Colors with Curves With This Photoshop Trick Instead
Using Curves adjustments in Photoshop often creates unwanted color shifts that can make images look oversaturated or unnatural. While the traditional solution involves switching to Luminosity blend mode, this approach tends to drain the vibrancy from your photos, leaving them flat and lifeless. This tutorial reveals a superior technique using Camera Raw's refined saturation control that gives you precise command over color intensity while maintaining natural-looking results. You'll discover how
Curves vs Levels in Photoshop: Learn The Difference
Curves and Levels are two of the most powerful adjustment tools in Photoshop, but many users struggle to understand when to use each one. While both tools manipulate light and color information in similar ways, they offer different levels of control and complexity. Understanding their similarities and key differences will help you choose the right tool for each editing situation, whether you're making simple exposure corrections or advanced color grading adjustments. Watch the Video Practic
Building Complex Composites Using Generative Fill and Layer Blending
Complex surreal composites require more than just combining random images. The key to professional results lies in systematic layering, consistent masking techniques, and building a reusable library of generated elements. This approach transforms scattered AI-generated content into cohesive artistic visions. The tutorial demonstrates how to deconstruct an existing composite to understand its structure, then shows the complete process of building similar effects from scratch while preserving val
Understanding Blend Modes, Curves, Channels, and Fill vs Opacity in Photoshop
Most users cycle through blend modes randomly or avoid the curves panel entirely, missing out on precise control over their edits. These fundamental tools become intuitive once you understand the logic behind their organization and function. This tutorial breaks down four essential concepts that separate casual users from confident editors: the six blend mode groups, how curves translate brightness, what RGB channels reveal about your images, and when to use fill versus opacity. Watch the Vid
7 easy Photoshop tips to make your composites more realistic
In this tutorial, Jesus Ramirez shares seven essential Photoshop tips and tricks to help you create more realistic composites. If you're struggling to make your composites look convincing, this video is a must-watch. Jesus covers a range of techniques designed to enhance the realism of your composite images. These tips include how to match lighting and shadows, blend edges seamlessly, and use adjustment layers effectively. You'll also learn about color matching and the importance of perspective
Essential Photo Compositing Tips for Better Image Blending
Professional photo compositing requires more than just combining images—it demands understanding how light, perspective, and color work together. These fundamental techniques separate amateur collages from convincing, professional-quality composites that tell compelling visual stories. Mastering composition rules, shadow behavior, and color matching creates seamless blends that viewers accept as natural. Each element must work harmoniously to support the main focal point and deliver a clear mes
How to Create Professional Photo Composites in Photoshop
Creating compelling photo composites requires more than simply placing images together. This comprehensive tutorial demonstrates how to blend multiple elements seamlessly, from matching lighting and color to painting realistic shadows and highlights. The project showcases a dramatic scene inspired by Stranger Things, combining buildings, characters, and atmospheric effects with precise color grading and lighting techniques that transform ordinary photos into cinematic compositions. Watch the
Two Simple Color Grading Techniques Using Photoshop Curves and Levels
Color grading transforms flat images into vibrant, cinematic visuals that capture attention and convey mood. The difference between an ordinary photo and one with professional depth often comes down to how well shadows, midtones, and highlights work together to create visual interest. These two Photoshop techniques using Curves and Levels offer a quick path to achieving that coveted "pop of color" without complex workflows or advanced skills. Watch the Tutorial Understanding Auto Color Opti

Get tutorials & freebies delivered to you.

Subscribe to the Photoshop Roadmap newsletter, a weekly roundup of new tutorials, insights and quality downloads, trusted by 6500+ readers.

You might also like

Painting Digital Art Backgrounds: Techniques and Workflow

A well-crafted background can anchor an entire digital painting, providing atmosphere, depth, and visual context for the subject. This video demonstrates practical approaches to building backgrounds from scratch using digital tools, covering brush selection, color layering, and compositional thinking. Watch the Video Practical Tips Keep these core principles in...

How to Use the Light Adjustment Layer in Photoshop

Photoshop's new Light adjustment layer brings Camera Raw controls — exposure, contrast, highlights, shadows, whites, and blacks — directly into the layers panel as a fully non-destructive, maskable layer. This means you can stack multiple light adjustments, target specific subjects, and combine them with Blend If and other adjustment...

How to Use Object Selection, Remove Background, and the Selection Brush in Photoshop

Selections determine the quality and flexibility of almost every edit you make in Photoshop. Three modern tools — the Object Selection tool, Remove Background with Harmonize, and the Selection Brush — handle the most common selection tasks with far less manual effort, while keeping your original image intact through non-destructive layers....

How to Paint a Digital Background and Composite Wildlife Into It

Building a painted digital background from scratch gives you full control over color, mood, and composition before a single wildlife photo is placed. This walkthrough covers the complete process: blocking in shadows on a black canvas, layering foliage with textured brushes, positioning bird subjects on hand-painted stones, and using...

How to Sharpen Skin Texture Using Frequency Separation in Photoshop

Retouched skin can look great up close but lose all its natural texture the moment you zoom out. Rather than relying on standard sharpening filters, you can recover that texture by duplicating the high-frequency layer inside a frequency separation setup — a method that works whether or not you'...

You’ve successfully subscribed to Photoshop Roadmap
Welcome back! You’ve successfully signed in.
Great! You’ve successfully signed up.
Success! Your email is updated.
Your link has expired
Success! Check your email for magic link to sign-in.