Professional color grading transforms ordinary images into visually striking compositions with rich depth and atmosphere. Hidden curves auto options in Photoshop let you assign custom colors to shadows, midtones, and highlights for dramatic enhancement.
This technique goes beyond basic adjustments to create cinematic looks that bring images to life with minimal effort.
Watch the Tutorial
Video by SandraD Imagery. Any links or downloads mentioned by the creator are available only on YouTube
Essential Tips for Curves Color Grading
- Hold Alt/Option + Auto in Curves adjustment to access hidden color targeting options
- Select "Find Dark and Light Colors" option to customize shadow, midtone, and highlight colors individually
- Choose complementary colors like blue shadows with warm orange highlights for cinematic contrast
- Experiment with Soft Light or Overlay blend modes to intensify the color grading effect
- Always click "No" when prompted to save auto settings as defaults to preserve your custom adjustments
More Tutorials About Photoshop Curves
Explore additional techniques for mastering curves adjustments and color grading workflows.
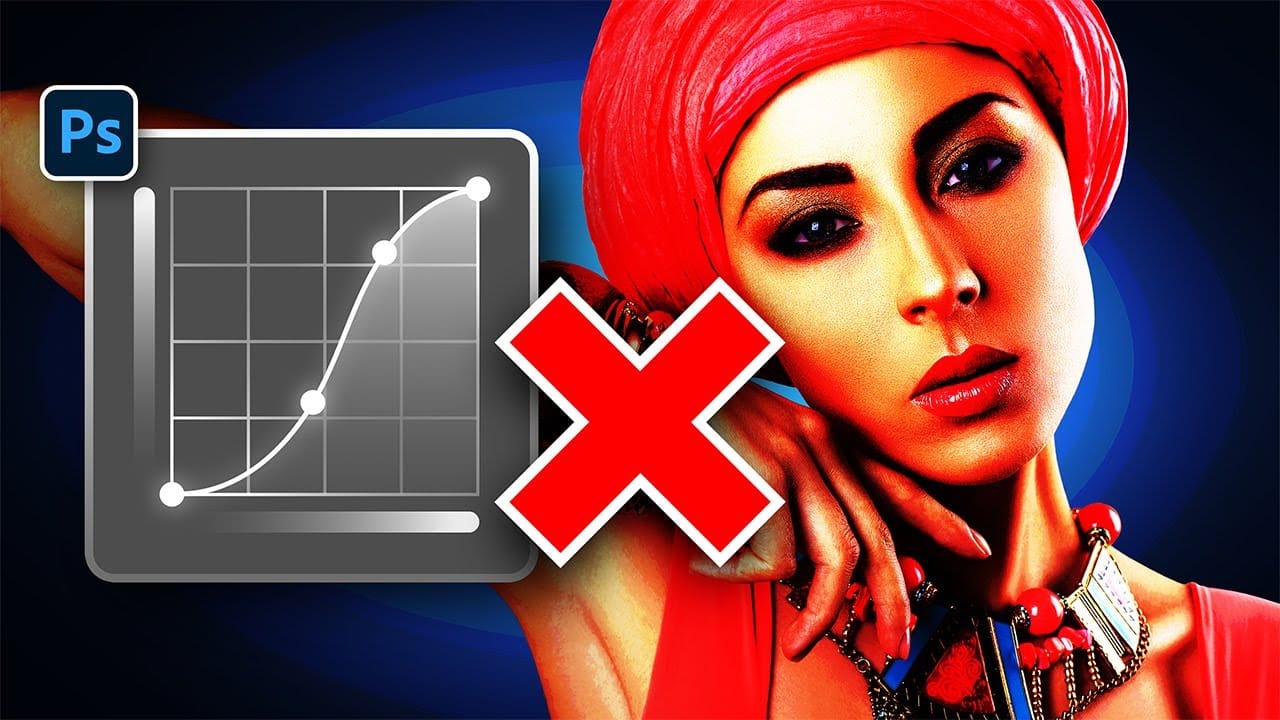
Stop Ruining Colors with Curves With This Photoshop Trick Instead
Using Curves adjustments in Photoshop often creates unwanted color shifts that can make images look oversaturated or unnatural. While the traditional solution involves switching to Luminosity blend mode, this approach tends to drain the vibrancy from your photos, leaving them flat and lifeless.
This tutorial reveals a superior technique using Camera Raw's refined saturation control that gives you precise command over color intensity while maintaining natural-looking results. You'll discover how
Master Curves from Start to Finish in Photoshop
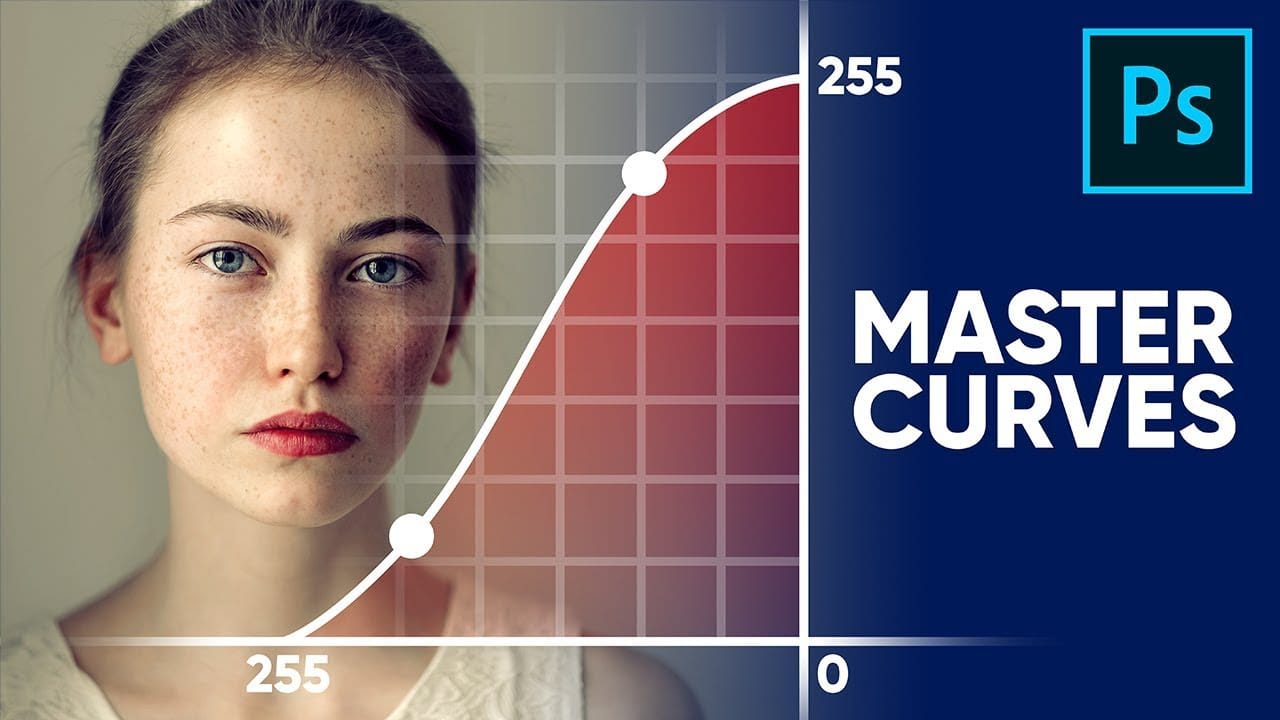
This insightful tutorial from PiXimperfect provides a comprehensive guide to mastering the powerful Curves tool in Photoshop. They guarantee that after watching this video, viewers will become true masters of the Curves function.
The tutorial delves into the fundamental concepts behind Curves and explores the limitless applications of this versatile tool. Whether it's stylizing images or matching colors, the author demonstrates how Curves can be a game-changer in the world of digital imaging.
Curves vs Levels in Photoshop: Learn The Difference
In this Photoshop tutorial, you will learn the key differences between using Curves and Levels for image adjustment. Aaron Nace from Phlearn provides a clear and effective approach to enhance your photos and graphics.
Throughout the lesson, techniques like the Super Zoom feature are highlighted, allowing you to upscale graphics without losing resolution, ensuring that your work retains high quality. You will also discover the benefits of applying Gradient Maps for better color matching, which c

Faded Polaroid 600 photo effect for a vintage look
Ever wanted to shoot Polaroid again but can´t seem to find any film for that old dusty polaroid camera in your father´s basement? Well, in this tutorial I´ll show you how you can achieve that old faded Polaroid look in a snap using Photoshop´s Curves Adjustments.
The first thing we are going to do is to select our curves adjustment by clicking on the "new layer adjustment" icon at the bottom of your Layers Palette.
We´re going to start with the red channel. Here what we want to achieve is a sm