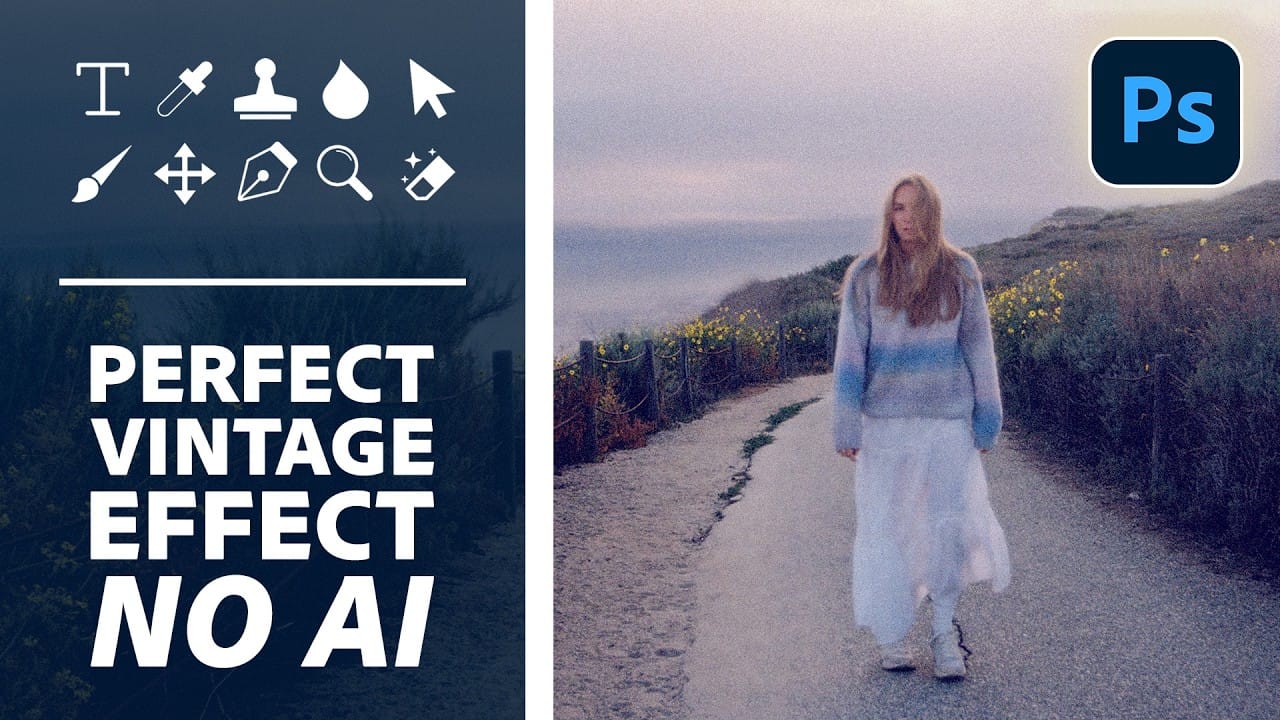
Early 2000s point-and-shoot cameras produced a distinctive look: punchy contrast, cool color casts from on-camera flash, deep shadows, and a soft glow around bright areas. This walkthrough covers how to replicate that aesthetic non-destructively using Camera Raw, radial gradient masking, and a blurred highlight layer.
Watch the Video
Video by PHLEARN. Any links or downloads mentioned by the creator are available only on YouTube
Practical Tips
These key techniques from the tutorial will help you build a convincing digicam effect while keeping every adjustment editable.
- Convert to Smart Object before opening Camera Raw — go to Filter > Convert for Smart Filters first, so every Camera Raw adjustment remains fully editable after the fact.
- Use color grading to protect skin tones — shift shadows toward blue for the cool flash look, but pull highlights warm to keep skin tones from turning unflattering.
- Add a radial gradient mask to simulate on-camera flash — draw a large radial gradient from the center, boost exposure inside it, then subtract bright luminance values using a Luminance Range mask to avoid blowing out highlights.
- Keep grain size low — increasing grain size too much destroys detail; adjust roughness instead to match the texture of the source image.
- Create the highlight glow on a separate duplicated layer — duplicate the smart object, set the blend mode to Lighten, lower opacity to around 30%, then apply a Gaussian Blur smart filter so the glow amount can be changed at any time.
Related Articles and Tutorials
More tutorials covering retro and vintage photo effects across different styles and techniques.
27 Retro Photoshop Effects to Fix Your Painfully Boring Designs
At some point, most designs start to feel a little too familiar. Clean layouts, safe color choices, the same effects over and over… everything works, but nothing really stands out. It’s not bad design—it’s just predictable. And that’s usually when things start to feel, well… a
 Enrique Flouret
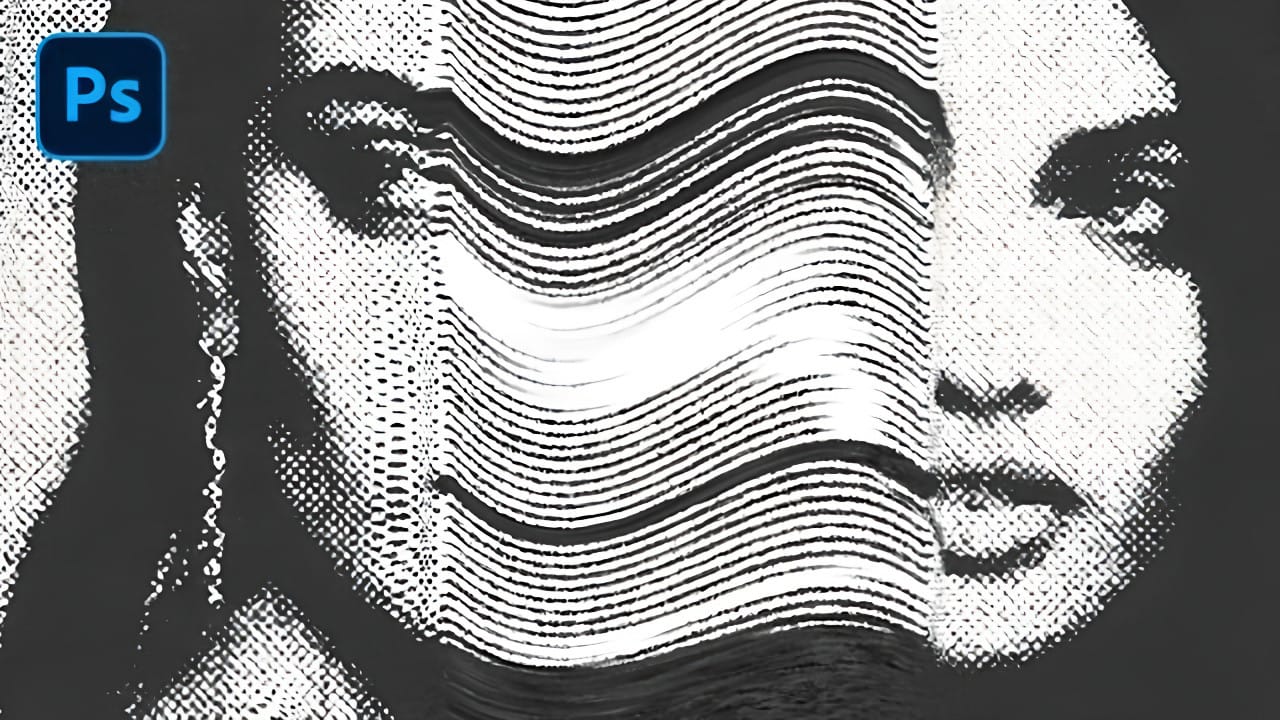
Create a Distorted Photocopy Scan Effect in Photoshop
Vintage photocopy effects capture the imperfect charm of analog reproduction—those streaky scan lines, halftone dots, and mysterious distortions that made every copy slightly different. These gritty, mechanical textures add authentic character to digital designs, evoking the era when photocopiers were the primary way to duplicate documents and images.
This video demonstrates how to recreate that distinctive look using Photoshop's filter gallery and liquify tools to build convincing photocopy di
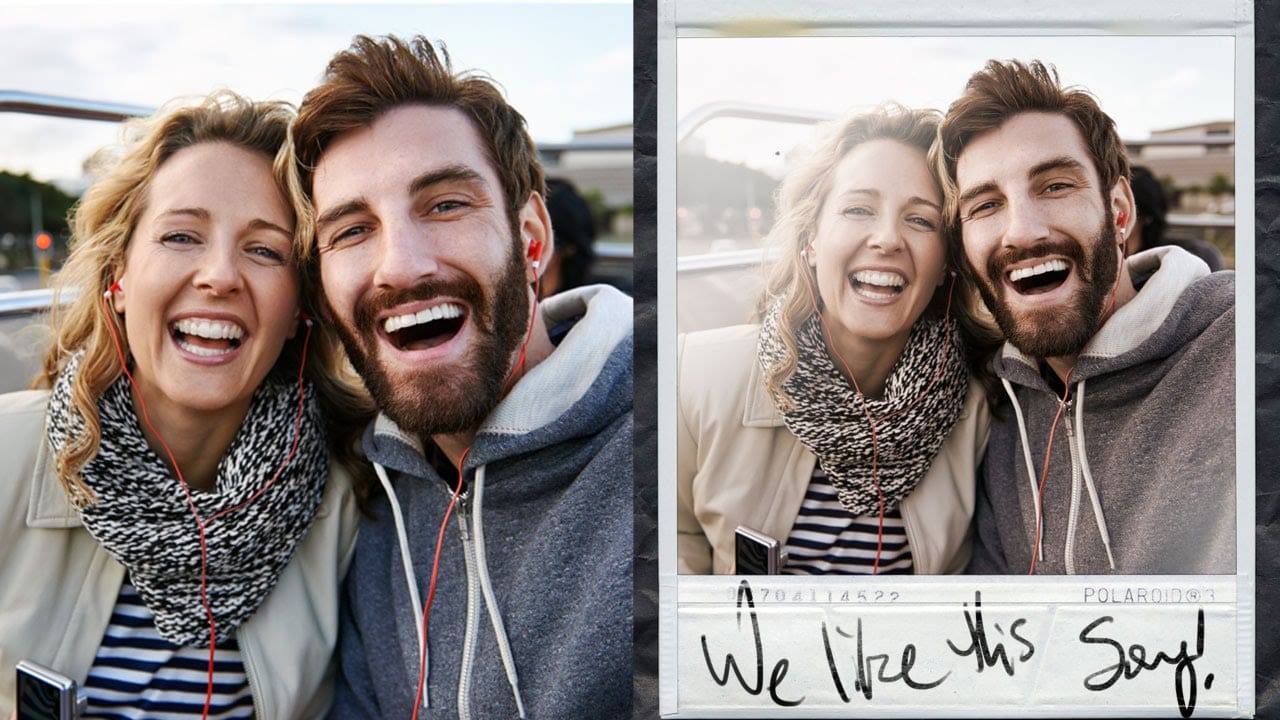
How to Make a Polaroid Framed Picture in Photoshop
Digital photos lack the nostalgic charm of vintage Polaroid snapshots with their distinctive white frames and warm, faded tones. While Polaroid film is no longer available, you can recreate that classic instant camera look using any digital photo and a stock image of an empty Polaroid frame.
This technique combines layer masking, color adjustments, and blending modes to seamlessly insert your photo into the Polaroid frame while adding authentic vintage effects like sepia toning and subtle light
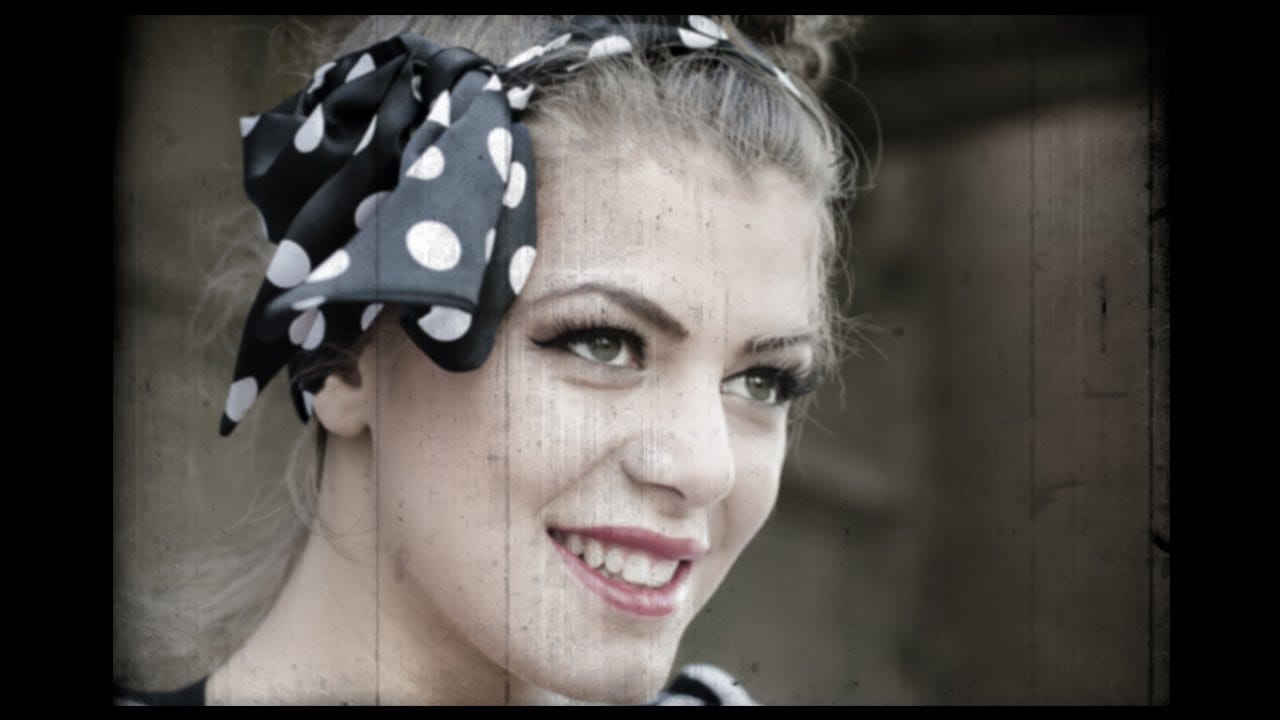
Create a vintage movie effect from a photo
Transforming modern digital photographs into nostalgic, vintage-style images is a popular creative pursuit in photo editing. This technique allows you to evoke the aesthetic of bygone eras, adding character and a unique artistic flair to your contemporary shots.
In this tutorial, you will learn how to apply the distinctive look of an 8mm movie still frame to any color photograph using Adobe Photoshop. The process involves subtle adjustments to color, blur, and the integration of a specialized t
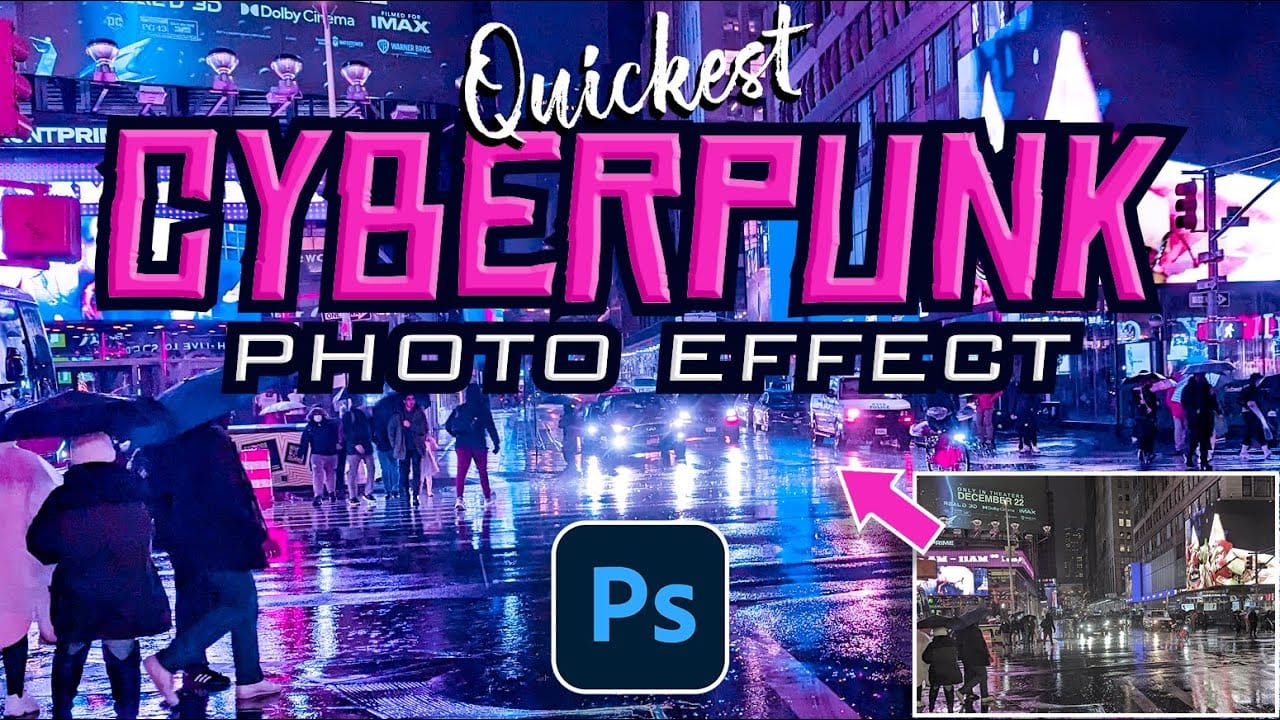
Create a Retro Cyberpunk Photo Effect in Photoshop
The cyberpunk aesthetic, characterized by its neon-drenched, dystopian urban landscapes, has a distinct visual appeal that continues to capt captivate audiences. This unique style blends high-tech elements with a gritty, low-life atmosphere, often conveyed through specific color palettes and lighting.
This tutorial offers a quick and effective method for transforming your ordinary photos into striking cyberpunk images using Adobe Photoshop. You will learn how to leverage the Camera Raw Filter t
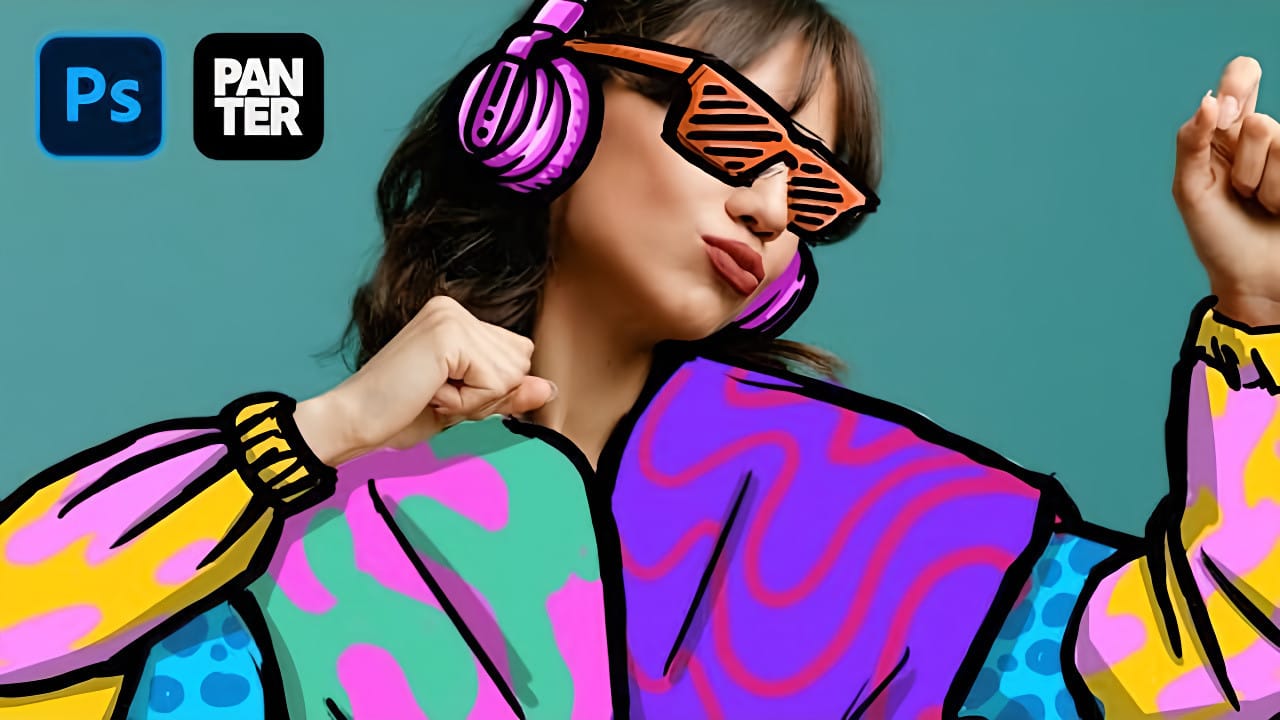
How to Create Colorful Cartoon Doodles on Model Photos in Photoshop
Cartoon-style illustrations layered over photography create a unique visual fusion that bridges reality and artistic expression. This playful approach transforms ordinary portraits into vibrant, graphic compositions that feel both contemporary and whimsical.
The technique combines traditional drawing skills with digital painting tools to create outlined shapes, bold colors, and stylized details that complement the photographic base. The result is an eye-catching style that works perfectly for c
How to Create a Vintage Film Look in Photoshop Using Adjustment Layers
Aging a photo convincingly takes more than a preset — it requires control over highlights, color channels, and grain working together. This walkthrough covers a fully manual, non-destructive workflow for building a vintage film effect in Photoshop, using Color Range selections, Smart Filters, a Grain adjustment layer, and per-channel Levels editing to shift shadows and highlights into aged tones.
Watch the Video
Practical Tips
These key techniques from the tutorial will help you build a mor