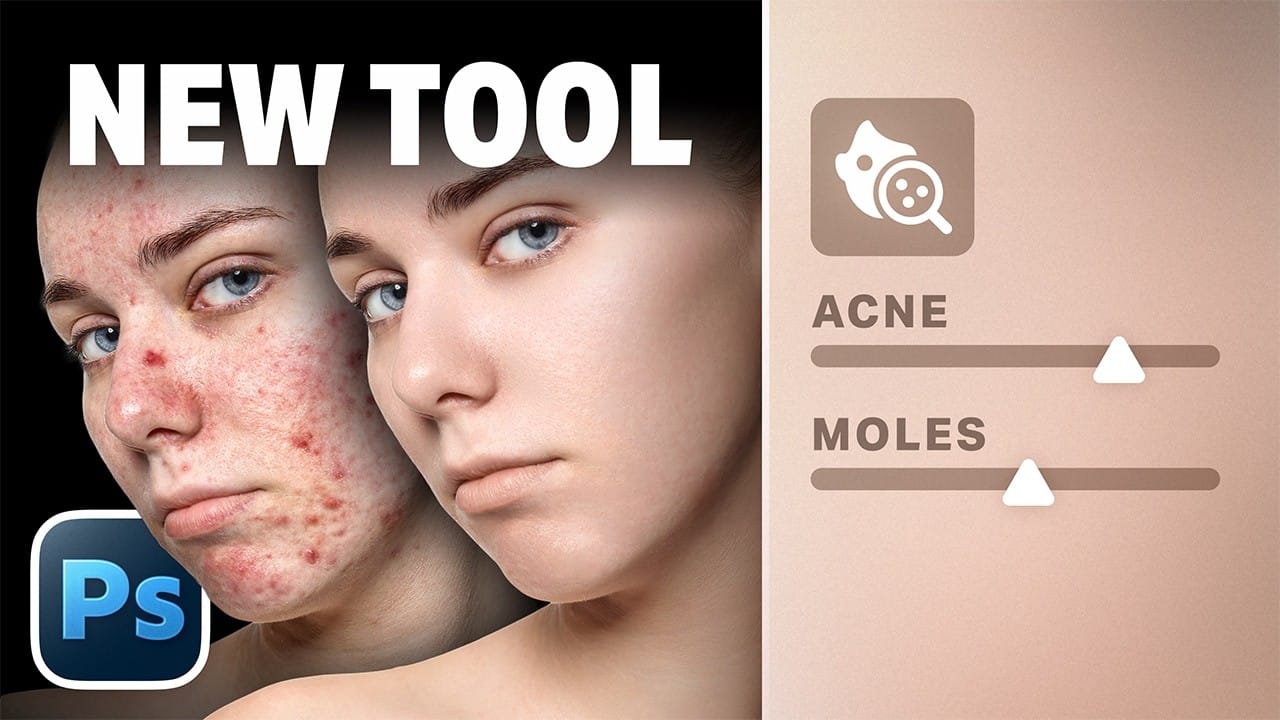
Adobe Camera Raw's blemish removal tool scans a portrait and cleans skin imperfections in seconds, without any manual selection. The workflow stays entirely non-destructive when the layer is converted to a smart object first, and a fade slider lets you control how much retouching is actually applied — useful when permanent marks like moles should be softened rather than erased entirely.
Watch the Video
Video by PHLEARN. Any links or downloads mentioned by the creator are available only on YouTube
Practical Tips
These techniques work best when applied with a clear sense of what should be removed versus what should simply be reduced.
- Convert the background layer to a smart object before opening Camera Raw — this keeps all retouching editable and reversible at any point.
- Use the fade slider to reduce rather than fully eliminate permanent marks like moles or birthmarks, unless the client specifically requests full removal.
- After running the automatic blemish pass, open Refine to review what the tool detected — paint with Restore to protect areas that should remain untouched.
- Enable Generative AI in the Remove tool when tackling clothing wrinkles or fabric creases — it produces cleaner fills than standard content-aware removal.
- Double-click the Camera Raw smart filter at any time to reopen and adjust previous retouching, or use the filter's opacity slider to blend the overall effect.
Related Articles and Tutorials
Explore more retouching and removal techniques to broaden your editing workflow.
How to Use Camera Raw's Blemish Removal Tool in Photoshop
Camera Raw 18.5 introduced an automatic blemish removal tool that does something previous solutions rarely managed: it removes skin imperfections while preserving the underlying skin texture. It also distinguishes between temporary marks and permanent ones like moles, giving you separate controls for each.
Watch the Video
Practical Tips
These techniques work best when you understand what each control actually does before reaching for the sliders.
* Use the Amount slider to prioritize remo
How to easily remove acne and blemishes in Photoshop
In this Photoshop tutorial, Brendan Williams shares his straightforward three-step process for retouching skin and removing acne and blemishes. This guide is designed to be beginner-friendly, avoiding complex methods while still achieving professional results.
Brendan begins by introducing the healing brush tools. These tools are essential for removing acne and blemishes effectively. He explains how to use them properly to ensure a natural look, emphasizing the importance of maintaining skin te
How to Remove Blemishes in Photoshop: Camera Raw vs. Generative AI
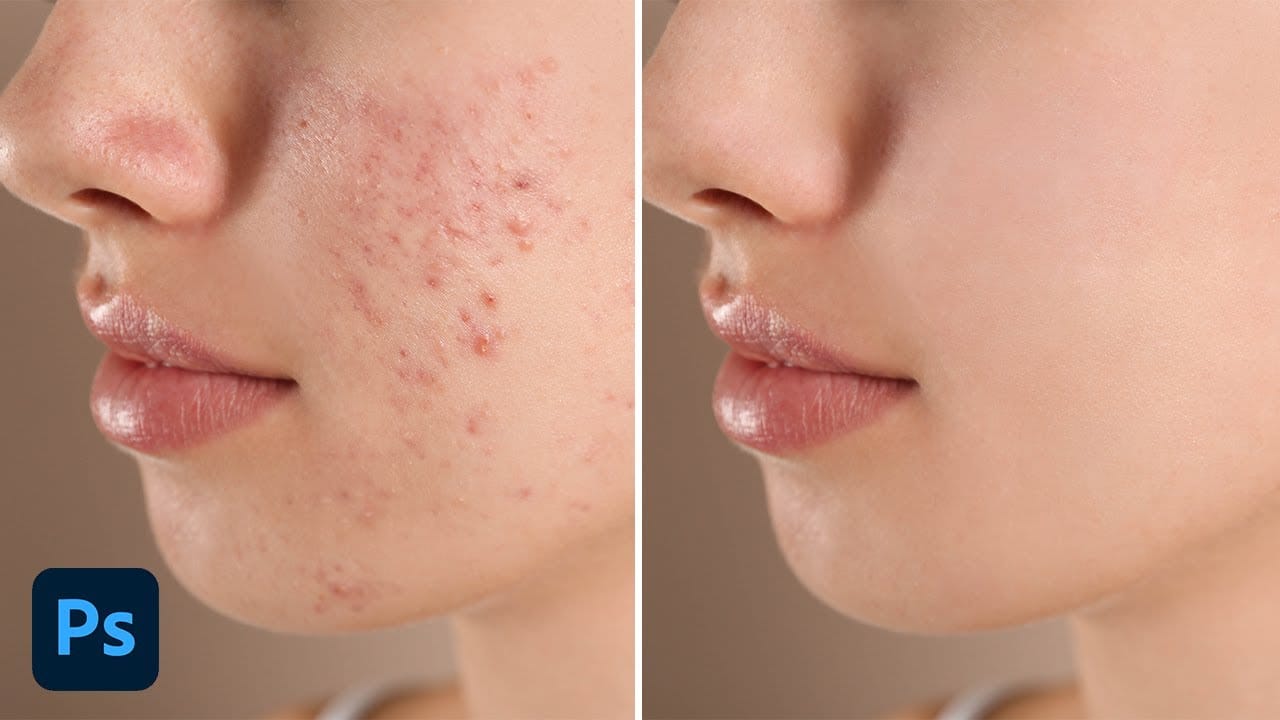
Photoshop now offers two distinct approaches to removing skin blemishes automatically. The Camera Raw Filter includes a dedicated Blemishes option that analyzes and cleans skin with a single checkbox, while Generative AI fills a face selection with clean, texture-consistent results using a simple text prompt. Each method has clear trade-offs in speed, control, and output quality.
Watch the Video
Practical Tips
These techniques work best when applied with a few deliberate habits that preserv
Testing Photoshop 2025's One-Click Remove Tool
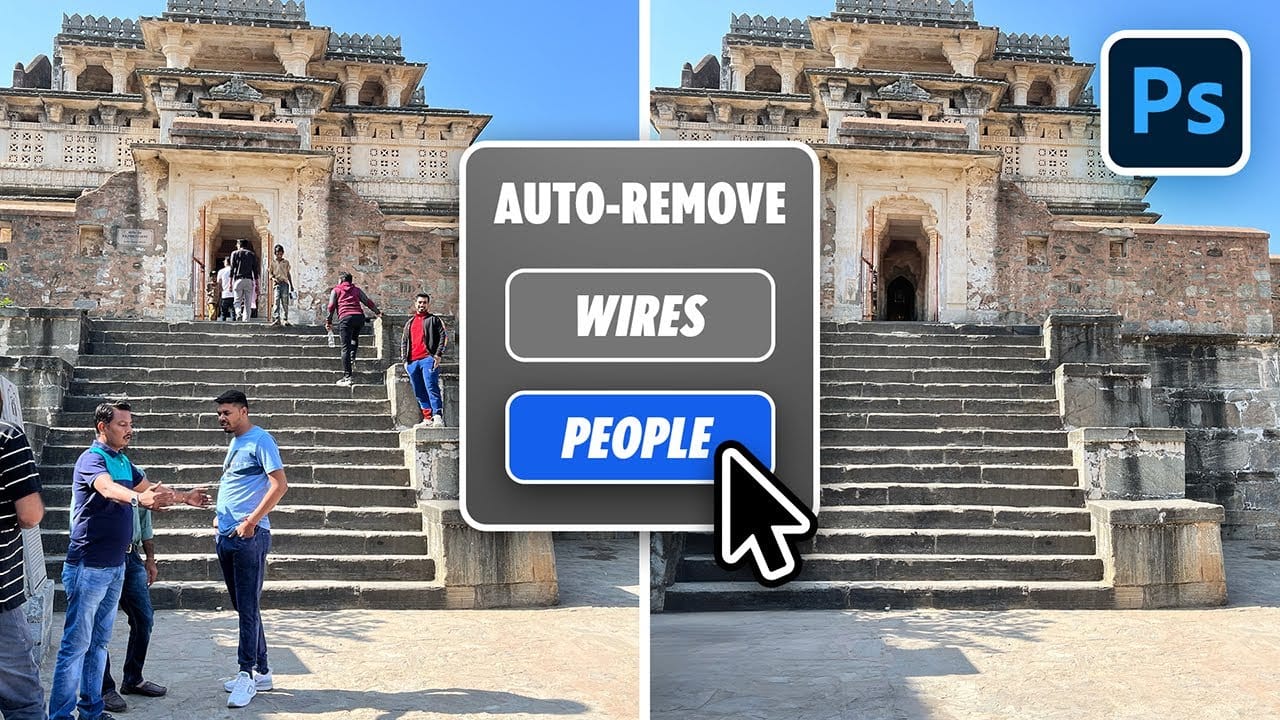
Photoshop 2025 introduces a revolutionary "Find Distractions" feature that automatically identifies and removes unwanted elements from your photos with a single click. This new capability can detect wires, cables, and people, then use generative AI to seamlessly eliminate them without manual selection.
The feature works within the existing Remove Tool, combining automatic detection with the flexibility to manually paint over additional elements you want to remove.
Watch the Video
Practical

Remove All Distractions From a Photo in One Click using Adobe Photoshop
This tutorial by PiXimperfect introduces an impressive new feature in Adobe Photoshop Beta that simplifies photo editing. By utilizing the updated Remove Tool, users can effortlessly eliminate distractions from their images with just one click.
The tutorial highlights how this feature can efficiently remove unwanted elements such as people, power lines, and various other distractions that can detract from the overall quality of a photograph. Ideal for photographers and graphic designers alike,
5 easy ways to clean blemishes and heal skin in Photoshop
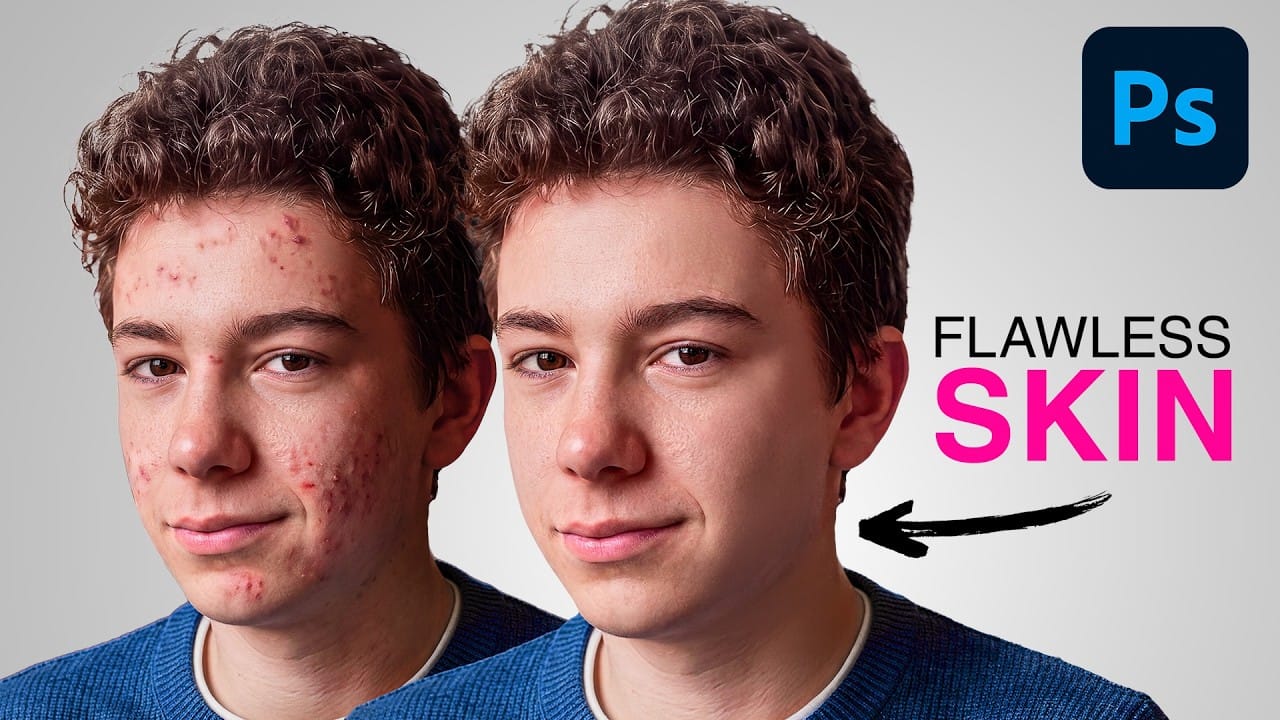
Skin imperfections such as blemishes, acne, or scars can significantly impact the visual appeal of an otherwise excellent photograph. Achieving a polished, natural finish often becomes a challenging and frustrating task, as manual removal methods can easily lead to unnatural-looking results if not executed with precision and care.
This comprehensive tutorial delves into multiple Photoshop techniques specifically designed for effectively healing and removing skin blemishes. Viewers will learn va
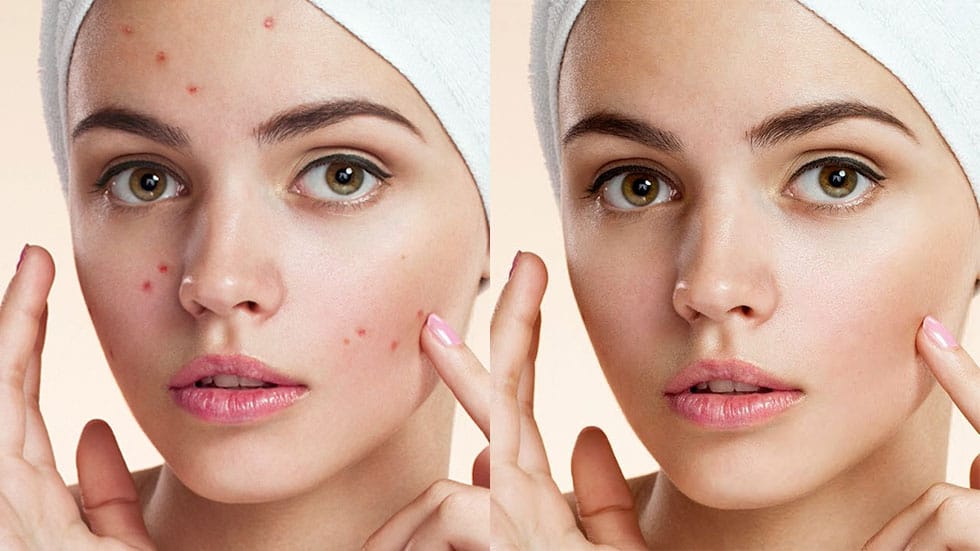
Remove bags and blemishes from portraits using the patch tool in Photoshop
Under eye bags and skin imperfections can detract from otherwise stunning portraits. The patch tool combined with the fade command offers a quick, effective solution that preserves natural skin texture while eliminating unwanted blemishes.
This technique works by selecting problem areas and blending them with cleaner sections of nearby skin, creating seamless results without complex retouching skills.
Watch the Video
Practical Tips
Master these essential techniques for natural-looking skin

Flawless 1-Min Skin Retouch Action in Photoshop
In this tutorial, you will learn a fast and effective technique for retouching skin using Photoshop. This method focuses on creating smooth, beautiful skin in under a minute.
You'll discover how to generate a brand new skin texture from scratch and apply advanced blurring techniques. The goal is to achieve smooth and even skin without any blemishes, all while preserving the natural skin texture. By following these steps, you can quickly transform your photos without losing detail.
Additionally

How to Remove Skin Blemishes and Fix Skin Tones in Camera Raw
Two recent additions to Camera Raw make skin retouching significantly faster: an automatic blemish removal tool with separate controls for moles and freckles, and a vectorscope-based skin tone indicator for correcting off-color skin. Both features work non-destructively inside a smart object workflow, so no pixel data is permanently altered.
Watch the Video
Practical Tips
Here are the key techniques covered in the video, each directly applicable to portrait retouching workflows.
* Convert
Photoshop Object Removal: Remove Tool vs Contextual Remove Button Compared
Photoshop offers two main approaches for removing unwanted objects: the Remove Tool brush and the contextual Remove button that appears after making selections. Each method has distinct advantages depending on your image and workflow needs.
This comparison explores both techniques across multiple real-world examples to help you choose the most effective approach for different removal scenarios.
Watch the Tutorial
Key Techniques for Object Removal
* Use the Remove Tool for faster selection