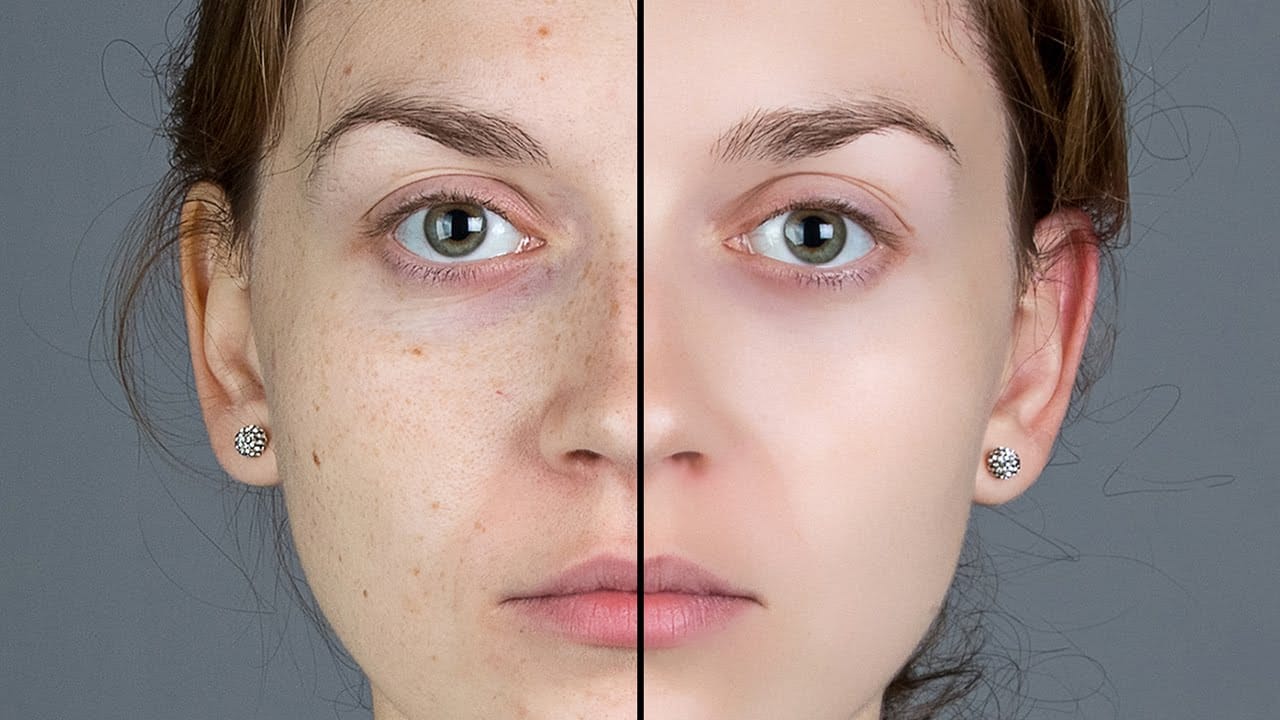
Photoshop now offers two distinct approaches to removing skin blemishes automatically. The Camera Raw Filter includes a dedicated Blemishes option that analyzes and cleans skin with a single checkbox, while Generative AI fills a face selection with clean, texture-consistent results using a simple text prompt. Each method has clear trade-offs in speed, control, and output quality.
Watch the Video
Video by Photoshop Training Channel. Any links or downloads mentioned by the creator are available only on YouTube
Practical Tips
These techniques work best when applied with a few deliberate habits that preserve both quality and editability.
- Convert the layer to a Smart Object before applying the Camera Raw Filter so the adjustment stays editable and non-destructive.
- Use the Fade slider in the Blemishes tool to retain natural features like freckles and moles rather than removing everything uniformly.
- After running the Blemishes tool, use the Remove Tool with Generative AI to clean up any blotchy areas left behind on the cheeks or forehead.
- When using Generative AI, draw a square selection tightly around the face to concentrate the generation resolution on the relevant area.
- Always cycle through all three generated variations before accepting a result — the best output is not always the first one.
Related Articles and Tutorials
More skin retouching techniques and workflows to help you achieve clean, natural-looking results.
A Definitive Guide to Portrait Beauty Retouching in Photoshop
Mastering beauty retouching gives you the ability to take any portrait further, fixing what the camera couldn’t, refining what the light missed, correcting the natural imperfections that skin always carries, and delivering results that hold up at any size and in any context. That range is wider than it
 Enrique Flouret
5 easy ways to clean blemishes and heal skin in Photoshop
Skin imperfections such as blemishes, acne, or scars can significantly impact the visual appeal of an otherwise excellent photograph. Achieving a polished, natural finish often becomes a challenging and frustrating task, as manual removal methods can easily lead to unnatural-looking results if not executed with precision and care.
This comprehensive tutorial delves into multiple Photoshop techniques specifically designed for effectively healing and removing skin blemishes. Viewers will learn va
Flawless 1-Min Skin Retouch Action in Photoshop
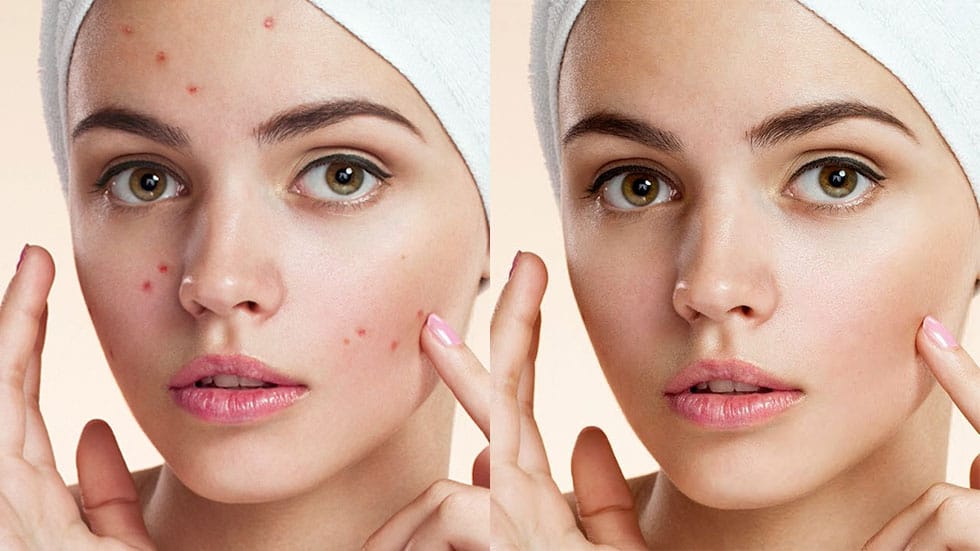
In this tutorial, you will learn a fast and effective technique for retouching skin using Photoshop. This method focuses on creating smooth, beautiful skin in under a minute.
You'll discover how to generate a brand new skin texture from scratch and apply advanced blurring techniques. The goal is to achieve smooth and even skin without any blemishes, all while preserving the natural skin texture. By following these steps, you can quickly transform your photos without losing detail.
Additionally

How to easily remove acne and blemishes in Photoshop
In this Photoshop tutorial, Brendan Williams shares his straightforward three-step process for retouching skin and removing acne and blemishes. This guide is designed to be beginner-friendly, avoiding complex methods while still achieving professional results.
Brendan begins by introducing the healing brush tools. These tools are essential for removing acne and blemishes effectively. He explains how to use them properly to ensure a natural look, emphasizing the importance of maintaining skin te
Smooth Skin and Remove Blemishes and Scars in Photoshop
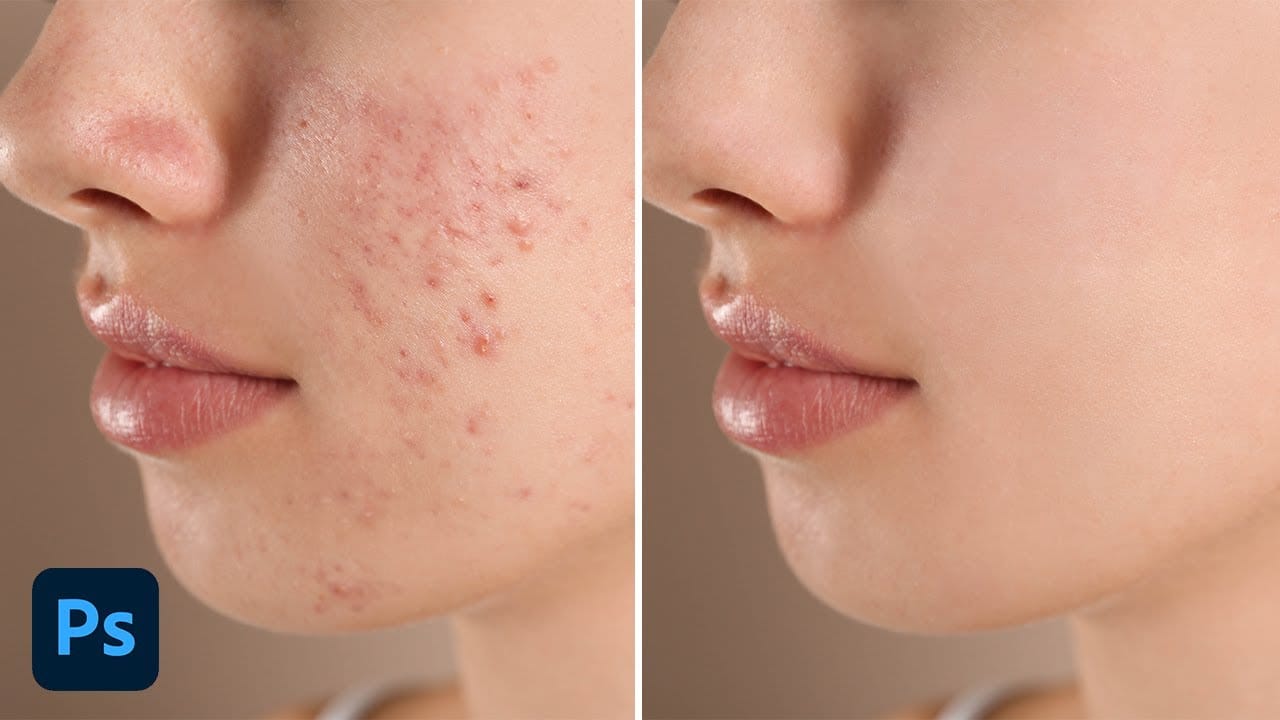
Achieving flawless skin in portraits often requires careful retouching to enhance natural beauty without sacrificing detail. This tutorial demonstrates a reliable Photoshop workflow for refining skin texture and addressing common imperfections.
Viewers will discover how to efficiently smooth skin texture, eliminate blemishes and scars, and precisely restore important facial features like eyes and lips, ensuring a natural and polished outcome.
Watch the Tutorial
The Principles of Natural Ski