Two recent additions to Camera Raw make skin retouching significantly faster: an automatic blemish removal tool with separate controls for moles and freckles, and a vectorscope-based skin tone indicator for correcting off-color skin. Both features work non-destructively inside a smart object workflow, so no pixel data is permanently altered.
Watch the Video
Video by Zenzdesign. Any links or downloads mentioned by the creator are available only on YouTube
Practical Tips
Here are the key techniques covered in the video, each directly applicable to portrait retouching workflows.
- Convert your layer to a smart object before opening Camera Raw — this keeps all edits non-destructive and reversible.
- Use the Blemishes sliders separately: the blemish slider targets temporary skin issues, while the moles and freckles slider handles permanent features you may want to preserve.
- Switch to the Refine view inside the Blemishes panel to restore or remove individual spots one by one, giving precise control over the automatic result.
- Enable the vectorscope by right-clicking the histogram in Camera Raw, then turn on the skin tone indicator to see exactly where your subject's skin color sits relative to the ideal range.
- Create a skin-only mask using the People option in Masking — select facial skin, body skin, eyebrows, and lips — before adjusting color, so corrections apply only to skin and not the whole image. Point Color offers the most targeted hue adjustment for skin tones.
Related Articles and Tutorials
Explore more tutorials covering recent updates and editing techniques worth adding to your workflow.
TOP New Features in Photoshop – May 2025 Update
Many Photoshop users frequently encounter common challenges such as time-consuming manual selections for complex objects, difficulties in achieving precise color adjustments across an image, or struggling with inconsistent results when removing unwanted elements like reflections. These hurdles often slow down the creative process, making it frustrating to achieve a desired professional look efficiently.
This guide explains how Photoshop's latest updates introduce powerful new functionalities, i

Photoshop 2025 Top 7 New Features and Updates Explained
Photoshop 2025 brings significant improvements to everyday editing tasks with smarter AI tools, enhanced 3D capabilities, and more intuitive workflows. From automatic distraction removal to advanced generative features, these updates focus on making complex tasks faster and more accessible.
The standout addition is the Substance 3D viewer, which reintroduces 3D object compositing with sophisticated lighting and material controls that weren't available in previous versions.
Watch the Complete

14 New Features in Photoshop 27.6 You Need to Know
Photoshop 27.6 brings significant updates that enhance workflow efficiency and creative possibilities. From improved reflection removal tools to smarter AI models, these features address real challenges photographers and designers face daily.
This comprehensive overview covers 14 key additions, including enhanced distraction detection, new AI capabilities, and improved workspace organization tools that can streamline your editing process.
Watch the Video
Practical Tips
Key techniques to ma

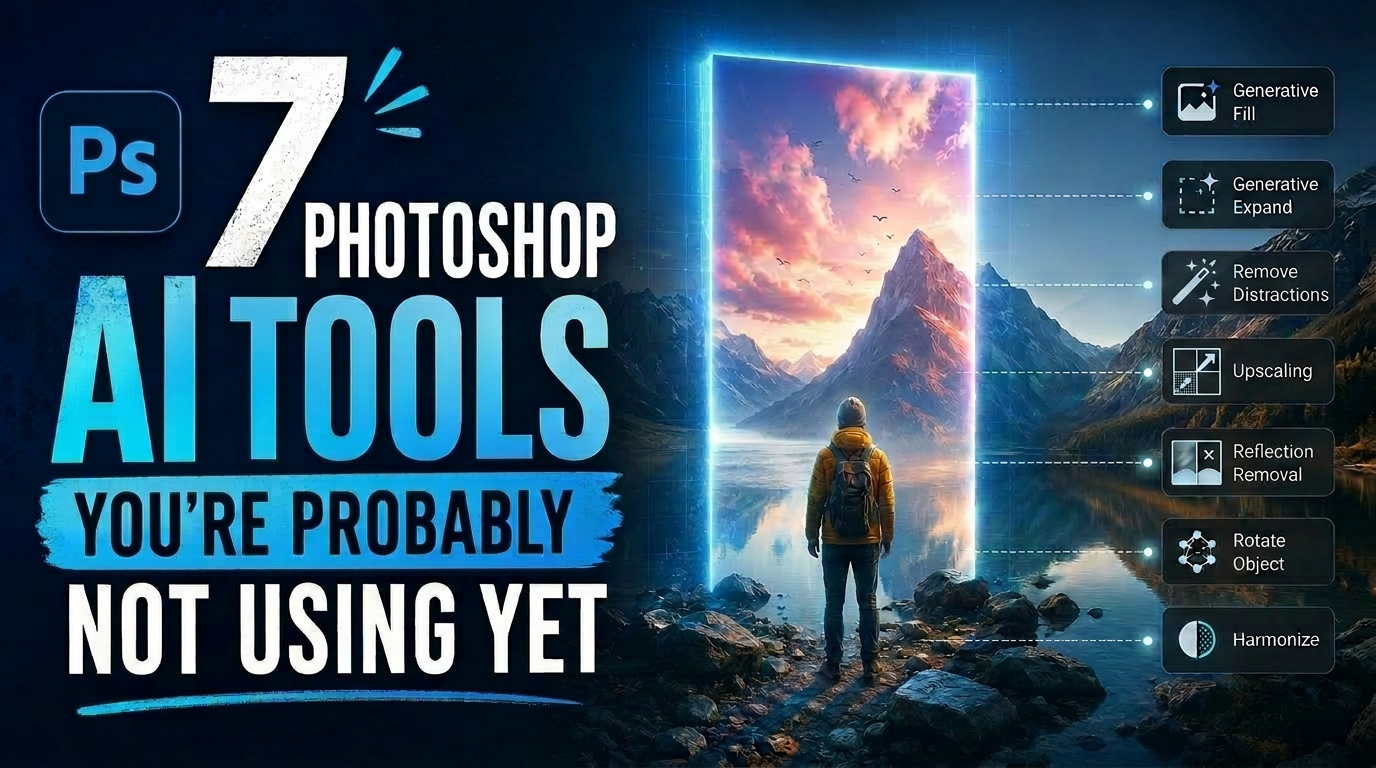
7 Photoshop AI Tools You're Probably Not Using Yet
Photoshop's AI features now go far beyond simple object removal. Some of the newer tools can completely change the way you edit photos, create composites, clean up distractions, or expand scenes — often with just a few clicks.
The interesting part is that many of these features still feel surprisingly underused. While Generative Fill gets most of the attention, Photoshop now includes several AI-powered tools that can produce genuinely impressive results without requiring overly complicated work
5 Recent Photoshop Features Worth Adding to Your Workflow
Photoshop has been receiving a steady stream of updates, and a handful of genuinely useful features have quietly slipped past most users. From one-click lighting harmonization to AI-powered object removal and automatic layer naming, these tools can meaningfully reduce the time spent on repetitive editing tasks.
Watch the Video
Practical Tips
Here are the key takeaways from the video, covering each of the five features and how to get the most out of them.
* Use Harmonize as a starting poin

Exploring the Latest Features in Photoshop 2025
Photoshop 2025 introduces powerful new tools designed to make creative work easier, faster, and more flexible. From fine-tuning selections to moving objects and speeding up your workflow, these features feel built for the way creators actually work.
In this video, we'll show you what's new and how these updates can help you work smarter — saving time on routine tasks, giving you more control over details, and opening up new ways to bring your ideas to life.
Watch the video
Breaking It Down

Photoshop 2026 New Features: AI Tools and Credit System Overview
Photoshop 2026 introduces powerful AI-driven features including advanced generative fill models, sophisticated upscaling tools, and seamless harmonization effects. These updates promise to streamline complex editing tasks while delivering professional-quality results.
The software now operates on a credit-based system that divides features into standard and premium tiers, fundamentally changing how users access certain tools.
Watch the Video
Key Features and Practical Tips
* Access the co