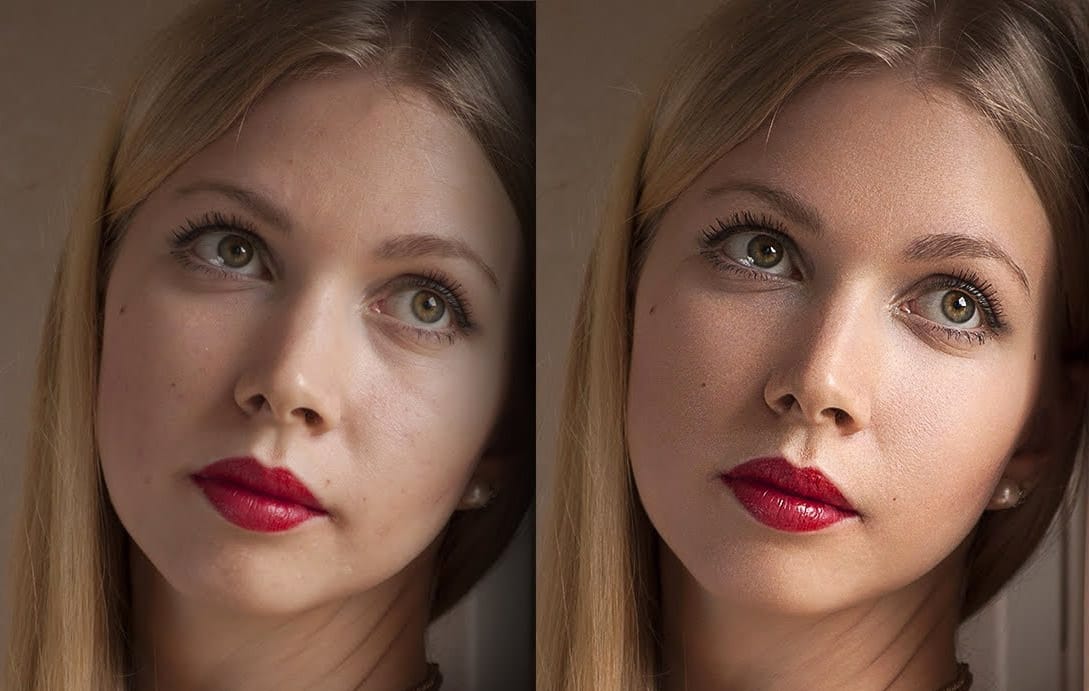
Smooth skin and natural texture are not opposites — achieving both at once is the mark of a professional retouch. This workflow covers blemish removal, flyaway hair cleanup, dark under-eye correction, and eye brightening, all while keeping the skin looking like skin.
Watch the Video
Video by Photoshop Arthouse. Any links or downloads mentioned by the creator are available only on YouTube
Practical Tips
These key points from the tutorial will help you get cleaner results and avoid common mistakes during the retouching process.
- When setting the Gaussian Blur radius on the High Pass layer, aim for just enough blur to suppress blemishes without flattening pores — a small value like 1.9 pixels is often sufficient.
- Use a black layer mask to hide the retouch layer by default, then paint white only over skin areas, avoiding sharp edges like eyes, lips, and eyebrows to prevent unwanted softening.
- Create a composite snapshot before using the Remove tool so you work on a merged, clean layer rather than stacking corrections on top of an already complex layer structure.
- When removing flyaway hairs with the Remove tool, enable "Remove after each stroke" so you can undo individual strokes if the result is not clean.
- Use the Dodge tool set to Midtones at full exposure to brighten irises — keep the brush within the iris boundary to avoid lightening surrounding areas.
Related Articles and Tutorials
Explore more portrait retouching techniques that cover skin smoothing, texture preservation, and complete face editing workflows.
A Definitive Guide to Portrait Beauty Retouching in Photoshop
Mastering beauty retouching gives you the ability to take any portrait further, fixing what the camera couldn’t, refining what the light missed, correcting the natural imperfections that skin always carries, and delivering results that hold up at any size and in any context. That range is wider than it
 Enrique Flouret
15 Fantastic Photoshop Portrait Effects You’ll Want to Slap on Every Selfie Right Now
Sure, the title says you’ll want to slap these effects on every selfie (that was me trying to grab your attention 😅) — but let’s be honest: these aren’t one-tap filters. Every tutorial here is built on real Photoshop craftsmanship — lighting, masking, blending, and a good dose of
 Enrique Flouret
High-End Skin Retouching in Photoshop
Combining the power of Frequency Separation along with manual Sampling and Painting, learn how to recreate and sculpt the skin, maintaining a beautiful skin texture, in this tutorial by PiXimperfect.
Using this technique, you will not only achieve a smooth skin but also will have the control to naturally remove wrinkles, lift up the cheekbones, and renovate the whole structure of the skin with the skin texture still intact. This is an All-in-One Method whether you want to soften the skin or jus
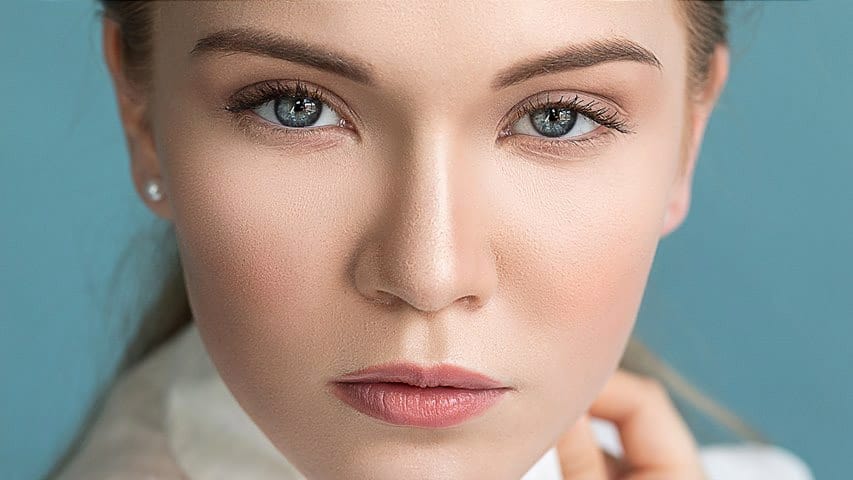
Natural outdoor portrait retouching in Photoshop
This tutorial guides you through the complete process of achieving a natural outdoor portrait retouch in Adobe Photoshop. You will learn essential techniques to enhance your portraits while maintaining their authentic feel.
Starting with fixing hair, you'll discover how to tidy up those stray strands effectively. The tutorial then moves on to smoothing skin, teaching you to use frequency separation, which helps preserve texture while improving the overall look.
You'll also explore methods for
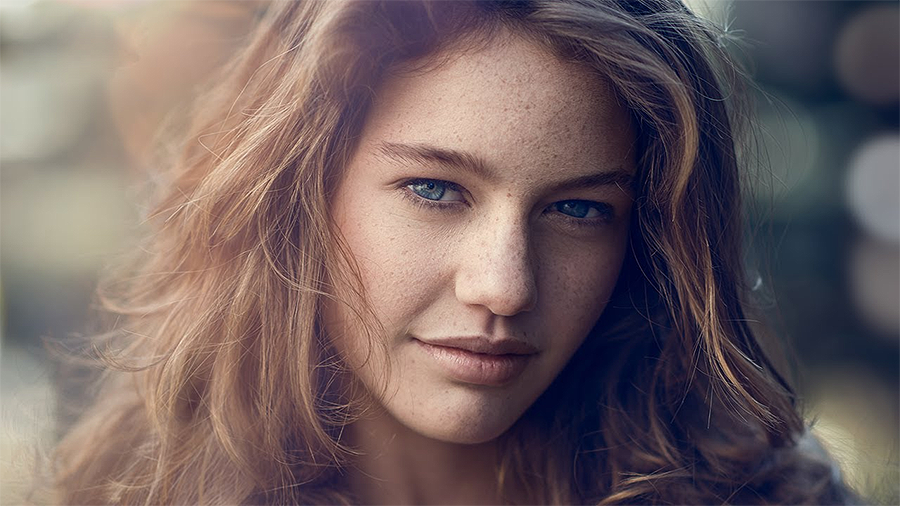
Start to finish high-end skin retouching in Photoshop
PiXimperfect's tutorial offers a comprehensive guide to high-end beauty retouching in Photoshop. The author explores the power of advanced frequency separation, a technique that enables flawless skin retouching with smooth skin and amazing texture.
The tutorial takes the viewer through the complete process, starting from basic adjustments in Lightroom and then moving on to Photoshop. Viewers will learn how to enhance portraits, addressing various aspects from start to finish, and ultimately exp
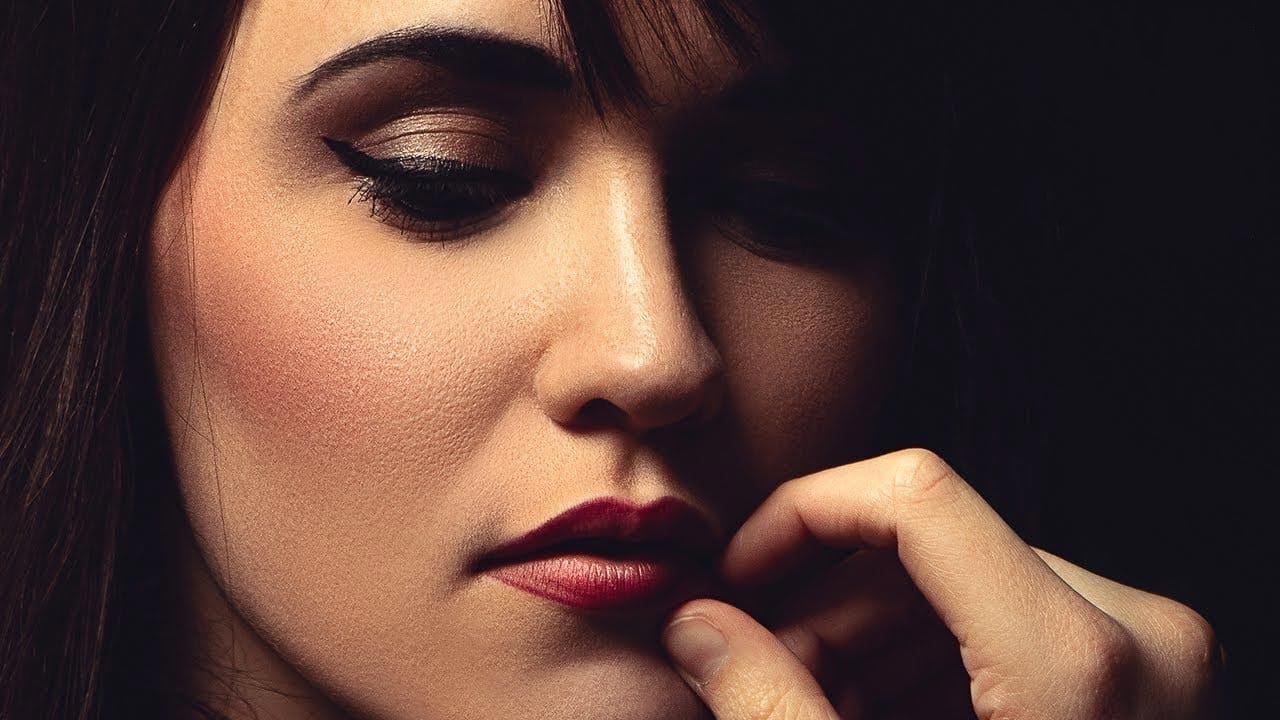
Model Skin Retouch Photoshop Actions
Introducing the Model Skin Retouch Photoshop Action, a powerful tool designed for photographers who need a quick and efficient way to retouch skin images. This action separates the skin and texture into different layers, allowing for even skin tones and reduced blemishes without making the image look unnatural or plastic-like. The benefits of this action include:
1. Maintaining Skin Texture: Ensures the skin retains its natural feel.
2. Even Skin Tone: Smooths and evens out skin tones for a p

Flawless 1-Min Skin Retouch Action in Photoshop
In this tutorial, you will learn a fast and effective technique for retouching skin using Photoshop. This method focuses on creating smooth, beautiful skin in under a minute.
You'll discover how to generate a brand new skin texture from scratch and apply advanced blurring techniques. The goal is to achieve smooth and even skin without any blemishes, all while preserving the natural skin texture. By following these steps, you can quickly transform your photos without losing detail.
Additionally

High-end skin retouching with just 2 layers in Photoshop
One of the simplest ways to perform high-end skin retouching in Photoshop! Whether you are creating magazine covers or working on a high-end project, achieve the best quality skin using just 2 layers! In this tutorial by PiXimperfect, we will learn a simple blend mode to do extensive dodging and burning to get the most realistic skin texture, maintaining the softness, and keeping the skin flawless.
This two-layer technique is just another way to do dodging and burning, but a little more easily