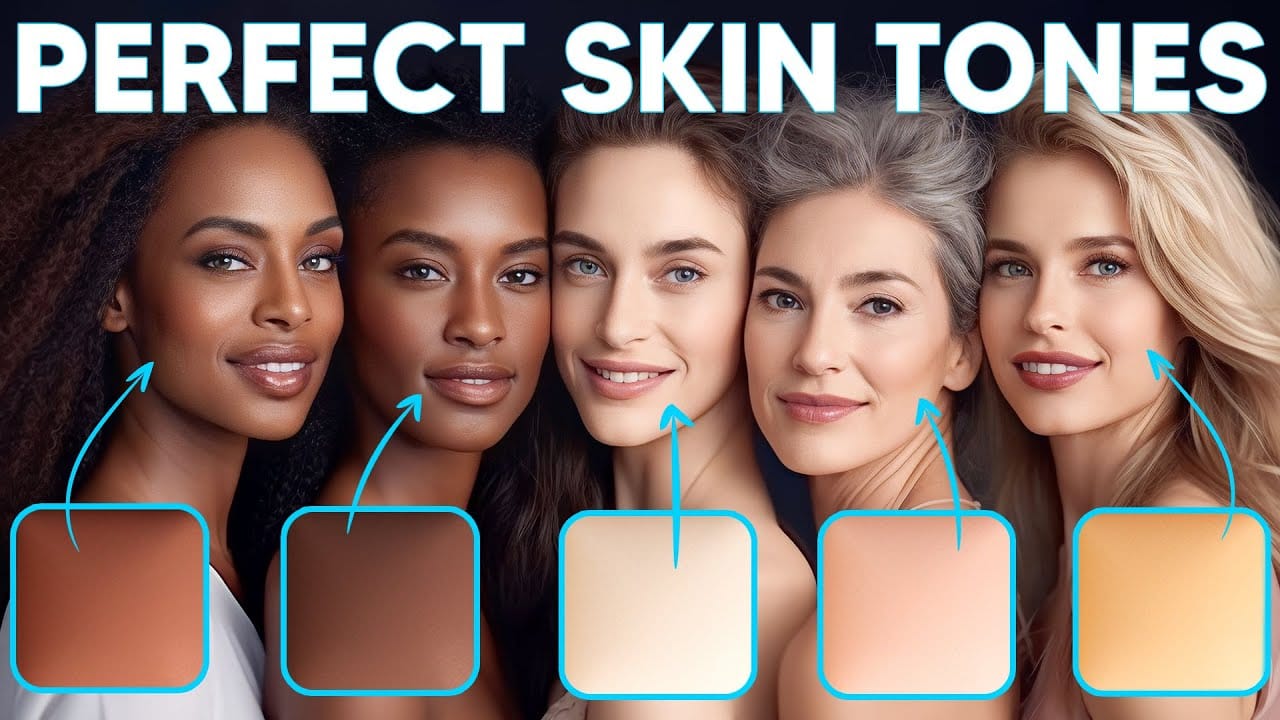
The Vectorscope in Camera Raw gives you a precise, visual way to evaluate and correct skin tones based on hue and saturation data. Because all natural skin tones share a common hue range regardless of ethnicity, the built-in skin tone indicator line serves as a reliable target for getting color right across any portrait.
Watch the Video
Video by Photoshop Training Channel. Any links or downloads mentioned by the creator are available only on YouTube
Practical Tips
These techniques from the tutorial will help you use the Vectorscope effectively for skin tone correction:
- Enable the Skin Tone Indicator by right-clicking the Vectorscope, then use it as your target reference when shifting hue — skin tones that fall on or near that line will read as natural.
- Create a skin-only mask using People masking before making color adjustments, so the Vectorscope reflects only skin data rather than global image color.
- Use Point Color with the Eyedropper to sample the subject's skin directly, then fine-tune Hue and Saturation without affecting other areas of the image.
- Keep Saturation below the midpoint of the Vectorscope to avoid oversaturated skin that reads as unnatural or artificial.
- Adjust the Variance slider cautiously — pulling it toward -25 can unify uneven skin tones, while pushing too far in either direction risks losing color variation that makes skin look realistic.
Related Articles and Tutorials
Explore more techniques for correcting, smoothing, and retouching skin in portrait work.
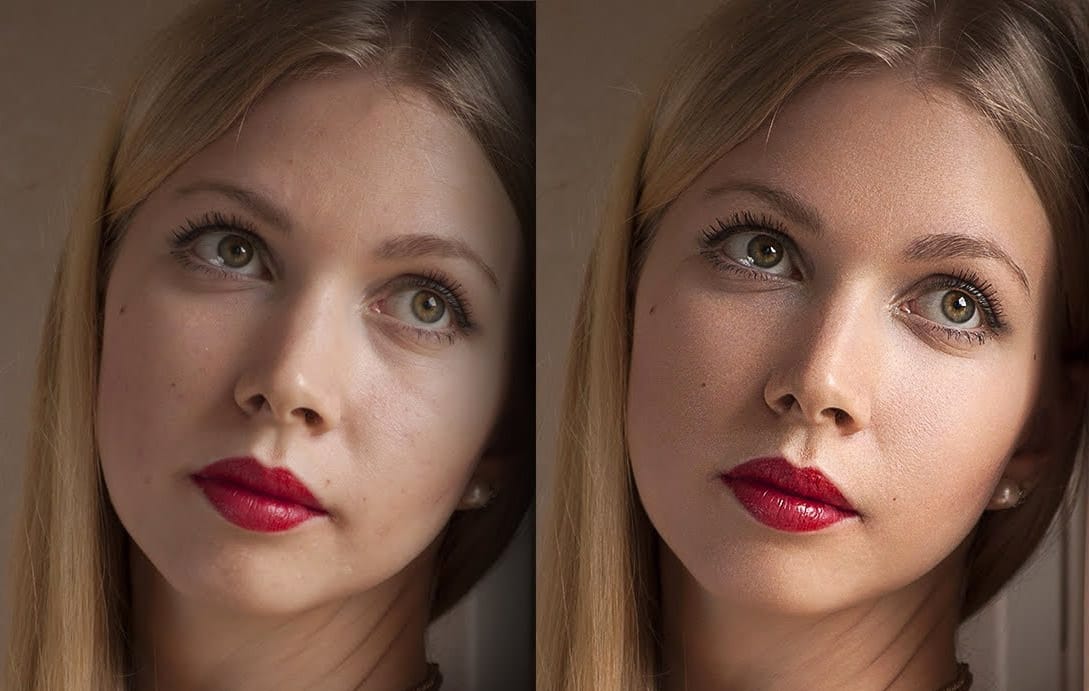
A Definitive Guide to Portrait Beauty Retouching in Photoshop
Mastering beauty retouching gives you the ability to take any portrait further, fixing what the camera couldn’t, refining what the light missed, correcting the natural imperfections that skin always carries, and delivering results that hold up at any size and in any context. That range is wider than it
 Enrique Flouret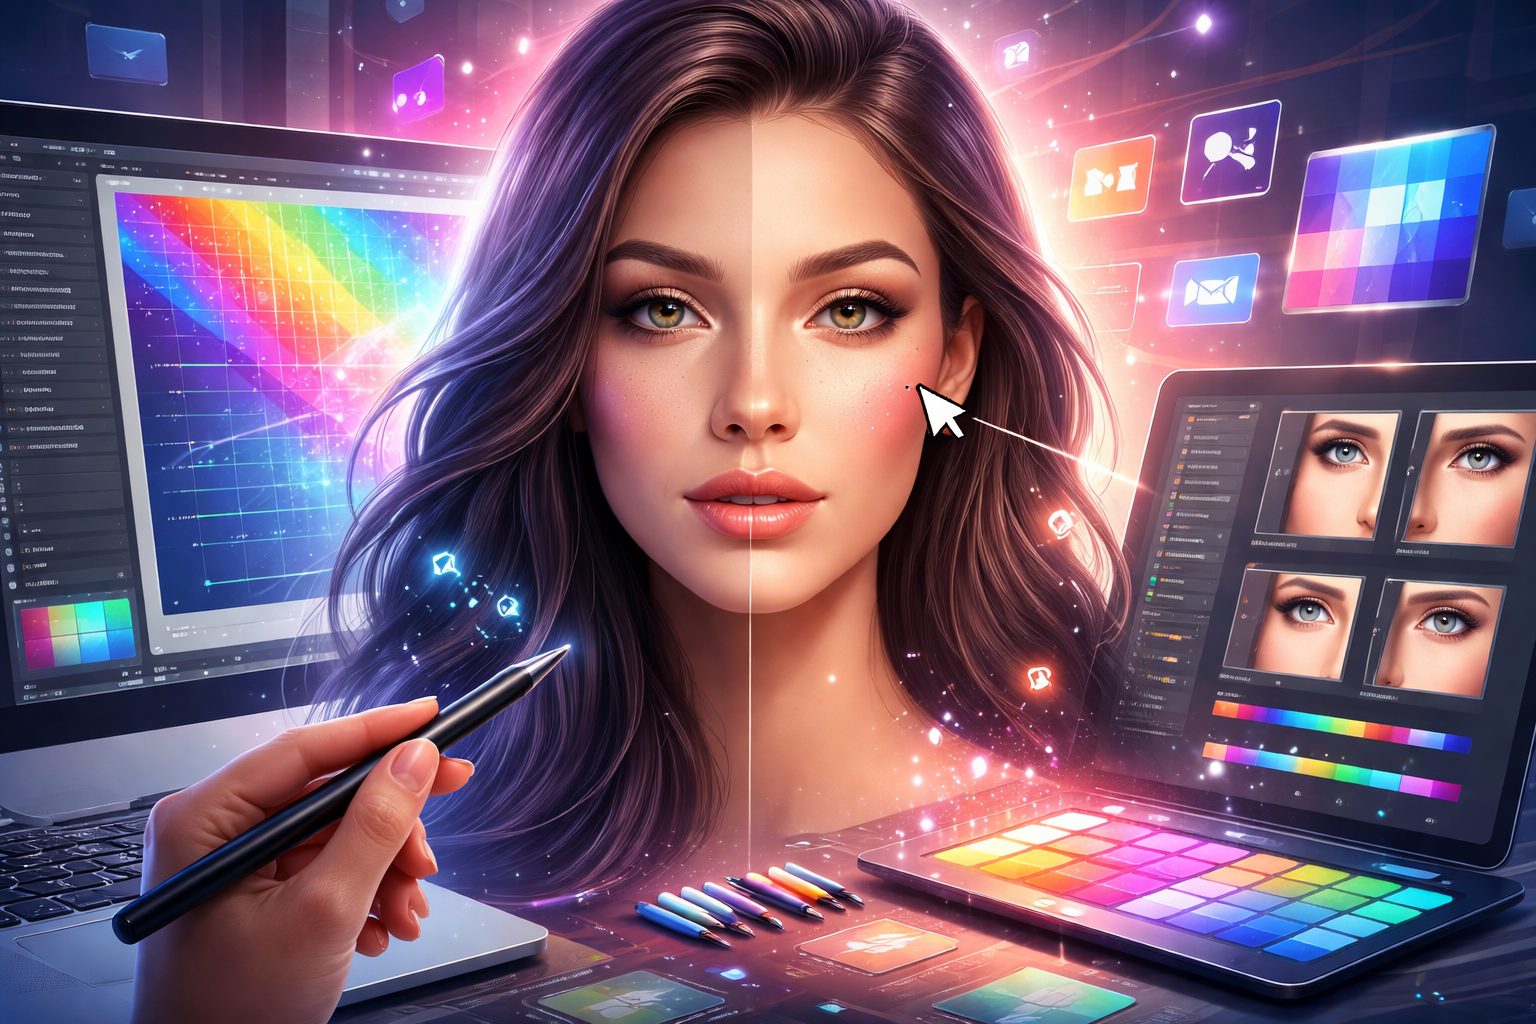
How to Enhance Skin Tones Using Gradients in Photoshop
Skin tones often appear washed out or lifeless in photographs due to challenging lighting conditions or camera settings. This gradient-based technique brings vibrancy back to portraits while creating natural-looking dimensional highlights that draw the viewer's eye to key facial features.
The method uses Color Range selections combined with radial or reflected gradients to add warmth and depth to skin without over-processing. It works across all skin complexions and can rescue otherwise dull po
Smooth Skin and Remove Blemishes and Scars in Photoshop
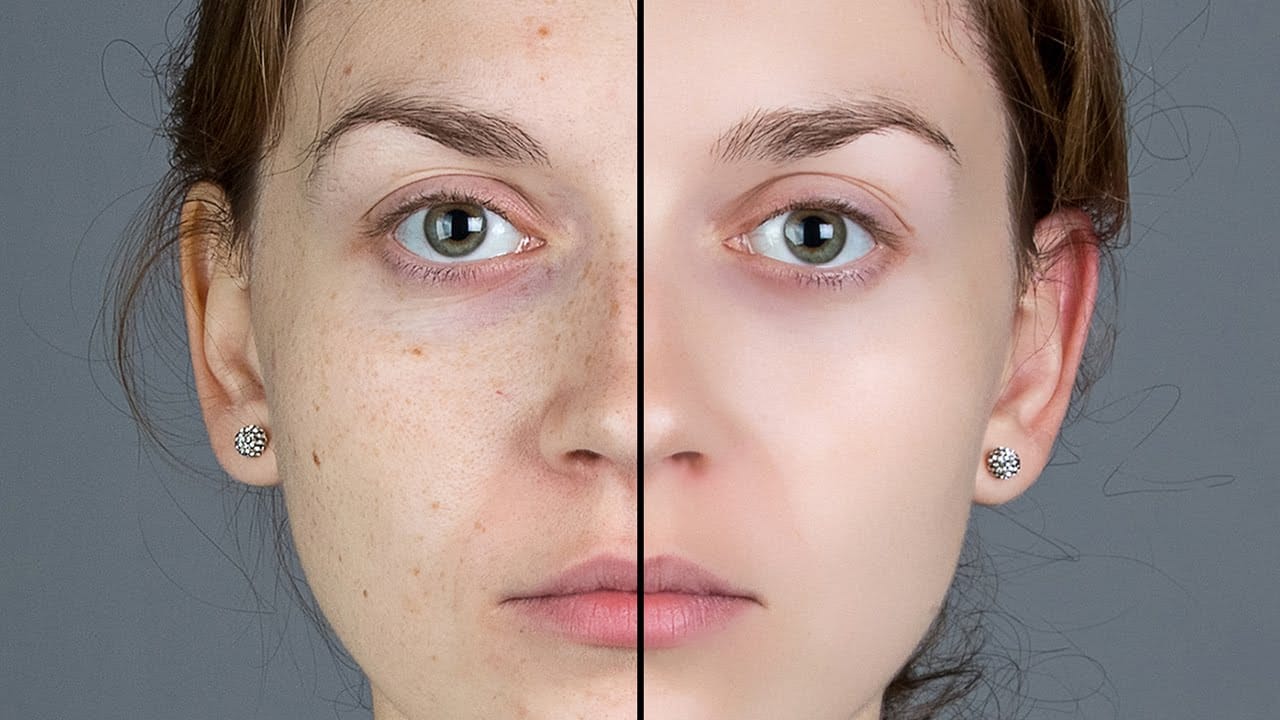
Achieving flawless skin in portraits often requires careful retouching to enhance natural beauty without sacrificing detail. This tutorial demonstrates a reliable Photoshop workflow for refining skin texture and addressing common imperfections.
Viewers will discover how to efficiently smooth skin texture, eliminate blemishes and scars, and precisely restore important facial features like eyes and lips, ensuring a natural and polished outcome.
Watch the Tutorial
The Principles of Natural Ski
Skin Retouching and Soft Light Effect in Photoshop
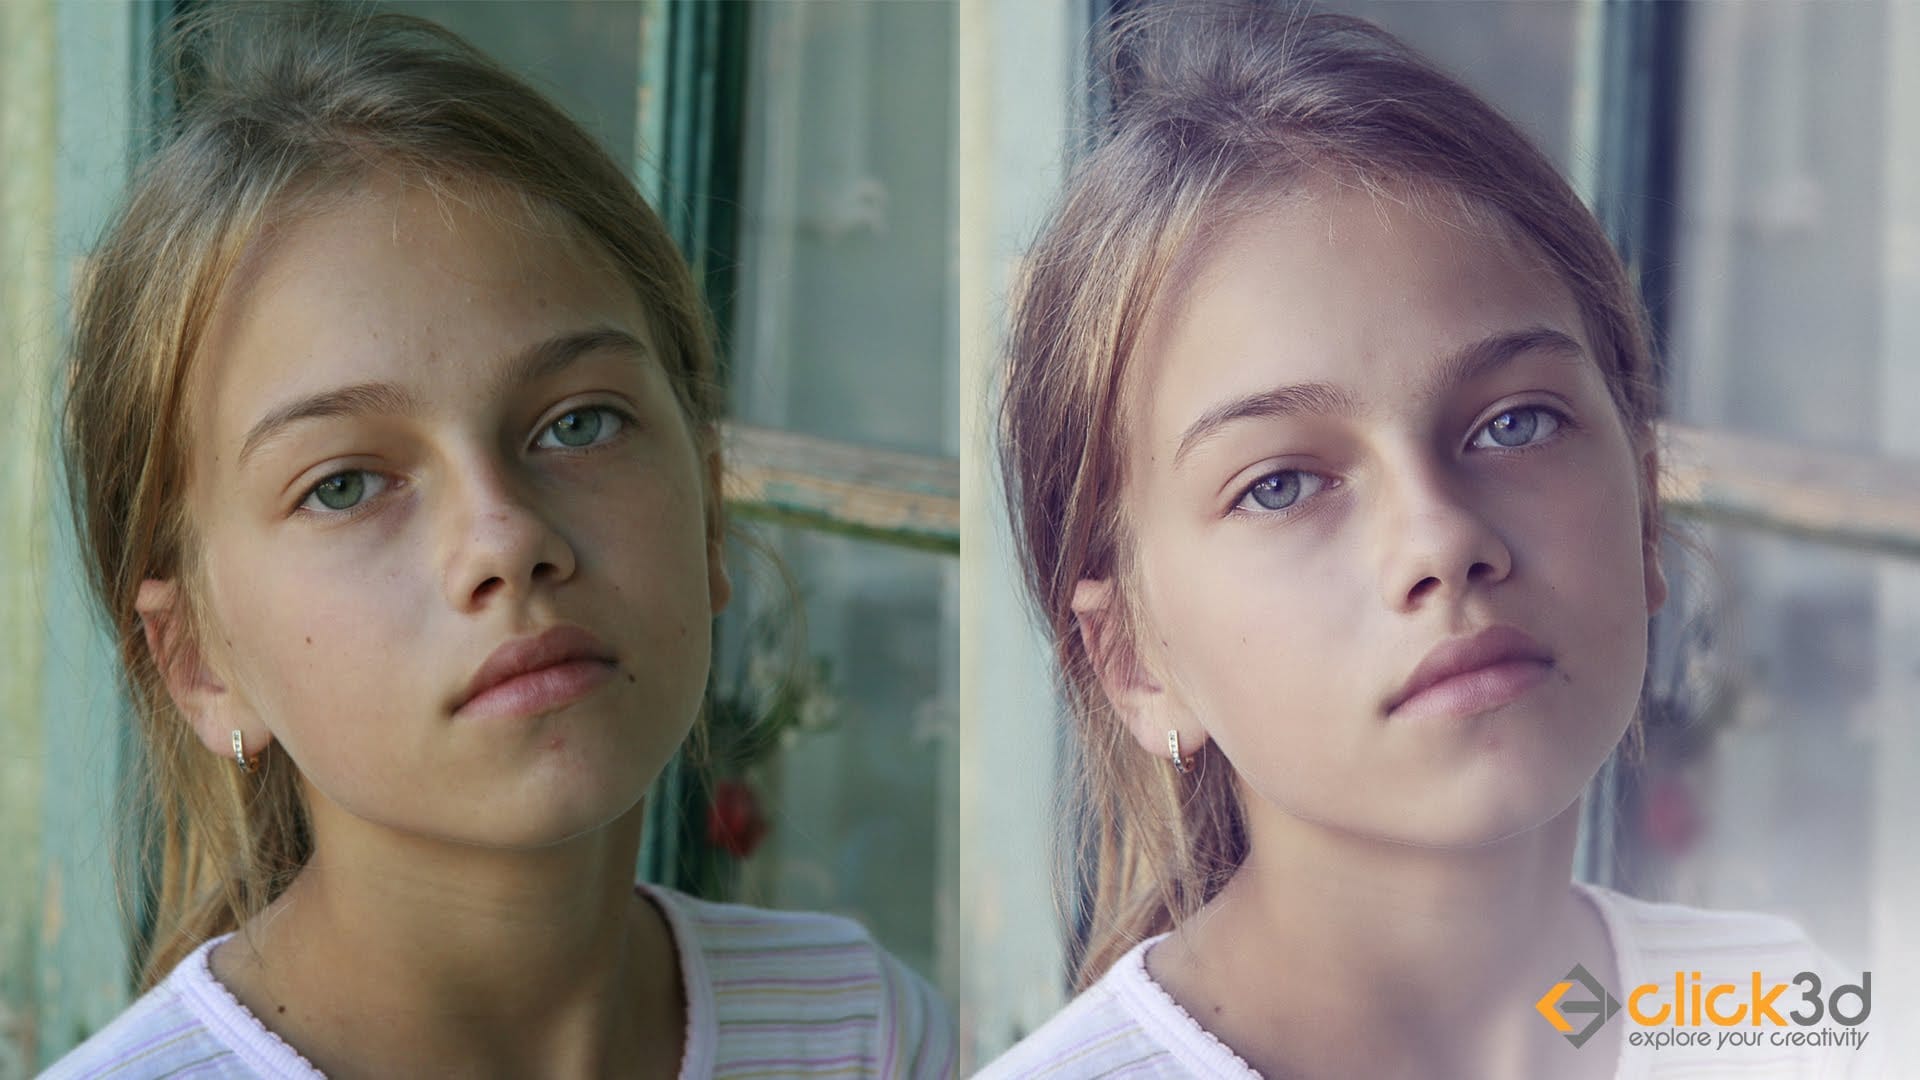
In this tutorial, the author, Click 3D, guides viewers through the process of high-end skin retouching using the Frequency Separation technique and applying a soft light effect in Photoshop. The author explains the step-by-step instructions, making it accessible for both novice and experienced Photoshop users.
The tutorial covers how to use Frequency Separation to smoothen and refine skin texture, while maintaining the natural details. Additionally, the author demonstrates the application of th
Flawless 1-Min Skin Retouch Action in Photoshop
In this tutorial, you will learn a fast and effective technique for retouching skin using Photoshop. This method focuses on creating smooth, beautiful skin in under a minute.
You'll discover how to generate a brand new skin texture from scratch and apply advanced blurring techniques. The goal is to achieve smooth and even skin without any blemishes, all while preserving the natural skin texture. By following these steps, you can quickly transform your photos without losing detail.
Additionally

Mastering Skin Smoothing with Frequency Separation
In photography, achieving flawless subject skin can often be a challenge. Blemishes, uneven tones, and harsh shadows frequently detract from an otherwise great photo, leading to frustration for both photographers and subjects.
This guide explores frequency separation, a powerful technique that allows precise skin retouching without sacrificing natural texture. Learn how to apply this method, enhance it with advanced steps, and integrate tools that streamline your workflow for professional resul
High-end skin retouching with just 2 layers in Photoshop
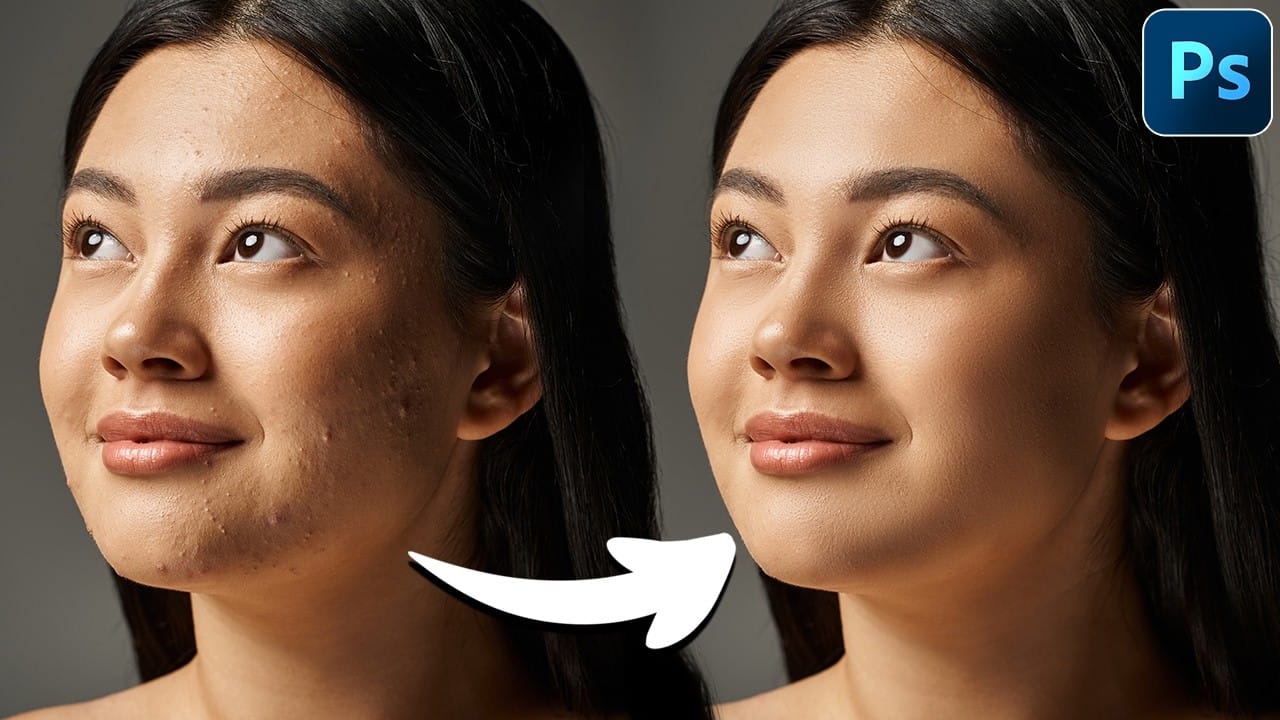
One of the simplest ways to perform high-end skin retouching in Photoshop! Whether you are creating magazine covers or working on a high-end project, achieve the best quality skin using just 2 layers! In this tutorial by PiXimperfect, we will learn a simple blend mode to do extensive dodging and burning to get the most realistic skin texture, maintaining the softness, and keeping the skin flawless.
This two-layer technique is just another way to do dodging and burning, but a little more easily