How to Enhance Skin Tones Using Gradients in Photoshop

How to Enhance Skin Tones Using Gradients in Photoshop

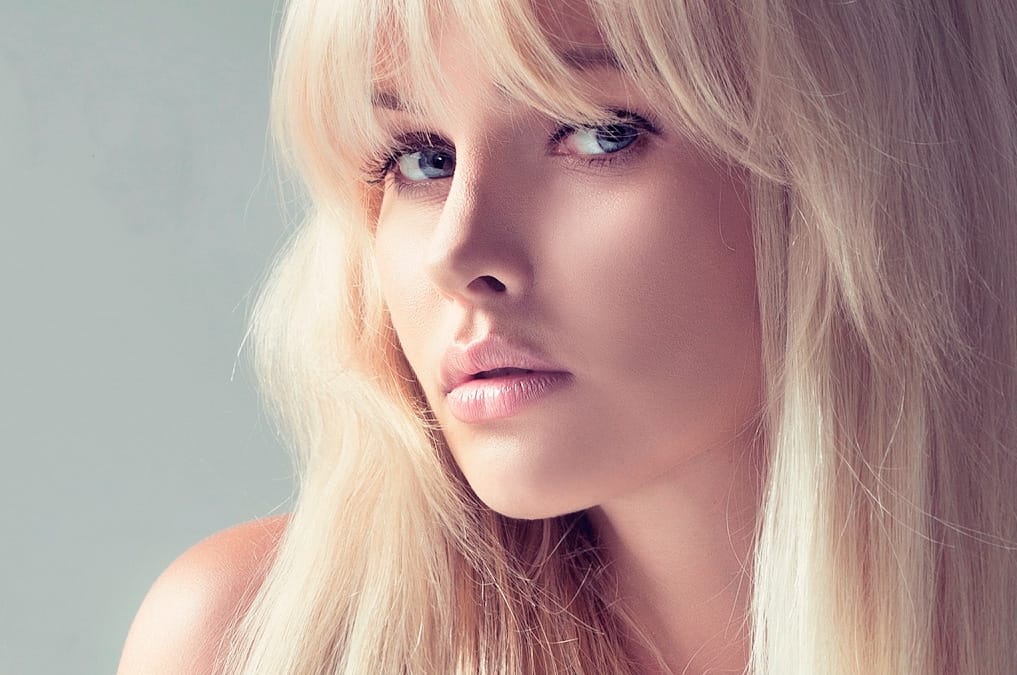
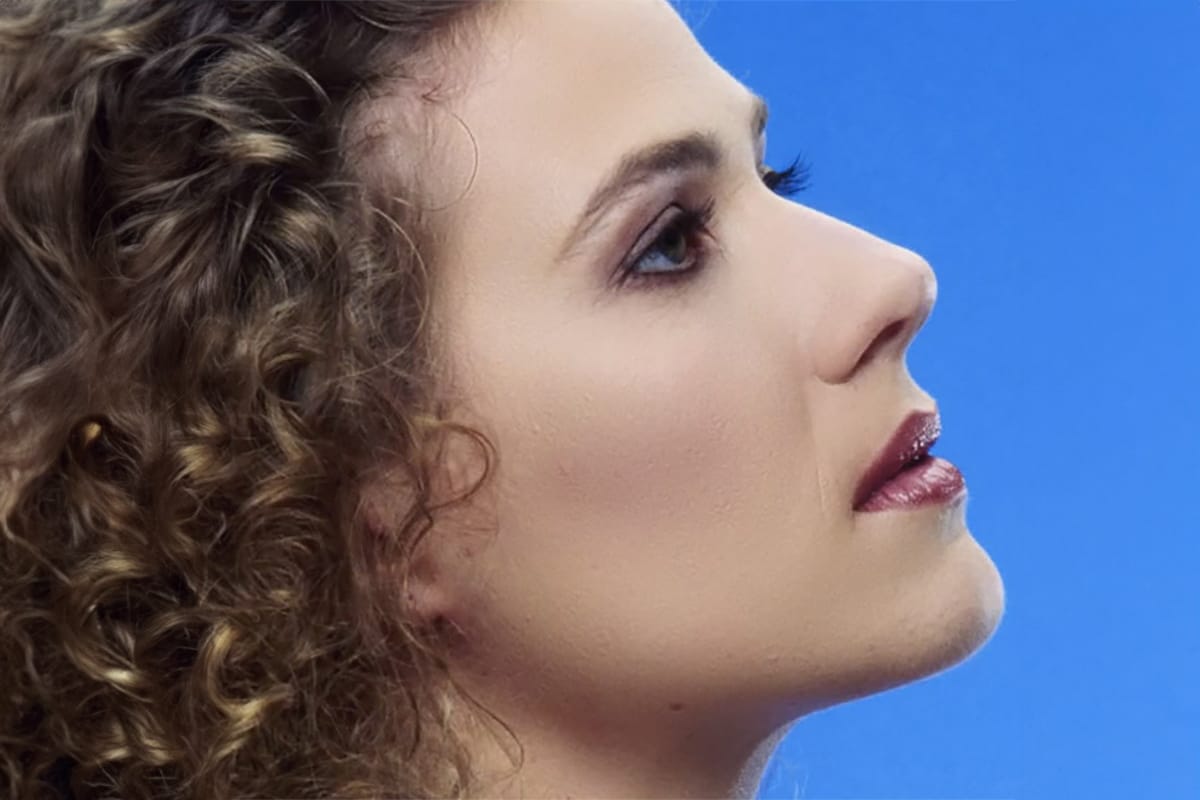
Skin tones often appear washed out or lifeless in photographs due to challenging lighting conditions or camera settings. This gradient-based technique brings vibrancy back to portraits while creating natural-looking dimensional highlights that draw the viewer's eye to key facial features.

The method uses Color Range selections combined with radial or reflected gradients to add warmth and depth to skin without over-processing. It works across all skin complexions and can rescue otherwise dull portrait lighting.

Watch the Video

Video by f64 Academy. Any links or downloads mentioned by the creator are available only on YouTube

Practical Tips

These techniques will help you achieve natural-looking skin tone enhancements:

  • Use Color Range's "Skin Tones" option for quick selections, then refine with the lasso tool while holding Alt to subtract unwanted areas
  • Start with Soft Light blend mode at 50% opacity for natural results - Linear Light with reduced Fill works better for very pale complexions
  • Position radial gradients with the lighter center over the eyes and nose to create natural facial highlights that guide viewer attention
  • Try reflected gradients for a "light beam" effect that brightens the center of the face while darkening the edges
  • Adjust gradient colors manually by double-clicking stops to match the subject's natural undertones - move toward browns for shadows and peach tones for highlights

Explore more techniques for perfecting portrait color and skin enhancement:
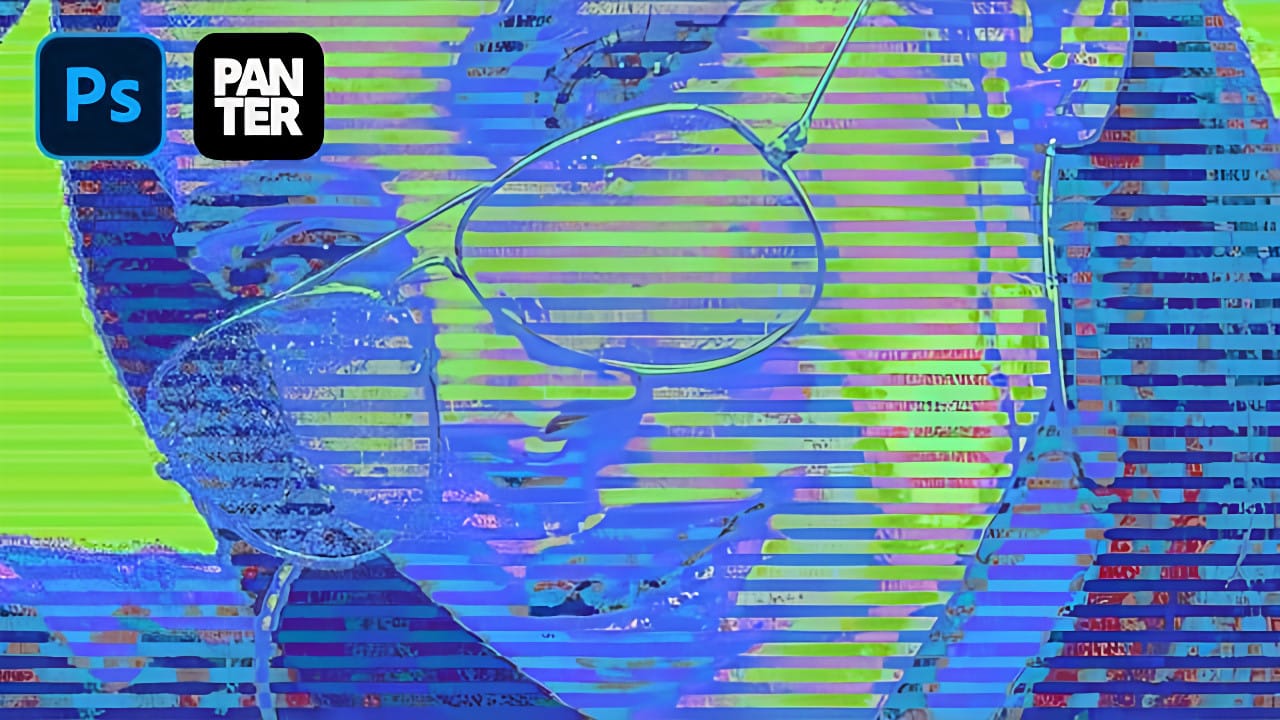
Creating Complex Colorful Gradients Using Halftone Lines and Gradient Maps in Photoshop
Advanced gradient techniques can transform ordinary portraits into vibrant, stylized artwork that catches the eye immediately. When combined with halftone patterns and noise-based gradient maps, these effects create unexpected color combinations that would be nearly impossible to achieve through traditional methods. This technique opens up entirely new creative possibilities by leveraging Photoshop's hidden gradient map features to generate randomized, complex color schemes over textured line p
How to Fix Skin Tones in Photoshop - Complete Guide
Skin tones can make or break a portrait, yet color casts and uneven lighting often leave subjects looking unnatural or flat. Whether dealing with mixed lighting conditions, camera white balance issues, or post-processing mishaps, getting skin colors right requires a systematic approach that works consistently across different scenarios. This comprehensive method addresses the root causes of skin tone problems while preserving natural texture and detail, ensuring your portraits look both polishe
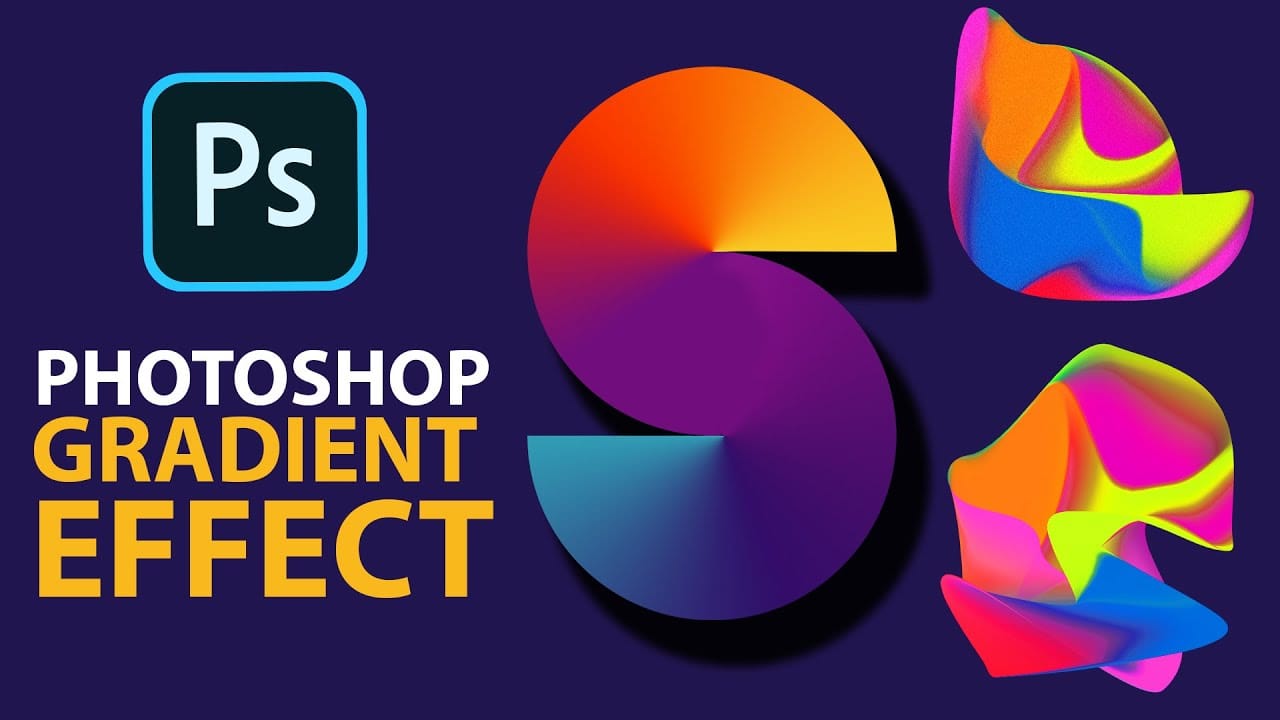
Cerate Stunning Gradient Effects in Photoshop
In this Photoshop tutorial, Trish from Quistt Photoshop demonstrates how to create stunning colorful gradients. This technique is perfect for enhancing lettering designs and art posters. Follow along to learn how to apply vibrant gradients that will make your designs pop. Trish walks you through the process of using gradient tools and adjustment layers to craft beautiful, seamless transitions of color. You'll discover how to use gradients to add depth and dimension to your designs, making them
Professional color effects with a gradient map
In this Photoshop tutorial, Kevin Roodhorst shares his expertise on using a gradient map adjustment layer to achieve professional color effects. The author explains that this technique is ideal for experimentation, allowing users to explore different color grading options and find what works best for their projects. Through clear and concise instructions, Kevin guides the reader through the process of adding beautiful color grading with a simple yet effective technique. The author suggests that
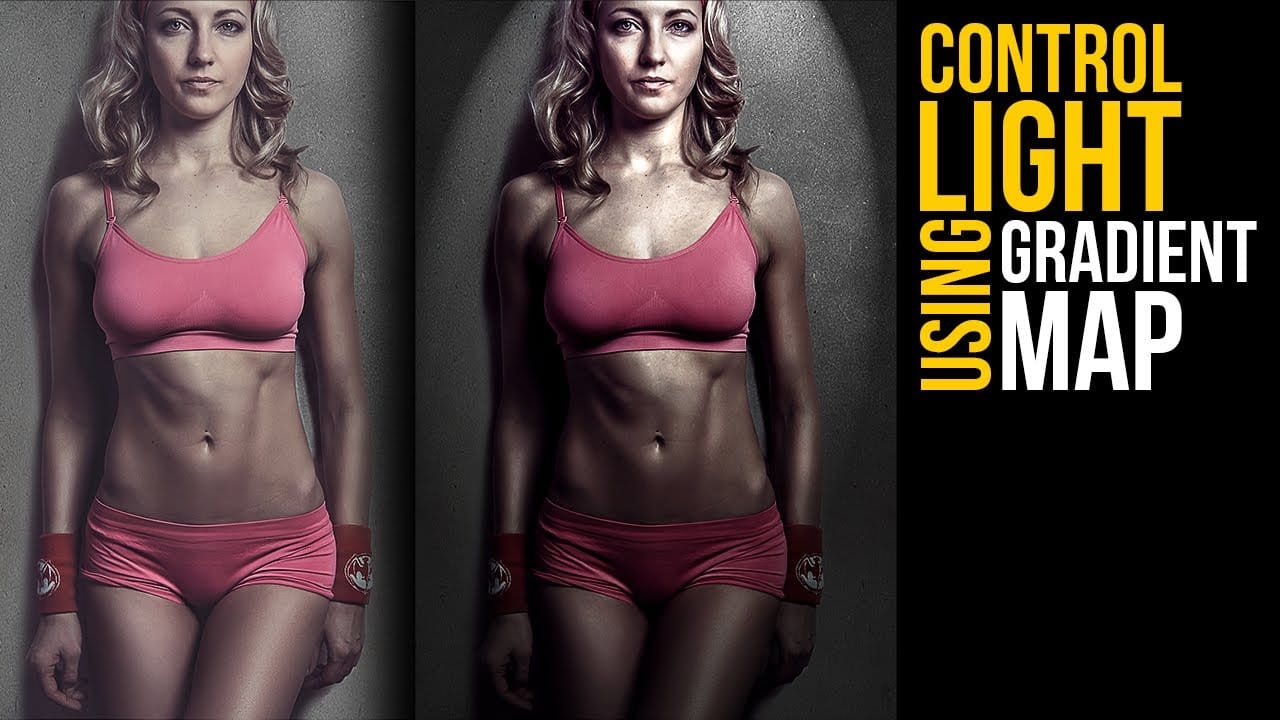
Create lighting effects using Gradient Maps in Photoshop
In this Photoshop tutorial by Unmesh Dinda from Piximperfect you will learn an interesting technique to completely mold and control light in Photoshop using Gradient Maps along with amazing light effects to add drama, depth, and dimension. In this video, learn how to manipulate multiple levels of light. Whether you want to remove shiny flash hotspots or add more shine, make harsh light soft or soft light harsh, with Gradient Maps, you can control almost everything. Gradient Map allows you to co
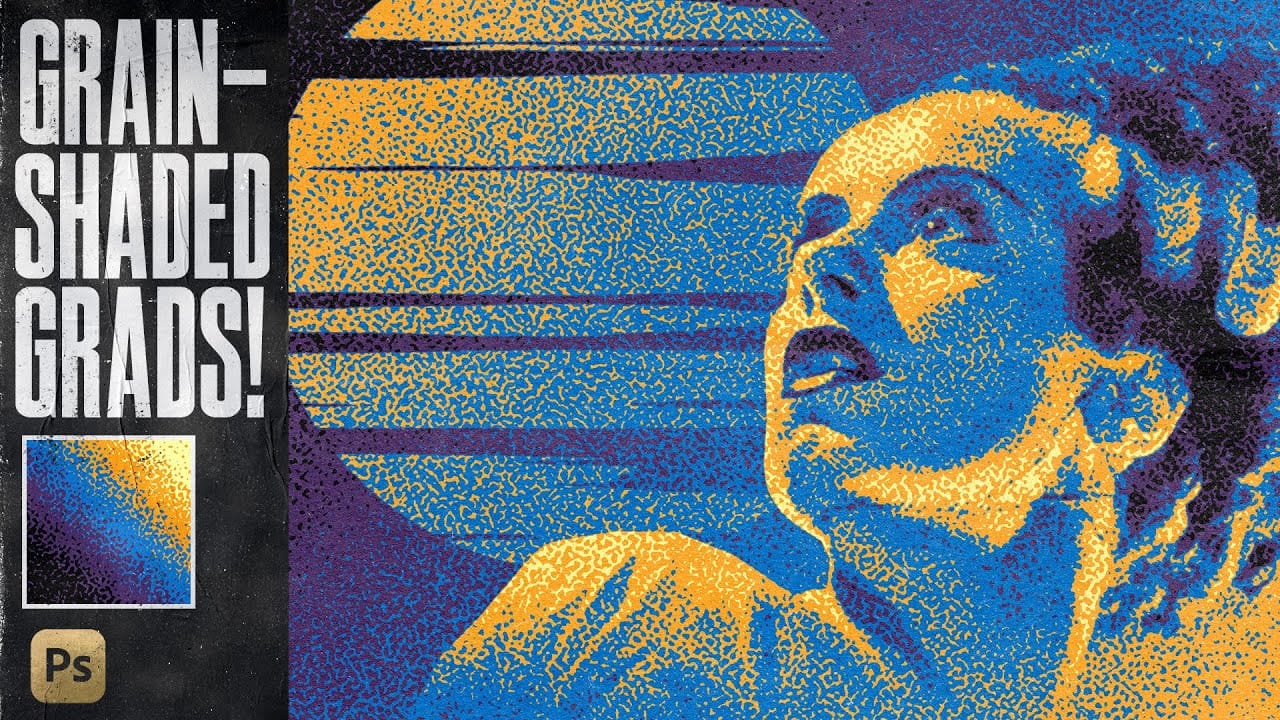
Revolutionary Technique: Photoshop's Grain Shaded Gradient Maps
In this tutorial, TextureLabs presents a revolutionary technique to enhance your Photoshop projects using grain-shaded gradient maps. This method offers a fresh approach to creating noise effects that can add depth and interest to your artwork. By utilizing Adjustment Layers, along with specially designed noise patterns and custom gradient presets, you can achieve stunning results. The tutorial walks you through the essential steps to manipulate these elements effectively, allowing for greater
Natural Skin Smoothing in Photoshop
Professional beauty retouching demands techniques that smooth skin while preserving natural texture. This advanced method combines inverted layers with Vivid Light blend mode to create seamless skin enhancement without the artificial "plastic" look common in over-processed images. The technique works by canceling out layer information through inversion, then selectively applying blur and sharpening filters to reconstruct realistic skin texture while eliminating blemishes and color irregularitie
Professional Color Grading Techniques in Photoshop
Color grading transforms ordinary photos into compelling images with professional mood and atmosphere. These non-destructive techniques let you adjust tones, enhance specific colors, and create cinematic looks while preserving your original image data. Master these four essential color grading methods to develop a consistent editing workflow that elevates your photography. Watch the Video Practical Tips These techniques will help you achieve professional color grading results: * Start wi
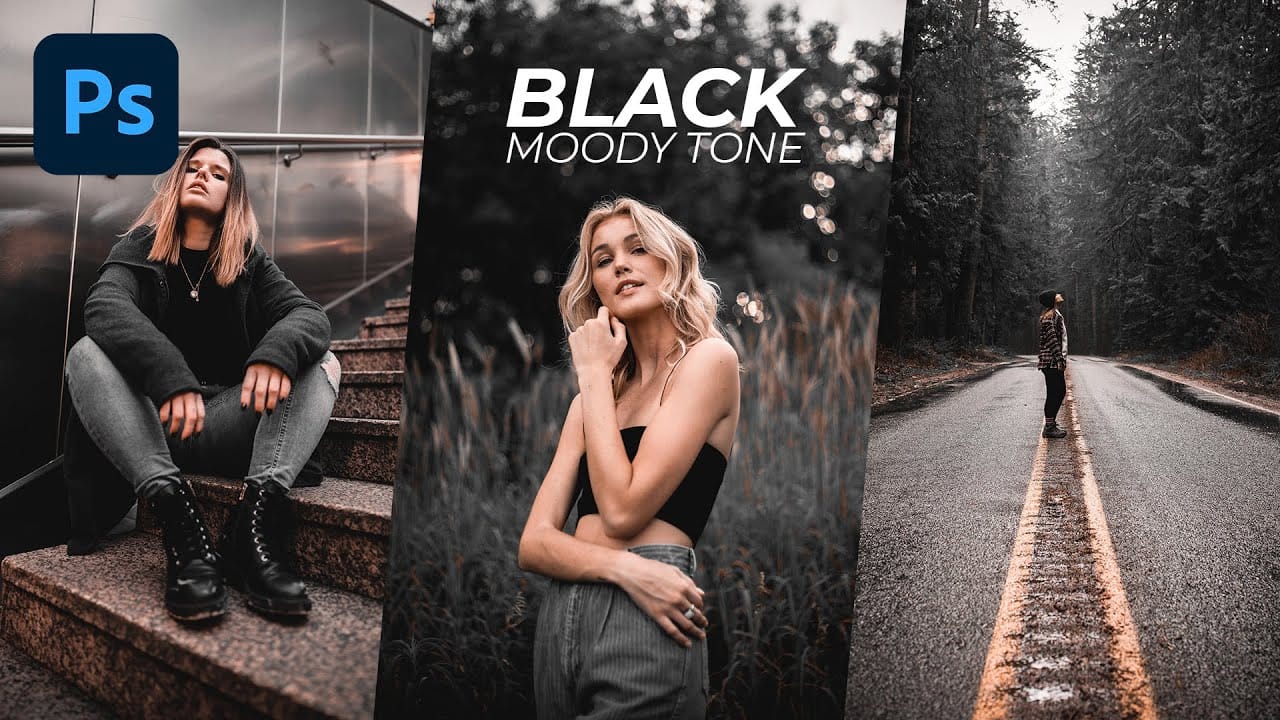
Black Moody Color Grading in Photoshop
In this comprehensive Photoshop tutorial from WebFlippy, you'll learn how to create a stunning black tone moody color grading effect. This technique is perfect for adding depth and atmosphere to your photos, giving them a dramatic and sophisticated look. The tutorial provides a detailed, step-by-step guide on how to achieve this effect, making it accessible even for those new to Photoshop. You'll also discover how to save your adjustments as a preset, which allows you to quickly apply the same
Two Simple Color Grading Techniques Using Photoshop Curves and Levels
Color grading transforms flat images into vibrant, cinematic visuals that capture attention and convey mood. The difference between an ordinary photo and one with professional depth often comes down to how well shadows, midtones, and highlights work together to create visual interest. These two Photoshop techniques using Curves and Levels offer a quick path to achieving that coveted "pop of color" without complex workflows or advanced skills. Watch the Tutorial Understanding Auto Color Opti

Get tutorials & freebies delivered to you.

Subscribe to the Photoshop Roadmap newsletter, a weekly roundup of new tutorials, insights and quality downloads, trusted by 6500+ readers.

You might also like

How to Remove Skin Blemishes and Fix Skin Tones in Camera Raw

Two recent additions to Camera Raw make skin retouching significantly faster: an automatic blemish removal tool with separate controls for moles and freckles, and a vectorscope-based skin tone indicator for correcting off-color skin. Both features work non-destructively inside a smart object workflow, so no pixel data is...

Portrait Retouching in Photoshop: Smooth Skin While Keeping Natural Texture

Smooth skin and natural texture are not opposites — achieving both at once is the mark of a professional retouch. This workflow covers blemish removal, flyaway hair cleanup, dark under-eye correction, and eye brightening, all while keeping the skin looking like skin. Watch the Video Practical Tips These key points...

How to Use Camera Raw's Blemish Removal Tool in Photoshop

Camera Raw 18.5 introduced an automatic blemish removal tool that does something previous solutions rarely managed: it removes skin imperfections while preserving the underlying skin texture. It also distinguishes between temporary marks and permanent ones like moles, giving you separate controls for each. Watch the Video Practical Tips These...

Portrait Slice Effect in Photoshop Using Step and Repeat

The portrait slice effect splits a single image into offset vertical bars, creating the illusion of a displaced or fragmented face. The entire technique relies on layer masks and a lesser-known Photoshop shortcut called step and repeat — no filters, no AI, no destructive edits required. Watch the Video Practical...

How to Remove Blemishes in Photoshop: Camera Raw vs. Generative AI

Photoshop now offers two distinct approaches to removing skin blemishes automatically. The Camera Raw Filter includes a dedicated Blemishes option that analyzes and cleans skin with a single checkbox, while Generative AI fills a face selection with clean, texture-consistent results using a simple text prompt. Each method has clear...

Common Photoshop Compositing Mistakes and How to Fix Them

Most compositing errors come down to a handful of repeatable problems: mismatched lighting direction, inconsistent white points, misaligned perspective, and atmosphere applied in the wrong layer order. Catching these issues early — ideally before you shoot — saves significant time in post. Watch the Video Practical Tips These corrections apply to nearly...

You’ve successfully subscribed to Photoshop Roadmap
Welcome back! You’ve successfully signed in.
Great! You’ve successfully signed up.
Success! Your email is updated.
Your link has expired
Success! Check your email for magic link to sign-in.