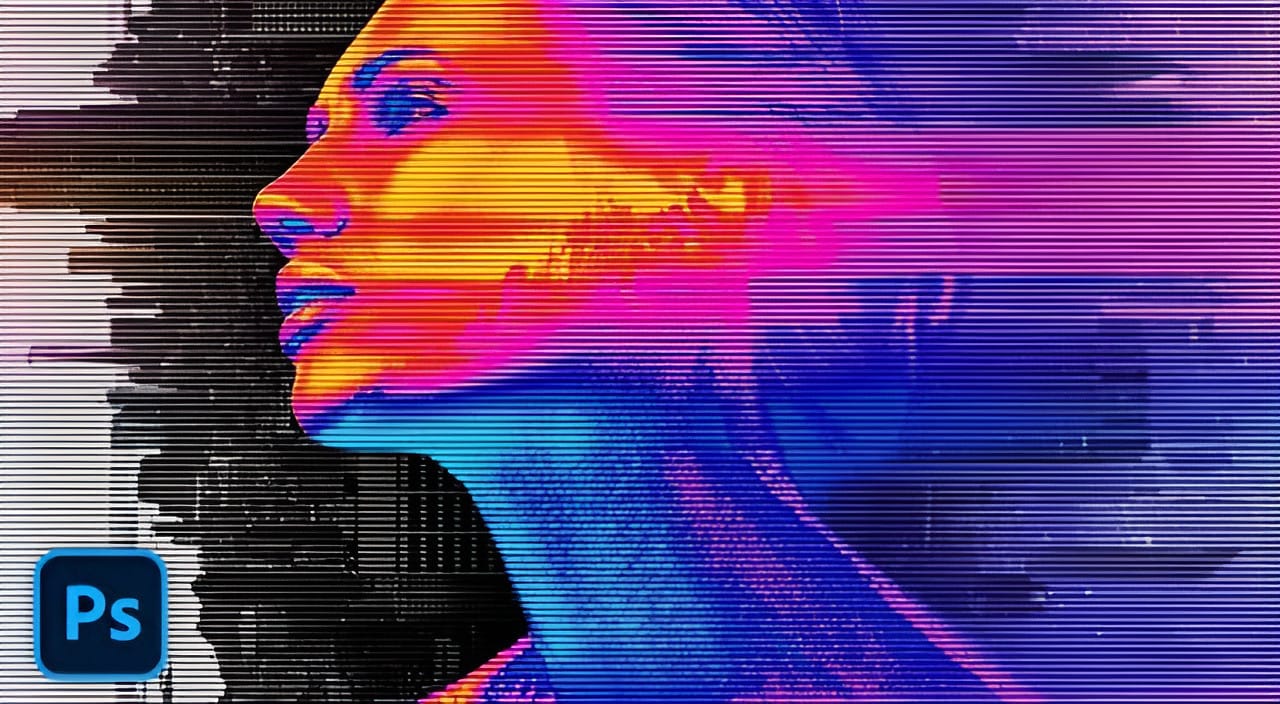
Edge halos and stray artifacts are easy to miss when masking a subject, especially with AI-generated selections. Placing a neutral grey layer beneath your masked subject forces those problem areas into plain view, making cleanup faster and more precise.
Video by SandraD Imagery. Any links or downloads mentioned by the creator are available only on YouTube
Practical Tips
These steps cover the core workflow shown in the video for finding and cleaning up mask edges.
- Place a solid grey layer directly beneath your masked subject to make white halos and edge artifacts immediately visible against a neutral background.
- Use a hard-edge brush when painting on the mask — soft brushes leave semi-transparent fringe that re-introduces the halo problem.
- Adjust brush size with the bracket keys to switch quickly between broad strokes for large artifact areas and fine strokes for tight edges.
- Use the Object Selection tool to draw a rough selection around a problem area, then paint within that boundary to keep corrections precise without affecting clean edges nearby.
- Zoom in methodically and pan with the Spacebar hand tool to scan the full perimeter of the subject before finalising the mask.
Related Articles and Tutorials
Explore more Photoshop editing and compositing techniques to sharpen your skills.
Create Grungy Halftone Line Effects in Photoshop
Grungy halftone effects bring vintage print aesthetics and urban edge to digital designs. This technique combines traditional halftone patterns with noise textures to create compelling visual depth.
The method uses smart objects and blend modes to build a flexible, non-destructive workflow that works across different projects.
Watch the Tutorial
Practical Tips for Halftone Line Effects
* Convert layers to smart objects before applying filters to maintain flexibility and allow easy adjustm
Create Grungy Retro Halftone Effect in Photoshop
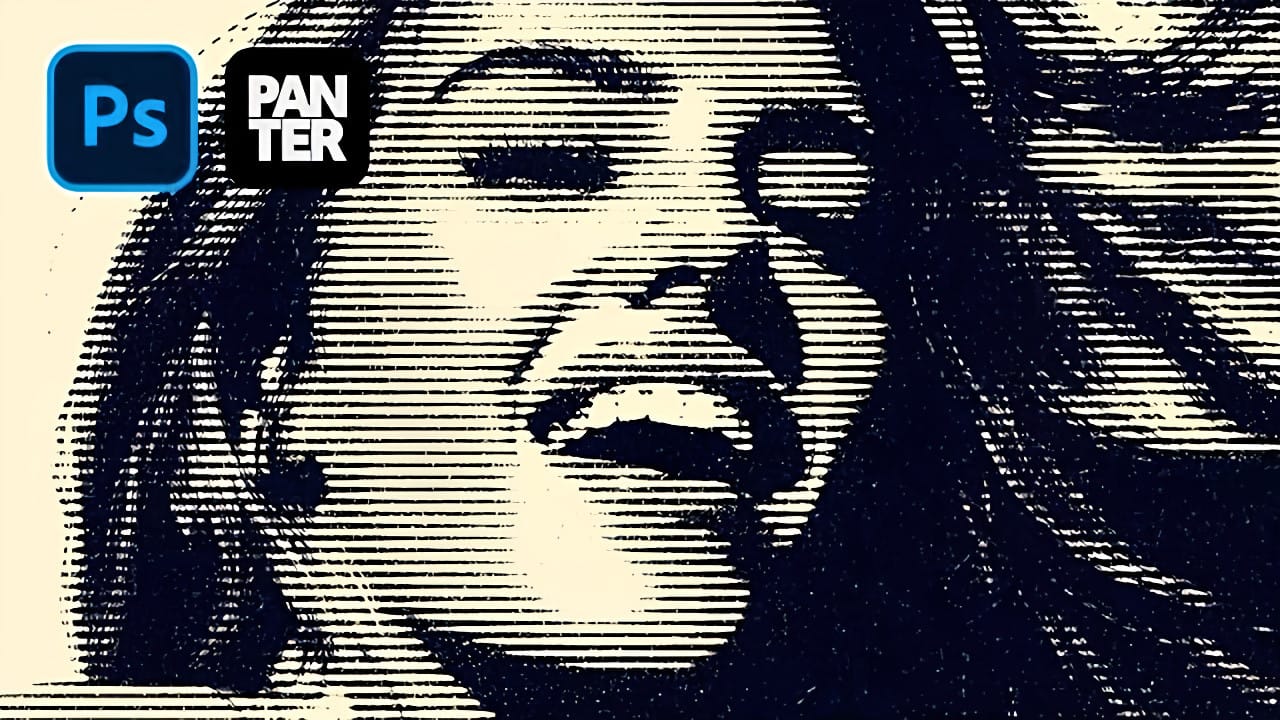
Vintage poster art captured attention through bold contrasts, visible printing dots, and rough textures that gave images character. The halftone effect recreates this aesthetic by breaking up continuous tones into distinct dots, mimicking old-school printing techniques.
This technique transforms clean digital photos into gritty, retro-style artwork. The method combines Photoshop's built-in filters with layering techniques to create authentic-looking vintage effects with adjustable intensity.
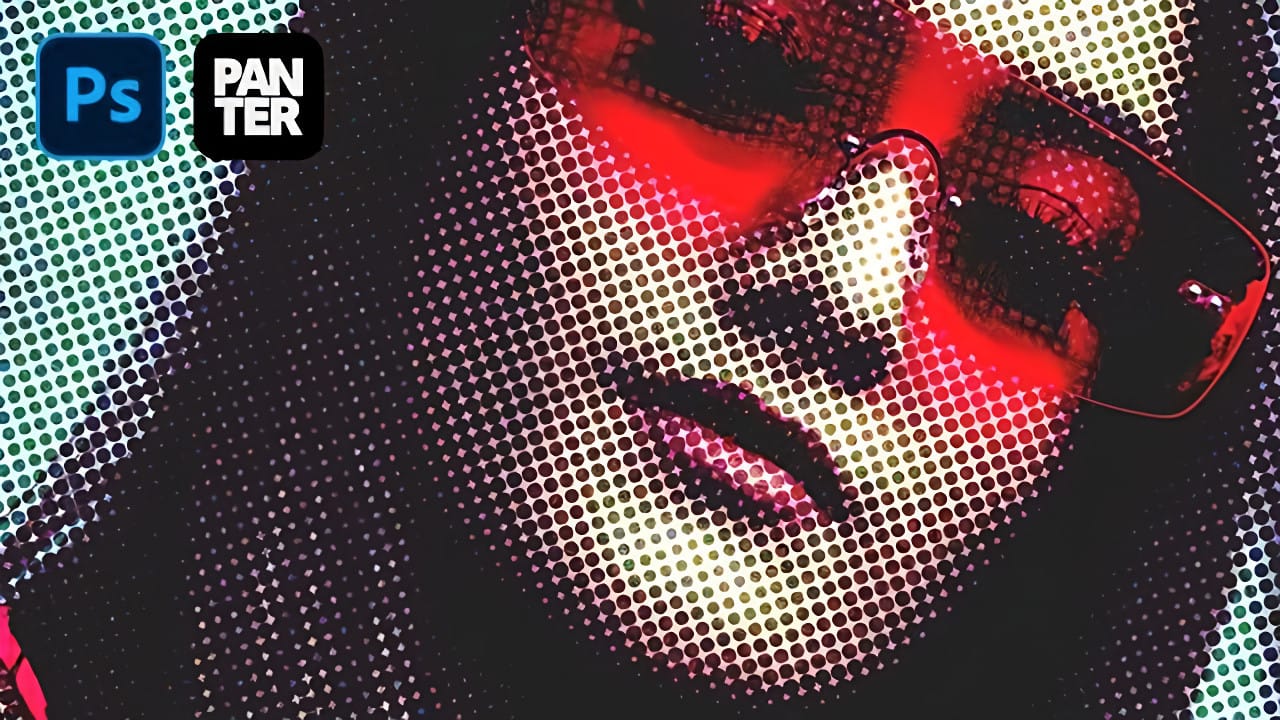
How to Remove Shiny Skin with Selective Color in Photoshop
Skin shine can ruin an otherwise perfect portrait, creating distracting bright spots that draw attention away from your subject. Using Photoshop's Selective Color adjustment layer combined with layer masking provides precise control over these problematic highlights.
This technique targets only the brightest areas of skin and allows you to selectively apply corrections where needed, maintaining natural skin texture throughout the process.
Watch the Video
Practical Tips
Key techniques for s
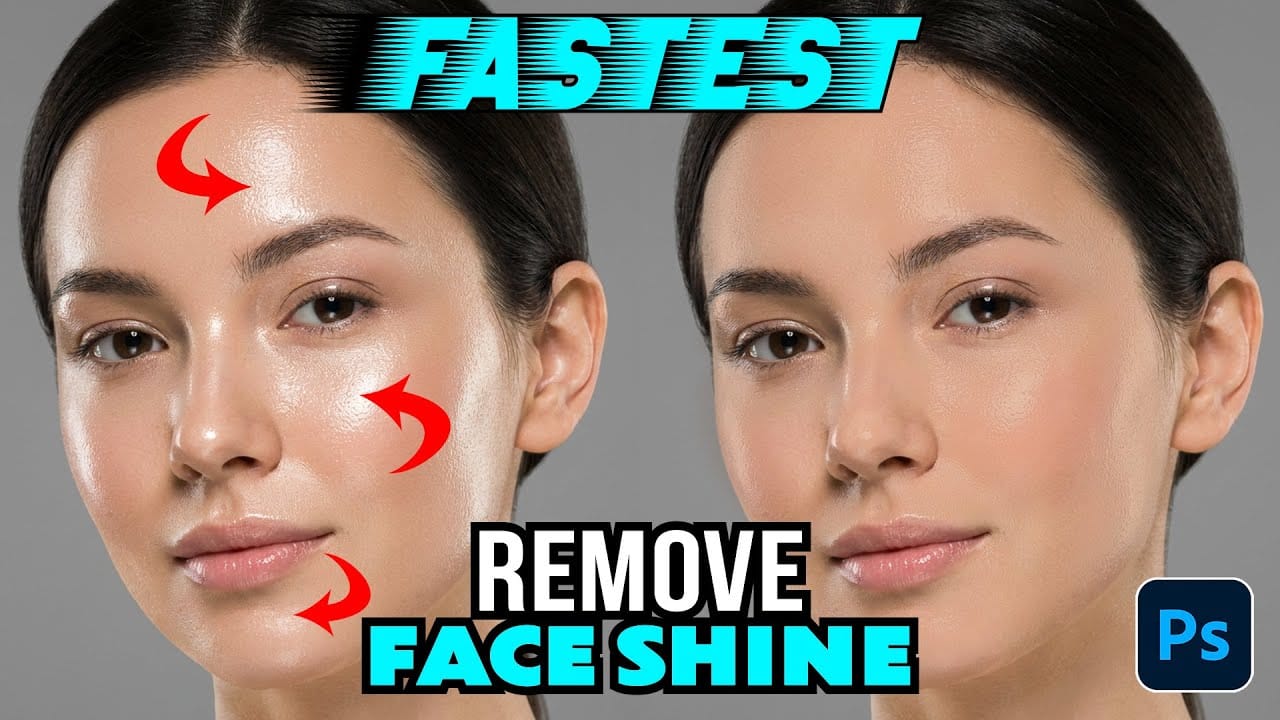
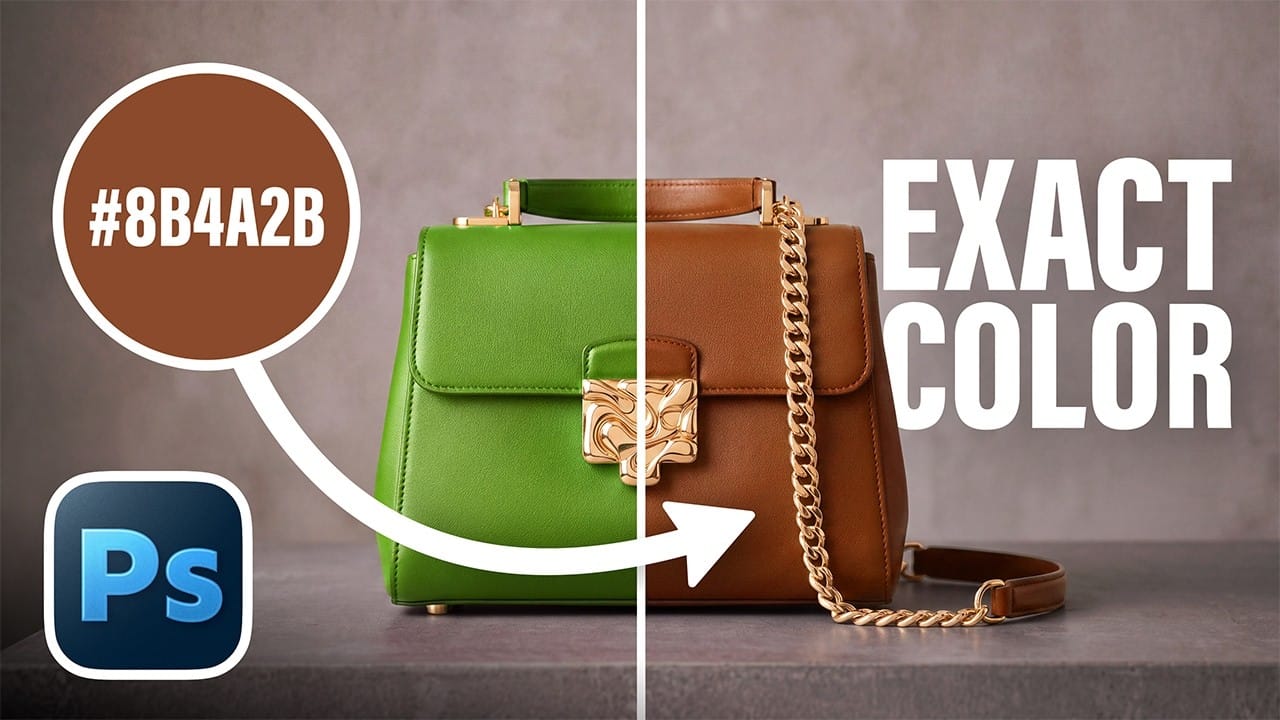
How to Apply an Exact Hex Color to Any Object in Photoshop
Matching an object's color to a specific hex code is harder than it looks. Real surfaces carry highlights, shadows, and texture — meaning no single pixel represents the true color. The solution is to average the surface first, then use either Hue/Saturation or Curves to bring that average in line with your target shade.
Watch the Video
Practical Tips
These steps summarize the core workflow from both methods covered in the video.
* Use Filter > Blur > Average on a duplicate layer to get a
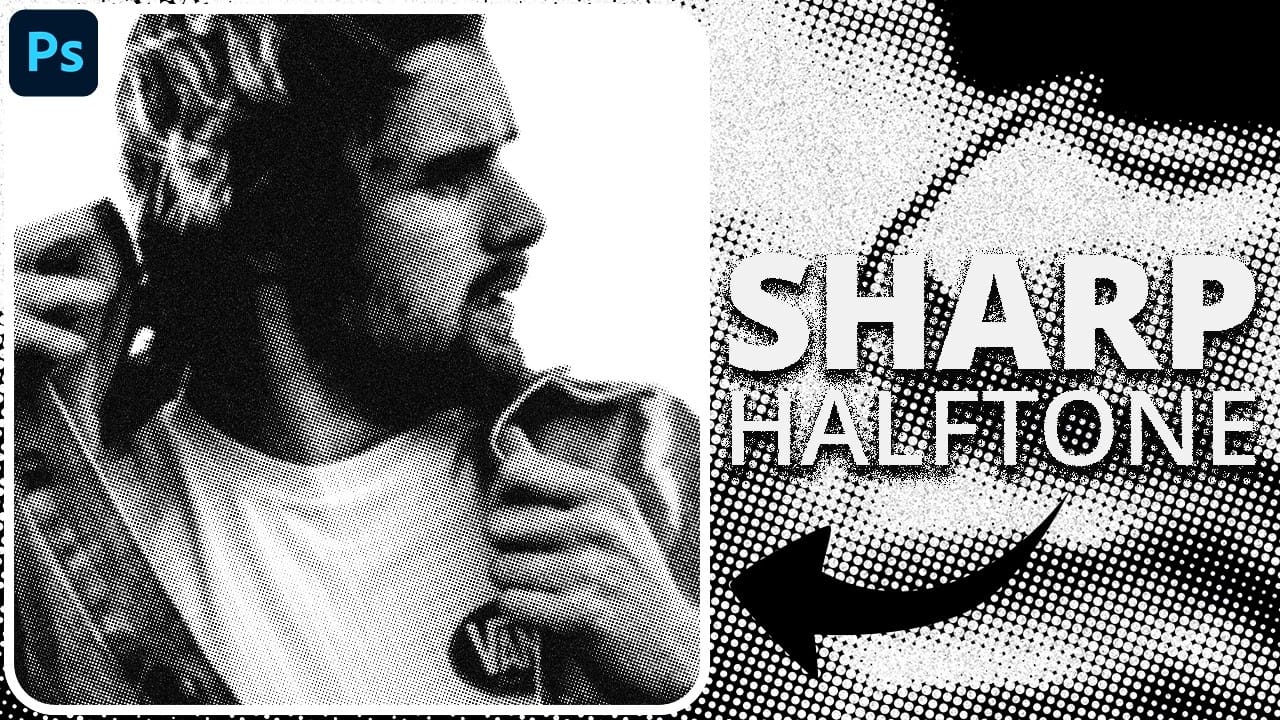
How to Create Sharp Halftone Effects in Photoshop
Traditional halftone effects in print media created depth through visible dot patterns that gave images character and texture. While Photoshop's built-in Filter Gallery offers a quick halftone option, it produces blurry results that lack the crisp definition of professional halftone work.
This technique uses the Color Halftone filter combined with smart objects and noise textures to create sharp, adjustable halftone effects. The method allows for complete control over dot size and contrast whil
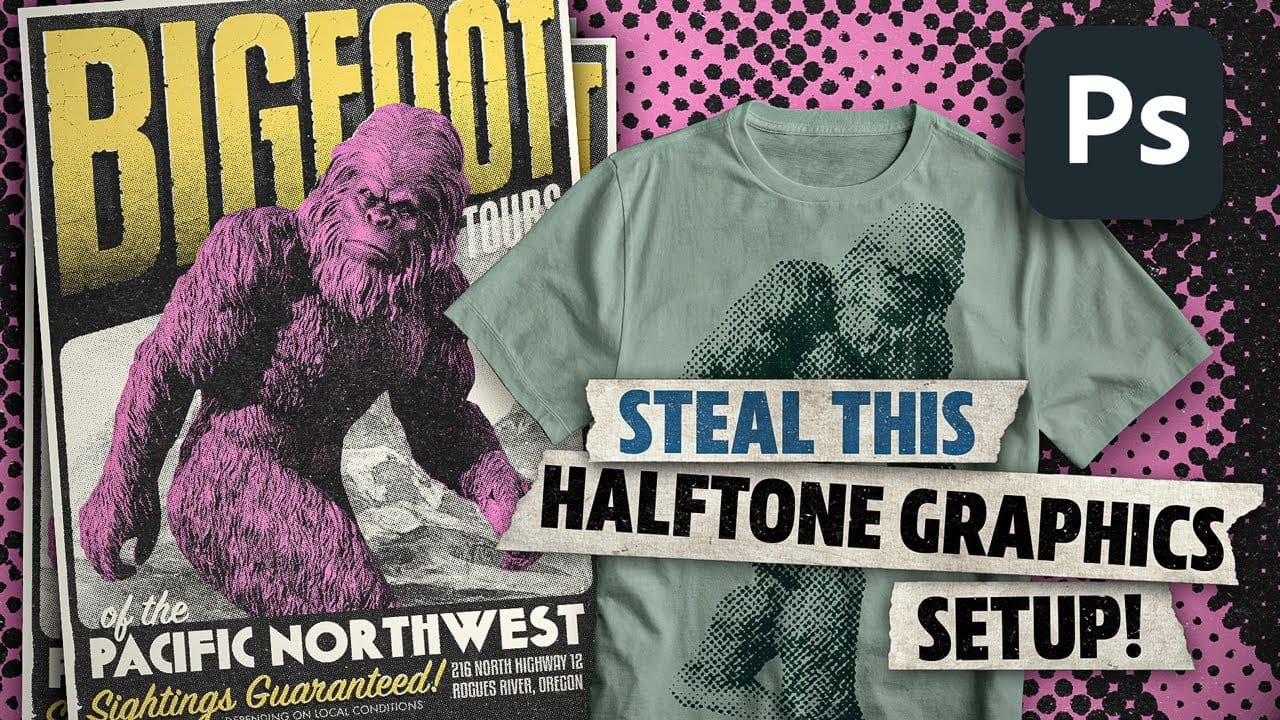
Create awesome retro halftone effects in Photoshop
Photoshop includes built-in halftone filters, but they often lack flexibility and can feel rigid for creative projects. Many designers struggle with creating authentic vintage halftone effects that remain editable and can be applied to different image sizes and compositions without starting over.
This tutorial demonstrates a five-layer halftone setup that functions like a live adjustment layer, offering full control over dot size, color, and distressing effects. The system uses seamless pattern
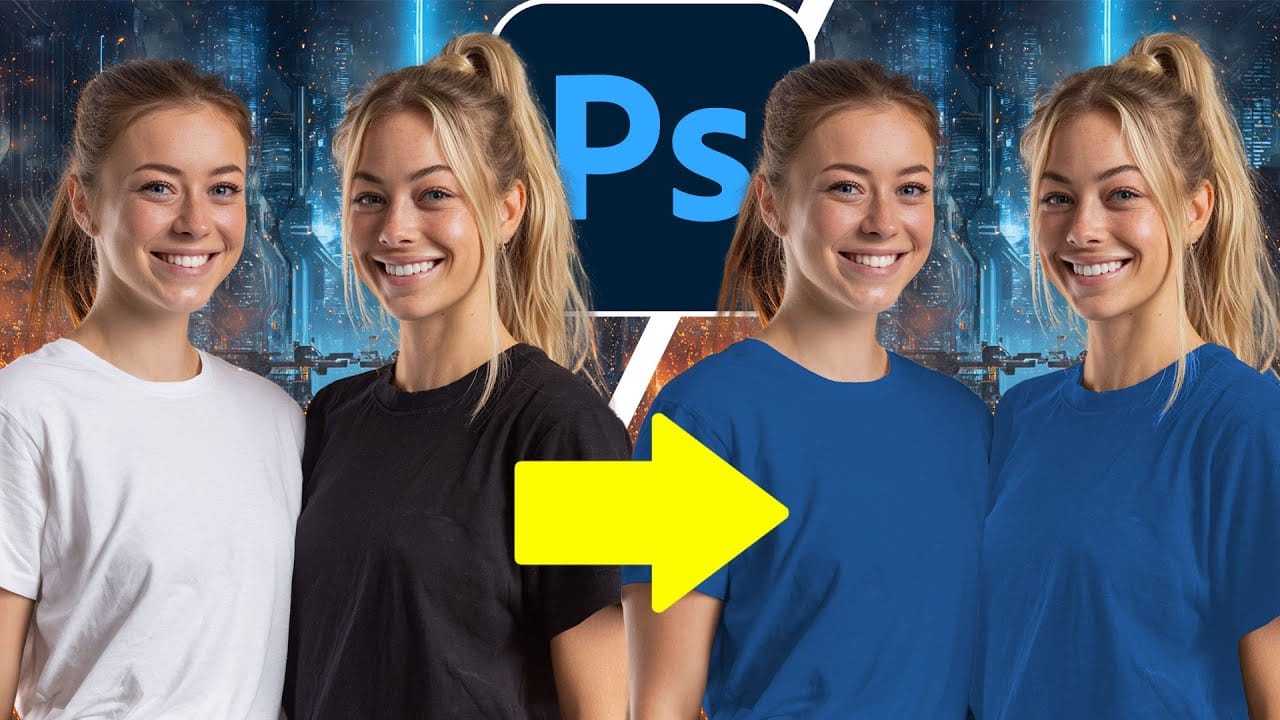
How to Change Black and White to Any Color in Photoshop
Standard color adjustment tools fail when you try to change pure black or white elements in your photos. These neutral tones lack the hue and saturation data that typical color replacement methods require.
This technique uses Hue/Saturation adjustment layers with strategic lightness modifications to transform both black and white areas into any color you need.
Watch the Tutorial
Essential Tips for Changing Black and White Colors
* Use the Object Selection tool with rectangle mode for fast
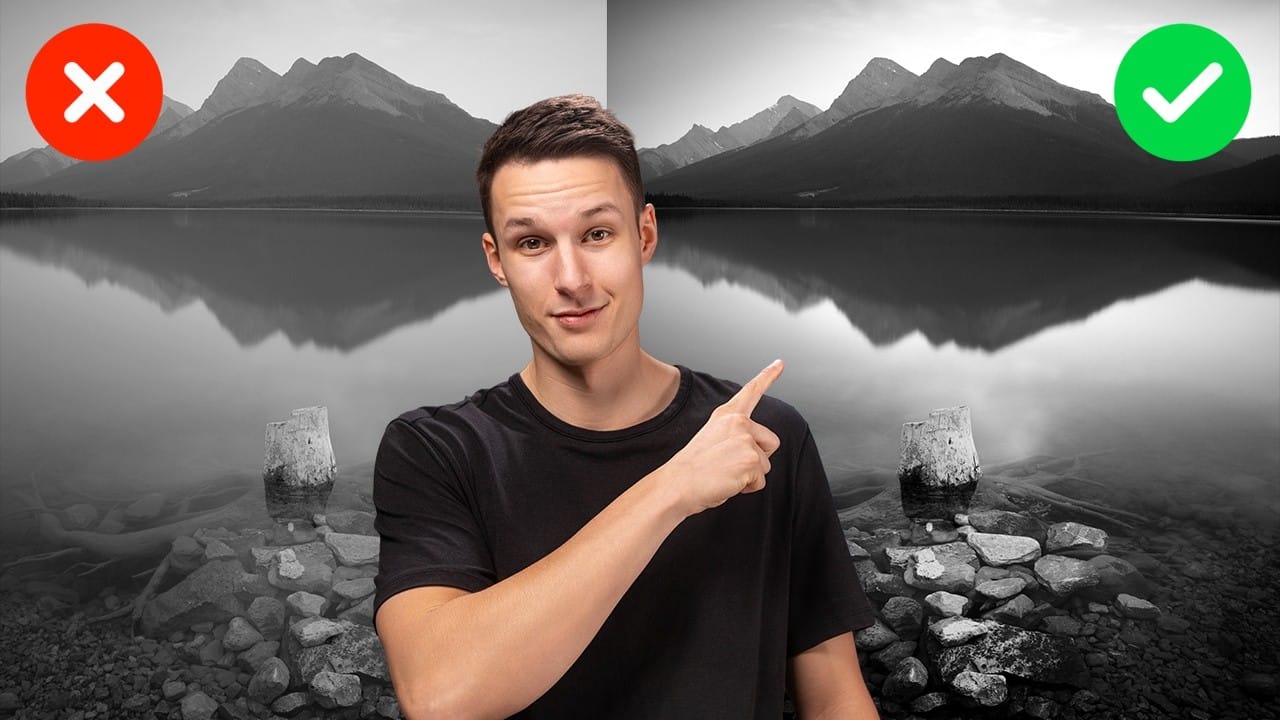
Advanced Black and White Photo Editing with Selective Masking in Photoshop
Most black and white conversions fall flat because they rely on simple global adjustments that treat the entire image uniformly. Professional-level dramatic black and white photos require selective contrast adjustments that target specific areas like skies, foregrounds, and tonal ranges independently.
This approach transforms ordinary monochrome images into compelling, high-contrast photographs with depth and visual impact.
Watch the Full Tutorial
Essential Tips for Advanced Black and White
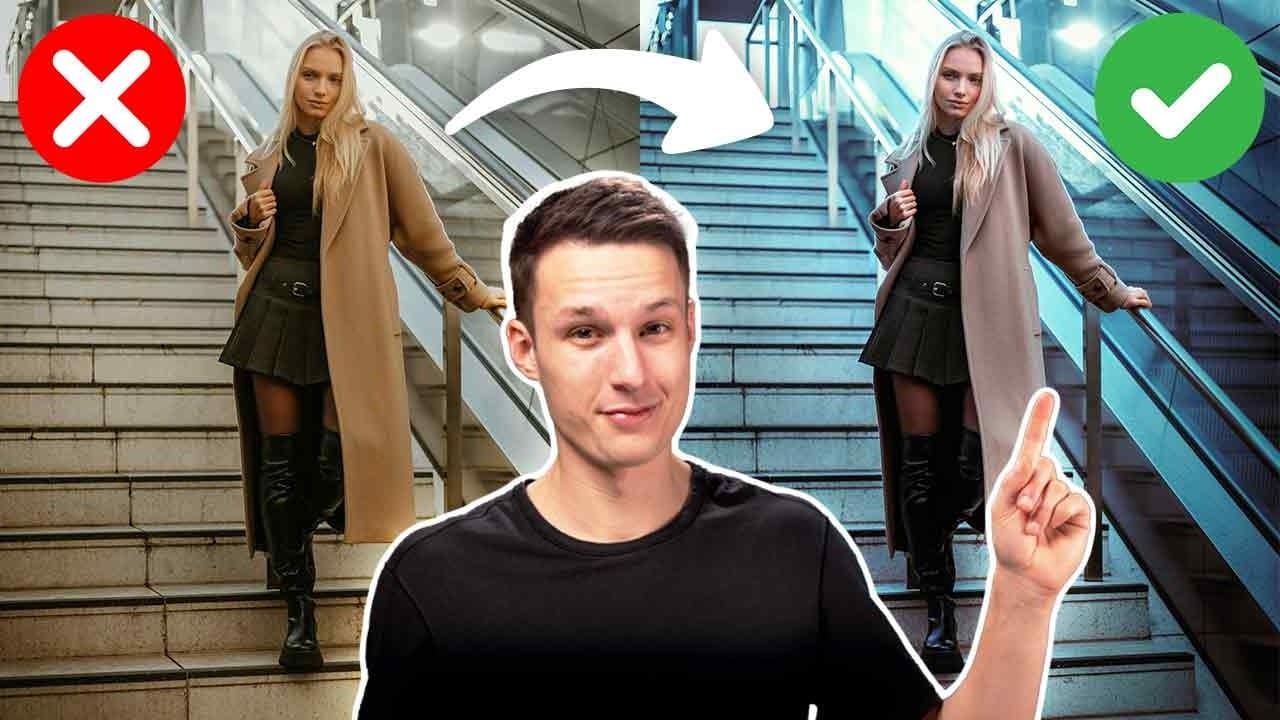
Advanced Color Grading with Apply Image Layer Masks in Photoshop
Professional color grading can transform ordinary photos into cinematic masterpieces, but heavy adjustments often create that obvious "filtered" look that screams amateur editing. The difference between natural-looking color enhancement and overdone processing lies in how the adjustments interact with your image's existing tonal structure.
This advanced technique uses layer masks combined with selective color adjustments to create rich, believable color grades that enhance rather than overpower
Create a Sci-Fi Hologram Effect in Photoshop
Transform ordinary portraits into futuristic holographic projections with this sci-fi effect technique. The process combines motion blur, gradient mapping, and scan line patterns to create the distinctive translucent appearance of holographic displays.
This method keeps your subject vibrant and colorful while converting the background to black and white, emphasizing the contrast between the hologram and its environment.
Watch the Video
Practical Tips
Master the hologram effect with these e