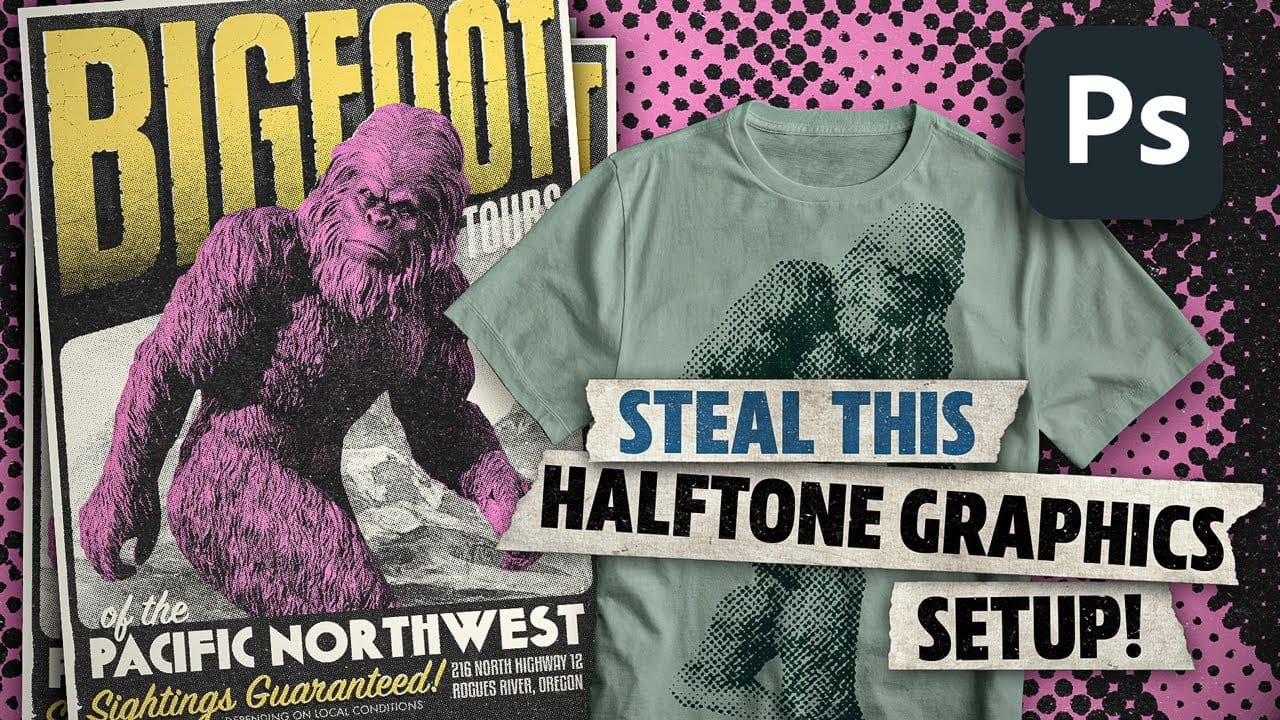
Grungy halftone effects bring vintage print aesthetics and urban edge to digital designs. This technique combines traditional halftone patterns with noise textures to create compelling visual depth.
The method uses smart objects and blend modes to build a flexible, non-destructive workflow that works across different projects.
Watch the Tutorial
Video by P A N T E R. Any links or downloads mentioned by the creator are available only on YouTube
Practical Tips for Halftone Line Effects
- Convert layers to smart objects before applying filters to maintain flexibility and allow easy adjustments later
- Set foreground to black and background to white before accessing Filter Gallery for proper halftone pattern rendering
- Use 50% gray fill with overlay blend mode as your base layer to create neutral halftone foundation
- Apply threshold adjustments after halftone pattern creation to fine-tune line visibility and contrast
- Combine high noise with subtle Gaussian blur to transform harsh noise into organic grunge textures
Related Articles and Tutorials about Halftone Effects
Explore more techniques for creating vintage and modern halftone designs in Photoshop.
Ultimate Halftone Effect in Photoshop
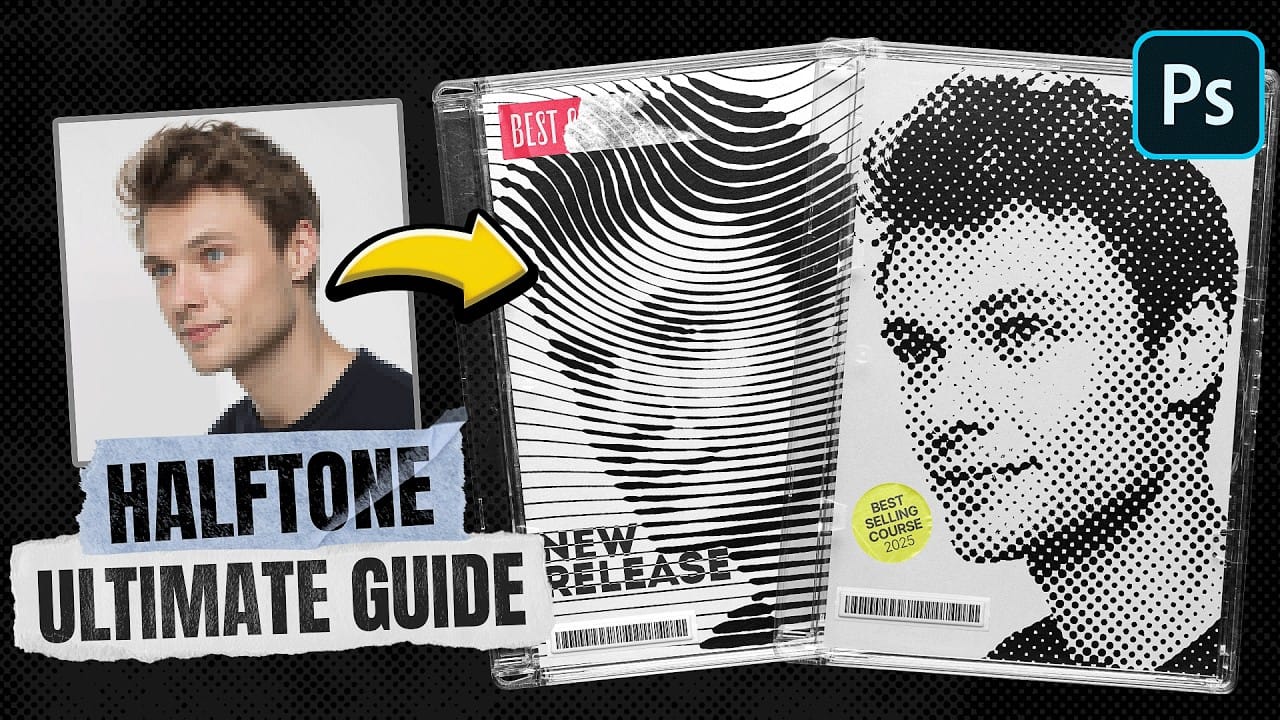
Halftone effects can transform ordinary photos into striking graphic designs, but many designers struggle with creating patterns that blend naturally with their images. The traditional approach often results in rigid, uniform dots that don't adapt to the underlying image tones and details.
This tutorial demonstrates how to create flexible halftone effects using multiple pattern types and blending techniques. You'll learn to build reusable workflows that can be applied to any image instantly, pl
How to Create a Blurry Halftone Text Effect in Photoshop
Comic book aesthetics and vintage print textures give modern digital typography distinctive visual impact. Halftone dot patterns from traditional printing create instant nostalgia and graphic punch when paired with strategic blur techniques, transforming simple text into dynamic elements that capture classic print media's essence while retaining digital design flexibility.
Watch the Tutorial
Practical Tips for Halftone Text Effects
* Convert layers to Smart Objects before applying filters
Create an old-school halftone photo effect in Photoshop
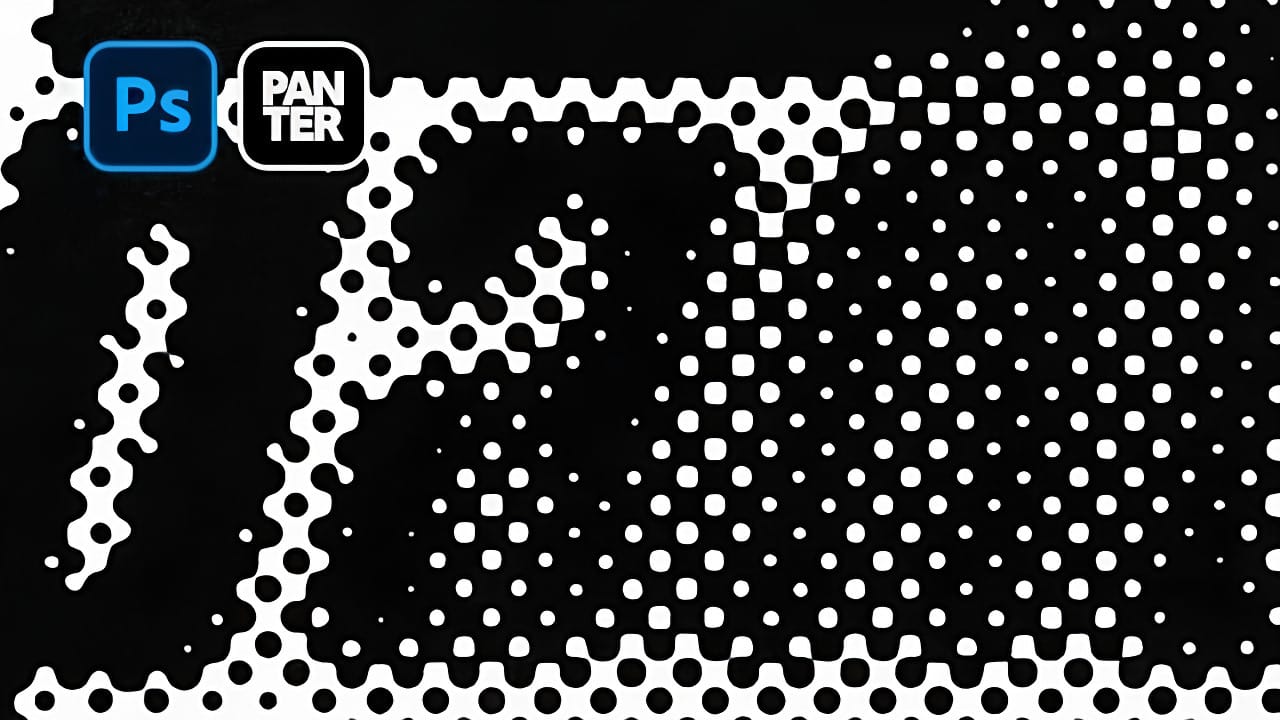
Creating authentic vintage halftone effects can be challenging when working with modern digital photography. Many designers struggle to achieve that classic print aesthetic without the result looking artificial or overdone.
This tutorial demonstrates a multi-layer approach to building realistic halftone vintage effects using threshold adjustments, pattern overlays, and selective masking. The technique creates depth and authenticity by working with multiple halftone variations rather than a sing
Create awesome retro halftone effects in Photoshop
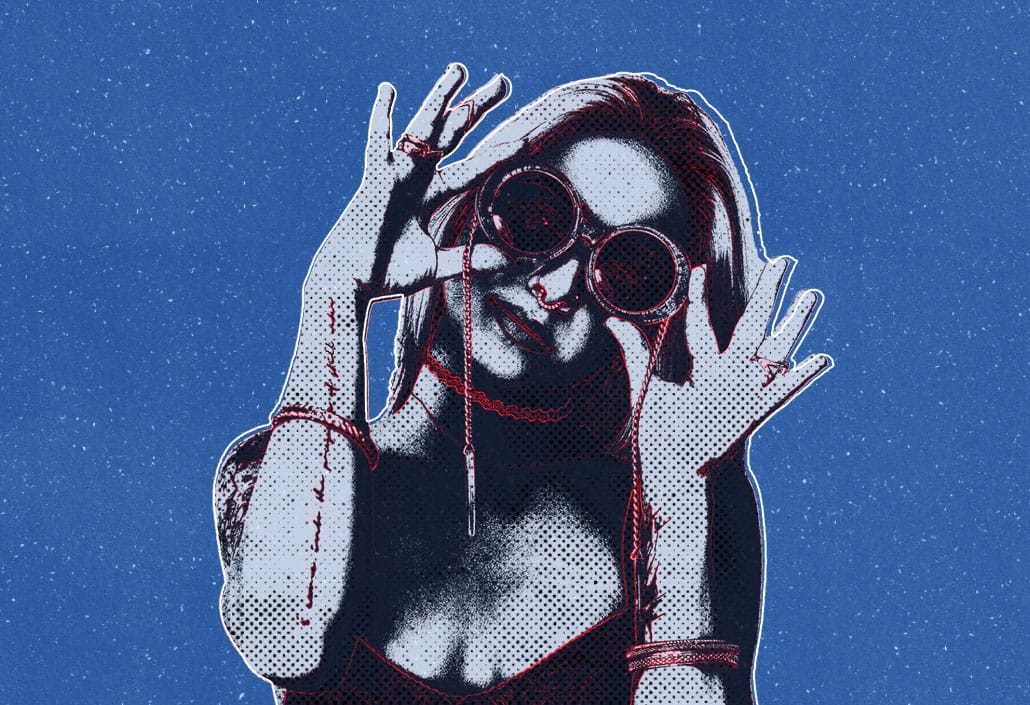
Photoshop includes built-in halftone filters, but they often lack flexibility and can feel rigid for creative projects. Many designers struggle with creating authentic vintage halftone effects that remain editable and can be applied to different image sizes and compositions without starting over.
This tutorial demonstrates a five-layer halftone setup that functions like a live adjustment layer, offering full control over dot size, color, and distressing effects. The system uses seamless pattern