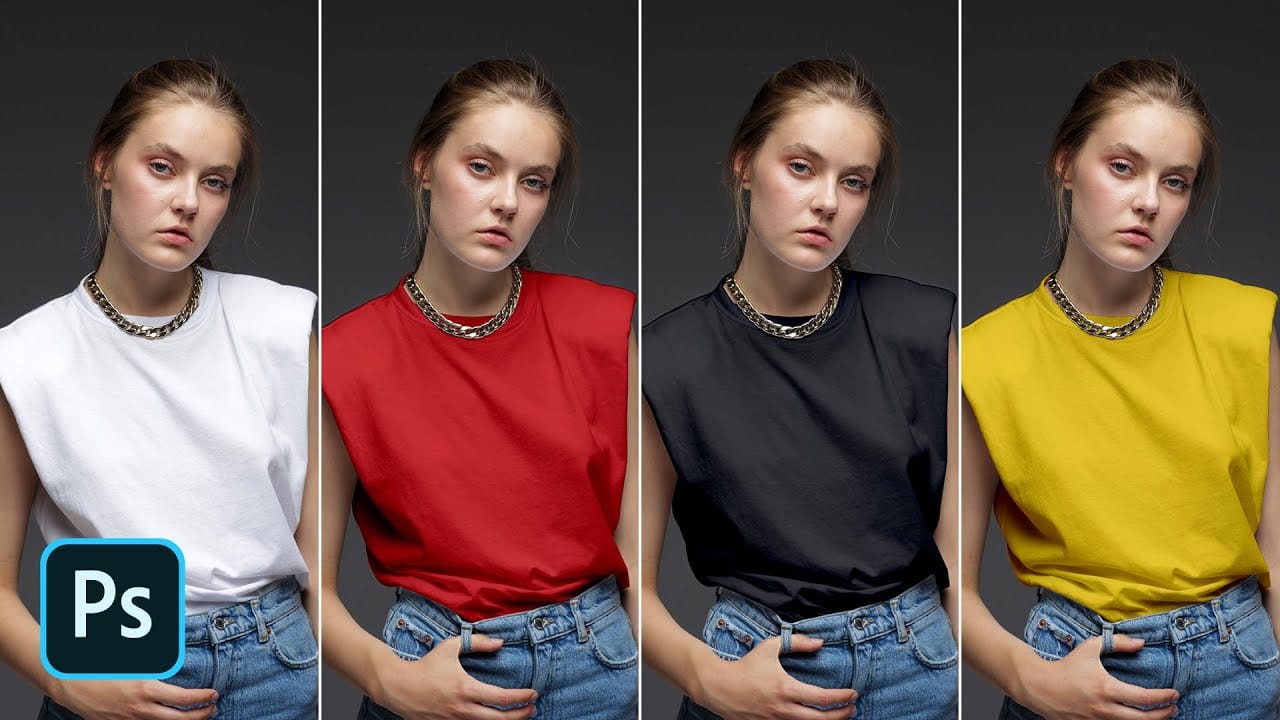
Matching an object's color to a specific hex code is harder than it looks. Real surfaces carry highlights, shadows, and texture — meaning no single pixel represents the true color. The solution is to average the surface first, then use either Hue/Saturation or Curves to bring that average in line with your target shade.
Watch the Video
Video by PiXimperfect. Any links or downloads mentioned by the creator are available only on YouTube
Practical Tips
These steps summarize the core workflow from both methods covered in the video.
- Use Filter > Blur > Average on a duplicate layer to get a single representative color from your sampled area — avoid selecting highlights or deep shadows when making that selection.
- Create a color patch rectangle with your target hex code beside the averaged layer so you can visually compare the two colors side by side.
- Use a temporary solid color layer set to Color blend mode to compare hue and saturation, then switch to Luminosity blend mode to isolate and match brightness levels.
- Choose Hue/Saturation when the object already has a distinct color — narrow the targeted range using the range sliders to avoid affecting surrounding elements like chains or backgrounds.
- Choose Curves when the object is neutral or desaturated — sample the averaged area with Shift+Cmd/Ctrl+click, then set the resulting points in the Red, Green, and Blue channels to match your target RGB values exactly.
Related Articles and Tutorials
Explore more tutorials on color matching, grading, and correction techniques.
Quick and Easy Method for Color Matching Images in Photoshop
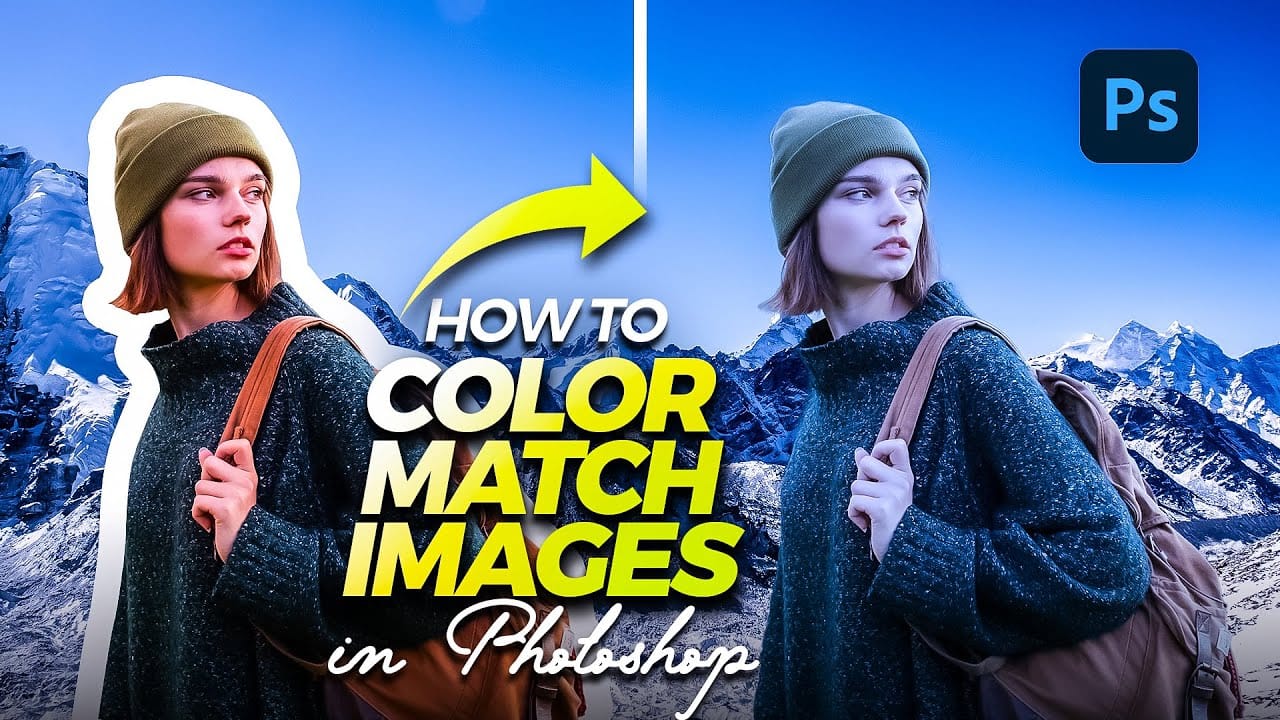
Achieving visual harmony in composite images is a cornerstone of professional photo editing. When combining elements from different sources, discrepancies in color and lighting can immediately break the illusion of a unified scene, making the final image appear unnatural or poorly constructed.
This tutorial demonstrates a straightforward yet powerful method within Photoshop to perfectly align the color profiles of disparate images. Viewers will learn how to leverage Photoshop's built-in tools t
One click instantly fixes color in Photoshop
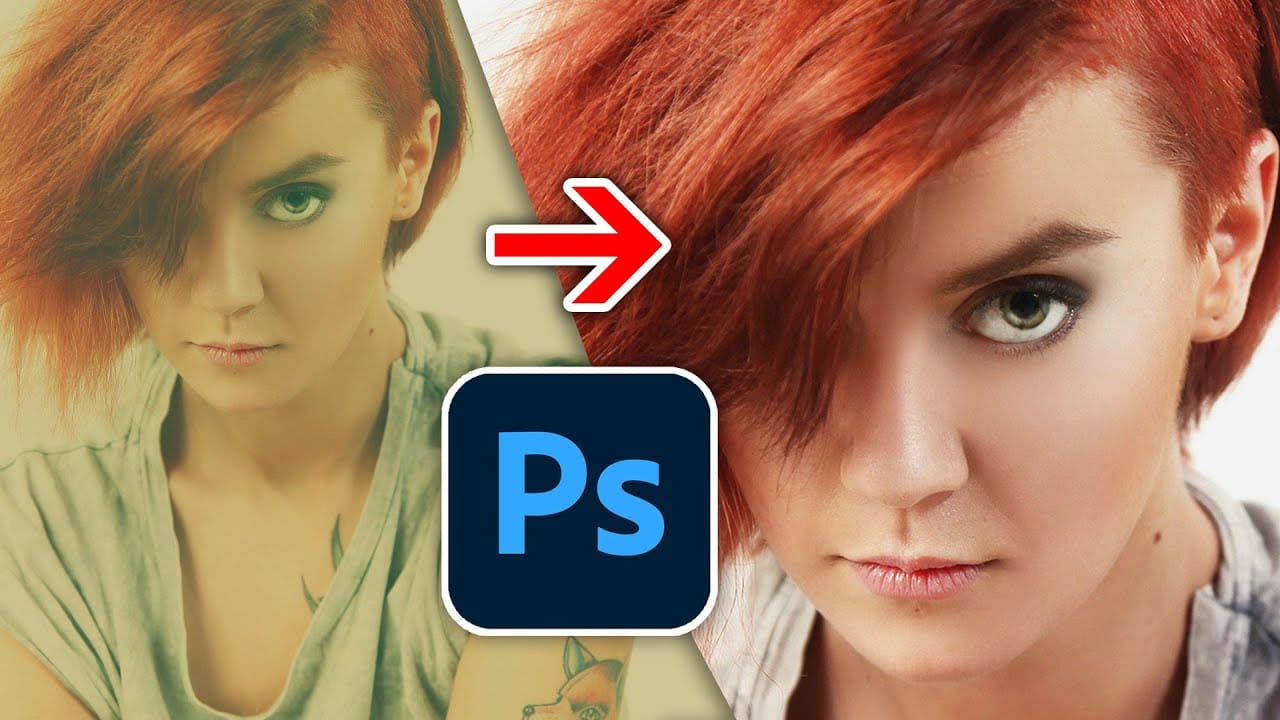
In this tutorial by Colin Smith from Photoshop Cafe, you'll learn how to instantly fix the color of your photos in a single click using Photoshop and Lightroom. Colin introduces a powerful tool that can correct color issues effortlessly, making your images look more natural and vibrant.
This quick tutorial focuses on achieving perfect color balance with minimal effort. Whether you're a beginner or a seasoned Photoshop user, Colin's method is straightforward and effective, allowing you to enhanc
3 must-try techniques to enhance colors in Photoshop
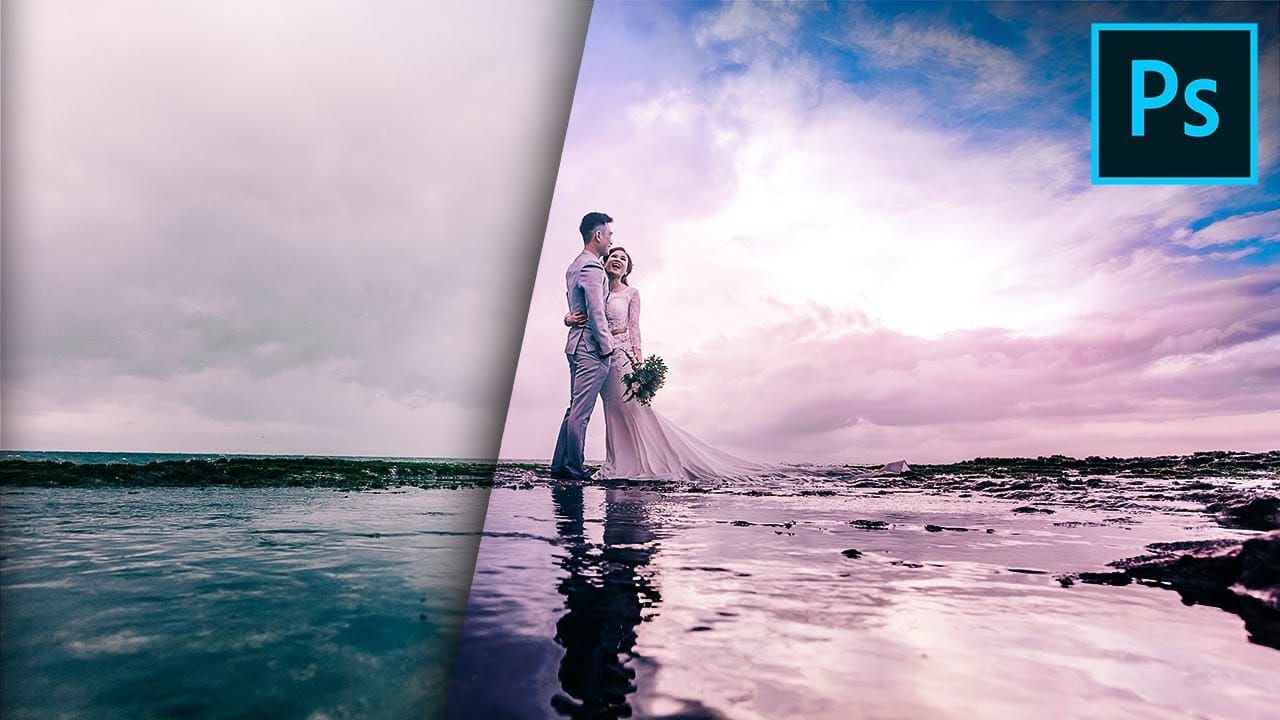
Many photographers and designers seek to infuse their images with vibrant, true-to-life colors that truly stand out. Achieving this level of color enhancement often requires more than basic adjustments; it demands a nuanced approach that breathes life into every detail.
This tutorial uncovers three powerful, yet often overlooked, Photoshop techniques to elevate your color grading. Discover how to apply subtle, realistic color changes, sculpt specific color moods, and selectively refine tones wi

How to copy color effect from other images in Photoshop
The PiXimperfect tutorial offers a simple yet effective technique to add a burst of vibrant color to your Photoshop projects. By leveraging blend modes and a touch of creativity, you can seamlessly incorporate color from one image into another, elevating your visual compositions.
The author guides viewers through the process step-by-step, making it accessible for both beginners and seasoned Photoshop users. With a keen eye for detail, the tutorial demonstrates how to carefully select and blend
The easiest way to change any color in Photoshop
Changing the color of specific elements within an image can often be a frustrating challenge for designers and photographers. Achieving a precise color shift without affecting surrounding areas, or dealing with complex selections, often leads to a time-consuming and imperfect process.
This guide introduces a highly efficient method utilizing Photoshop's latest updates, specifically the "Adjust Colors" feature found in the contextual taskbar. This technique simplifies accurate color manipulation
How to Match Color in Photoshop for Beginners
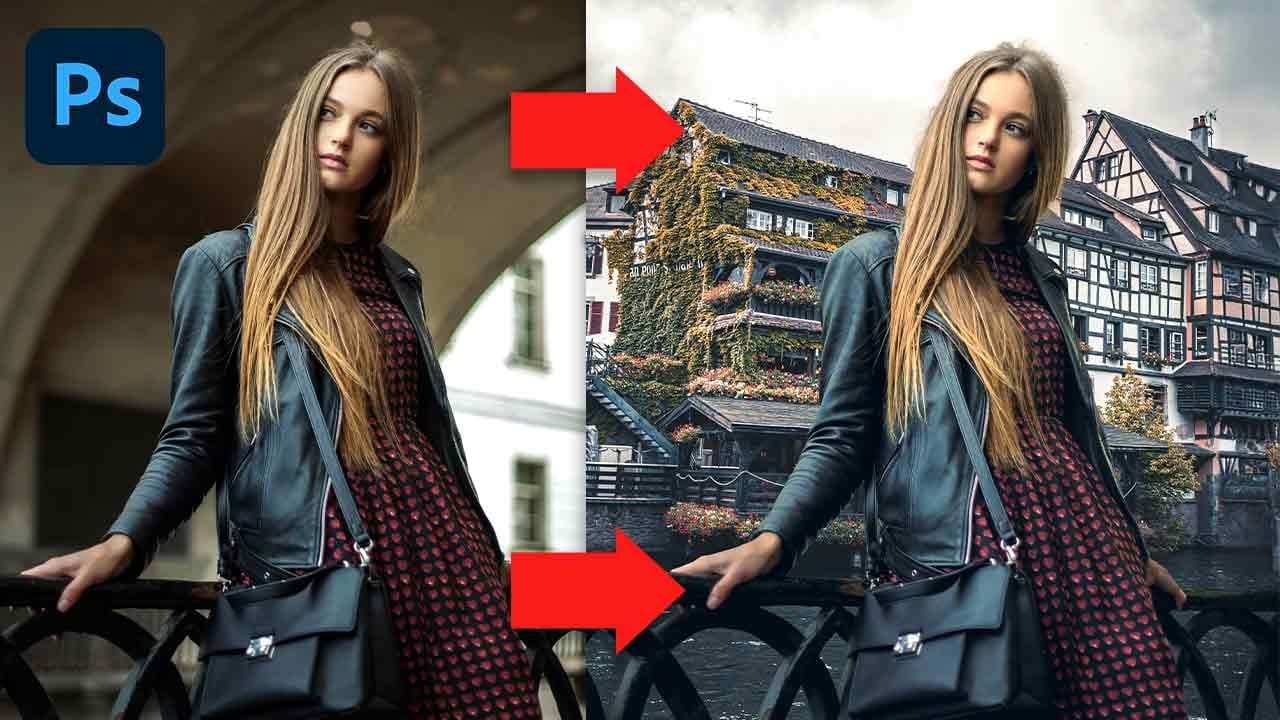
Compositing images often requires precise color matching. When combining elements from different sources, slight variations in tone can disrupt the visual harmony, making the final image appear unnatural. Achieving a cohesive look is crucial for professional results.
This tutorial offers a straightforward method to blend disparate image elements seamlessly. The video demonstrates how to use Photoshop's built-in tools, specifically the Curves adjustment layer and Camera Raw, to unify the color p
The Single Best Color Tool in Photoshop
In this tutorial, you will uncover the often-overlooked capabilities of Photoshop's Selective Color Adjustment Layer.
This powerful tool allows you to perform both subtle and dramatic color grading, giving your images a polished look similar to fine art. You'll learn techniques to intensify colors, separate various hues for added depth, and achieve better overall color balance in your work. This ensures that your images maintain their vibrancy without the risk of over-saturation.
The tutorial

How to Use Photoshop's Match Color Tool for Consistent Image Tones
Color consistency between images can make or break a professional composition. When combining photos from different sources, lighting conditions and camera settings create jarring color mismatches that immediately reveal the edit.
Photoshop's Match Color tool provides a direct solution, automatically analyzing and transferring the color characteristics from one image to another with precision control.
Watch the Tutorial
Essential Match Color Tips
* Minimize your reference image — Resize t
Turn White into Any Color in Photoshop
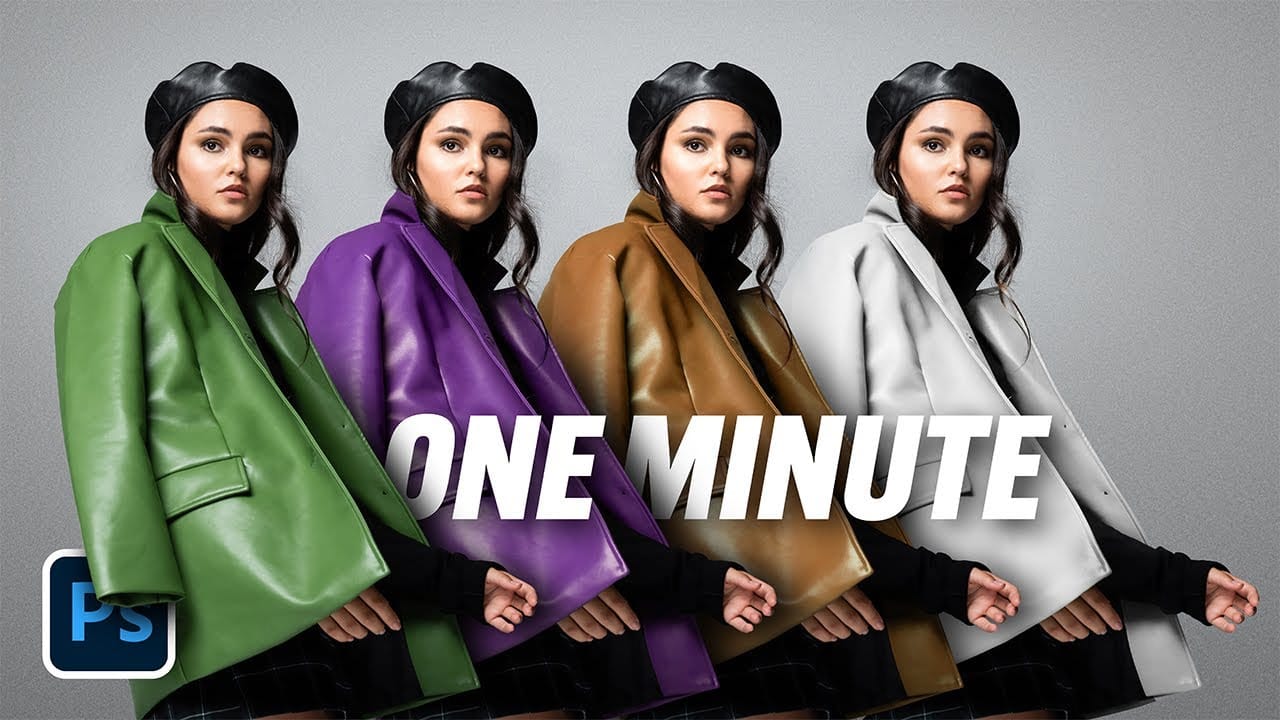
In this tutorial, WebFlippy demonstrates how to effortlessly transform white areas into any color using blending modes in Photoshop. This technique is especially useful for photo retouching and product photography, allowing for versatile color adjustments without affecting the overall image quality.
The tutorial provides a straightforward approach to applying this method, ensuring that you can quickly adapt white elements in your photos to match your desired color scheme. With clear instruction